The Perfect Desktop - Slackware 12 - Page 6
On this page
- 12 Installing from SlackBuild Scripts
- Installing FUSE
- Step 1 Download the SlackBuild archive of the application
- Step 2 Download the source of the application
- Step 3 - Edit the SlackBuild script ONLY if necessary
- Step 4 - Last chance to check everything:
- Step 5. Execute the SlackBuild Script (as root)
- Step 6 - Install the Package (as root)
- Installing ntfs-3g
- Step 1 Download the SlackBuild archive of the application
- Step 2 Download the source of the application
- Step 3 - Edit the SlackBuild script ONLY if necessary
- Step 4 - Last chance to check everything:
- Step 5. Execute the SlackBuild Script (as root)
- Step 6 - Install the Package (as root)
- Installing OpenOffice.org
- Step 1 Download the SlackBuild archive of the application
- Step 2: Download the source of the application
- Step 3 - Edit the SlackBuild script ONLY if necessary
- Step 4 - Last chance to check everything:
- Step 5. Execute the SlackBuild Script (as root)
- Step 6 - Install the Package (as root)
12 Installing from SlackBuild Scripts
Together we will install FUSE, the NTFS-3G driver and OpenOffice.org. Afterwards you will be able to follow the same steps to install all packages from SlackBuilds.org including Guarddog, Adobe Acrobat Reader (named acroread at SlackBuilds.org), Scribus, kmymoney2, htop, and Skype.Open a browser window to http://www.slackbuilds.org/. Read the HOWTO and the FAQ:
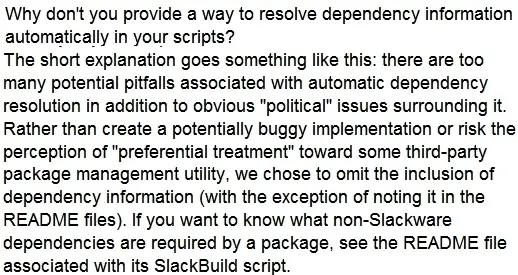
Below is an excerpt from the FAQ regarding dependencies and explains why you need to read the README file for each package before installing software from SlackBuilds.org
Installing FUSE
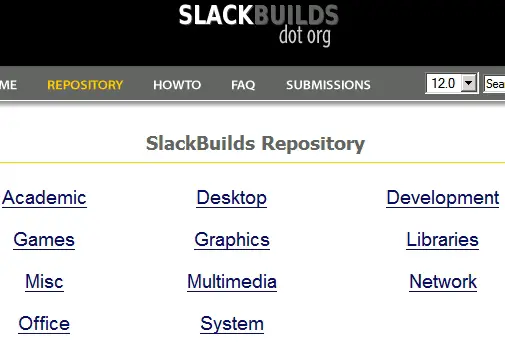
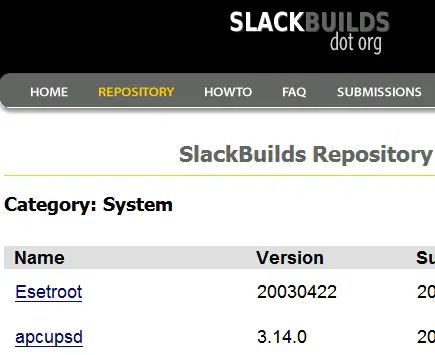
Click REPOSITORY to view the categories and then click System:The System category opens:
Scroll down and click fuse:
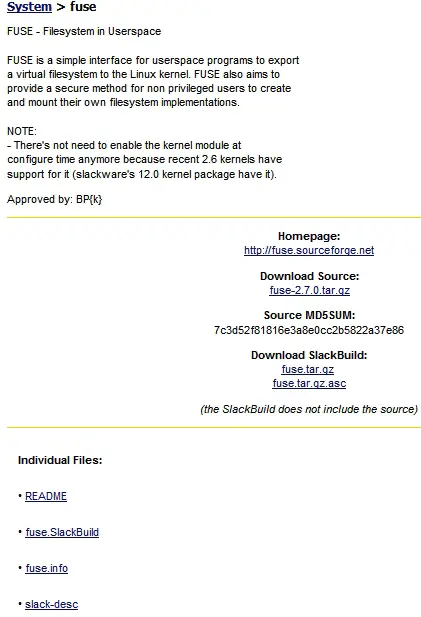
The page for FUSE:
The easiest installation method is provided by the SlackBuild HOWTO. The following is my interpretation of their instructions.
Step 1 Download the SlackBuild archive of the application
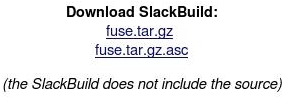
The SlackBuild archive is fuse.tar.gz. The archive contains the SlackBuild script named fuse.Slackbuild. You'll run the SlackBuild script later. Note that the source is not included in the SlackBuild archive. The source is downloaded separately. Click the SlackBuild archive fuse.tar.gz to begin downloading:
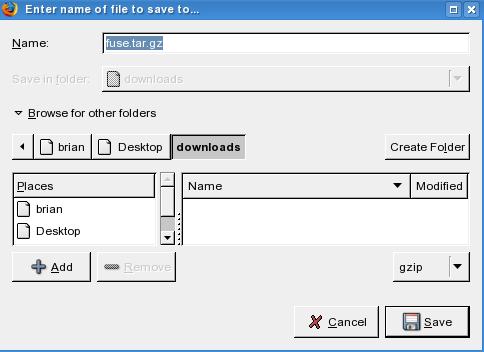
Save it to the /Desktop/downloads directory:
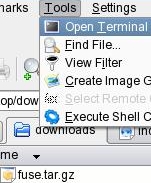
When the download is finished open a terminal window in your downloads directory:
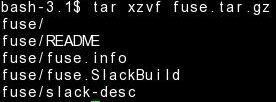
Extract the contents of fuse.tar.gz by typing,
tar xzvf fuse.tar.gz
This creates a folder named /fuse
Change to the fuse directory,
cd fuse
I refer to SlackBuild scripts a few times in this section. When I refer to any SlackBuild script I'm talking about the file that ends in .SlackBuild. In this case the SlackBuild script is named fuse.SlackBuild.
To see the SlackBuild script type ls.
Step 2 Download the source of the application
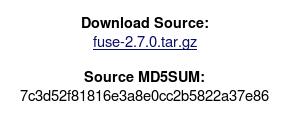
Now we will download the Gzipped file containing the source code. Before downloading I'd like you to notice that the Download Source indicates that this SlackBuild is built using FUSE version 2.7.0. This is important to notice because if the source of the version you download is newer than the version linked to on this page you would need to edit the SlackBuild script as shown in step 3's hypothetical example..Download fuse-2.7.0.tar.gz:
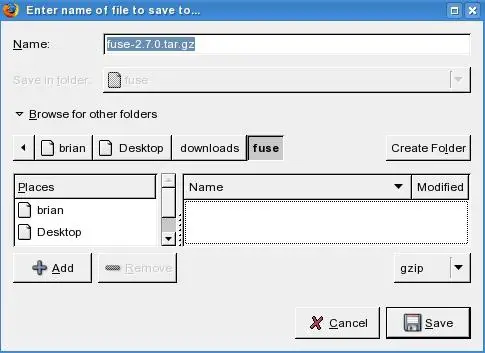
Save it in the /fuse directory:
Step 3 - Edit the SlackBuild script ONLY if necessary
When I installed this software I didn't need to edit the SlackBuild script (fuse.Slackbuild) because the SlackBuild archive (fuse.tar.gz) matched version 2.7.0 of the source archive named fuse-2.7.0.tar.gz.But, let's assume that by the time you read this there is a newer version of FUSE. Let's call this newer version fuse-2.8.0.tar.gz. You would then need to modify the Slackbuild script. To modify the SlackBuild script you would open fuse.Slackbuild with your favorite text editor and find the line that starts with VERSION.
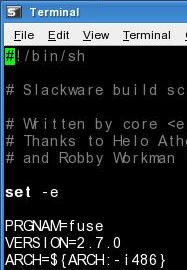
Below we see the VERSION of the fuse.SlackBuild script is set to 2.7.0:
But, in this hypothetical example we're working with a newer version of FUSE named fuse-2.8.0.tar.gz.
To make this SlackBuild installation work you would change the line from VERSION=2.7.0 to VERSION=2.8.0.
Then you would have saved the file and moved on:
Step 4 - Last chance to check everything:
Before building the program lets confirm the source file is in the fuse directory. Also confirm the SlackBuild script is executable. The x means executable. In the fuse directory type ls -l:The above screenshot confirms two things. First that the source file fuse-2.7.0.tar.gz is in the fuse directory.
Second, the SlackBuild script named fuse.SlackBuild is executable.
If it were not executable it would look like:
And then you would have to make it executable by running the command
chmod +x fuse.SlackBuild
You could then confirm it's executable by typing ls -l again:
Step 5. Execute the SlackBuild Script (as root)
To run the SlackBuild Script su to root.In the terminal, we run
./fuse.SlackBuild
The packages is created and moved to the /tmp directory:
Step 6 - Install the Package (as root)
Change to the /tmp directory by typing,cd /tmp
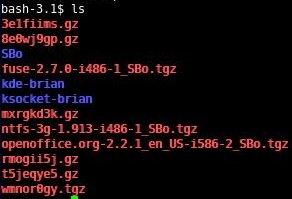
To see the name of the new package you can type ls. The completed package is named fuse-2.7.0-i486-1_SBo.tgz. You may want to save this package as a backup.
As root type,
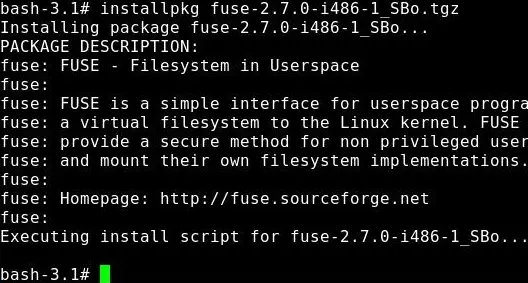
installpkg fuse-2.7.0-i486-1_SBo.tgz
and press Enter:
That completes the installation of FUSE.
Installing ntfs-3g
Return to the SlackBuilds Repository and click System:Scroll down the page and click ntfs-3g:
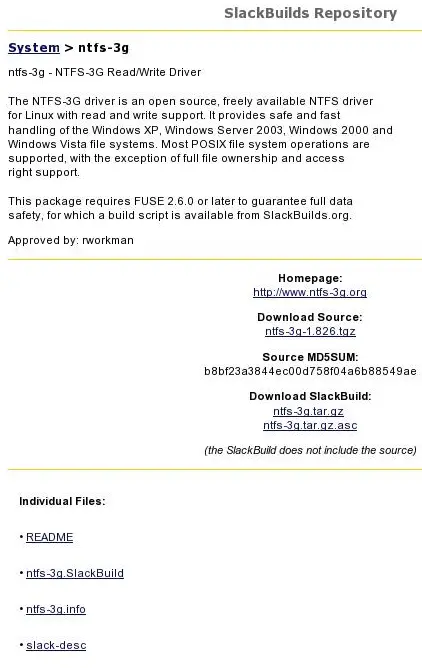
The page for ntfs-3g:
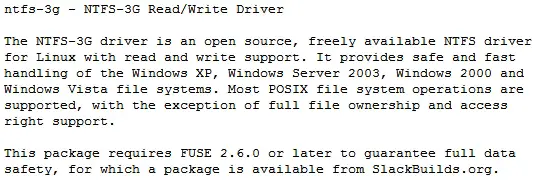
When we click the README file we see it is dependent on FUSE 2.6.0 or later:
Step 1 Download the SlackBuild archive of the application
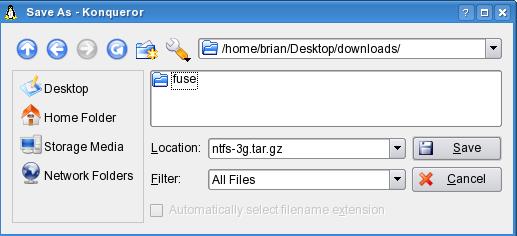
Click ntfs-3g.tar.gz to download the file:Save the file to /Desktop/downloads/
Type ls and we see it's in the downloads directory:
Extract ntfs-3g.tar.gz by typing,
tar xzvf ntfs-3g.tar.gz
Run ls and we see the new directory named ntfs-3g.
At the command line change your directory to the ntfs-3g directory:
cd ntfs-3g
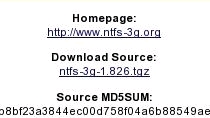
Step 2 Download the source of the application
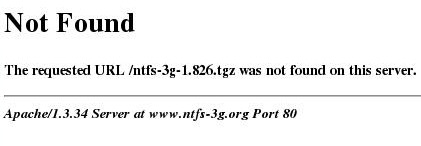
Click ntfs-3g-1.826.tgz to download the source of the application:Unfortunately, we get a 404 error:
Click the home page for the NTFS-3G Driver:
On the home page for the NTFS-3G Read/Write Driver we see that there is a new version of ntfs-3g, version 1.913:
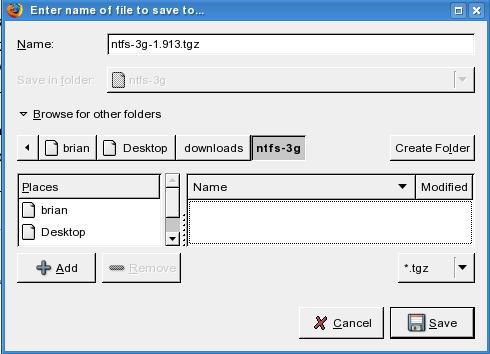
Download the latest release to your ntfs-3g directory:
Step 3 - Edit the SlackBuild script ONLY if necessary
In this case it is required to edit the SlackBuild script because we are using a newer version of the program.Open ntfs-3g.SlackBuild with your favorite text editor. Find the line that starts with VERSION. Below we see the VERSION of the ntfs-3g.SlackBuild script is set to 1.826:
Since the the new version is ntfs-3g-1.913.tgz we edit the line to read VERSION=1.913
That's all you need to do. Save the file, exit and continue.
Step 4 - Last chance to check everything:
Before building the program lets confirm the source file is here and that the SlackBuild script is executable.Type,
ls -l
The above screenshot confirms two things. First that the source file ntfs-3g-1.913.tgz is in the ntfs-3g directory.
Second, the SlackBuild script named ntfs-3g.SlackBuild is executable.
Step 5. Execute the SlackBuild Script (as root)
In the command line window, typesu
to become root.
As root run the SlackBuild script:
./ntfs-3g.SlackBuild
The package creation is completed and the file is put in /tmp:
Step 6 - Install the Package (as root)
In the command line window, typecd /tmp
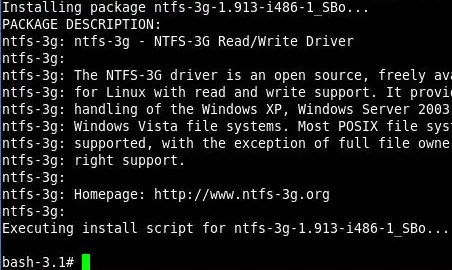
To install type
installpkg ntfs-3g-1.913-i486-1_SBo.tgz
And that completes the installation of the NTFS driver. You may want to save the ntfs-3g-1.913-i486-1_SBo.tgz package so you can install on another machine or have for backup. In Section 22 you can read how I use the NTFS driver.
Installing OpenOffice.org
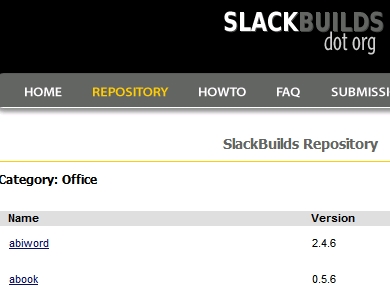
Click Office from the REPOSITORY page:The Office category:
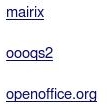
Scroll down the page and click openoffice.org:
Step 1 Download the SlackBuild archive of the application
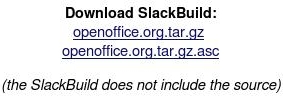
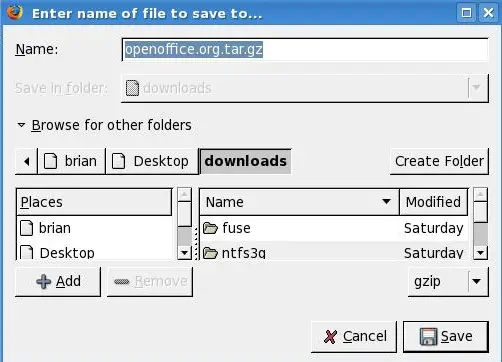
Click openoffice.org.tar.gz to start the download of the SlackBuild archive:Save it to /Desktop/downloads:
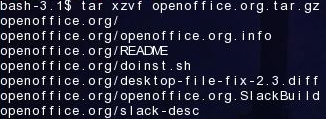
In the command window extract the contents by typing,
tar -xzvf openoffice.org.tar.gz.
This creates a new directory named /openoffice.org.
In the terminal window, type
cd openoffice.org
Step 2: Download the source of the application
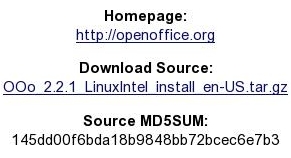
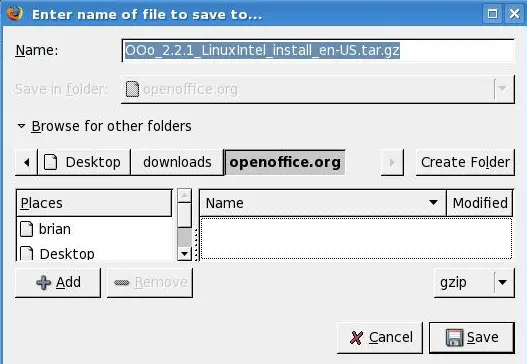
Download the source and save it to the openoffice.org directory:Step 3 - Edit the SlackBuild script ONLY if necessary
Below is part of the SlackBuild script where you can see that the version of the script is the same as the version of the application. This requires no editing:Step 4 - Last chance to check everything:
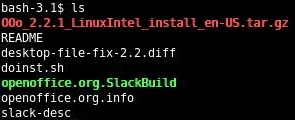
Before building the program lets confirm the source file is here and that the SlackBuild script is executable.In terminal type,
ls -l
Above we see the source file named OOo_2.2.1_LinuxIntel_install_en-US.tar.gz is in the openoffice.org directory. And the color green happens to represent executable files in this screen.
Step 5. Execute the SlackBuild Script (as root)
To run the SlackBuild Script su to root:In the terminal type,
./openoffice.org.SlackBuild
The packages is created and then moved to the /tmp directory:
Step 6 - Install the Package (as root)
Go to the /tmp directory by typing,cd /tmp
In the terminal type,
su
to become root.
To see the name of the file you can type ls. At this point the completed packages is named openoffice.org-2.2.1_en_US-i586-2_SBo.tgz.
To install type,
installpkg openoffice.org-2.2.1_en_US-i586-2_SBo.tgz
 And that completes the installation of OpenOffice.org.
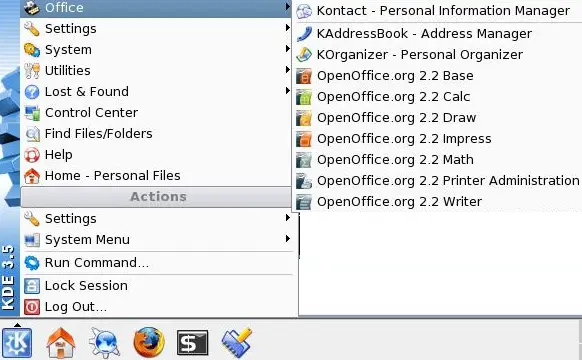
To see the new programs in the menu click K-Menu->Office:
Now you can follow the above method to install any SlackBuild package including:
- Guarddog
- Adobe Acrobat reader (named acroread at SlackBuilds.org)
- Scribus
- kmymoney2
- htop
- Skype


