How to install Ubuntu 17.10 (Artful Aardvark) Minimal Server
This tutorial exists for these OS versions
- Ubuntu 24.04 (Noble Numbat)
- Ubuntu 22.04 (Jammy Jellyfish)
- Ubuntu 20.04 (Focal Fossa)
- Ubuntu 18.04 (Bionic Beaver)
- Ubuntu 17.10 (Artful Aardvark)
- Ubuntu 17.04 (Zesty Zapus)
On this page
This tutorial shows the installation of a Ubuntu 17.10 minimal server in detail with many screenshots. The purpose of the guide is to show the basic installation of Ubuntu Artful Aardvark that can be used as a basis for the other Ubuntu tutorials here at howtoforge like our perfect server guides. This tutorial uses the non-LTS branch which contains the latest software versions. If you prefer to get longtime supported software versions, then please use this guide for Ubuntu LTS instead.
1. Requirements
To install a Ubuntu Server, you will need the following prerequisites:
- The Ubuntu 17.10 server CD, available here: http://releases.ubuntu.com/17.10/ubuntu-17.10-server-i386.iso (32Bit) or http://releases.ubuntu.com/17.10/ubuntu-17.10-server-amd64.iso (64Bit). I recommend using the 64Bt version.
- A fast internet connection is recommended as the package updates get downloaded from Ubuntu servers during installation.
2. Preliminary Note
In this tutorial, I use the hostname server1.example.com with the IP address 192.168.1.100 and the gateway 192.168.1.1 These settings might differ for you, so you have to replace them where appropriate.
In many cases, you might not need the latest software for a server but prefer to get updates for a longer time. In that case, use the Ubuntu LTS version instead of the latest Ubuntu release. You can find this tutorial for Ubuntu 16.04 LTS here.
3. The Base System
Insert the Ubuntu install CD / DVD into your system and boot from it. When you install the OS in a virtual machine like I will do it here, then you should be able to select the downloaded ISO file as source for the CD/DVD drive in VMWare and Virtualbox without burning it on CD first.
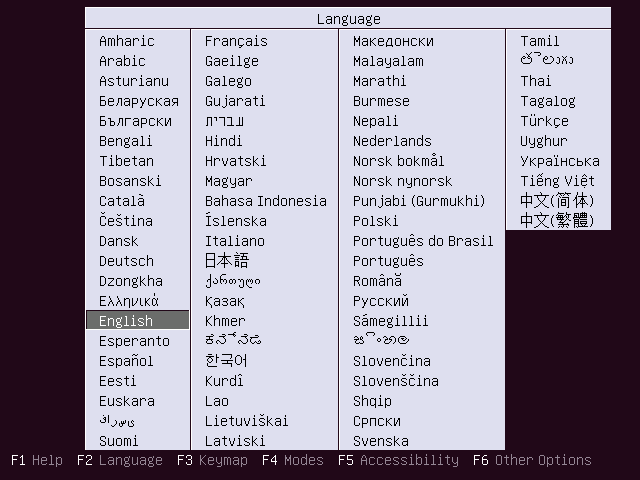
The first screen will show the language selector. Please select your language for the installation process:
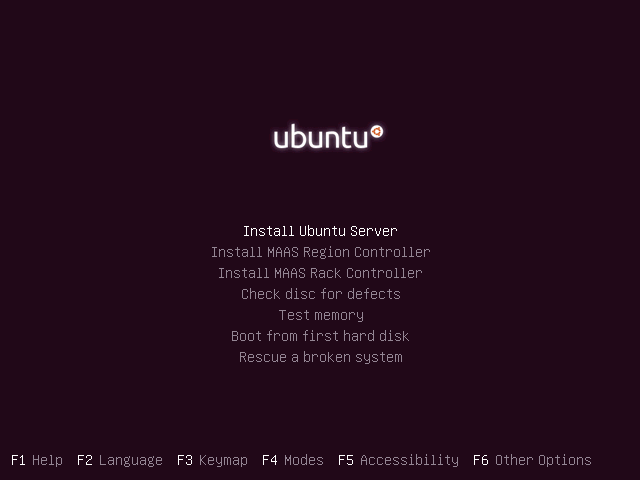
Then choose the option Install Ubuntu Server:
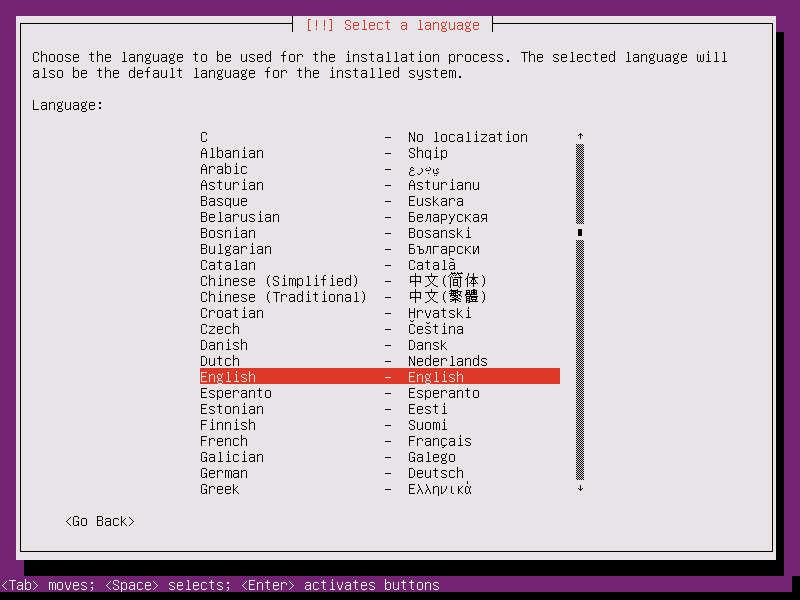
Select your language again, this time the language is for the installed Ubuntu OS:
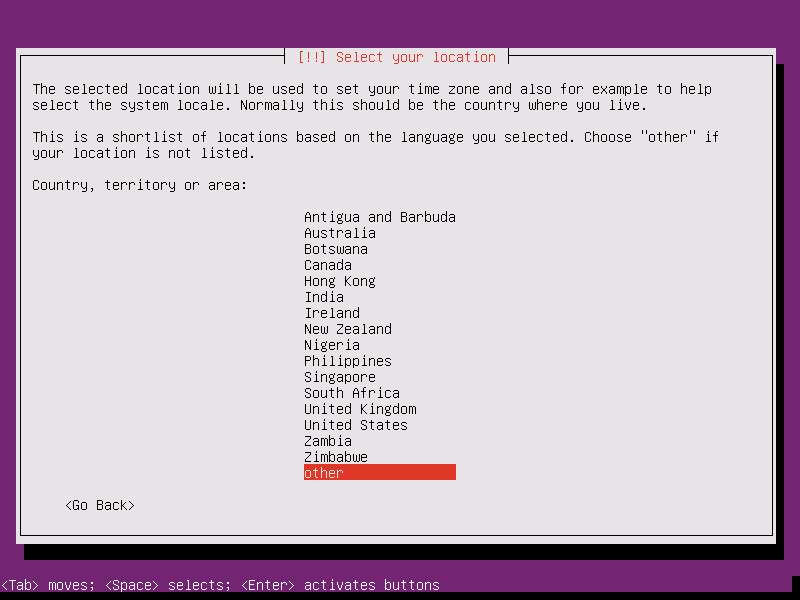
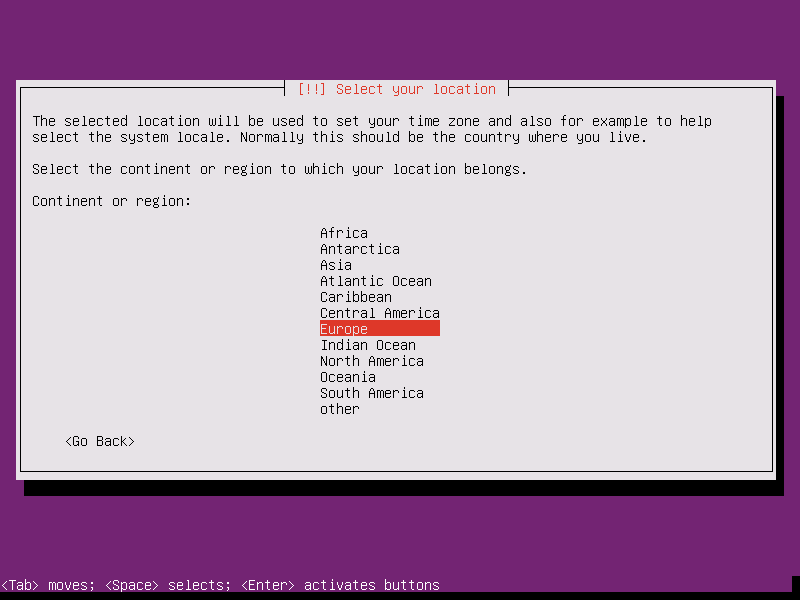
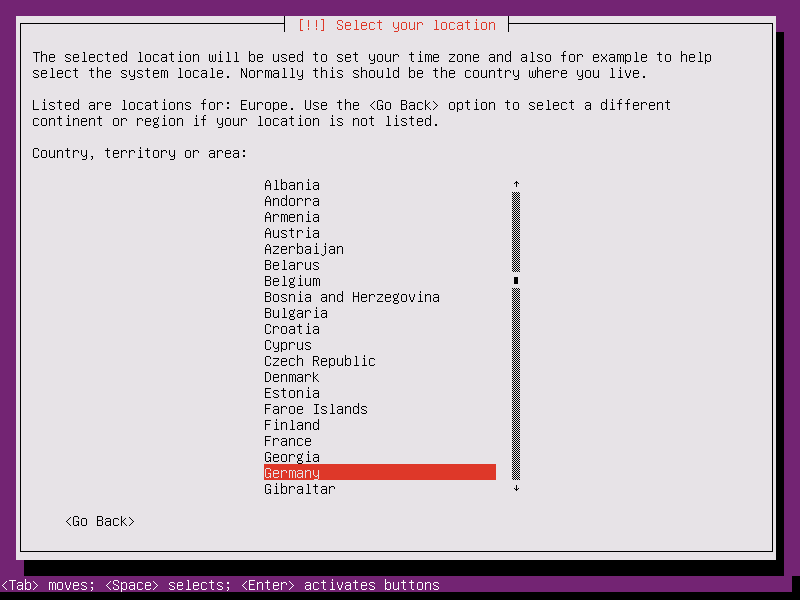
Then choose your location. The location settings are important for the keyboard layout, locale and timezone of your server:

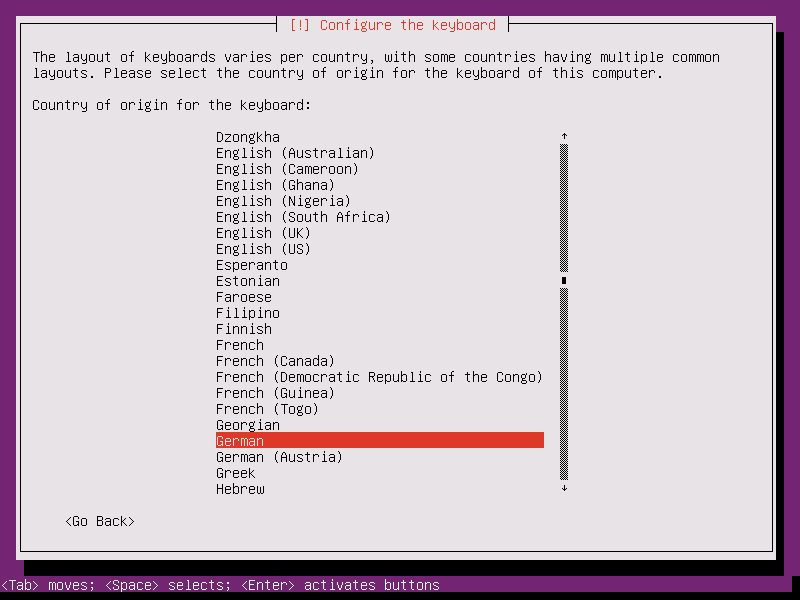
Choose a keyboard layout: You have the option to let the Ubuntu installer detect the keyboard layout automatically by choosing "yes" here. I prefer to select the right keyboard from a list and therefore, I choose No & keyboard layout as German: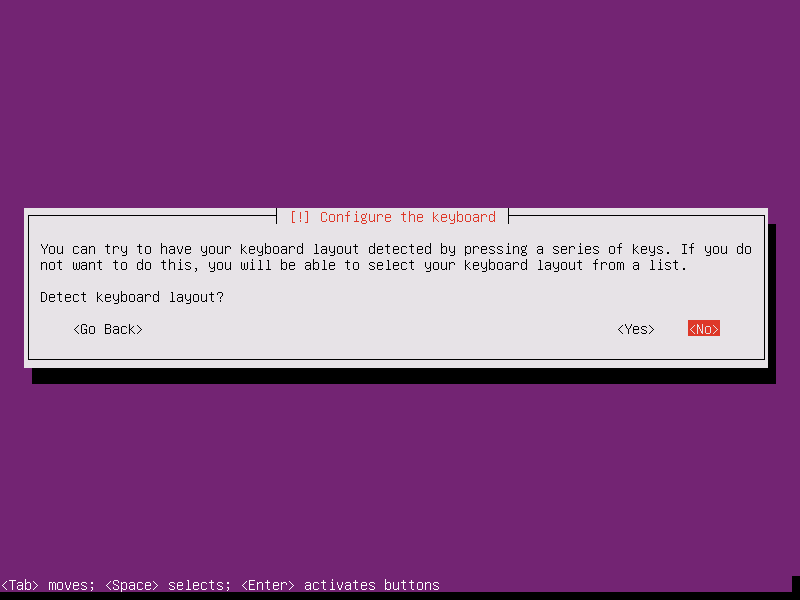

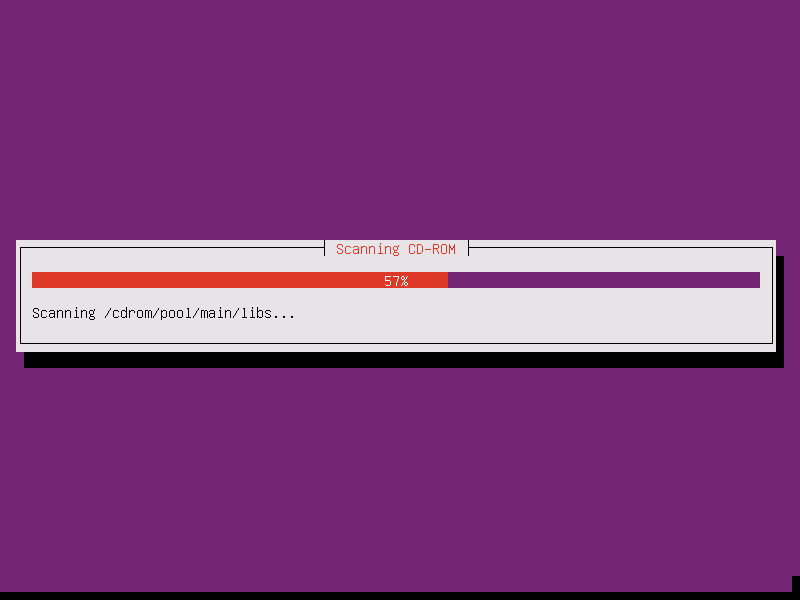
The installer checks the installation CD, your hardware, and configures the network with DHCP if there is a DHCP server in the network:
Enter the hostname of the system. In this example, my server is named server1.example.com, so I enter server1.example.com:

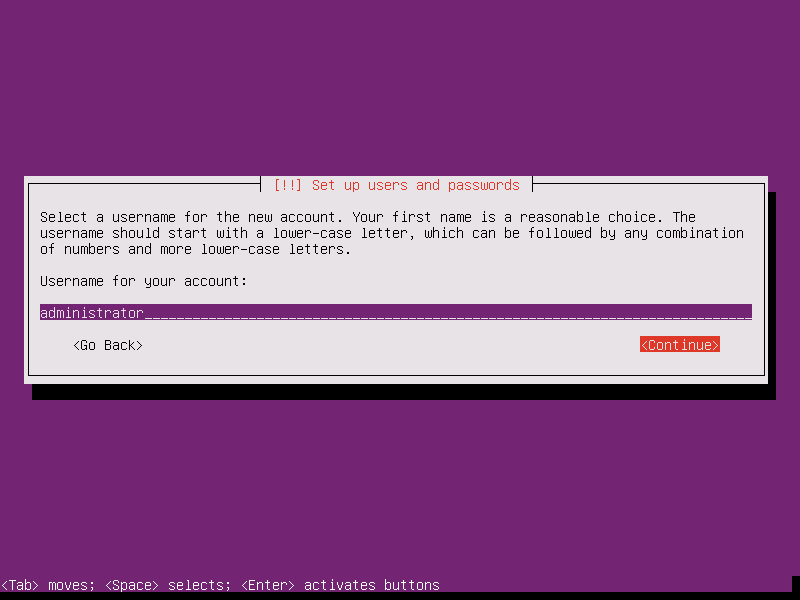
Ubuntu does not let you log in as root user directly. Therefore, we create a new system user here for the initial login. I will create a user with the name Administrator and user name administrator (don't use the user name admin as it is a reserved name on Ubuntu Linux): 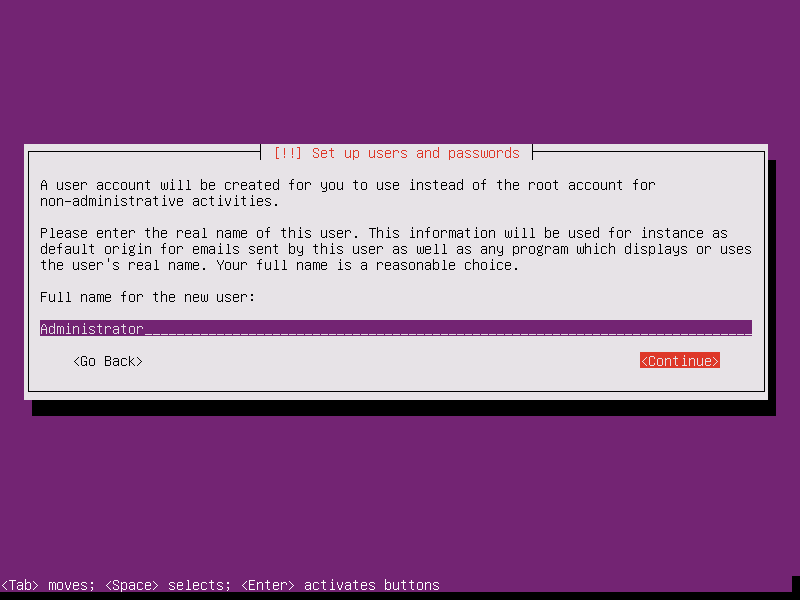
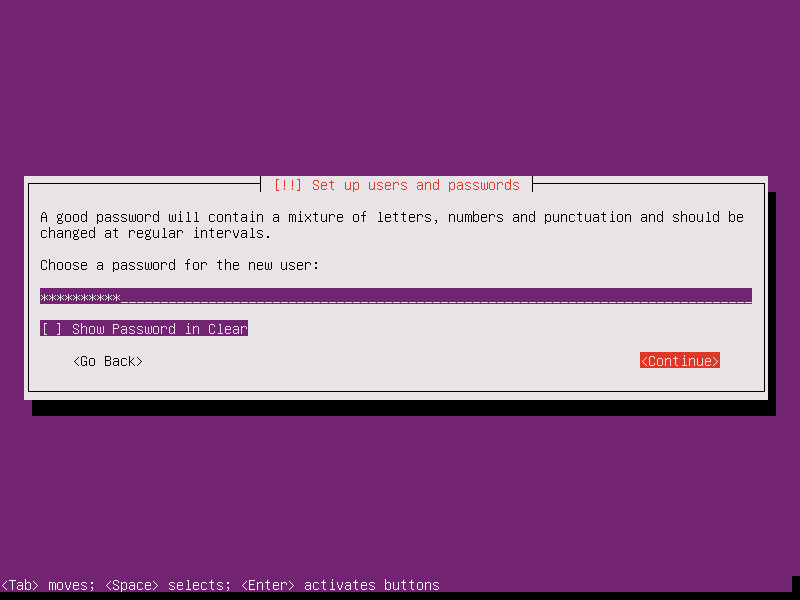
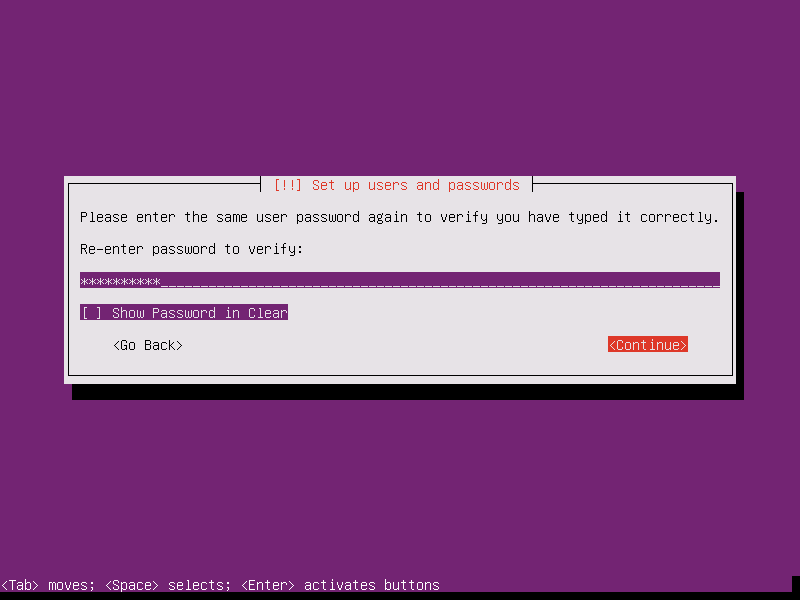
Choose a password:
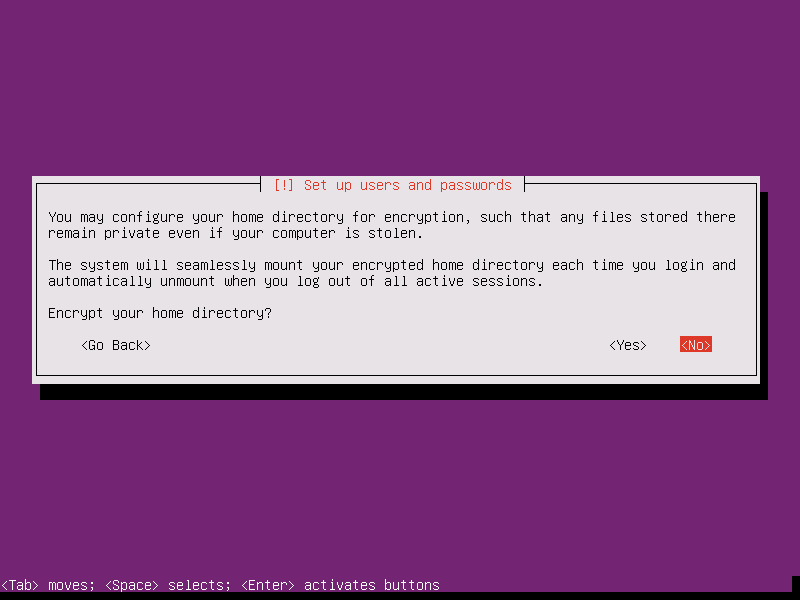
I don't need an encrypted private directory, so I choose No here: