ISP Server Setup - OpenSUSE 10 - Page 3
Now we do the network configuration. Hit the [Tab] key until the window with the settings is highlighted, then hit the cursor keys until Network Interfaces is highlighted and hit return.
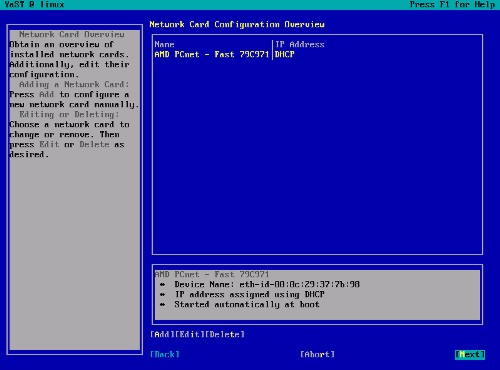
On the next screen that appears, hit the [Tab] key until [Edit] is highlighted, then hit return:
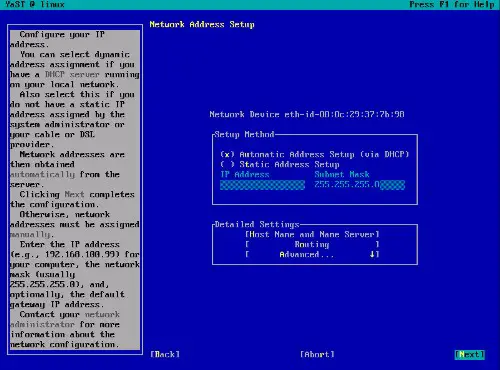
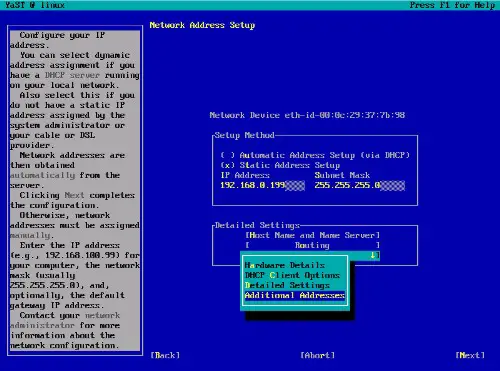
I do not want to get IP addresses from a DHCP server because a server should have static IP addresses so I change this by selecting Static Address Setup and enter an IP Address (e.g. 192.168.0.199) and a Subnet Mask (e.g. 255.255.255.0):

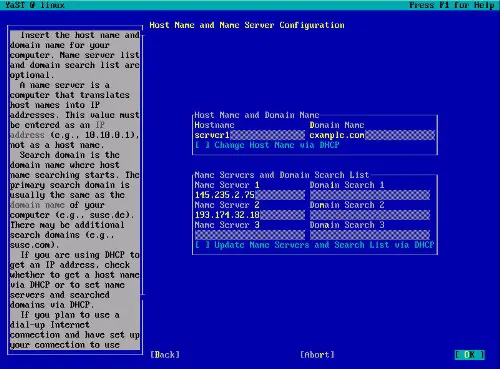
Under Host Name and Name Server Configuration I set my hostname server1.example.com and enter up to 3 DNS servers (e.g. 145.253.2.75 and 193.174.32.18):
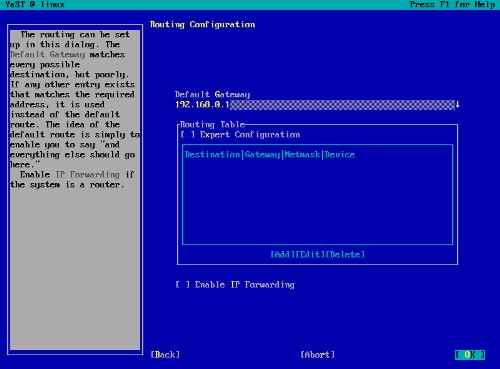
Under Routing Configuration I set my gateway (e.g. 192.168.0.1):
Under Advanced -> Additional Addresses you can set additional IP addresses. I want to create a virtual network card eth0:0 with the IP address 192.168.0.200 (my main one is 192.168.0.199 in this example) so I select Additional Addresses:
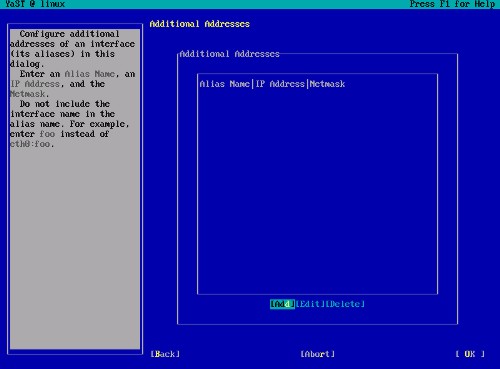
Then select Add to enter the additional IP address.
I enter an Alias Name (0), my additional IP address (192.168.0.200) and my netmask (255.255.255.0):
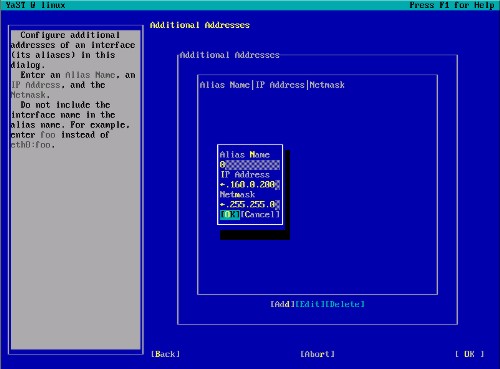
Click on OK, then OK again:

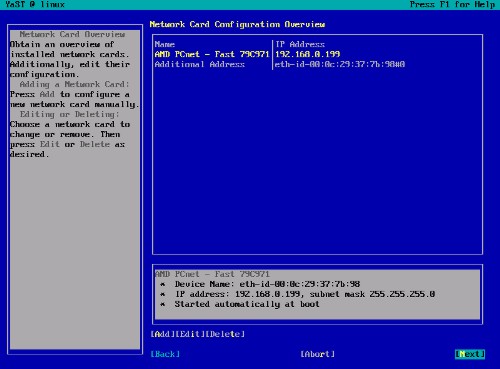
Back to the main Network Configuration screen, and then Next:
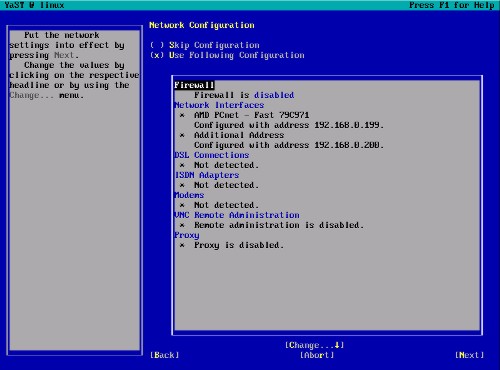
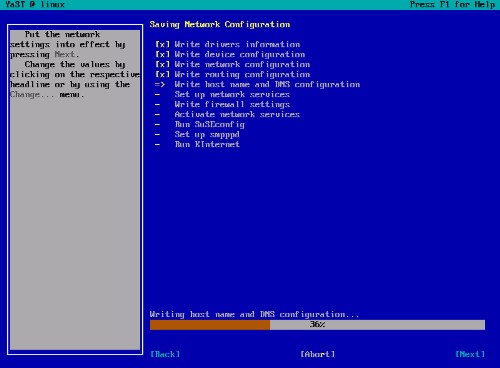
The network configuration is being saved:
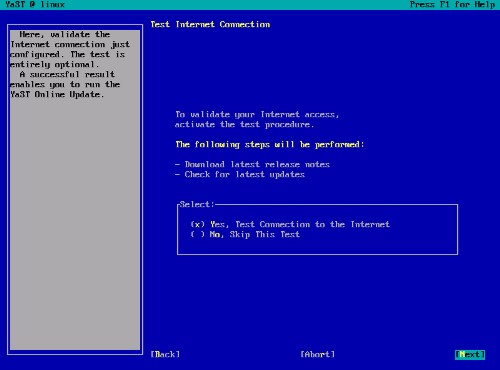
Now the internet connection of the system is tested and you may download the latest updates from a SUSE mirror and install them:
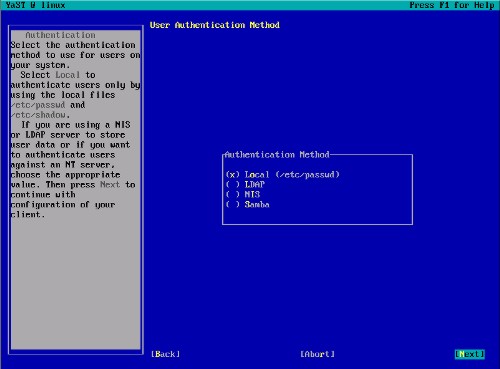
When asked how users should authenticate choose Local (/etc/passwd):
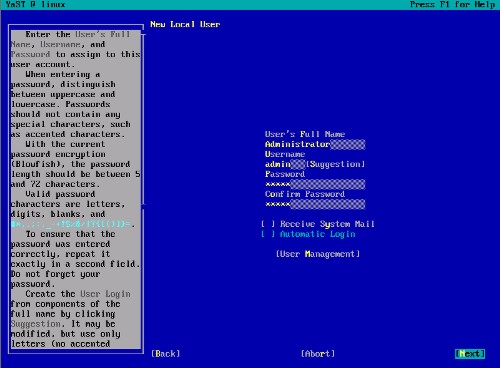
Create a second user other than root (e.g. admin):
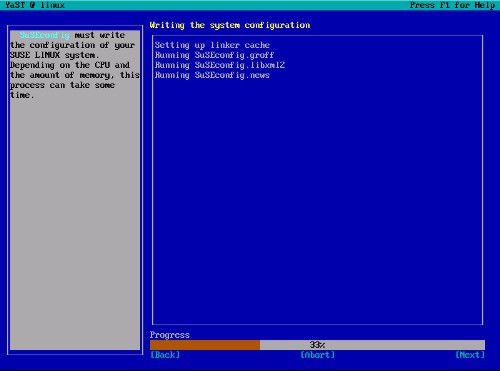
The system configuration gets written:
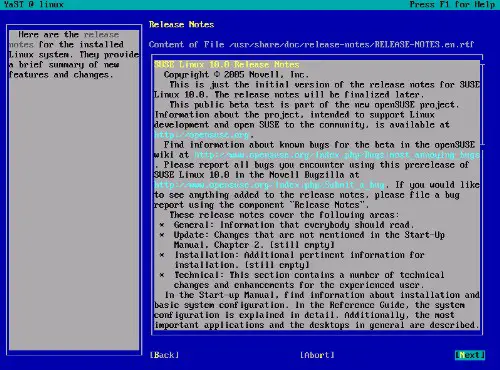
Read the release notes (if you like...) and select Next + hit Enter:
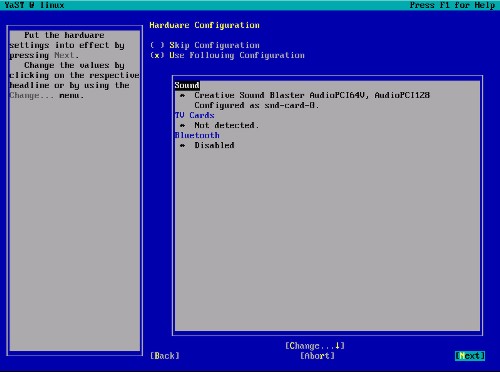
Finally YaST performs a hardware check (graphics cards, printers, sound, TV cards and Bluetooth). You can accept the results of this check as this hardware is not important for a server.
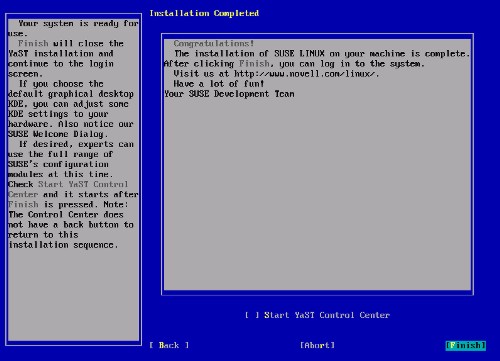
Congratulations! Your base installation is complete.
On to the next step...

