Editing Images With Pinta

Version 1.0
Author: Christian Schmalfeld  <c [dot] schmalfeld [at] projektfarm [dot] de>

This article is about how to use the Pinta graphical editor to edit pictures and covers some of its most important features.

This tutorial comes without warranty of any kind.


1 Preliminary Note

Pinta is a lightweight image editor for Linux and is far more easier to handle than Gimp but still has a large variety of tools and features to use. It can be used for quick editing like resizing images or adjusting the colours of photographs, but also for more professional tasks which depend on layered images and more. It is a good mixture between MS Paint and professional image editing tools and is recommendable for most purposes of image-editing-everyday-use.


2 New Document

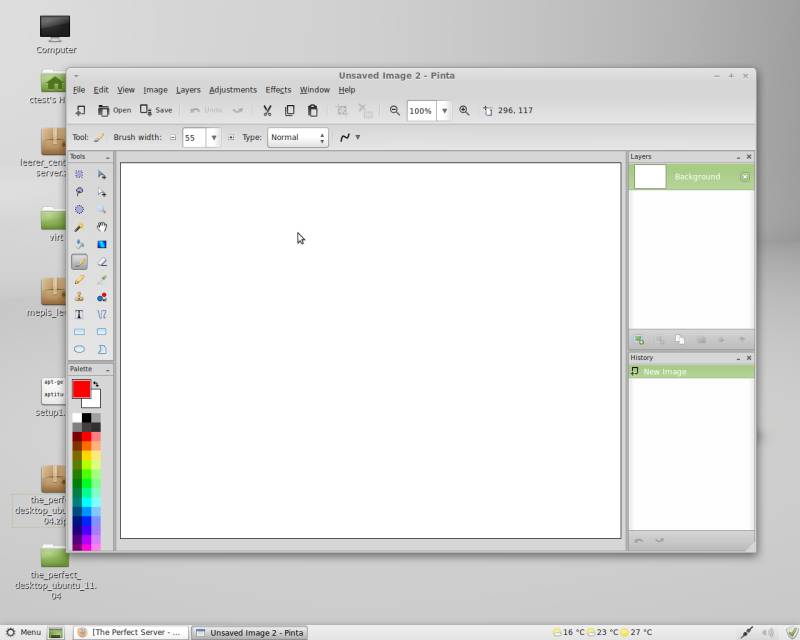
On first start Pinta appears as a single window with a large central drawing panel. On the left side, there is a Tools and a Palette panel, on the right side, there is a Layers and a History panel. On the top windowbar you can find the usual editing options for adjusting colors, brightness and others as well as adding effects to your images.

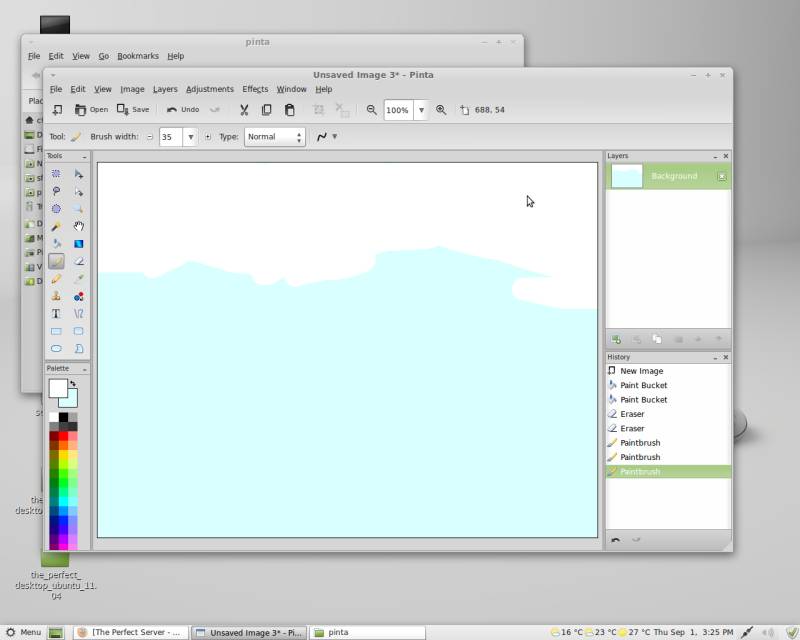
For starters I will create a simple picture using some of the basic tools and effects. Start by selecting the Paintbrush tool and adding some colors to the first layer of the picture.

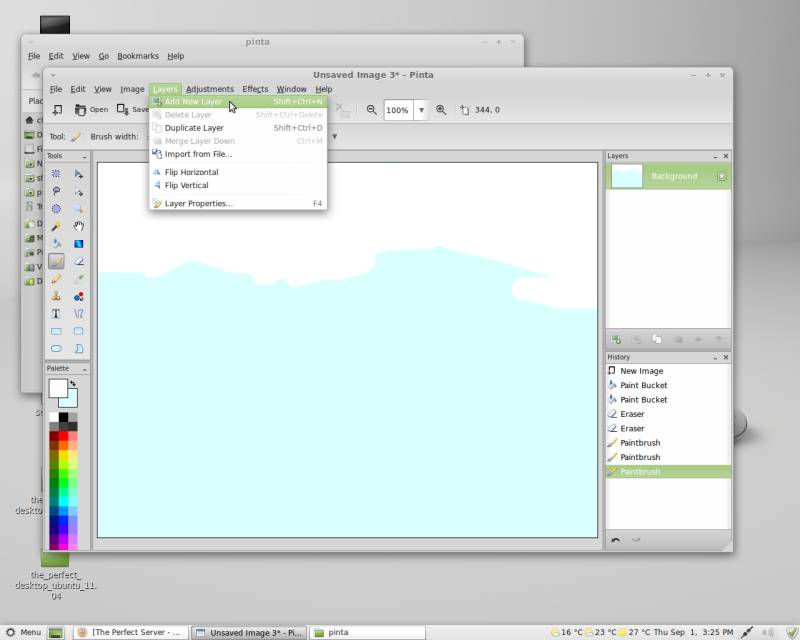
To make sure that you do not damage the previously created parts of a picture you use different layers. This feature allows you to part the picture into layers, which all act as seperate pictures with a transparent background. Using these one can draw anything on a single layer and erase it again without touching the content of the other layers. To add a new layer, select Layers > Add New Layer.

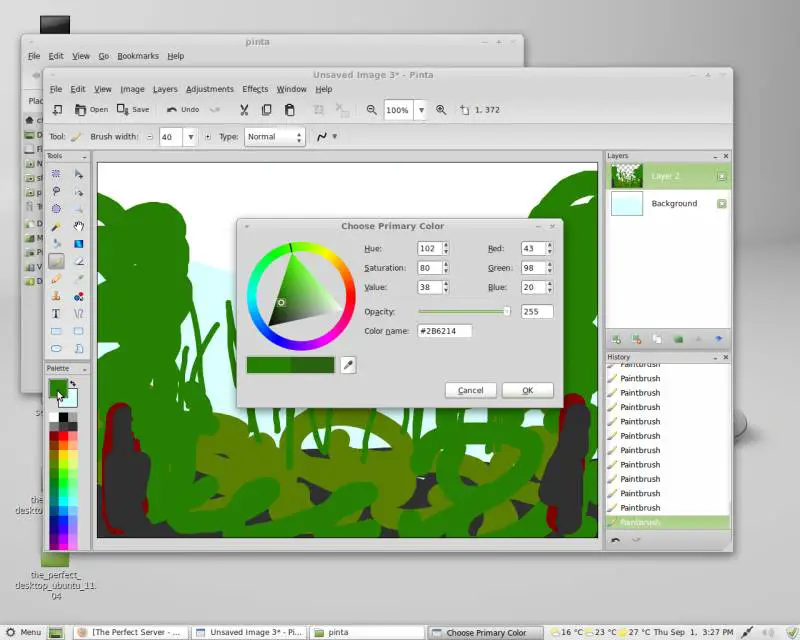
Now you have an additional layer which you can use to seperate your background from the rest of the picture. To choose other colors to use, double-leftclick upon the primary color and a window will open where you have detailed options to select a color.

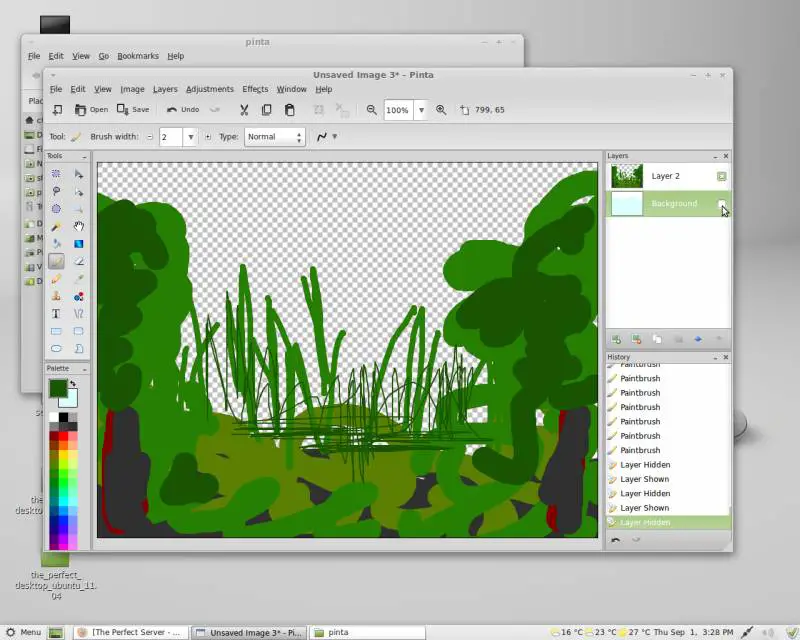
After applying some color to the second layer you can watch these alone by hiding the other layers. Therefore just uncheck the checkboxes next to the layers' names on the Layers panel to the right.

To make my current layers look more like a background I will apply a Gaussian Blur to it. Therefore I select Effects > Blurs > Gaussian Blur... and select a radius that matches my likings.

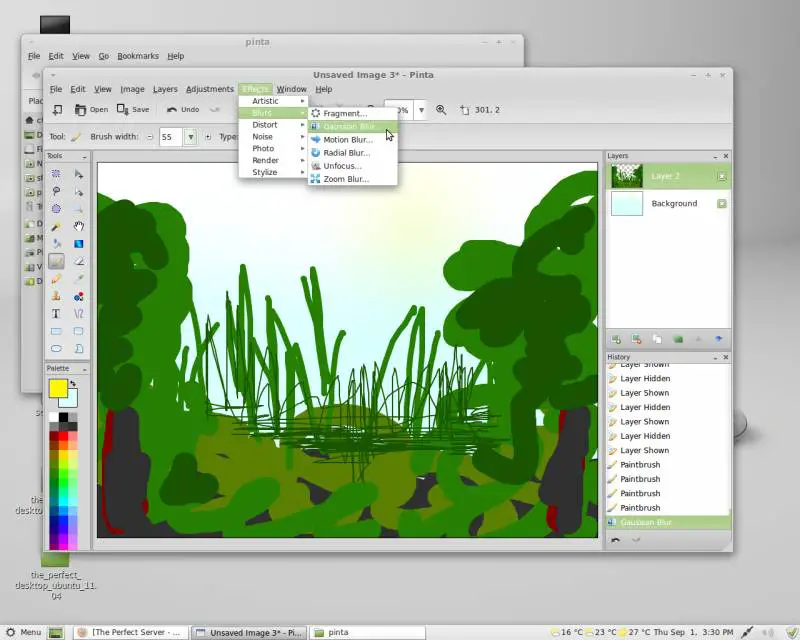
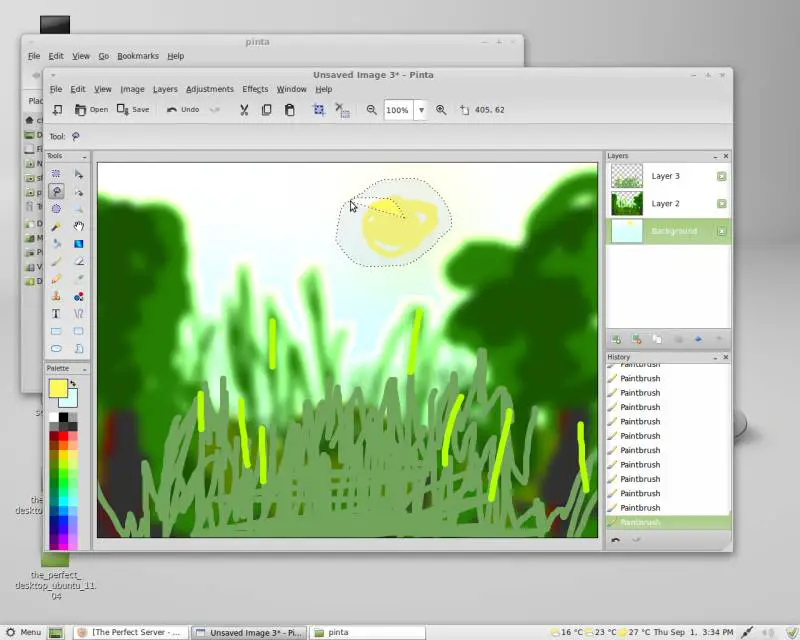
Next I add a few more layers to seperate my picture and add more blurs, since everything I have drawn so far is gonna be my background. By blurring the background you can accomplish a greater focus on the important things on the foreground.

Share this page:

Suggested articles

13 Comment(s)

Add comment

Comments

By: Anonymous

Just be aware: Pinta runs on Mono, which may or may not be subject to Microsoft patents.

By: Anonymous

How do I remove transparency?  I am trying to use the image I have saved in a program and it tells me it cant because it has a transparency.

thanks!

By: Derpy Derpface

How would you overlay images using Pinta?

By: Ben1701A

how do u do text?

By: das avatar

How do you go to the next image when reviewing all the photos one after another in a folder?

By: Dakota

How do i resize things

By: Joe Blow

Funny how nobody on the internet knows how to draw two lines in pinta. Everyone uses just a brush because nobody actually knows how to use this software. The first line is easy to draw, but the second line, if too close to the endpoint of a previous line, will not draw a line but rather just relocate the previous line. Also if you start to draw a line, but change your mind, forget hitting the ESC key, because it does nothing in this program. So you have to finish the line segment, then when you go back to highlight and delete the piece of unwanted line, you just get a transparent hole in your drawing rather than the background color. Everyone wants to show you how to click the pulldown menus, but noone actually knows how to use this software. How in all hell did Ubuntu fools decide to include this piece of crap over KoulorPaint, which actually works?

By: David

Press [Enter] to finish drawing all lines ;)Now if I could figure out how to resize a selection...

By: peter

It's kinda hard to draw lines the way you would expect with this program.

Now, I'm sure it can do a lot of things, and that's great, but getting stuck drawing lines is a red flag.

By: Paresh Pandya

deleting selected area or using eraser tool leaves grey boundry. how to remove it?

By: Lucia Stone


Wonderful Tutorial, thanks for putting this together! This is obviously one great post. Thanks for the valuable information .


By: ElaineM

a question--what are the bits for the Bmp file output? I use Linux  and dislike having to use MS Paint to achieve either a 1bit(black&White) bmp or 25bit color Bmp which I need for  an old MS embroidery software that I particularly like. I note Pinta has a coloured Bmp output. Have not tried it in the old programme as yet! Thks--E

By: Peter Mortensen

"separate", not "seperate"

See e.g.: en DOT wiktionary DOT org/wiki/seperate

There are three instances, near "to seperate your", "seperate pictures", and "to seperate my picture".


Perhaps change "is gonna" to "is going to".