Using and Customizing Templates in OpenOffice.org - Page 4
Customizing a WorldLabel Template
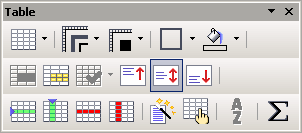
You might be wondering how the WorldLabel templates are created, especially if you've used the wizard templates, which are based on Frames. The WorldLabel templates are created with tables; you don't see the borders since they've simply been formatted that way. If you take a close look, though, when you click in the template, you can see the table toolbar.

This means you have all the formatting capabilities that you normally get with a table, including the following.
- Alignment to the top, middle, or bottom (you might want to align your labels all the top)
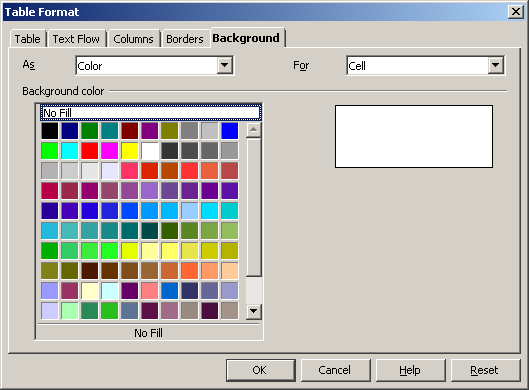
- Background formatting; you can apply a color to the background of each cell
- Easier cutting and pasting than with frames
- Easier selection of all the content of a row, column, or the whole table
- Easier copying and pasting; you can easily select the whole table and copy it onto the next page, to make multi-page sheets of labels
To apply values to the table, like backgrounds, choose Table > Table Properties and choose the appropriate tab.
To do things to the table, choose View > Toolbars > Table.
Showing and Hiding Table Borders
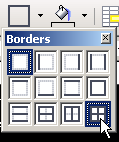
I find that it's easier to work with, when you're doing any extensive customization, if the borders are visible. To see the borders of the table, select the whole table. You can simply click in the upper right cell and drag down to the lower right cell, or click in one of the cells and press Ctrl A. Then click and hold down on the indicated borders icon in the Tables toolbar, and choose the lower right option for borders on all cells.
The table borders appear. As you can see there are actually five columns, including the two spacer columns.

To take the borders off later, just repeat those steps but choose the upper left option for no borders on any cells.
Pasting into Label Cells
Table-based label templates are much easier to paste content into. Let's say you've just got a table somewhere else and you want to make labels out of it. Don't worry about the dimensions of the original table. You will have to do some formatting once you've pasted, though, so this should be done if the time for reformatting is less than the time for retyping.
1. Select one column of content (two columns won't work since the separator column is in the template) and copy it.
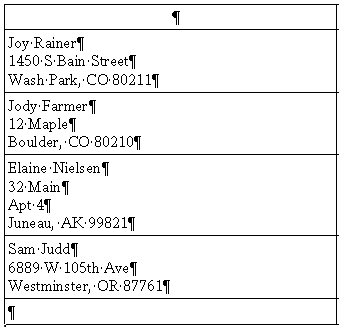
2. Go to the label template, click in one cell, and paste. The pasted content will fit into the label template, taking on the correct dimensions.
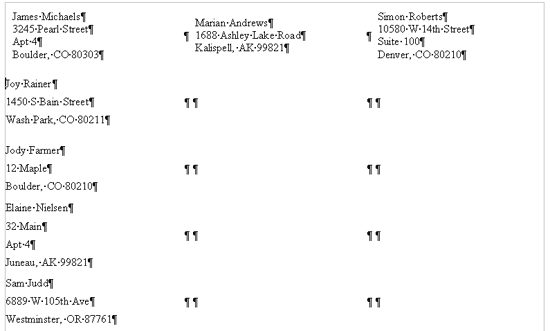
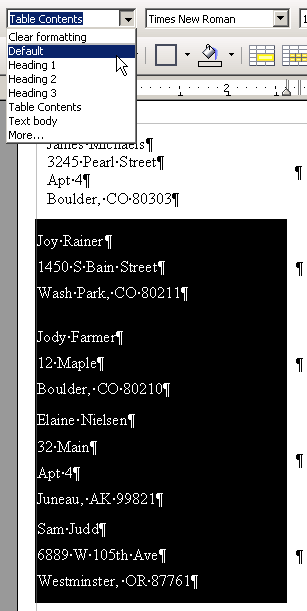
3. To apply the correct formatting (you can do this after you've pasted all the content), select the pasted content and from the styles dropdown list, select Default.
4. With the pasted content still selected, choose Format > Paragraph, click the Indents & Spacing tab, and specify .07 inch in the first two fields.
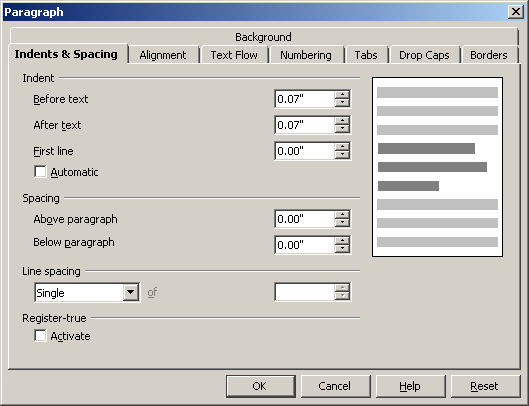
5. Click OK.
Note: You could also update the Default style to be indented .07 from each side.
Pasting One Cell Into Multiple Label Cells
Let's say you're making moving labels, or business cards, or something else where you need exactly the same information in every cell. Rather than pasting into each cell individually, you can copy the text once, then paste into every cell.
1. Select the content to paste, as plain text. You don't need it to be a table cell.
2. Go to the labels and select all the cells where you want that text to show up.
3. Paste. The content will appear in every selected cell.
Again, you'll need to apply the Default style as before, and as before, only paste a column at a time because of the separator columns.
Copying the First Page to Make Additional Pages
If you want to make a multi-page sheet of labels, here's how. You essentially just select the whole table and paste it onto the next page.
1. Select the whole table. You can simply click in the upper right cell and drag down to the lower right cell, or click in one of the cells and press Ctrl A.
2. Copy the table.
3. Click below the table.

4. Paste. The table will appear on the next page. Repeat these steps to add additional pages.

