How to install ownCloud 8 on Debian 8 (Jessie)
This tutorial exists for these OS versions
- Debian 12 (Bookworm)
- Debian 11 (Bullseye)
- Debian 8 (Jessie)
On this page
What is ownCloud? OwnCloud is a OpenSource file sync and share software that can be hosted on your own server. It provides access to files trough an intuitive web interface and by WEBDAV. There are also native clients for Windows, Linux, MAC and mobile operating systems available that allow easy syncing between folders of your local PC or mobile device and the ownCloud instance on your server. There are many apps and addons available for ownCloud like a PDF viewer, an email client, calendar and a task tracker. The full list of apps can be found here: https://apps.owncloud.com/.
This tutorial will show the installation of the latest ownCloud version on Debian 8.
The ownCloud project provdes an offficially maintained community version of its software at the OpenSuSE Build services. I will use this official package for this setup as it provides a more recent version (ownCloud 8 as of today) then the one from the official Debian repository (version 7).
Add the ownCloud Repository
Add the ownCloud repository in the /etc/apt/sources.d/ directory:
echo 'deb http://download.opensuse.org/repositories/isv:/ownCloud:/community/Debian_8.0/ /' >> /etc/apt/sources.list.d/owncloud.list
Install the release key of the official ownCloud repository:
cd /tmp
wget http://download.opensuse.org/repositories/isv:ownCloud:community/Debian_8.0/Release.key
apt-key add - < Release.key
And run apt-get update to download the list of packages.
apt-get update
Check out available ownCloud packages
Let's check which packages we have for owncloud now:
apt-cache search owncloud
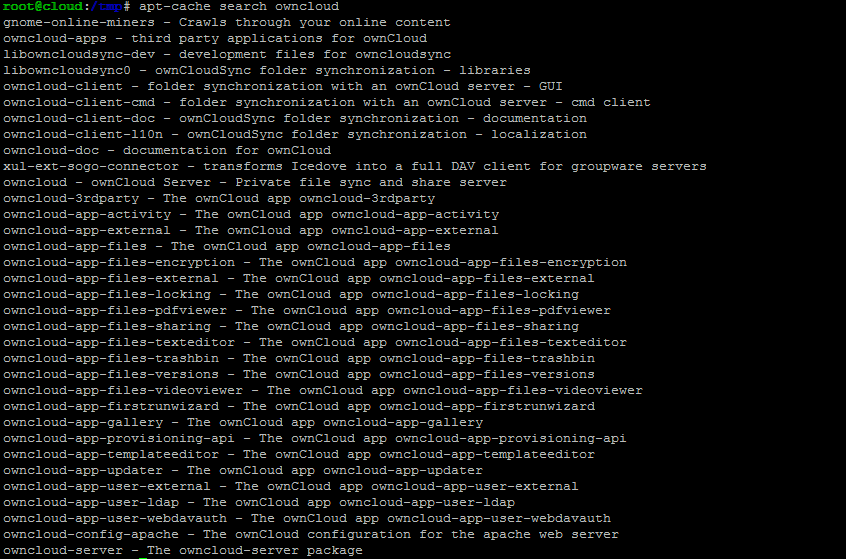
The repository provides many ownCloud apps like PDF viewer, file encryption, a versioning system, etc. beside the ownCloud base package.
Install ownCloud
I will start with the installation of the base package by executing this command as root user on the shell:
apt-get install owncloud
The "owncloud" package will install all required dependencies like apache webserver, php, mysql etc.

Choose "y" to start the installation.
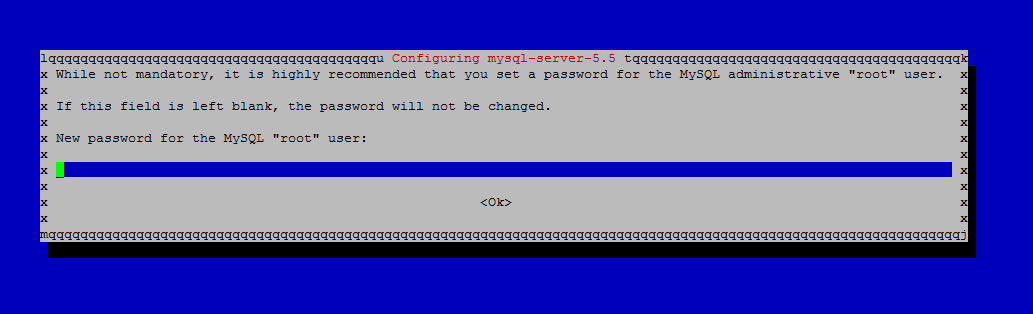
The installation process will ask for a new MySQL root password. Choose a secure password here:
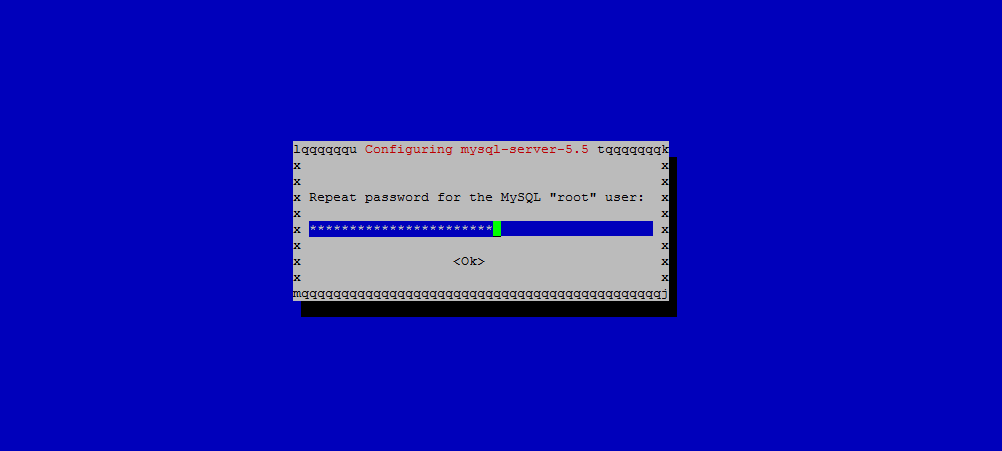
And enter the password a second time:
Add a MySQL database
The next step is to create a MySQL database for owncloud.
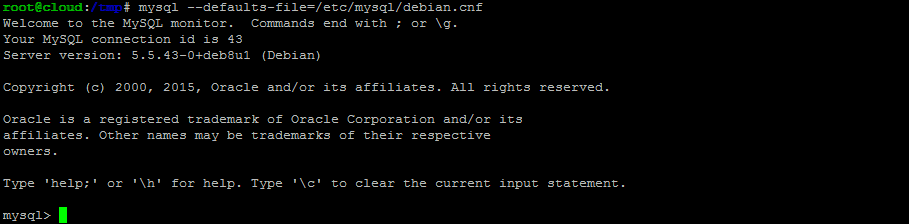
Login to MySQL on the commandline by running this command:
mysql --defaults-file=/etc/mysql/debian.cnf
This opens up the MySQL commandline prompt:
Enter the following sql commands to create a database user with the name "owncloud" and and a database of the same name. Replace the word "mysecurepassword" with your own password in the commands.
CREATE DATABASE owncloud;
CREATE USER owncloud@localhost IDENTIFIED BY 'mysecurepassword';
GRANT ALL PRIVILEGES ON owncloud.* TO owncloud@localhost;
flush privileges;
quit
Create a data directory for ownCloud to store the uploaded files the file. Choose a directory on your largest disk partition for this. I will use the directory /var/owncloud here.
mkdir /var/owncloud
chown www-data:www-data /var/owncloud
chmod 750 /var/owncloud
When the shell part of the installation is finished, proceed by opening the ownCloud web installer in your browser. The URL is http://[YOURIP]/owncloud. In my case the IP is 192.168.0.100 so I enter http://192.168.0.100/owncloud in my browser to get the installer:
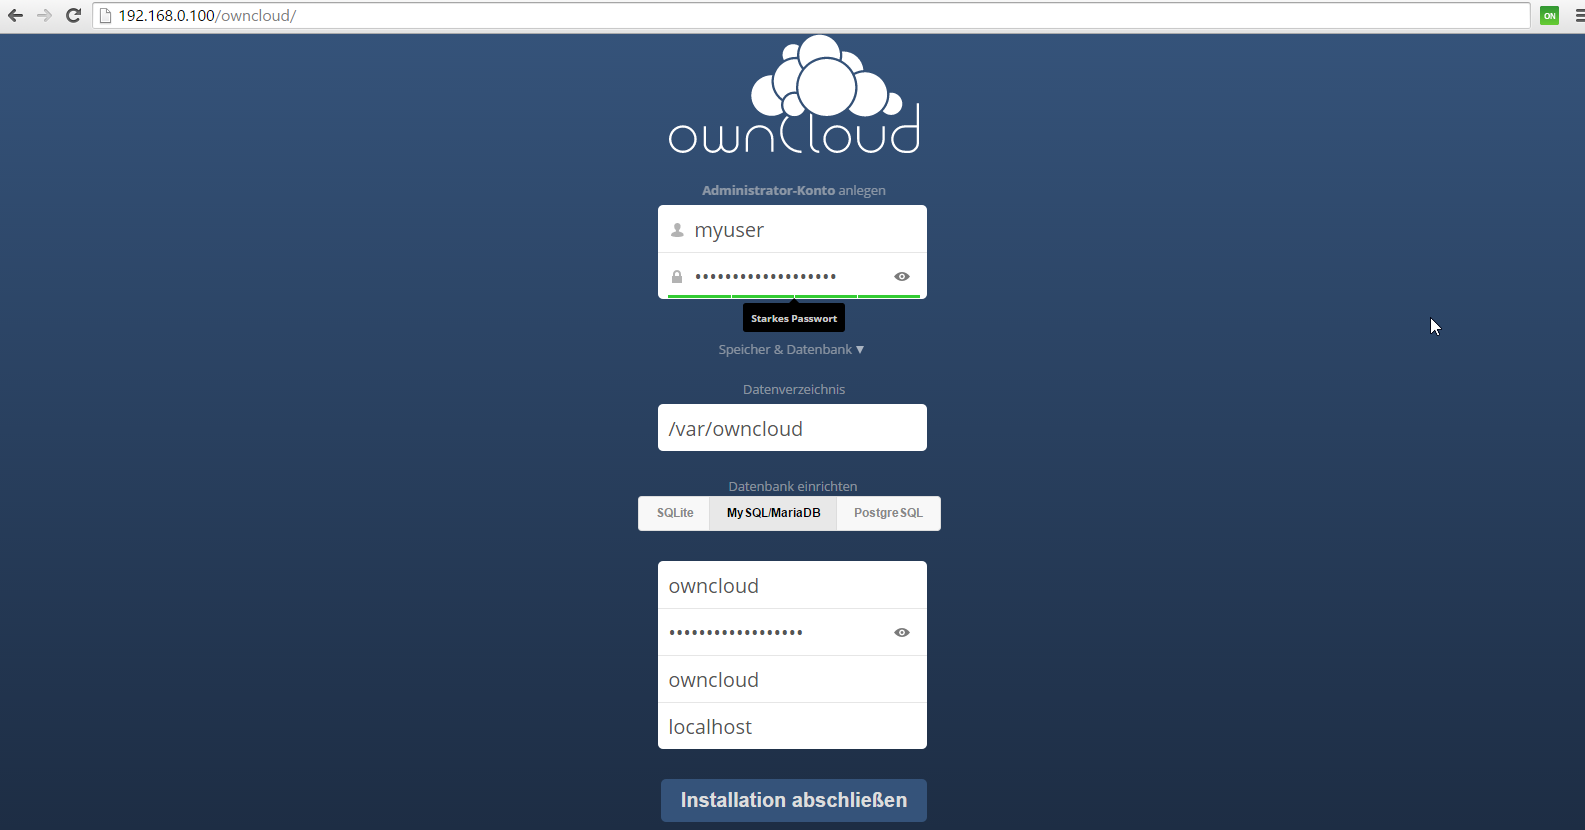
Enter the desired administrator username and password in the login fields. Please choose a secure password and also a username that is not "admin" or "administrator" might be a good choice to make it less easy for attackers to guess your admin login.
I dont like my private files to be stored in the website root /var/www, so I choose the folder /var/owncloud here.
OwnCloud is using sqlite as storage engine by default. This is not a good choice performace wise, so I will choose MySQL as database backend. We have created a MySQL database above, enter the details of that database now:
- Username: owncloud
- Password: The password that you have choosen for the database.
- Database name: owncloud
- Hostname: localhost
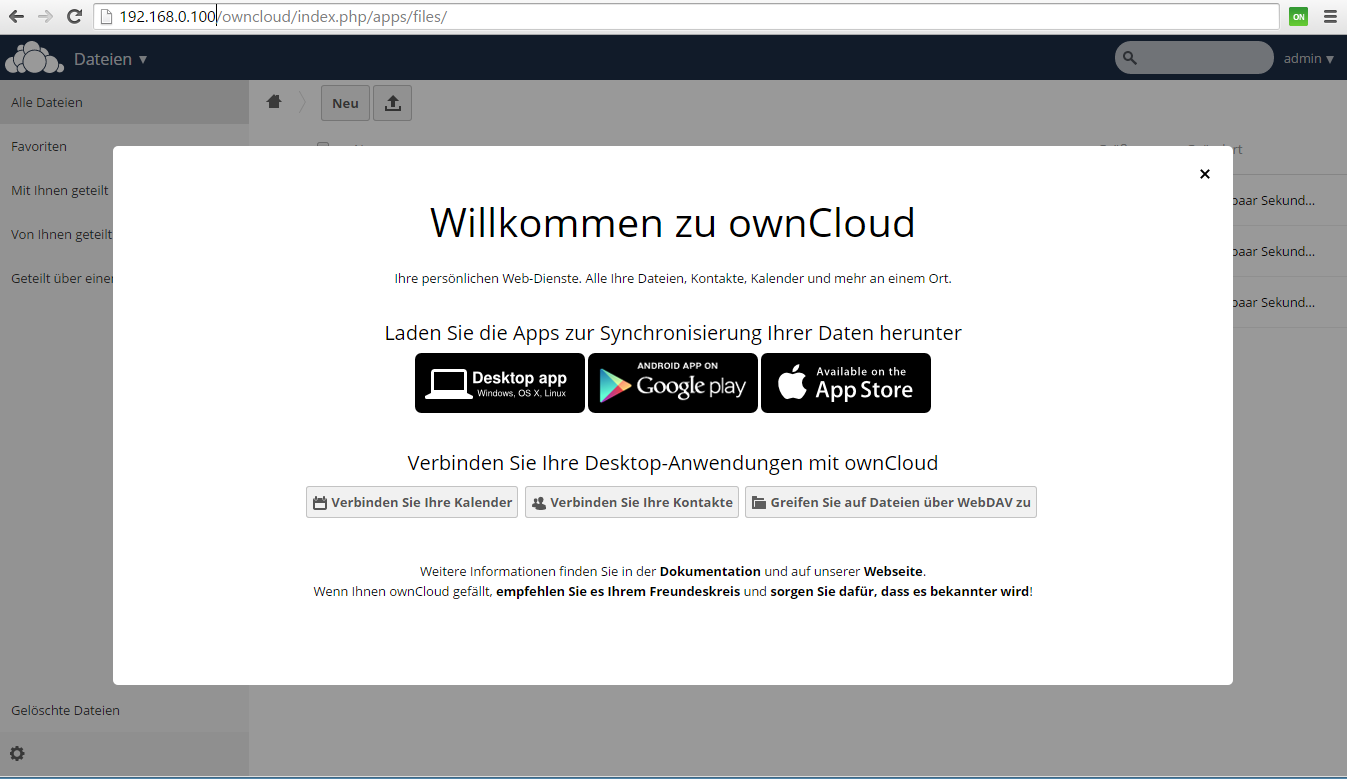
Then click on the button to finish the installation. You will get greeted with a welcome screen in your language.
Access ownCloud with SSL (https)
The default installation of ownCloud is not secured by SSL. To enable SSL in your webserver, run these commands:
a2enmod ssl
a2ensite default-ssl
service apache2 restart
Now you can access the web interface with https://[YOURIP]/owncloud. You will probably get a SSL warning, this warning should be accepted. To avoid such warnings, get a free officially signed SSL certificate e.g. from Startssl (or in a few months from LetsEncrypt when their free service started).
OwnCloud VMWare Image in ovf/ova format
This tutorials can be downloaded as ready to use image in ovf/ova format by howtoforge subscribers. This format is a vendor neutral VM Format which is supported by VMWare and Virtualbox.
Download of the VM
https://www.howtoforge.com/downloads/434/
Login details of the VM
Shell:
Username: root
Password: howtoforge
Owncloud login:
Username: howtoforge
Password: howtoforge
Please change the passwords on first use.
The IP address of the VM is 192.168.1.100. The IP, netmaks and Gateway can be changed in the file /etc/network/interfaces.

