The Perfect Desktop - Mandriva One 2008 Spring (Gnome) - Page 2
This tutorial exists for these OS versions
- Mandriva Linux 2010.1 (Spring)
- Mandriva Linux 2010
- Mandriva Linux 2009.1 (Spring)
- Mandriva Linux 2009
- Mandriva Linux 2008.1 (Spring)
- Mandriva Linux 2008
On this page
3 Basic Configuration
3.1 Nautilus
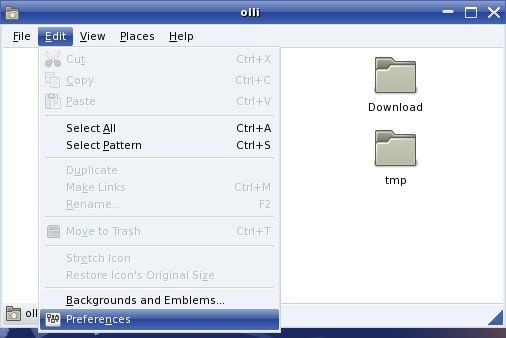
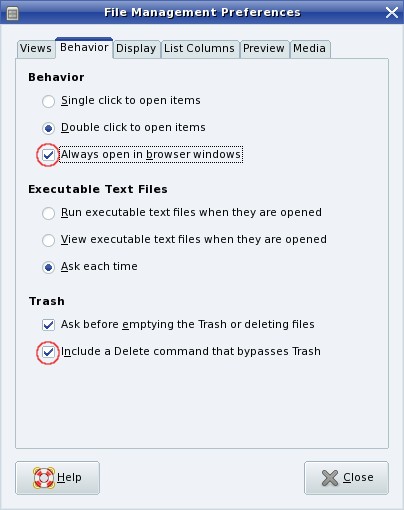
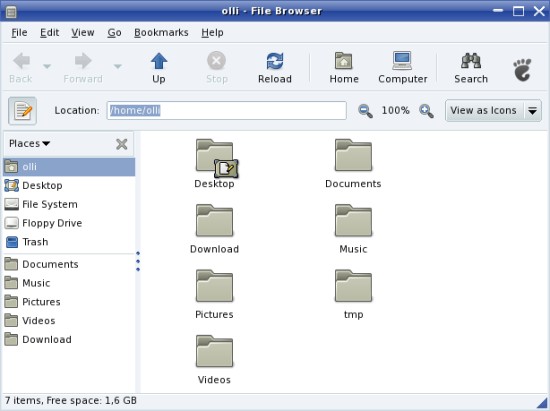
Nautilus opens a window for every single folder by default - to change this open any folder and edit the settings. It's also a good idea to enable the delete command that bypasses the trash - because if you delete something from external storages with the standard delete command, the things will not really be deleted but moved to a trash on the device (.trash). This trash will not be affected when you delete the trash on your desktop.
Now it's user-friendly.
3.2 Font Rendering
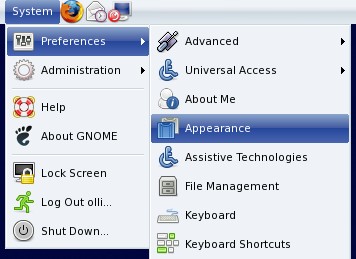
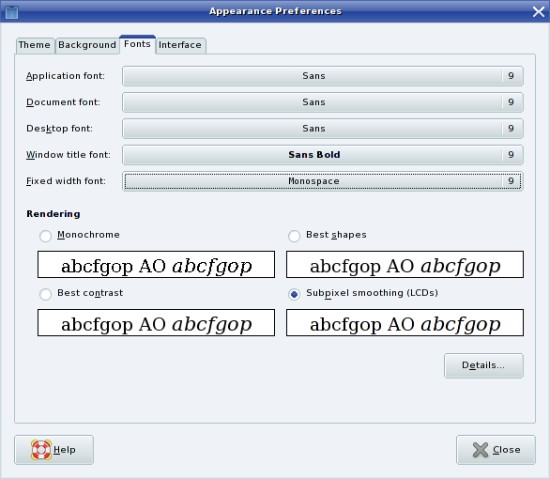
The general font settings are available in the GNOME system menu.
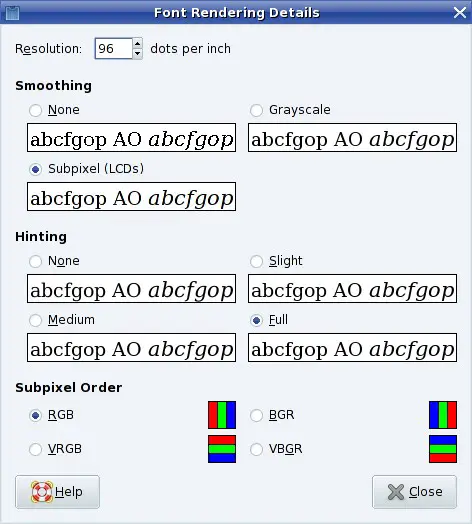
Select "Subpixel smoothing" if you're using a LCD monitor - click on "Details" to see further options.
Set the resolution to 96dpi.
3.3 Mandriva Linux Control Center
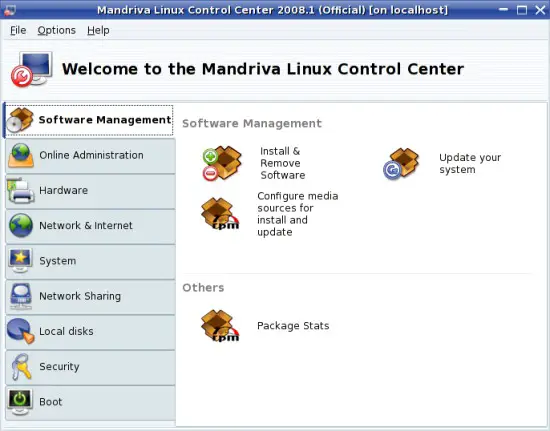
The Mandriva Linux Control Center is an accumulation of all essential configuration applets in a breakdown. It is available in the top panel.
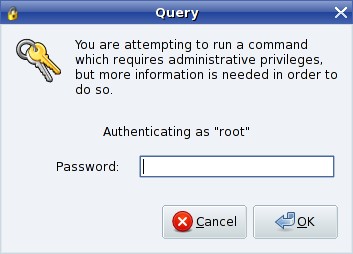
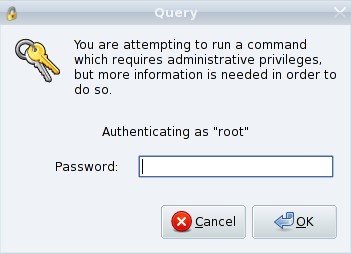
Enter the root password.
As you can see all is neatly arranged - browse through the tabs and have a look at the options.
3.4 Startup Programs
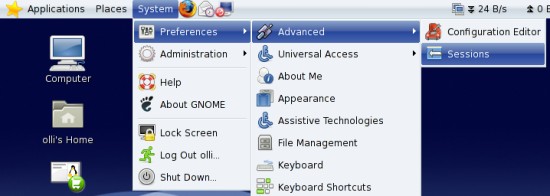
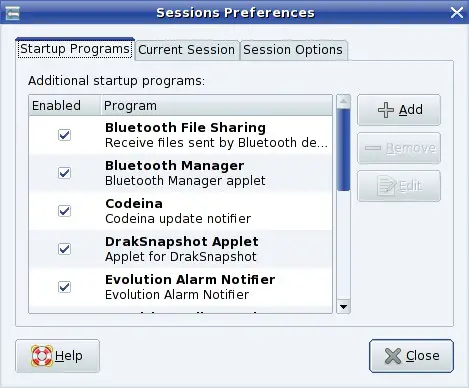
The settings for the startup programs are available in the GNOME system menu.
Have a look at the enabled startup programs - disable all that you don't need. For example the bluetooth stuff - it's useless if you haven't got bluetooth devices that you can use with these programs.
3.5 Easy Urpmi
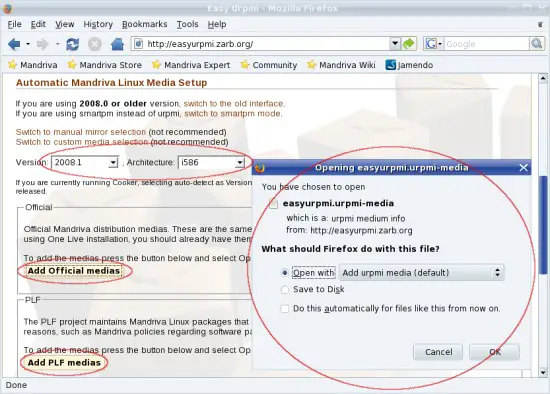
Open http://easyurpmi.zarb.org/ within your preferred browser and select "2008.1" as version and "i586" as architecture. Afterwards click on the "Add Official media"-button to add extra official repositories to your system.
Enter the root password.
Click on "Yes" to start the installation.
The repositories are being installed.
Do the same again with the PLF medias. The PLF repository contains a lot of packages for Mandriva which can not be included by default for various reasons. It is comparable with the packman repository for SUSE.
3.6 Deinstall Software
Before you are going to update the system for the first time you should check if there is software installed that you don't need, or rather that you want to replace with another software. The goal should be a clean system with only the programs installed that you really need.
Which programs you should deinstall or replace with others is up to you - you'll find a summary of already installed software in step 5 and a little assortment of additional software (including possible replacements for already installed software) in step 6.
You can simply deinstall software with the package manager - have a look at step 4. Afterwards it's time for the first update (if there are updates available) - go to the next step.
3.7 System Update
The system will check for updates automatically and notify you if updates are available - left-click on the icon.
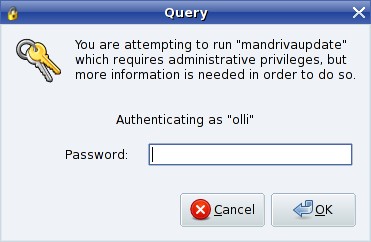
Enter the root password.
Click on "Yes" to start the Mandriva update tool.
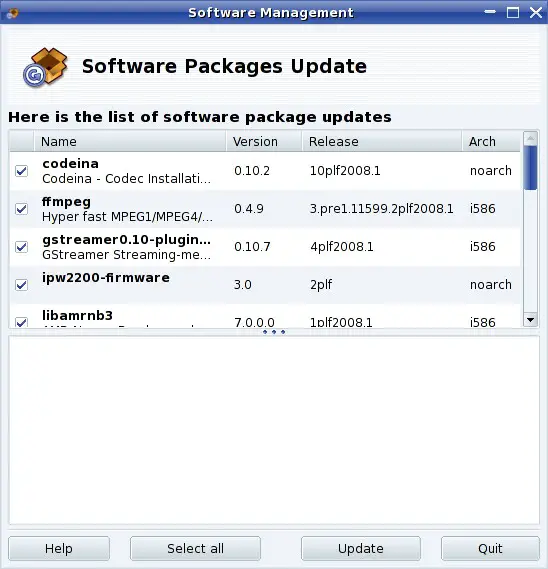
Here you'll see a list of all available updates - click on "Update" to start the update process.
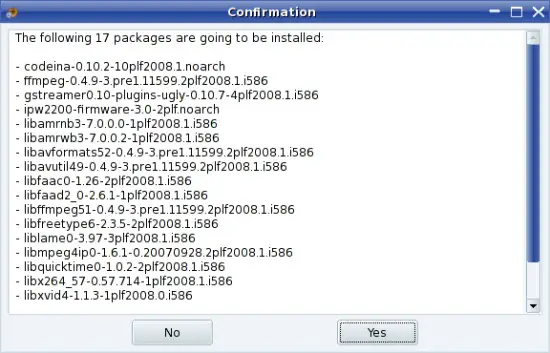
Next you'll see all selected updates and their dependencies - click on "Yes" to proceed.
Now the updates are being downloaded and installed.

