Key-Based SSH Logins With PuTTY - Page 2
4 Connect To The SSH Server
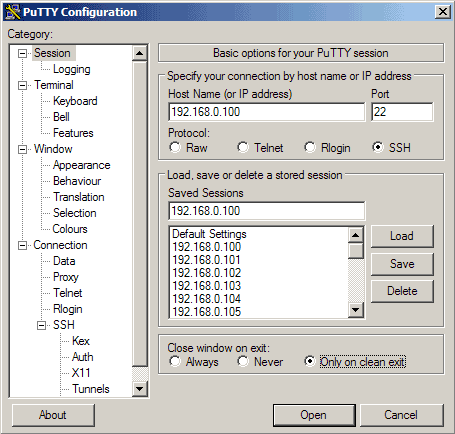
Now we can connect to our SSH server simply by clicking on Open.
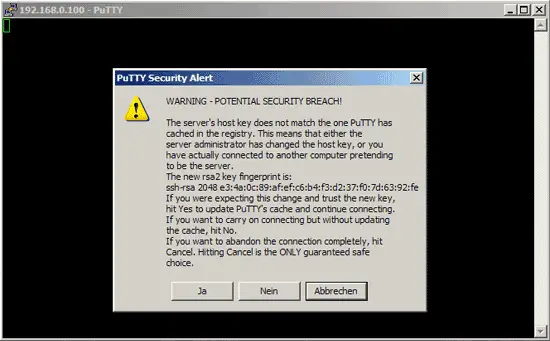
If you connect to the server for the first time, a security warning pops up. This is because PuTTY doesn't know the server's host key yet, so it is safe to click on Yes. (If this happens again later on, this can mean that another server is now running under the same IP address, or that someone has broken in and changed the key.)
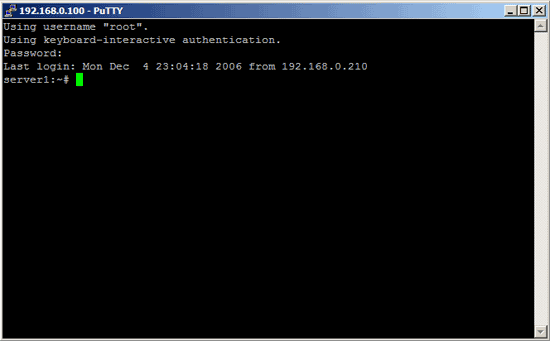
We have saved the username with which we connect in our profile settings, so we don't have to type it here again. We only have to specify that user's password:
Now this was the "normal" way of logging in, i.e., with a username and a password. If anyone else knows the username and password, he can log in, too. So if you have weak passwords and/or are the victim of a brute-fore attack, this can become a problem. Let's change that now.
5 Generate A Private/Public Key Pair
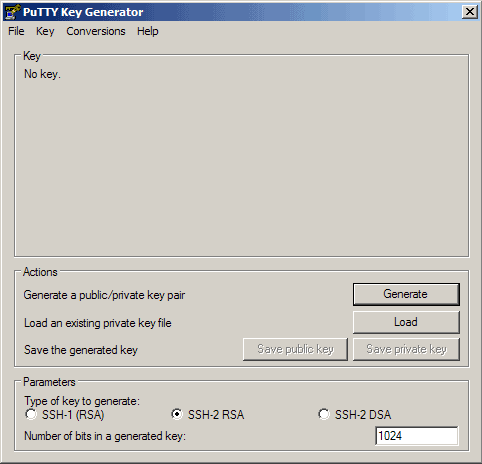
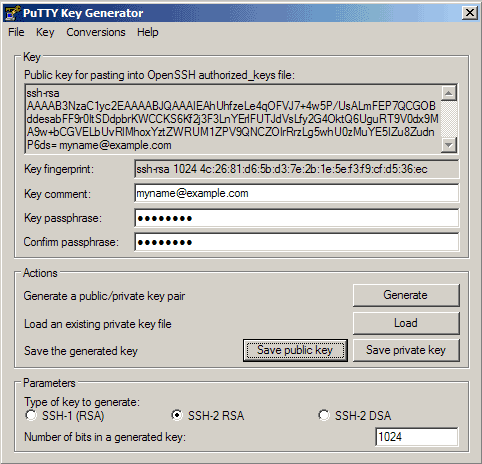
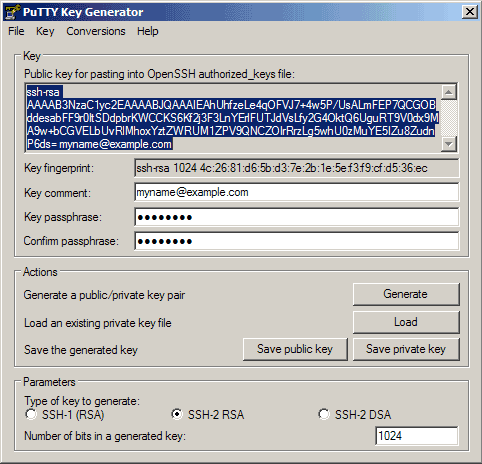
We can use PuTTYgen to create a private/public key pair. Start it by double-clicking its executable file. Make sure you select SSH-2 RSA under Type of key to generate and specify 1024 as the Number of bits in a generated key. Then click on Generate:
Please move the mouse pointer over the blank area during the key generation to generate some randomness:

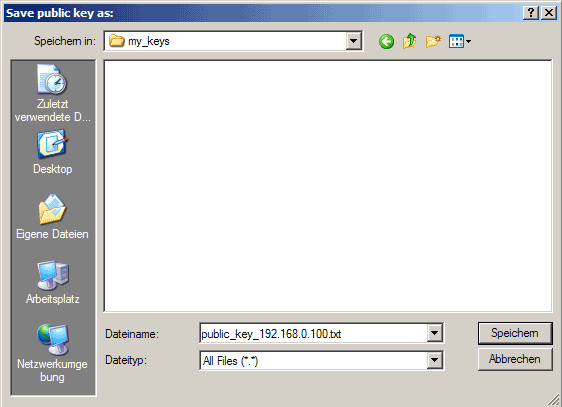
Now a private/public key pair has been generated. Under Key comment, you can enter any comment; normally you use your email address here. Then specify a Key passphrase and repeat it under Confirm passphrase. You'll need that passphrase to log in to SSH with your new key. Then click on Save publick key and save it in some safe location on your computer. You are free to choose a filename and extension, but it should be one that lets you remember for which system it is.
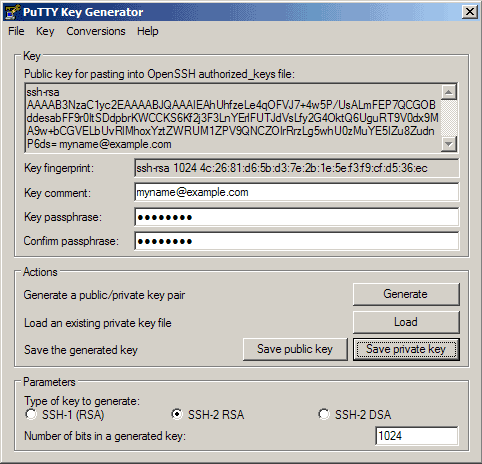
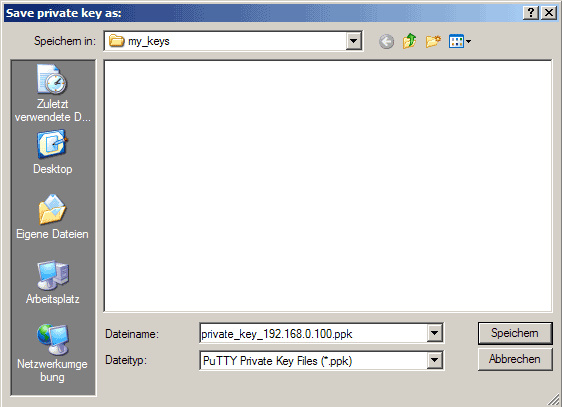
Then click on Save private key. You can save it in the same location as the public key - it should be a location that only you can access and that you don't lose! (If you lose the keys and have disabled username/password logins, then you can't log in anymore!) Again, you're free to choose a filename, but this time the extension must be .ppk:
Then copy the public key from the PuTTYgen window:
6 Save The Public Key On The Server
Then log in to your SSH server (if you have closed the previous SSH session already), still with the username and password, and paste the public key into the file ~/.ssh/authorized_keys2 (in one line!) like this:
mkdir ~/.ssh
chmod 700 ~/.ssh
vi ~/.ssh/authorized_keys2
ssh-rsa AAAAB3NzaC1yc2EA[...]Lg5whU0zMuYE5IZu8ZudnP6ds= [email protected]
That file must be write/readable only by that user, so we run
chmod 600 ~/.ssh/authorized_keys2

