How to install SAP Netweaver 2004 Linux Testdrive on SUSE 9.3 with BW enabled - Page 2
On this page
1. Installing the Operating System
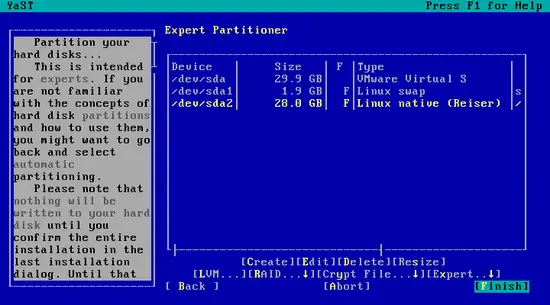
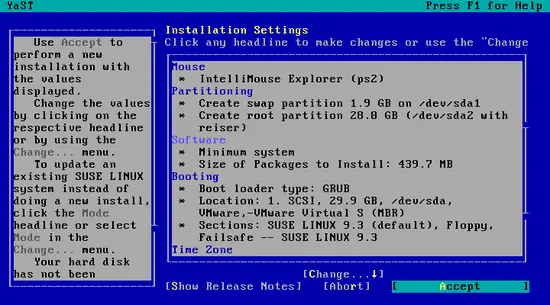
Boot the SUSE install CD, press F2 and select Text Mode installation, then select Installation from the boot menu. Once YAST has loaded, agree to the license and select your language. Skip the Media check, unless you think you have reasons to do it. In the Installation Settings screen, select Partitioning and create a custom partitioning setup, with a 2G swap partition(mount point swap) and a ReiserFS partition(mount point /) occupying the rest of the disk.
Select Software from the Installation Settings screen and Select Minimum System. Leave the default boot manager settings. Select your Time Zone and Language and Default Runlevel 3. Accept and proceed with the install.
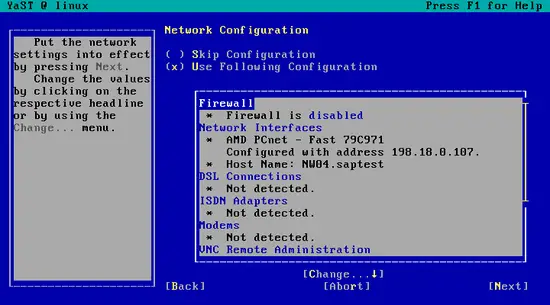
The installation will start and the sytem will reboot after the packages from CD1 are installed. After booting into SUSE, YaST will automatically load and you will be asked for CD 5. In the next screen, enter your superuser password and then proceed to the network configuration. Configure of simply disable the firewall and setup your network card. If you plan on using the system only as a NetWeaver testing server skip the downloading of internet updates. Select Local User Authentication and proceed to adding your first user.
Skip the Hardware Configuration and finish installing the system. Log in as your newly created user and use the command
su
to become root.


