This tutorial exists for these OS versions
- Ubuntu 22.04 (Jammy Jellyfish)
- Ubuntu 18.04 (Bionic Beaver)
- Ubuntu 16.04 (Xenial Xerus)
On this page
OpenProject is a free and open-source project management software that supports your team throughout the project life cycle. OpenProject allows you to track, prioritize and fix bugs quickly. OpenProject offers the highest security and data protection with many security features, such as end-to-end encrypted data, password security, two-factor authentication, definition of session runtime, and much more. OpenProject has many features, including Project timelines, Project news, Time tracking, Forum, Wiki, Bug tracking, Issue management, and more.
This tutorial will explain how to install OpenProject on Ubuntu 18.04 server.
Requirements
- A server running Ubuntu 18.04.
- A non-root user with sudo privileges.
Install OpenProject
By default, OpenProject is not available in the Ubuntu 18.04 default repository. So, you will need to add the repository for that. First, download the OpenProject key and add it to the system with the following command:
wget -qO- https://dl.packager.io/srv/opf/openproject-ce/key | sudo apt-key add -
Next, add the OpenProject repository to the APT with the following command:
sudo wget -O /etc/apt/sources.list.d/openproject-ce.list https://dl.packager.io/srv/opf/openproject-ce/stable/7/installer/ubuntu/18.04.repo
Once the repository updated, install OpenProject by running the following command:
sudo apt-get install openproject -y
Once the installation has been completed, you should see the following output:
The openproject package provides an installer. Please run the following command to finish the installation:
sudo openproject configure
==============
Processing triggers for libc-bin (2.27-3ubuntu1) ...
Configure OpenProject
OpenProject is now installed. Next, you will need to configure it. You can do this with the following command:
sudo openproject configure
You will be redirected to the following page:
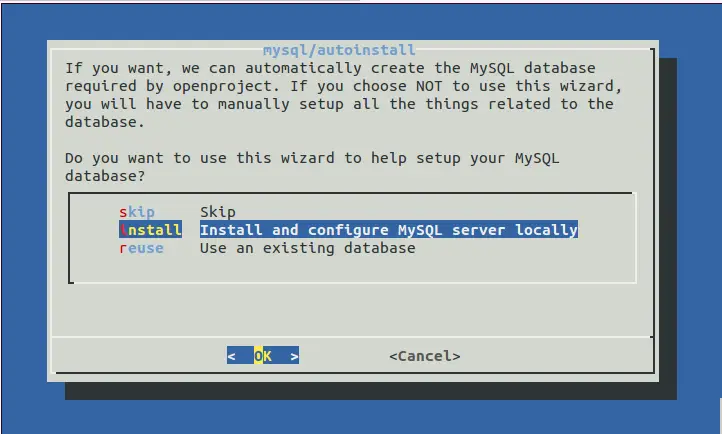

Here, Select Install and configure MySQL server locally and click on OK button. It will install MySQL server to your system and create database. After completion, you should see the following page:
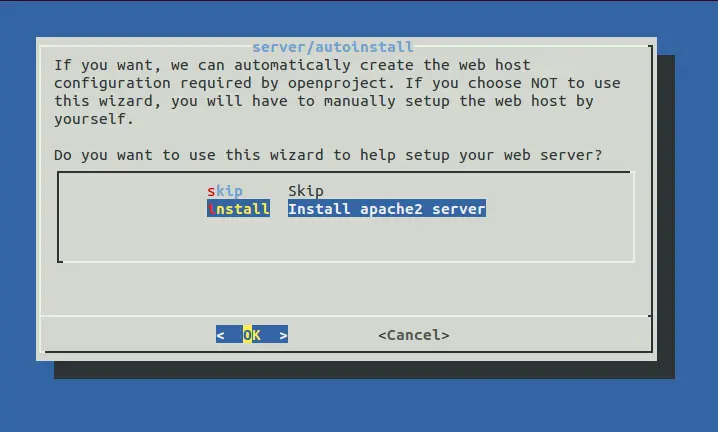
Here, Select Install apache2 server and click on the OK button. You should see the following page:
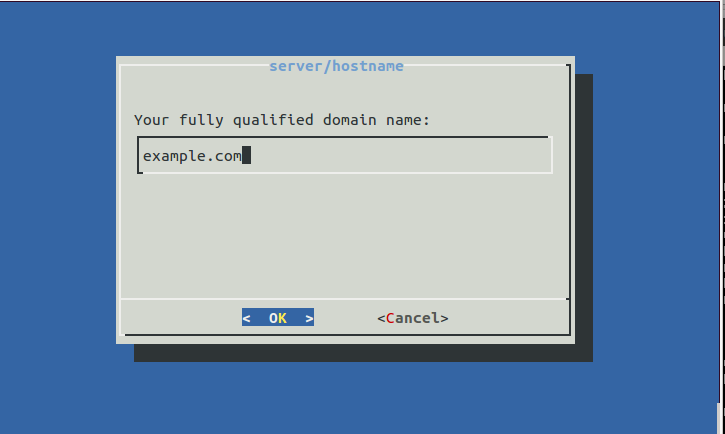
Here, type your domain name and click on the OK button. You should see the following page:
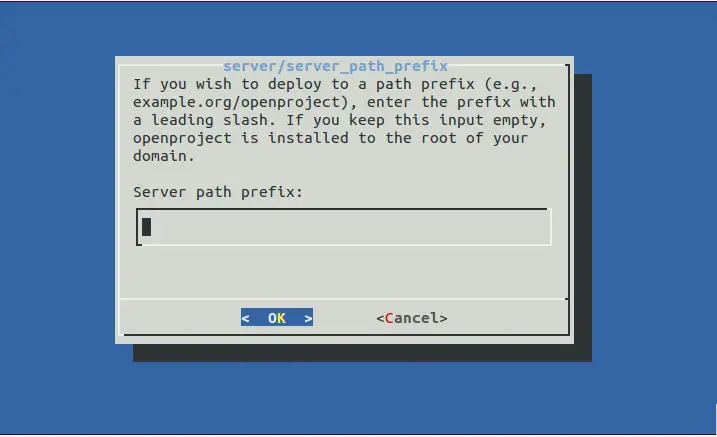

Provide your server path or leave it blank, then click on the OK button. You should see the following page:
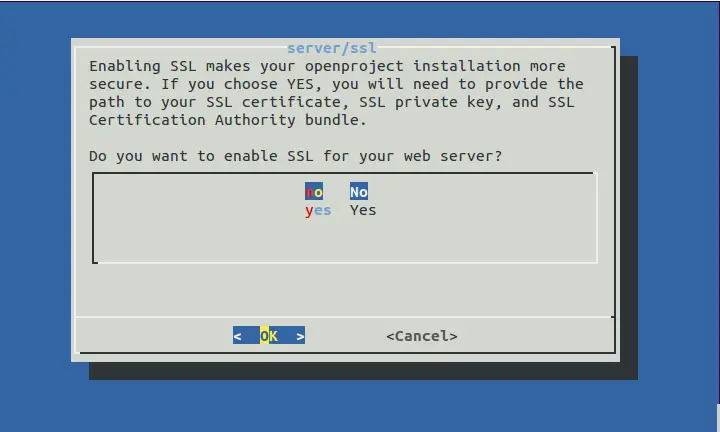
Here, Select No and click on the OK button. You should see the following page:
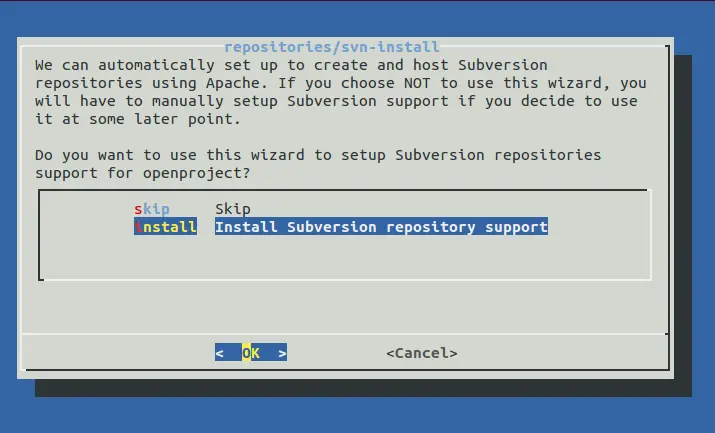
Here, Select Install Subversion support and click on the OK button. You should see the following page:
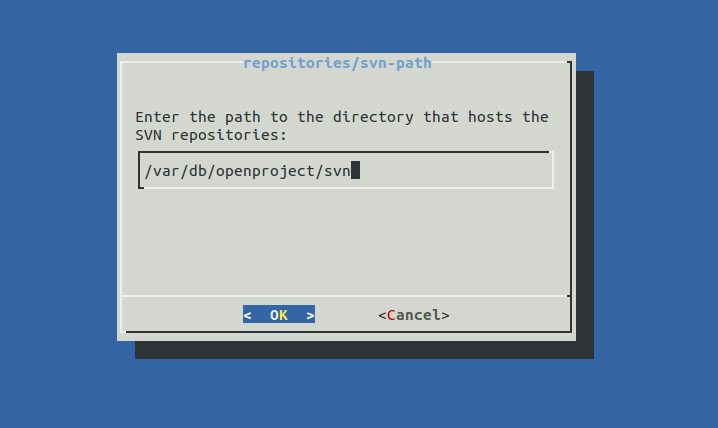
Here, enter the SVN repository path and click on the OK button. You should see the next page:

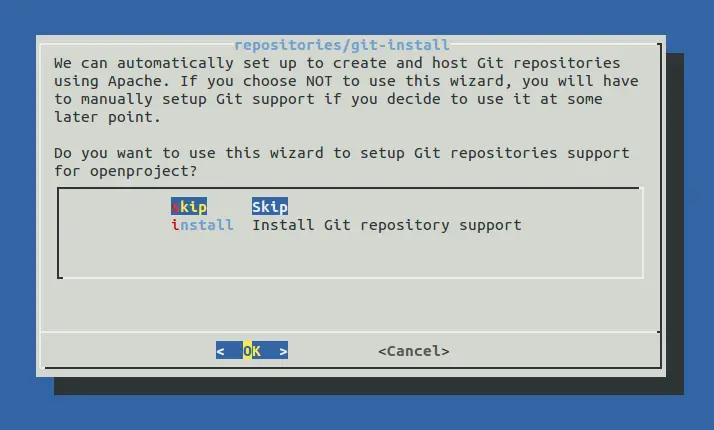
Here, Select Skip and click on the OK button. You should see the next page:
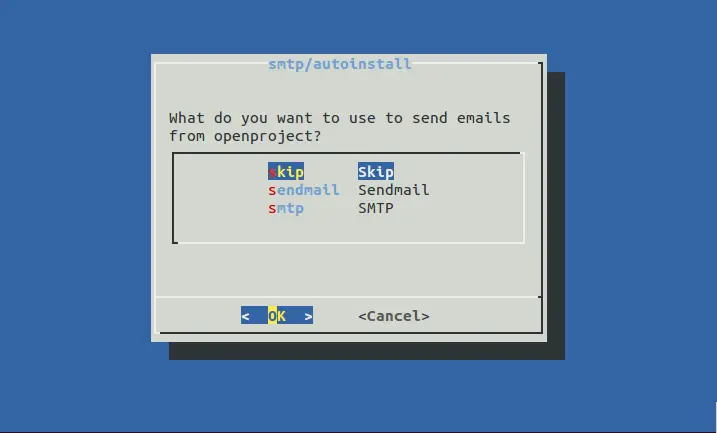
Here, Select SMTP server or Skip and click on the OK button. You should see the following page: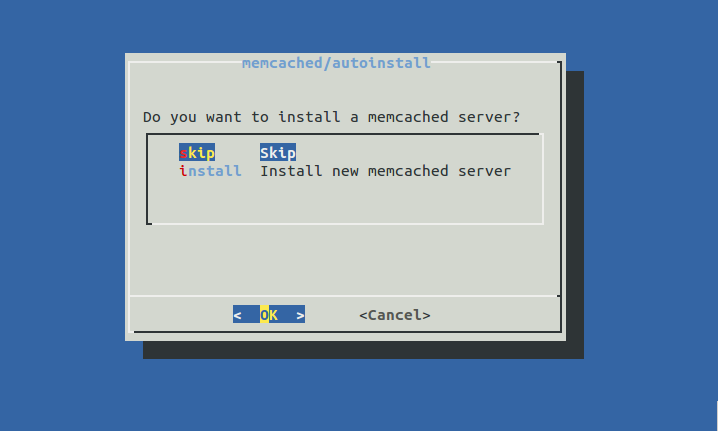
Here, Select Skip button and click on the OK button.
Now, all the packages required for OpenProject should install automatically.
OpenProject is now installed. Open your web browser and type the URL http://example.com. You will be redirected to the Login page. After providing a username and password, you will be redirected to the OpenProject Dashboard.

