Using XenExpress To Virtualize Your Server - Page 3
Installing XenServer Administrator Console
The XenServer Administrator Console is used to create and manage Xen virtual appliances. This application has a graphical interface to run
on your workstation. The Administration console is available for Windows and Linux.
Installation Of The XenServer Administrator Console For Windows
Insert the XenExpress installation CD in the CD drive of your workstation, open the file explorer and navigate to the folder client_install. Double-click on the file xenserver-client.exe to start the installation of the Windows client.
There is not much to say about the Windows installation, just go trough the dialogues, confirm the licence, choose the installation directory and install the application.
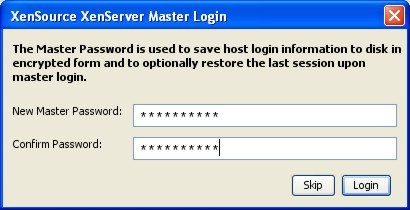
When you first start the Administrator console, you are asked to create a master password.
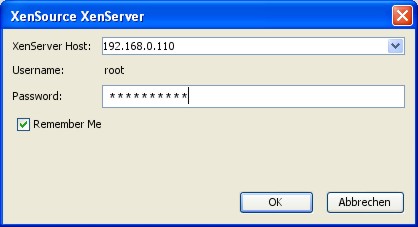
Then enter the login information of the XenExpress server.
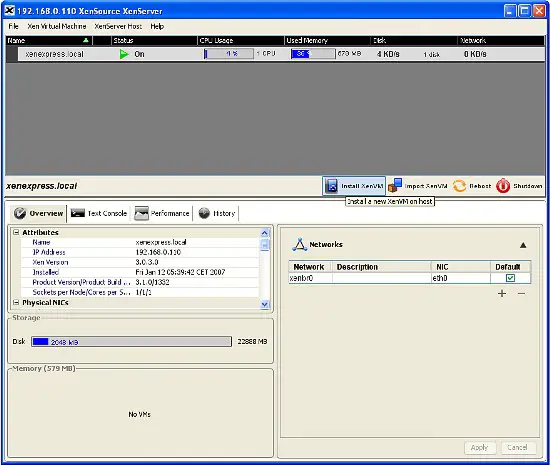
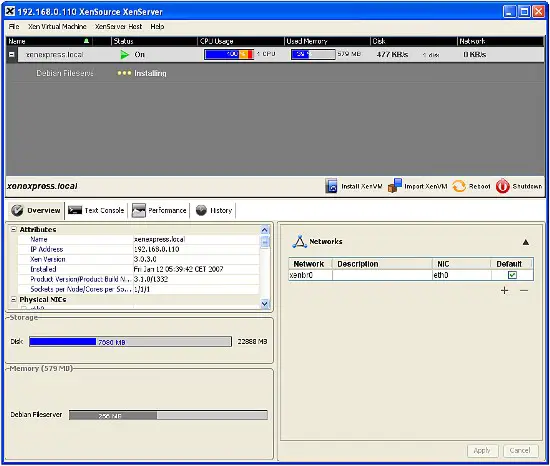
Our XenExpress server is listed in the interface. Now we choose to create a new virtual machine by clicking on the Install XenVM button.
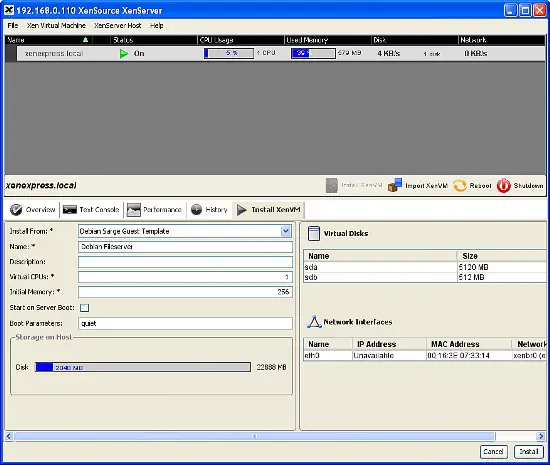
Now choose which operating system we want to install. I chose a Debian server and named it Debian Fileserver.
If you want to start the virtual server automatically when your XenExpress server is powered up, enable the Start on Server Boot option. Now click on Install to start the installation process.
The new virtual machine is now listed with the status Installing in the list of virtual machines.
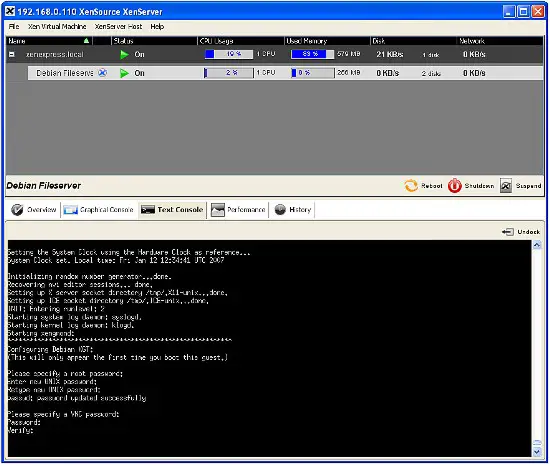
When the status has changed to On in the virtual machine list, click on the virtual machine and enter the root and VNC password in the text-console window.
The Debian virtual machine is now installed. Now you can log in and configure the services to suit your needs.
All trademarks belong to their respective owners. We thank XenSource for the permission to write this Howto.

