Build your own NAS with OpenMediaVault
OpenMediaVault is a Debian based special purpose Linux Distribution to build a Network Attached Storage (NAS) System. It provides an easy to use web-based interface, Multilanguage support, Volume Management, Monitoring and a plugin system to extend it with LDAP, Bittorrent, and iSCSI capabilities. This tutorial describes the installation and configuration of OpenMediaVault.
Prerequisites for this tutorial
- PC with 32 or 64Bit Intel processor.
- Min. 1GB RAM.
- 2 Harddisks (or one hard disk with 2 partitions). OpenMediaVault requires a separate disk or partition for the OS install and a separate disk or partition for the data.
1) Download OpenMediaVault
The first step is to download the OpenMediaVailt ISO file from Sourceforge.
https://sourceforge.net/projects/openmediavault/files/
The software exists in flavors for 32- and 64Bit Intel/AMD processors and for some other platforms like Raspberry PI, Odroid and Cubox i. I will choose the version for 64Bit processors (amd64). The direct download link for the current 2.1 version is:
2) Prepare the Boot Media
The ISO image can be used to install OpenMediaVault into a virtual machine like VMWare or Virtualbox directly. To install the software on real hardware, you need a boot media like a CD / DVD or a bootable USB stick.
Burn the downloaded ISO file on a CD or DVD or load it on a USB stick.
2.1) Create a bootable USB Stick on Linux
The following command can be used to write the ISO file on the USB Stick on Linux
sudo dd if=openmediavault_2.1_amd64.iso of=/dev/sdX bs=4096
Replace /dev/sdX with the device name of the USB drive. Please be careful, the dd command can cause severe damage if you select a wrong drive as target.
2.2) Create a bootable USB Stick on Windows
When you downloaded OpenMediaVault onto your Windows Desktop, then you can use e.g. unetbootin to prepare the USB Stick.
3) OpenMediaVault Installation
Insert the boot Media that you prepared for the installation into the PC or Server were OpenMediaVault shall be installed and start or reboot the system. It might be necessary to select the correct boot media device in the BIOS.
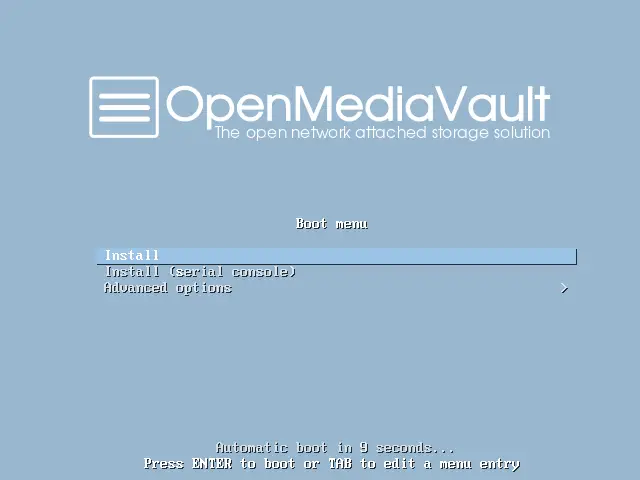
When the System booted successfully you will see the following screen of the OpenMediaVault installer. Select the "Install" option and press enter or wait until the installation starts automatically.
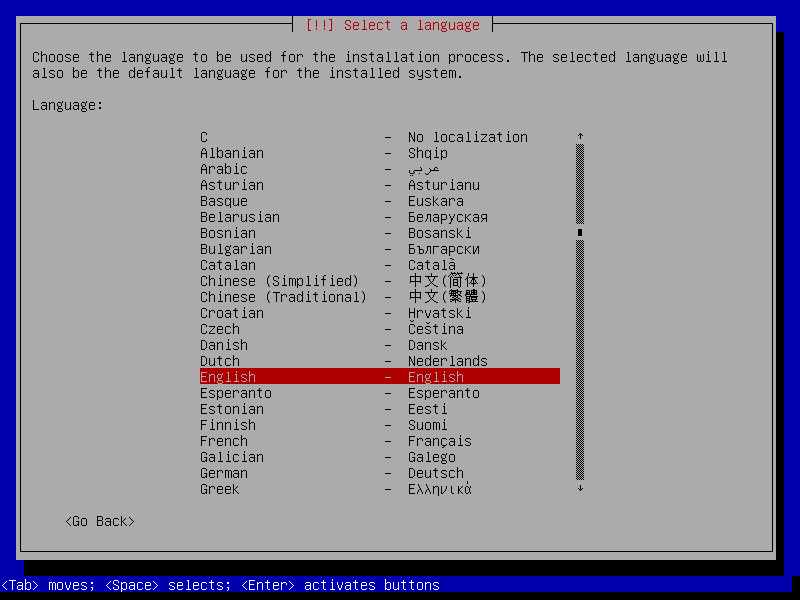
Select the language for the installation process.
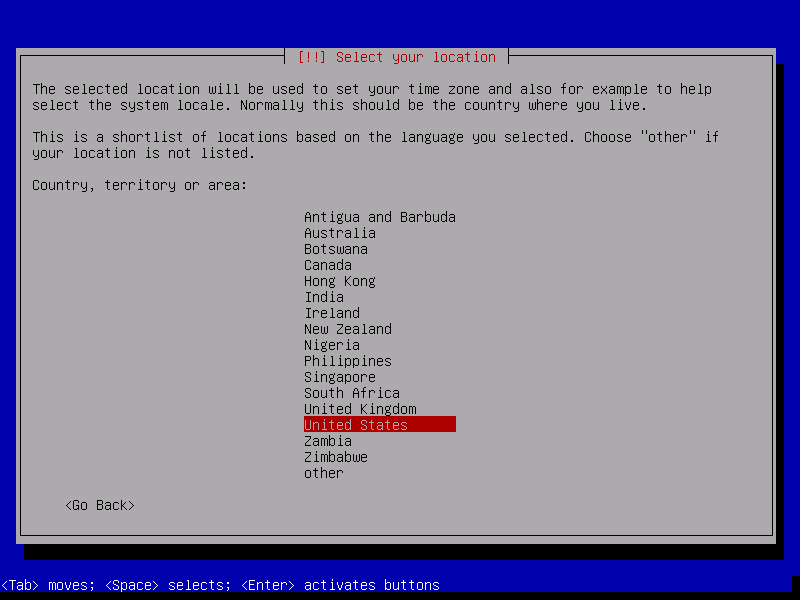
And your location. The location will be used to define the timezone in one of the next steps and to preselect the keyboard layout.
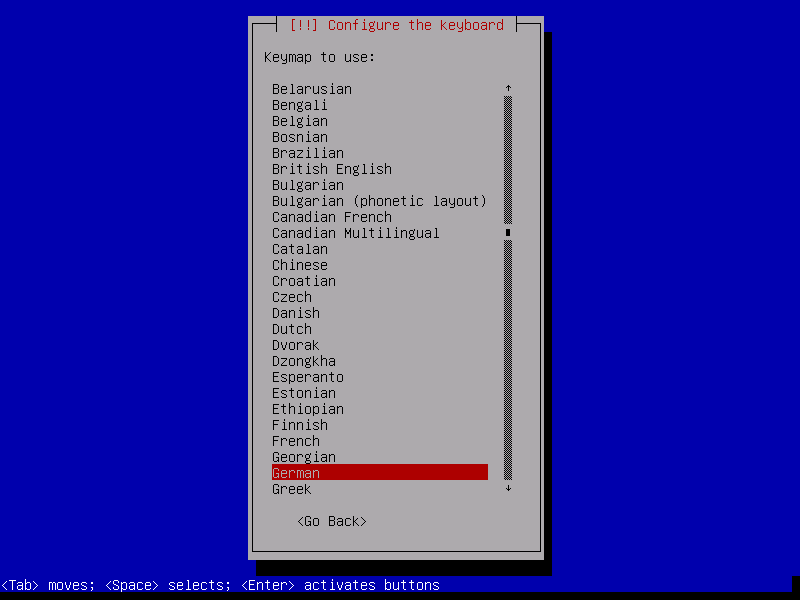
Now select the keyboard Layout. In my case, I'll select "German" as layout and press <Enter>.
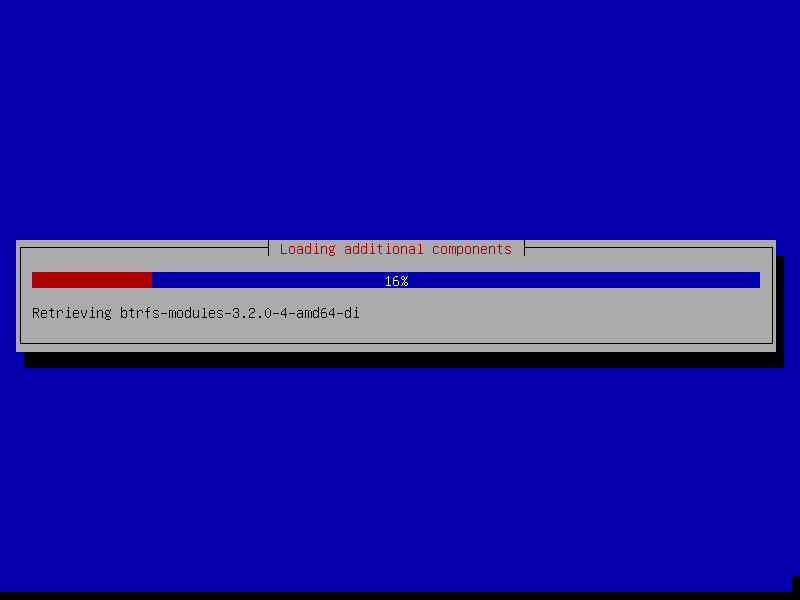
The installer starts to load some additional packages from installation media.
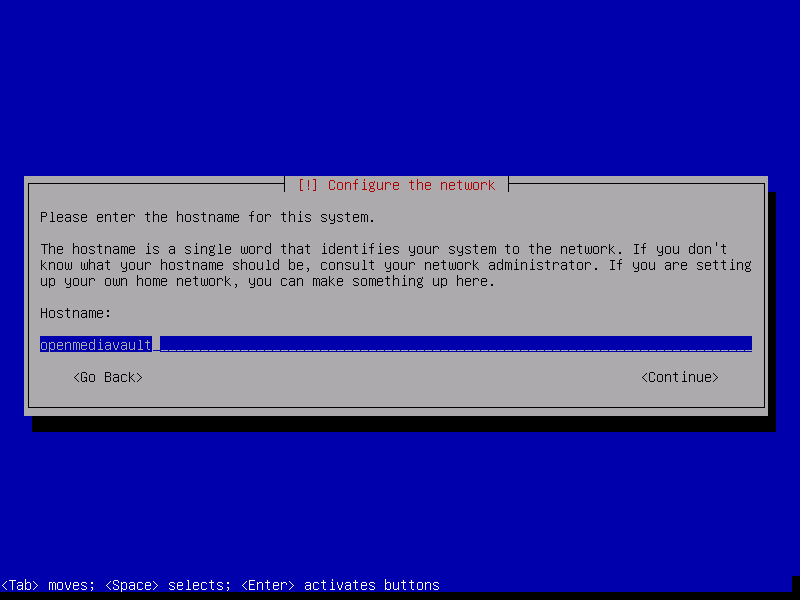
Enter the hostname of your server. The domain name is requested in the next screen, so the hostname here is the first part of the fully qualified domain name. When the server shall have the fqdn "server1.example.com" then the hostname is "server1".
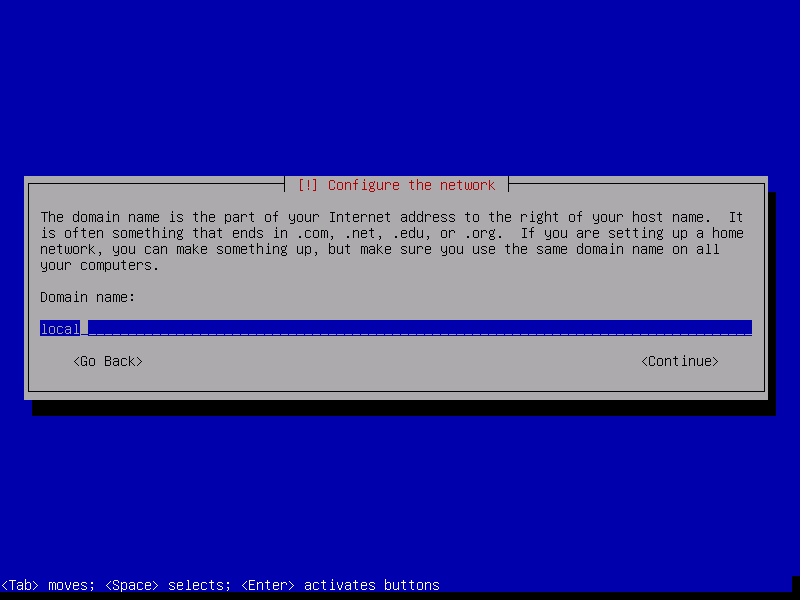
Enter the domain name of the server.
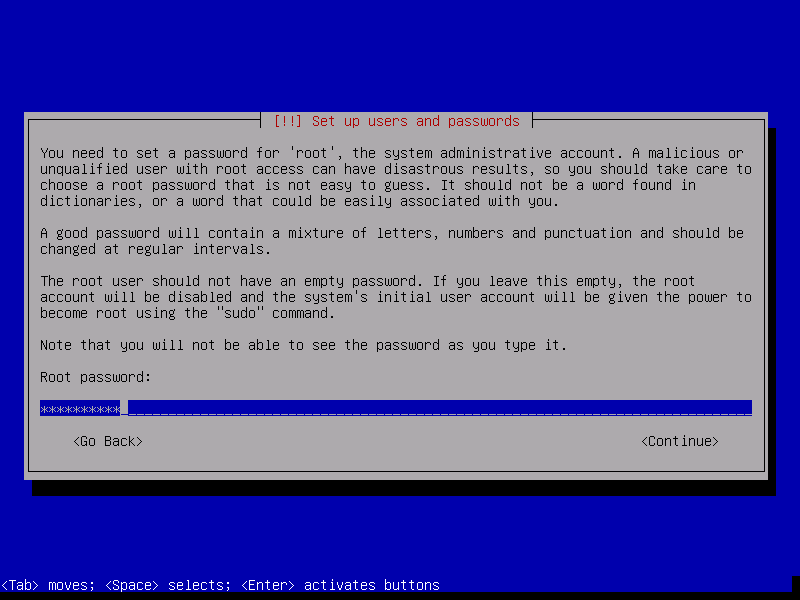
Enter the root password. This password is used for the shell login, it is not the password of the OpenMediaVault Web interface. Confirm the password by entering it again in the next screen when requested.

Select the server time zone and press <Enter>. The time zone is important for date / time in log files and for the timestamps of saved files.
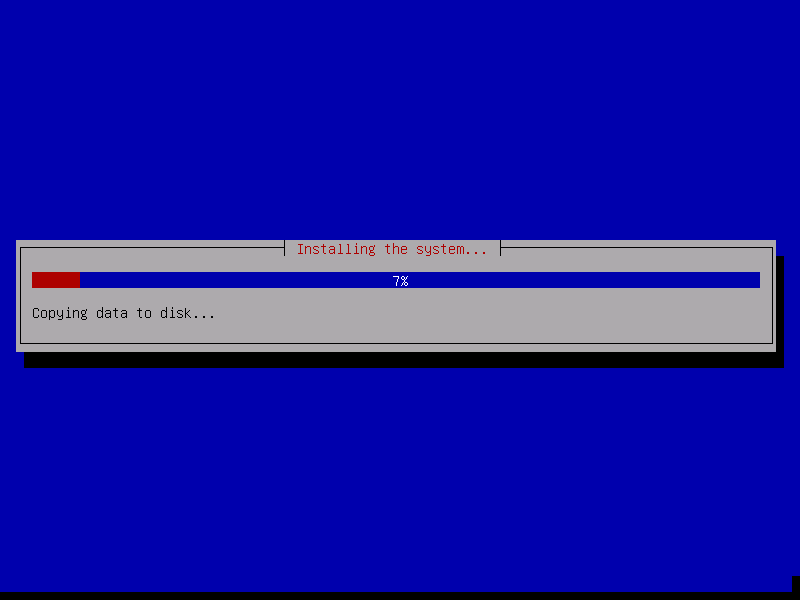
The installer starts to copy the system files to Disk now.
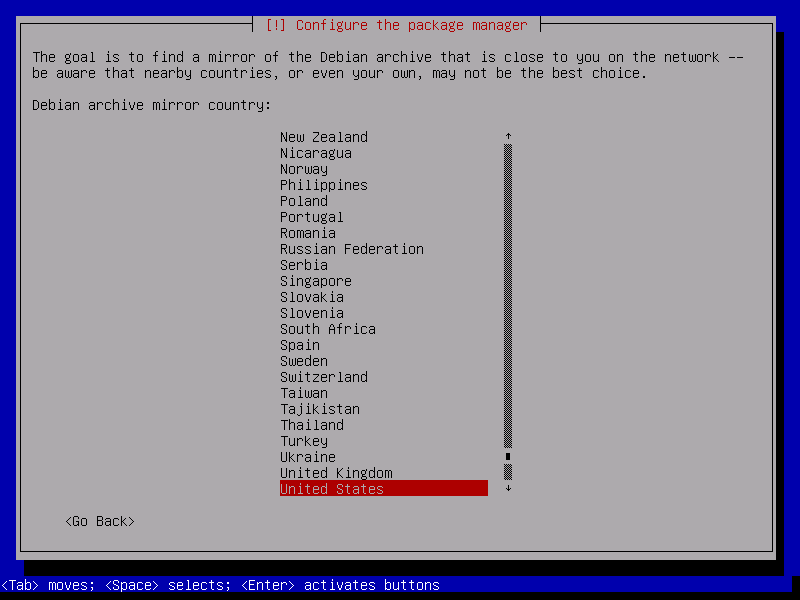
Configure the location from where the apt package manager will load the software packages. Choose a location near to you.
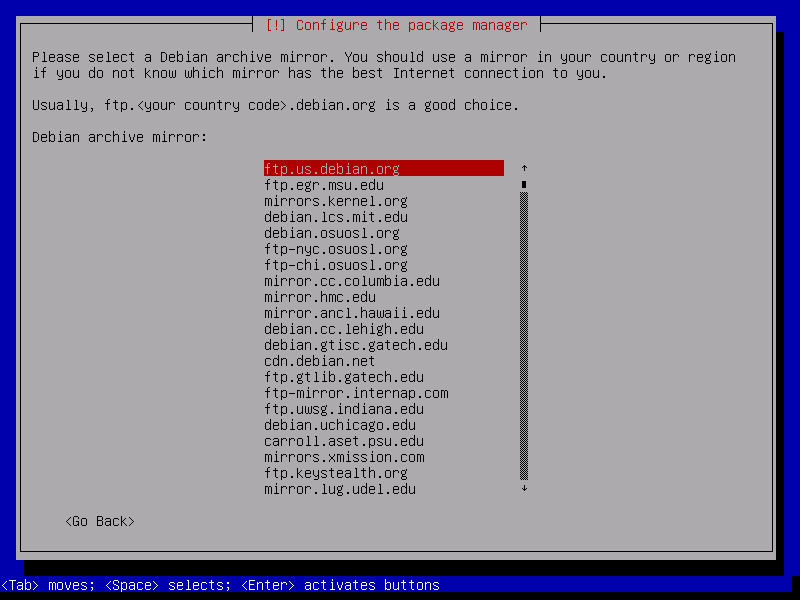
And then select the mirror server. You can just choose the first one if none of the listed mirrors is from your Internet access provider.
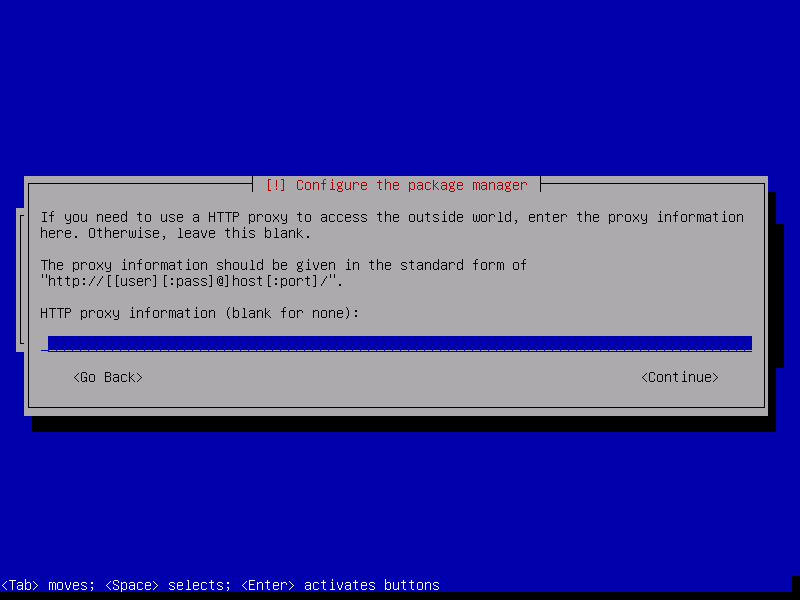
When you use a http proxy to access the internet, then enter it's details here. Otherwise press <Enter>.
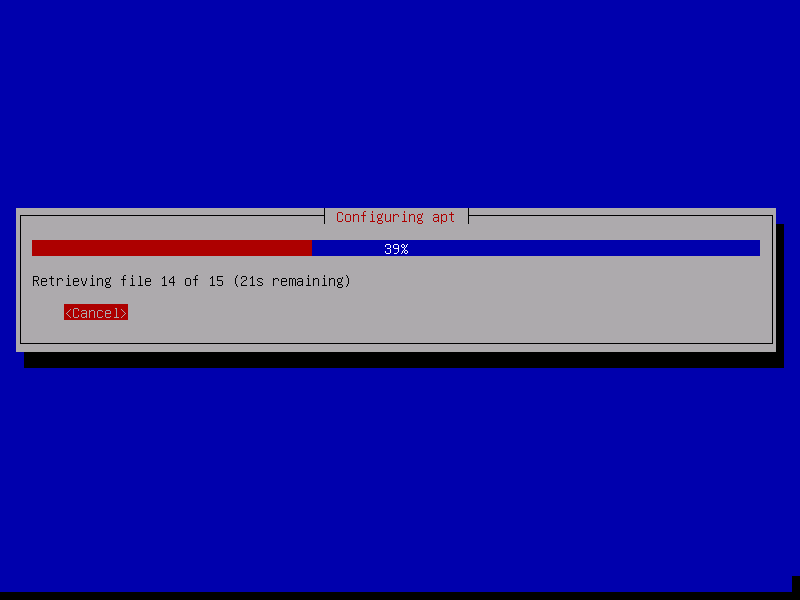
Apt will now Download the packages.
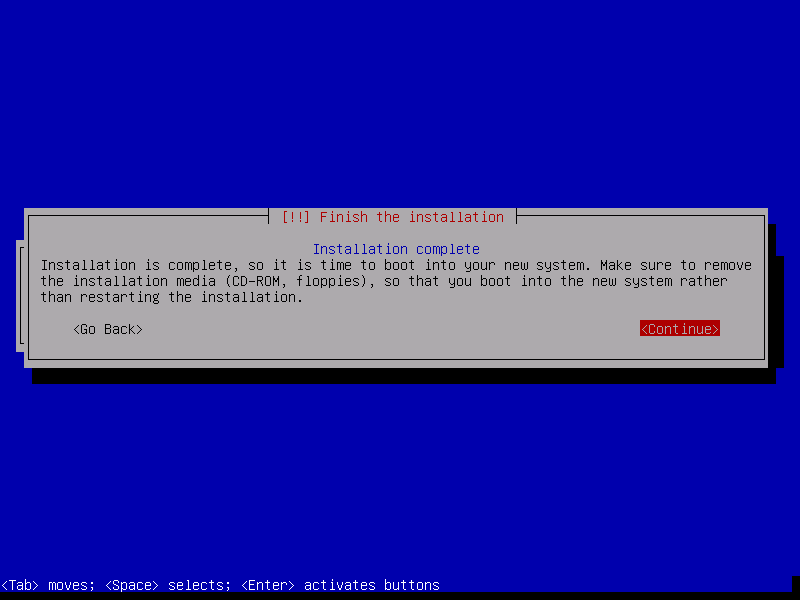
The installation is finished. Press <Enter> to reboot the server.
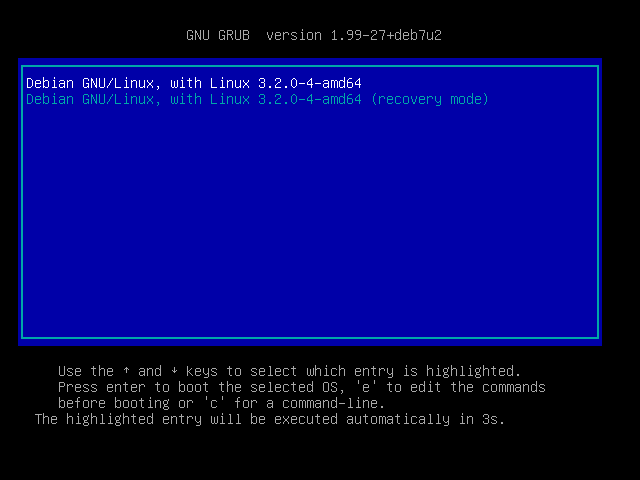
The Grub boot screen appears. Press <Enter> or wait until it starts automatically.
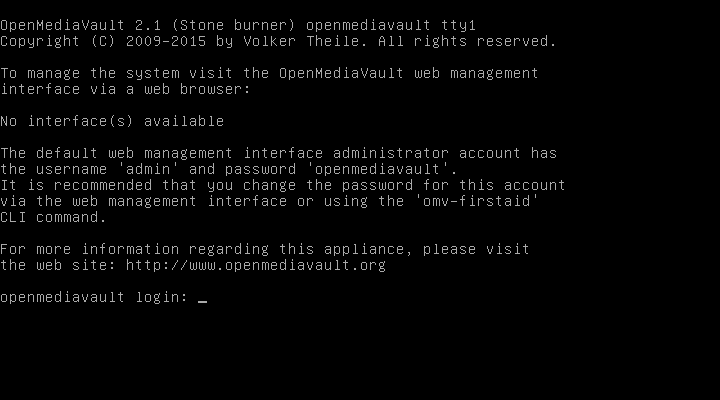
The System ready. You can now login to OpenMediaVault on the shell as root user or in the Web interface.
4) Login details
Web interface
- User: admin
- Password: openmediavault
Client (SSH, console)
- User: root
- Password: <The password that you have set during installation>
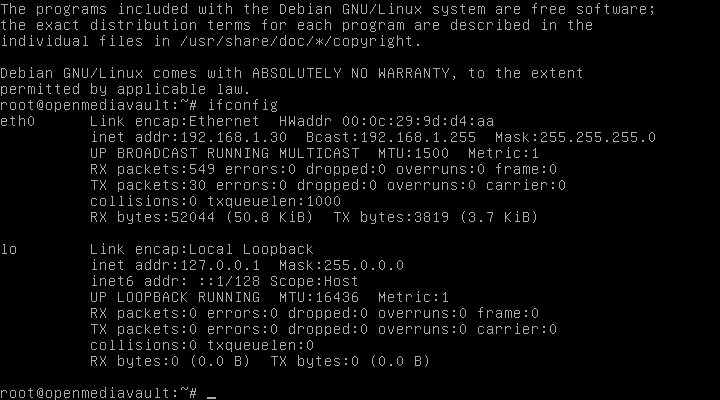
The server has been configured by DHCP. Login as root user on the shell and run the command:
ifconfig
to get the current IP address. In my case, the IP address is 192.168.1.30.
Open a web browser and enter http:// followed by your IP address: http://192.168.1.30/ to go to the web login:
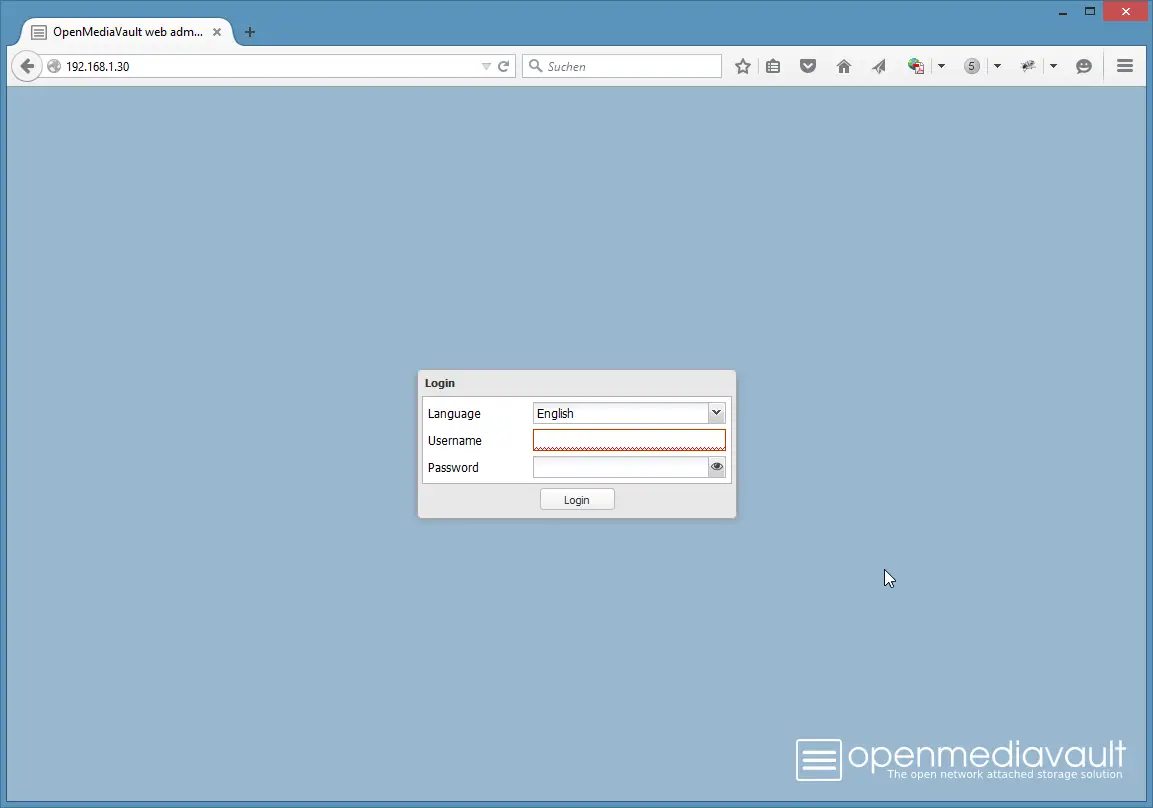
Enter the default login details user: admin, password: openmediavault:

And the OpenMediaVault Admin interface appears.
5) First steps in OpenMediaVault
This chapter shows the steps to secure the login, enable an FTP and SMB/CIFS share and how to enable access by SSH.
5.1) Change the web admin password
To change the web administrator password, go to "General Settings" and change to the tab "Web Administrator Password:
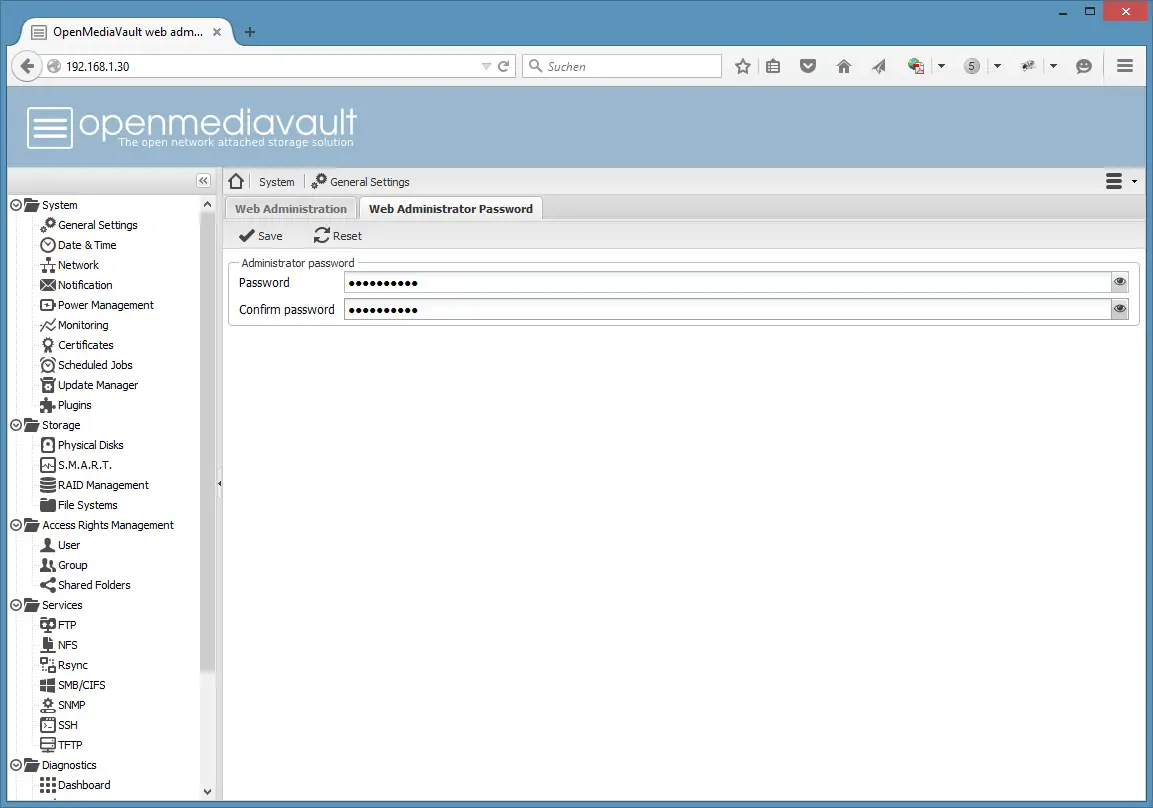
Enter the new password and press on the "Save" button in the upper left corner of the input form.
Services like FTP, SMB and SSH are disabled by default. In the next step, I will enable FTP and SMB (Microsoft Windows Share).
5.1) Enable FTP
Go to Services > FTP and enable the "Enable" Checkbox.
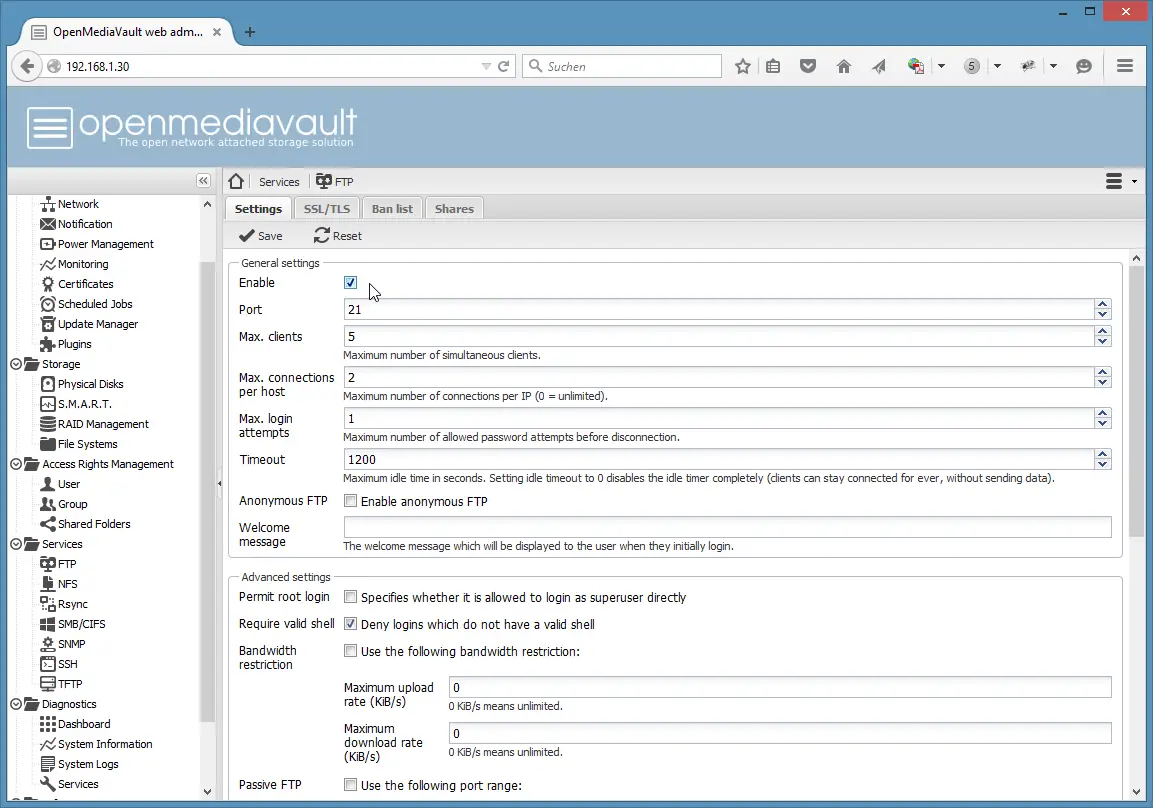
Press the "Save" button in the upper left corner.
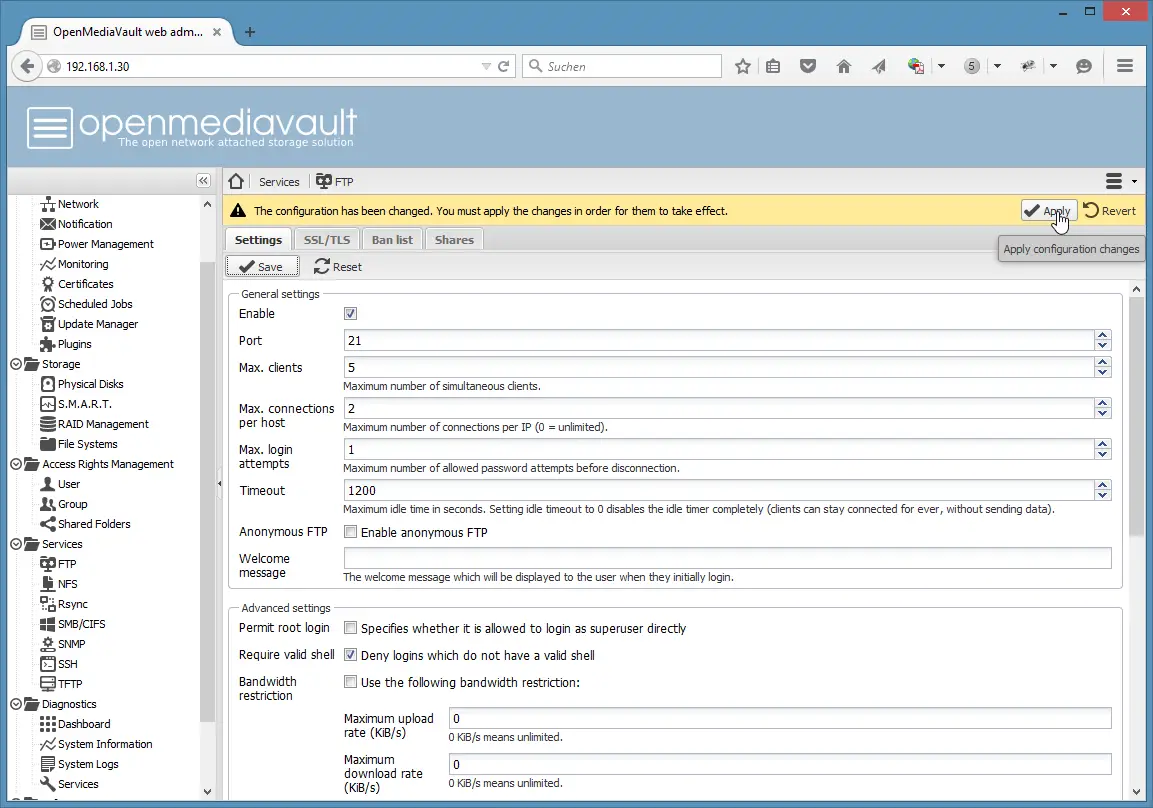
And click on "Apply" in the yellow bar that appears above
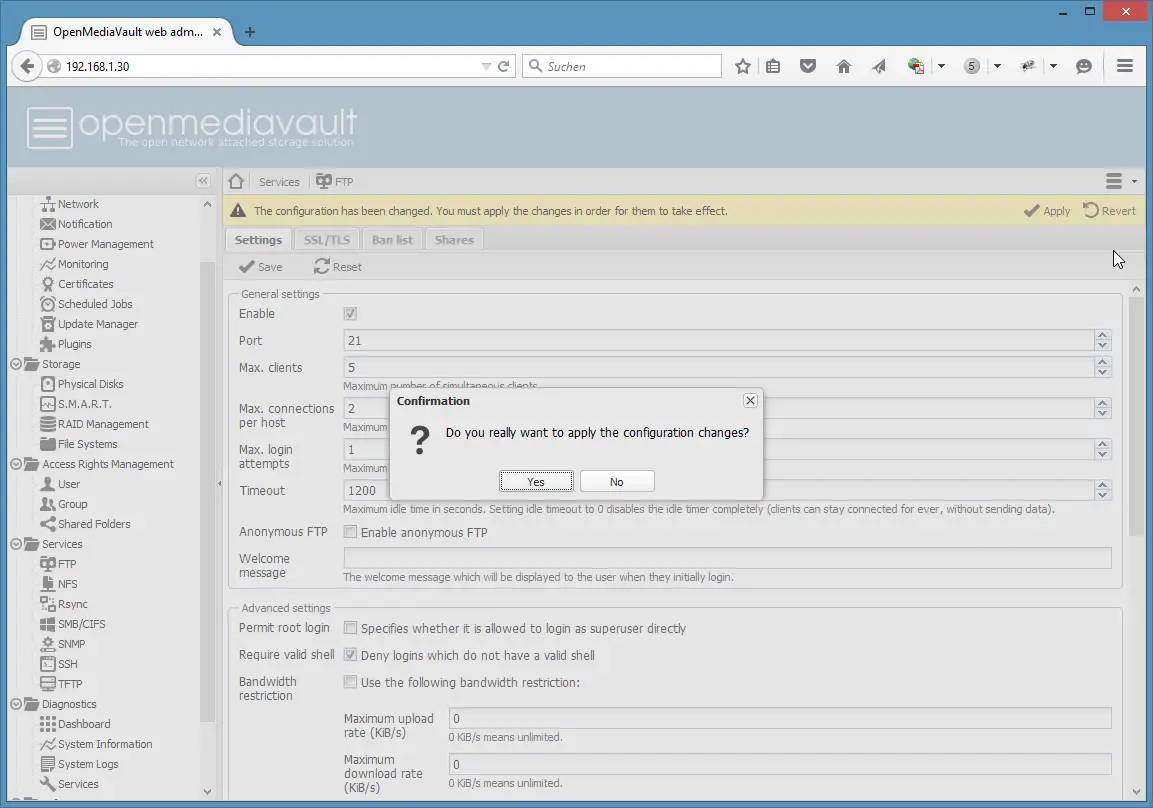
Finally, confirm that the changes shall really be applied.
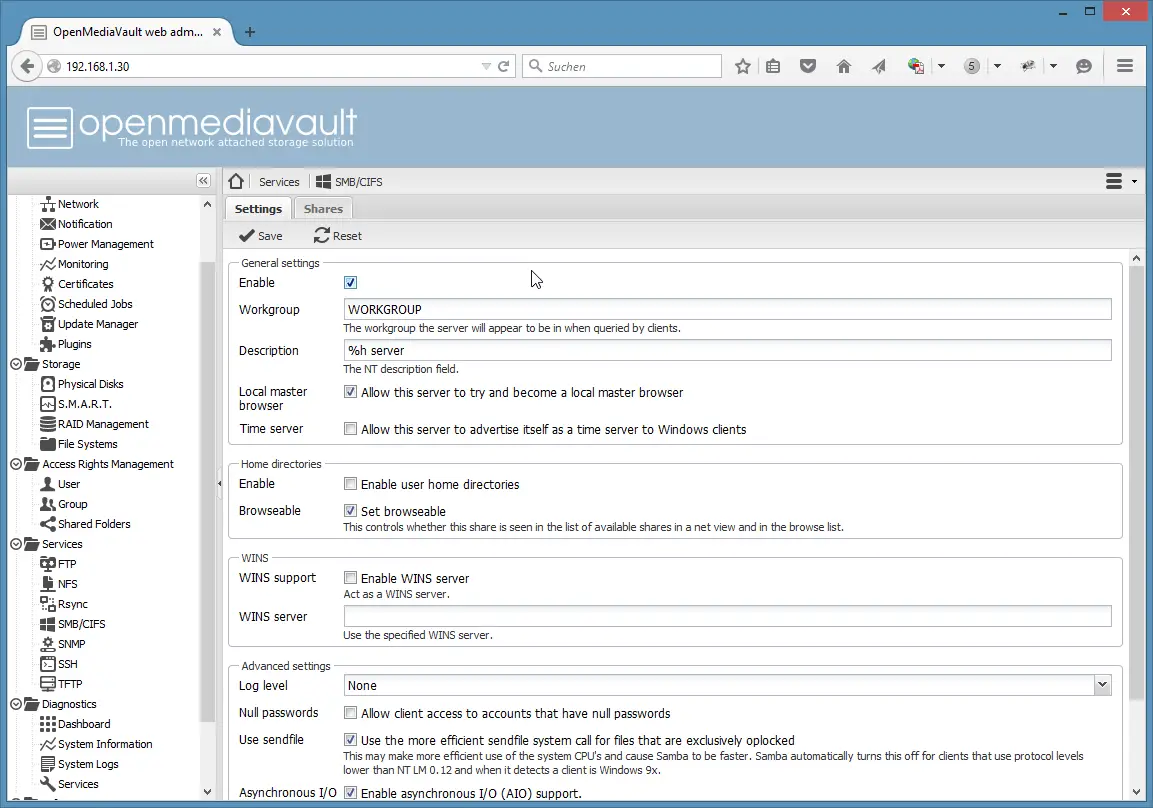
5.2) Enable SMB / CIFS
Now go to Services > SMB/CIFS and enable this service like you did with FTP.
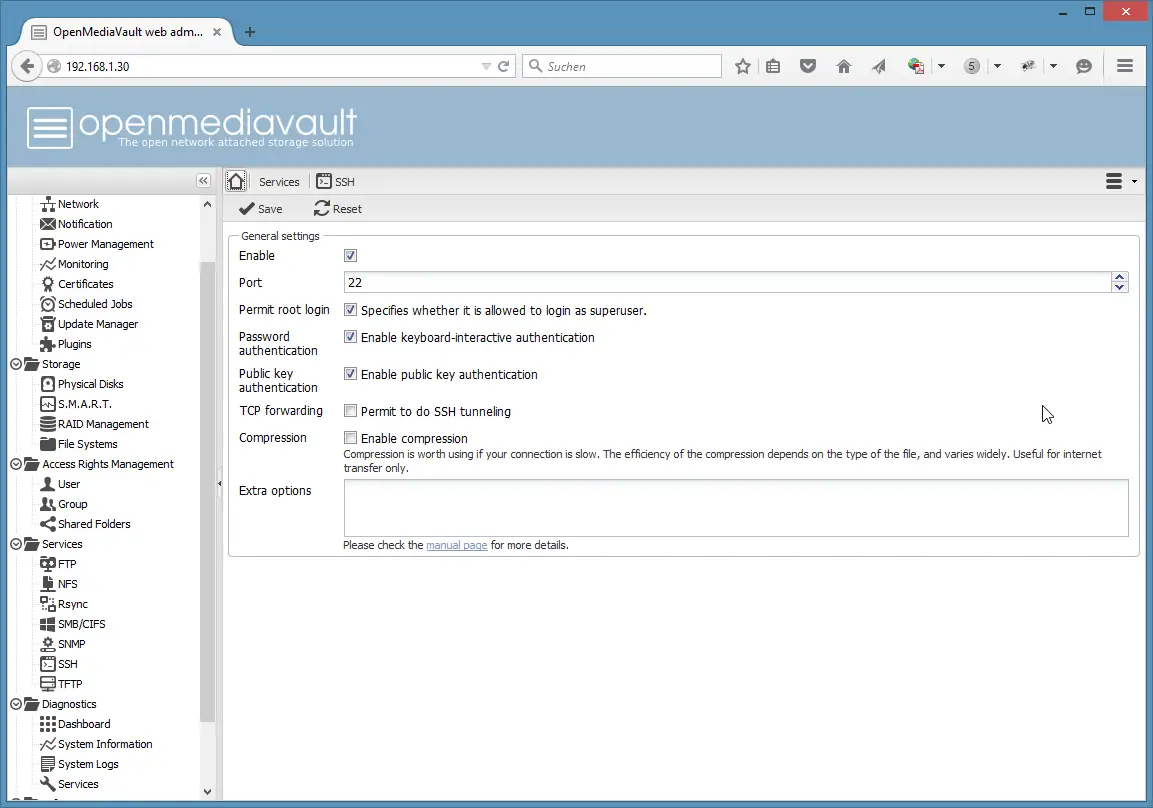
5.3) Enable SSH
Same procedure for the SSH service. Go to Services > SSH and enable the service.
5.4) Create a file system as data storage volume
OpenMediaVault needs a separate hard disk or partition to store data (storage volume). In my case, I'll use a second hard disk /dev/sdb. Click on Storage > File Systems > Create to add the second hard disk as a storage volume. The name of tmy storage volume is "data".

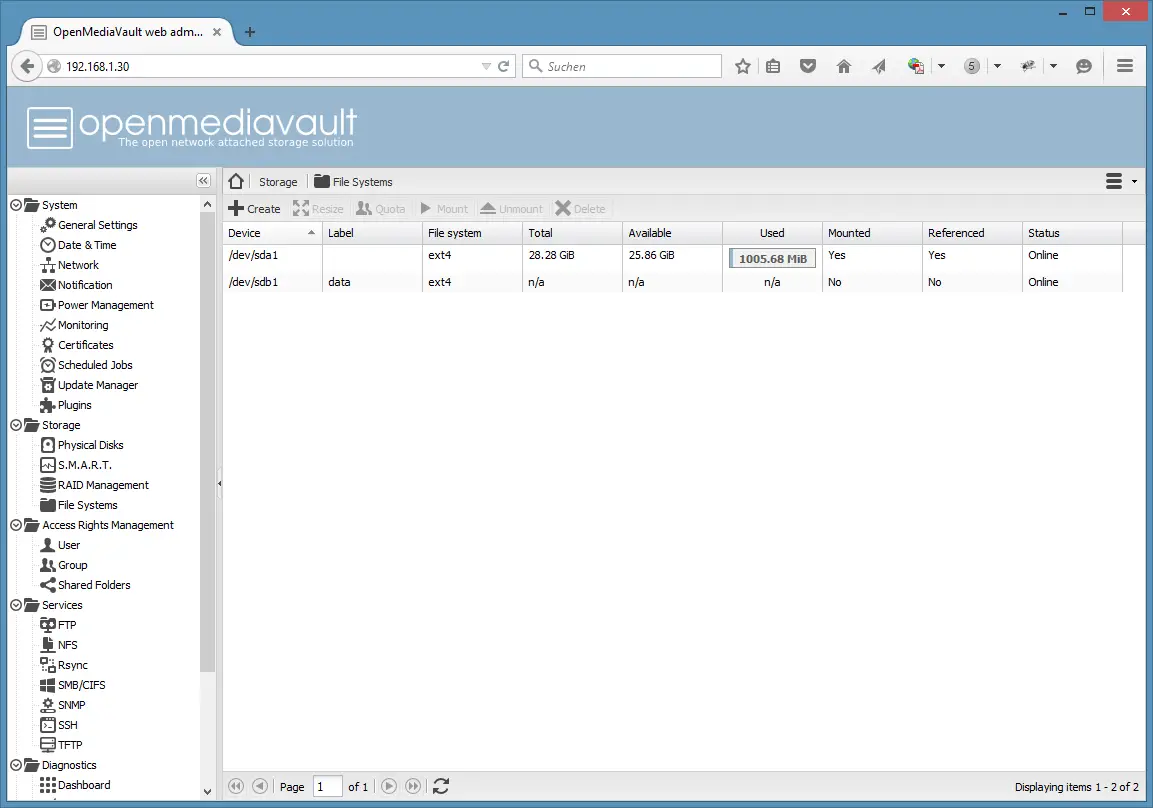
The final list of storage devices shall look like this. Select the "data" volume in the list and click on the "Mount" button to mount the volume. Only mounted volumes will appear as option in the shared folders volume list.
5.5) Add a user
Now we can add a user to access your file shares. Click on "Access Rights Management" > "User" > Add:
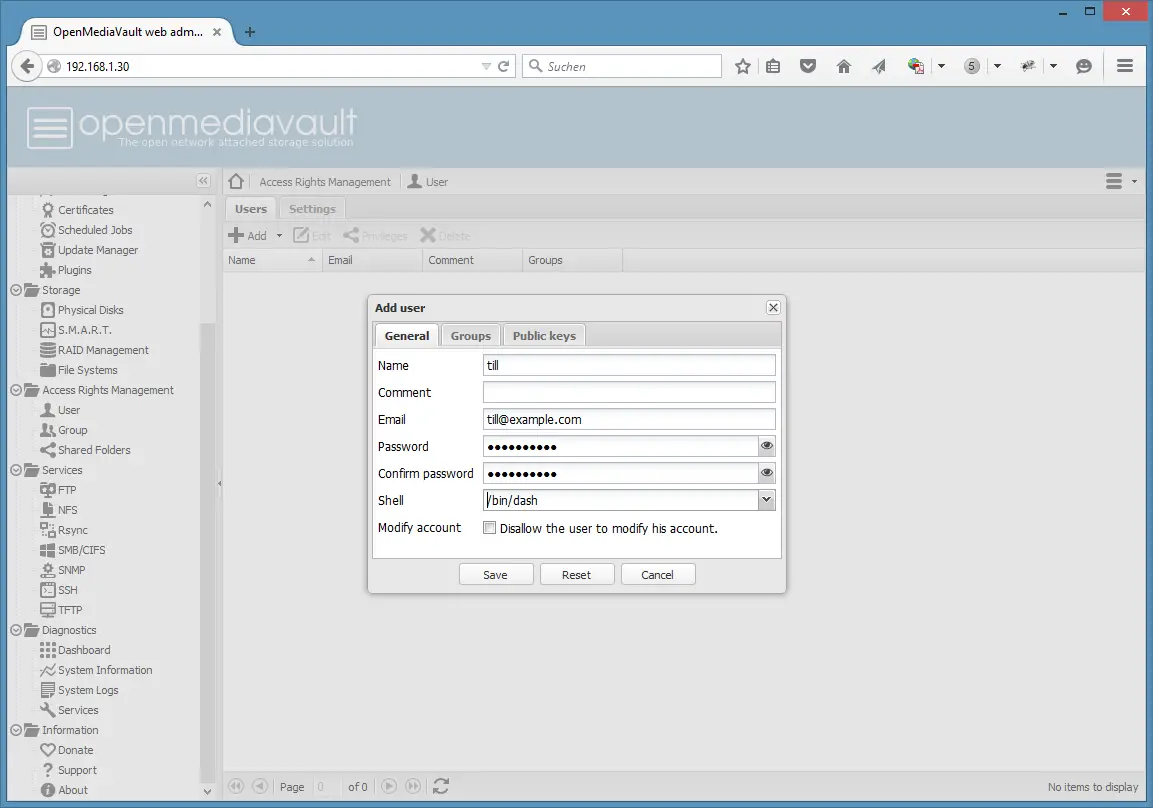
Enter the user details: username, email address, and password. Then confirm the changes.
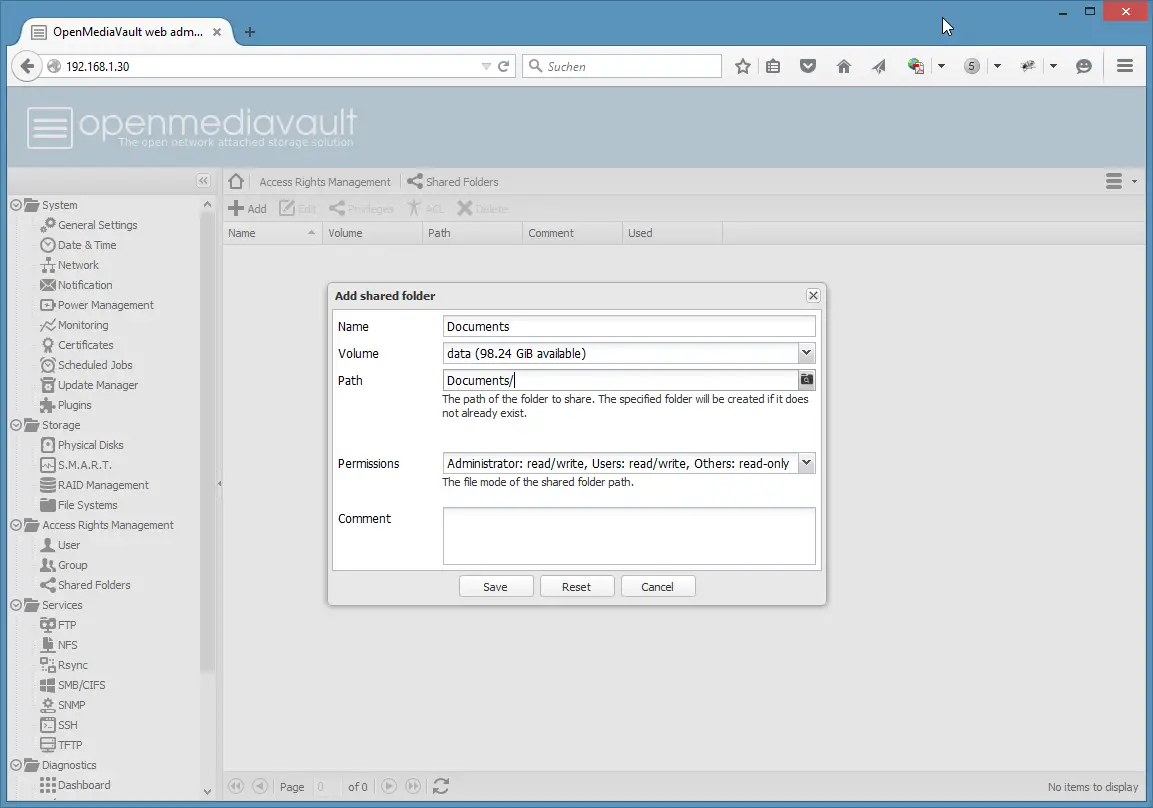
5.5) Add a file share
To store files on the NAS drive, we need a file share that can be accessed by our user. Click on "Access Rights Management" > "Shared Folders" > "Add".
I will add a folder named "Documents" with the path "Documents/" on the data volume.
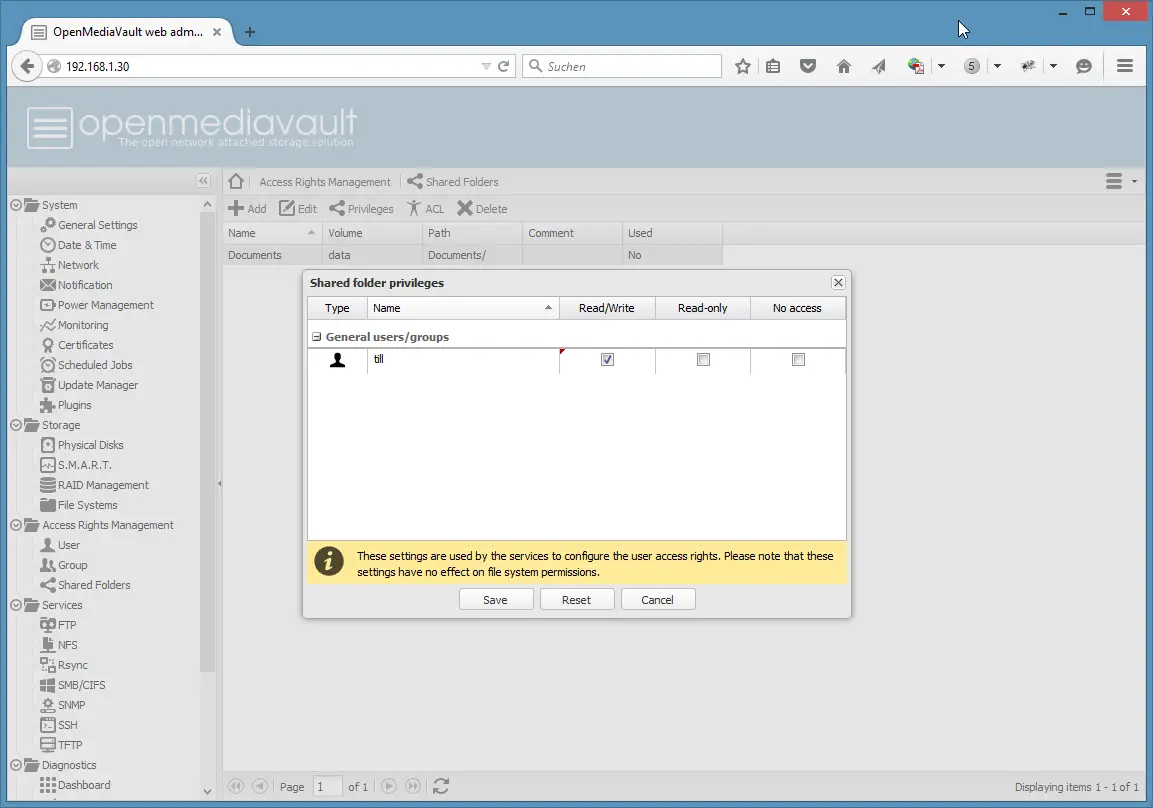
The next step is to grant read/write permissions to the user "till". Click on the "Documents" share in the list and then on the Icon "Priveliges" in the menu above the list. This will open the priveliges Window, enable "Read/Write" for the user and press save.
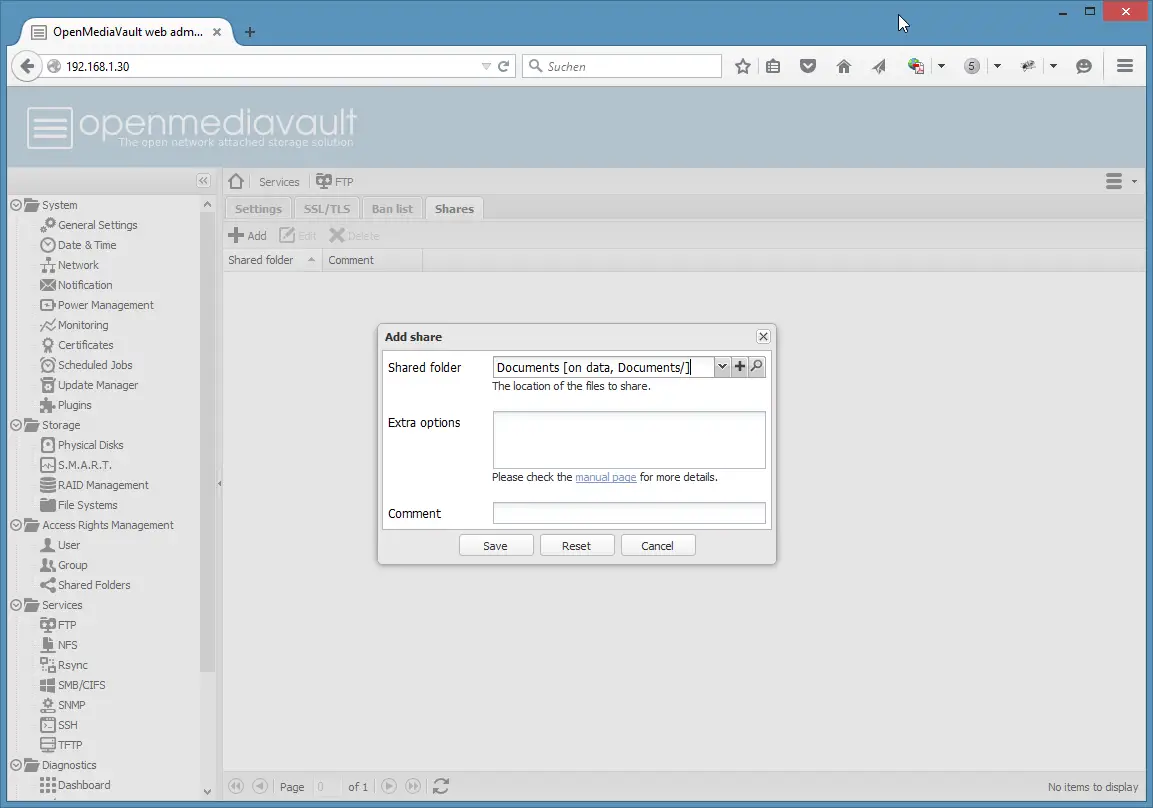
Finally add the share to the services that shall be able to use them. To enable the share for FTP, go to Services > FTP > Shares, Click on "Add", Select the "Documents" share and press save. Confirm the changes.
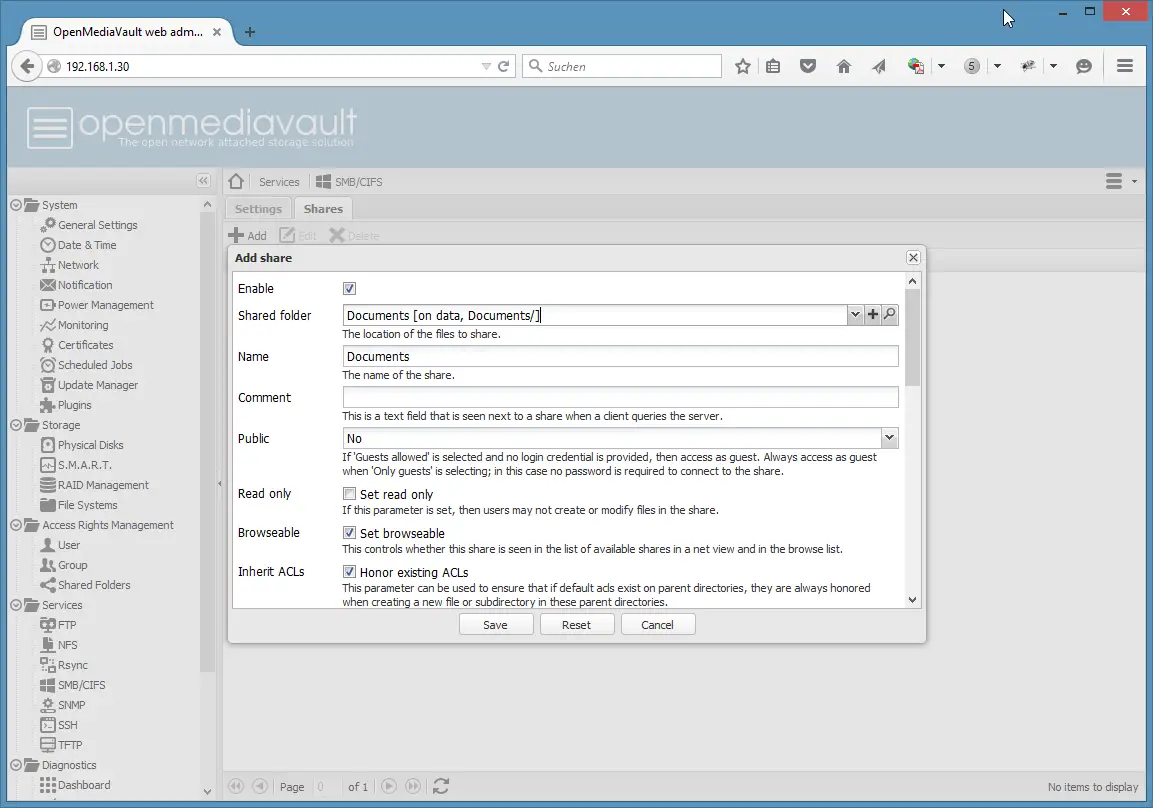
Use the same procedure for SMB/CIFS: go to Services > SMB/CIFS > Shares, Click on "Add", Select the "Documents" share and press save. Confirm the changes.
Now you have a NAS device with a Documents folder that can be accessed by your user with FTP and with the SMB/CIFS protocol.
6) VMWare / Virtualbox Image
The resulting setup of this tutorial is available as ready to use virtual machine image in ovf format (compatible with VMWare and Virtualbox) for Howtoforge subscribers.
The Login details of the VM are:
Root password on the shell: howtoforge
OpenMediaVault Web interface
Usernam: admin
Password: howtoforge
Dont forget to change the passwords!

