Creating Snapshot Backups Of Your Desktop With Timevault On Ubuntu 7.10 - Page 2
On this page
3 Timevault Notifier
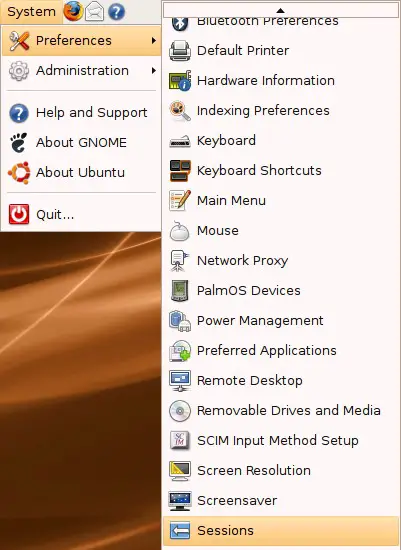
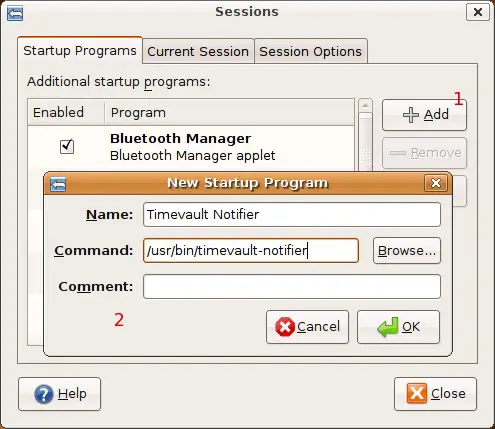
Now we add the Timevault notifier to the startup programs. The session settings are available in the gnome system menu.
Click on "Add" and insert the needed information.
Afterwards log out and then log back in to take the changes effect.
4 Snapshot Directory
Now we create a directory where the snapshots will be stored. Please note, that it's recommended to use another location than the disk from that you want to take snapshots.
sudo mkdir /home/timevault/
%rootpassword%
5 Configuration
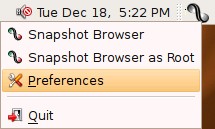
The Timevault notifier icon in the gnome panel shows us that we have to configure Timevault - the icon is grey.
Right click on the Timevault notifier icon and select "Preferences".
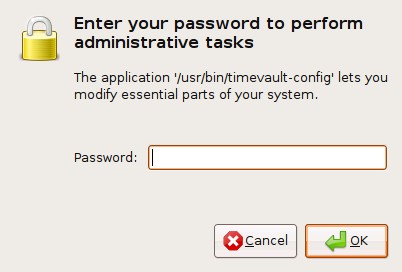
Enter the root password.
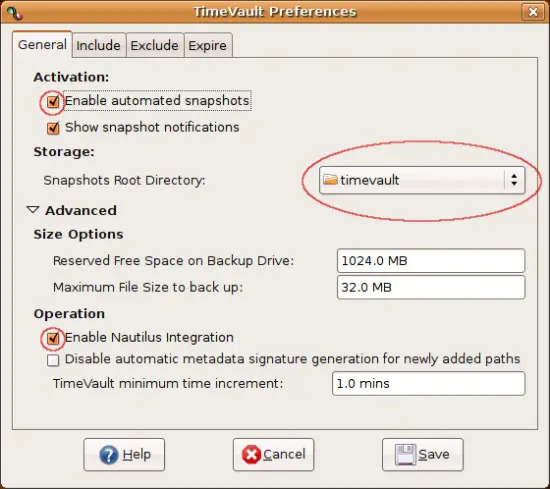
Mark the checkbox next to "Enable automated snapshots", choose the root directory for the snapshots (step 4) and mark the checkbox next to "Enable Nautilus Integration".
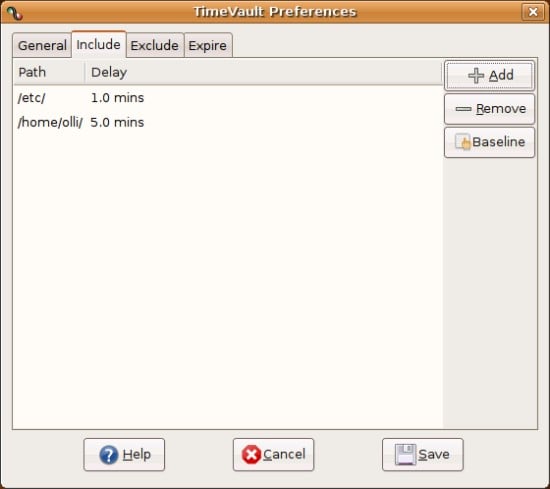
Add the directories and/or files that should be backed up.
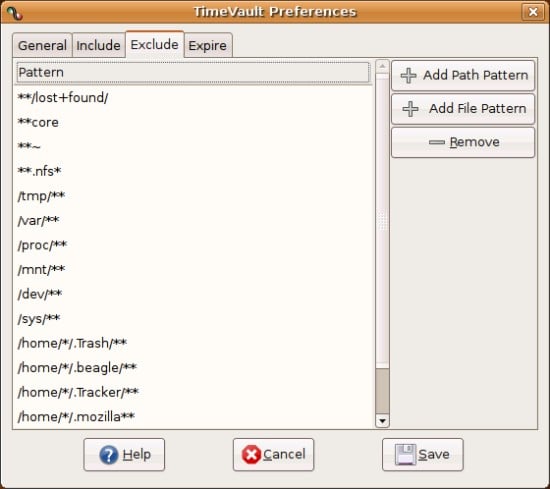
Here you can add file and/or path patterns to exclude files and folders from the snapshots.
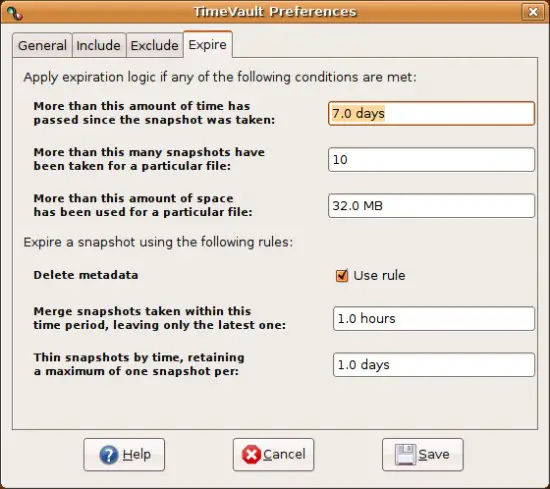
Adjust the expiration settings to your needs.
After the configuration Timevault is ready to be used - the icon has switched and on hover you'll see how many directories are being watched and how many files are being scheduled for snapshots.
When you left-click on the Timevault notifier icon you'll see a detailed overview of the scheduled files.
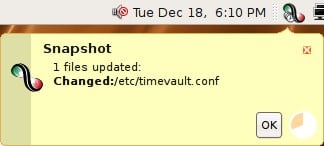
Timevault will notify you when it takes a snapshot.

