Running Shopware Community Edition (Version 3.5.6) On Nginx (LEMP) On Debian Squeeze/Ubuntu 12.04
Version 1.0
Author: Falko Timme  Follow me on Twitter
This tutorial shows how you can install and run Shopware Community Edition (version 3.5.6) on a Debian Squeeze or Ubuntu 12.04 system that has nginx installed instead of Apache (LEMP = Linux + nginx (pronounced "engine x") + MySQL + PHP). Shopware is a feature-rich ecommerce platform; I will use the Community Edition here which is free. nginx is a HTTP server that uses much less resources than Apache and delivers pages a lot of faster, especially static files.
I do not issue any guarantee that this will work for you!
1 Preliminary Note
I want to install Shopware in a vhost called www.example.com/example.com here with the document root /var/www/www.example.com/web.
You should have a working LEMP installation, as shown in these tutorials:
- Installing Nginx With PHP5 And MySQL Support On Debian Squeeze
- Installing Nginx With PHP5 (And PHP-FPM) And MySQL Support On Ubuntu 12.04
A note for Ubuntu users:
Because we must run all the steps from this tutorial with root privileges, we can either prepend all commands in this tutorial with the string sudo, or we become root right now by typing
sudo su
2 Installing Xcache And The ionCube Loader
Xcache is a free and open PHP opcode cacher for caching and optimizing PHP intermediate code. It's similar to other PHP opcode cachers, such as eAccelerator and APC. It is strongly recommended to have one of these installed to speed up your PHP page.
Xcache can be installed as follows:
apt-get install php5-xcache
Shopware Community Edition requires that the ionCube Loader is installed. The ionCube Loader can be installed as follows:
cd /tmp
Next download and unpack the correct ionCube Loader package for your architecture (x86_64 or x86).
For x86_64:
wget http://downloads2.ioncube.com/loader_downloads/ioncube_loaders_lin_x86-64.tar.gz
tar xfvz ioncube_loaders_lin_x86-64.tar.gz
For x86:
wget http://downloads2.ioncube.com/loader_downloads/ioncube_loaders_lin_x86.tar.gz
tar xfvz ioncube_loaders_lin_x86.tar.gz
Proceed as follows:
cp ioncube/ioncube_loader_lin_5.3.so /usr/lib/php5/20090626/ioncube.so
vi /etc/php5/conf.d/ioncube.ini
zend_extension = /usr/lib/php5/20090626/ioncube.so |
If you use PHP-FPM as your FastCGI daemon (like in Installing Nginx With PHP5 (And PHP-FPM) And MySQL Support On Ubuntu 12.04), reload it as follows:
/etc/init.d/php5-fpm reload
If you use lighttpd's spawn-fcgi program as your FastCGI daemon (like in Installing Nginx With PHP5 And MySQL Support On Debian Squeeze), we must kill the current spawn-fcgi process (running on port 9000) and create a new one. Run
netstat -tap
to find out the PID of the current spawn-fcgi process:
root@server1:~# netstat -tap
Active Internet connections (servers and established)
Proto Recv-Q Send-Q Local Address           Foreign Address         State       PID/Program name
tcp        0      0 *:sunrpc                *:*                     LISTEN      734/portmap
tcp        0      0 *:www                   *:*                     LISTEN      2987/nginx
tcp        0      0 *:ssh                   *:*                     LISTEN      1531/sshd
tcp        0      0 *:57174                 *:*                     LISTEN      748/rpc.statd
tcp        0      0 localhost.localdom:smtp *:*                     LISTEN      1507/exim4
tcp        0      0 localhost.localdom:9000 *:*                     LISTEN      1542/php5-cgi
tcp        0      0 localhost.localdo:mysql *:*                     LISTEN      1168/mysqld
tcp        0     52 server1.example.com:ssh 192.168.0.198:2462      ESTABLISHED 1557/0
tcp6       0      0 [::]:www                [::]:*                  LISTEN      2987/nginx
tcp6       0      0 [::]:ssh                [::]:*                  LISTEN      1531/sshd
tcp6       0      0 ip6-localhost:smtp      [::]:*                  LISTEN      1507/exim4
root@server1:~#
In the above output, the PID is 1542, so we can kill the current process as follows:
kill -9 1542
Afterwards we create a new spawn-fcgi process:
/usr/bin/spawn-fcgi -a 127.0.0.1 -p 9000 -u www-data -g www-data -f /usr/bin/php5-cgi -P /var/run/fastcgi-php.pid
3 Installing Shopware
The document root of my www.example.com web site is /var/www/www.example.com/web - if it doesn't exist, create it as follows:
mkdir -p /var/www/www.example.com/web
Create the folder /tmp/shopware where we will put the Shopware archive:
mkdir /tmp/shopware
Make sure unzip is installed:
apt-get install unzip
Download the desired Shopware package (ionCube package with or without demo data) from http://wiki.shopware.de/Downloads_cat_448.html and put it in the /tmp/shopware directory. I'm using the ionCube package with demo data here so that I have some demo items in the shop to play with (if you want an empty shop, use the package without demo data).
cd /tmp/shopware
wget -O demo_ioncube_3.5.6.zip http://files.shopware.de/download.php?package=demo_ioncube
Now uncompress Shopware and move it to your document root (/var/www/www.example.com/web):
unzip demo_ioncube_3.5.6.zip
rm -f demo_ioncube_3.5.6.zip
mv * .htaccess /var/www/www.example.com/web/
It is recommended to make the document root and the Shopware files in it writable by the nginx daemon which is running as user www-data and group www-data:
chown -R www-data:www-data /var/www/www.example.com/web
If you haven't already created a MySQL database for Shopware (including a MySQL Shopware user), you can do that as follows (I name the database shopware in this example, and the user is called shopware_admin, and his password is shopware_admin_password):
mysql -u root -p
CREATE DATABASE shopware;
GRANT ALL PRIVILEGES ON shopware.* TO 'shopware_admin'@'localhost' IDENTIFIED BY 'shopware_admin_password';
GRANT ALL PRIVILEGES ON shopware.* TO 'shopware_admin'@'localhost.localdomain' IDENTIFIED BY 'shopware_admin_password';
FLUSH PRIVILEGES;
quit;
Next go to your document root (/var/www/www.example.com/web/) and import the SQL dump import.sql into your Shopware MySQL database:
cd /var/www/www.example.com/web/
mysql -h localhost -u shopware_admin -pshopware_admin_password shopware < import.sql
rm -f import.sql
(Please note that there's no space between -p and shopware_admin_password in the mysql command!)
Next log into your shopware MySQL database...
mysql -u shopware_admin -p
USE shopware;
... and set the correct hostname and basepath for your Shopware installation:
UPDATE s_core_config SET value = 'www.example.com' WHERE name = 'sHOST';
UPDATE s_core_config SET value = 'www.example.com' WHERE name = 'sBASEPATH';
UPDATE s_core_multilanguage SET domainaliase = 'www.example.com' WHERE id = 1;
quit;
Afterwards edit config.php and set the correct database details:
vi config.php
<?php /** * Shopware 3.5.4.1 - Database-Config */ $DB_HOST = 'localhost'; $DB_USER = 'shopware_admin'; $DB_PASSWORD = 'shopware_admin_password'; $DB_DATABASE = 'shopware'; |
A few directories need 777 permissions:
chmod 777 cache/database
chmod 777 cache/templates
chmod 777 images/*
chmod 777 files/*
chmod 777 uploads
chmod 777 engine/Shopware/Proxies
chmod 777 engine/Enlight/Vendor/mpdf/tmp
chmod 777 engine/Enlight/Vendor/mpdf/ttfontdata
Because you can run your Shopware website under http and under https (that's totally up to you if you want to offer https, but recommended if your customers submit sensitive data such as credit card numbers, etc.), we need to add the following section to the http {} section in /etc/nginx/nginx.conf (before the two include lines) which determines if the visitor uses http or https and sets the $fastcgi_https variable (which we will use in our www.example.com vhost) accordingly:
vi /etc/nginx/nginx.conf
[...]
http {
[...]
        ## Detect when HTTPS is used
        map $scheme $fastcgi_https {
          default off;
          https on;
        }

        ##
        # Virtual Host Configs
        ##

        include /etc/nginx/conf.d/*.conf;
        include /etc/nginx/sites-enabled/*;
}
[...]
|
Next we create an nginx vhost configuration for our www.example.com vhost in the /etc/nginx/sites-available/ directory as follows:
vi /etc/nginx/sites-available/www.example.com.vhost
server {
       listen 80;

       ## SSL directives might go here
       ## see https://www.howtoforge.com/how_to_set_up_ssl_vhosts_under_nginx_plus_sni_support_ubuntu_11.04_debian_squeeze
       ## if you want to enable SSL for this vhost

       server_name www.example.com example.com;
       root /var/www/www.example.com/web;
       if ($http_host != "www.example.com") {
                 rewrite ^ http://www.example.com$request_uri permanent;
       }
       index index.php index.html;

       location = /favicon.ico {
                log_not_found off;
                access_log off;
       }
       location = /robots.txt {
                allow all;
                log_not_found off;
                access_log off;
       }

       location ~ /\. {
                deny all;
       }

       location / {
                # Set DirectoryIndex
                index  shopware.php index.php;

                # Deny direct access to all smarty templates
                location ~ ^/templates/.*/*.tpl {
                         deny all;
                }

                # Deny access to php files in web readable directories
                location ~ ^/cache/.*/.*\.(php|cgi|php5|php3|php4|phtml|pl|py) {
                         deny all;
                }
                location ~ ^/images/.*/.*\.(php|cgi|php5|php3|php4|phtml|pl|py) {
                         deny all;
                }
                location ~ ^/files/.*/.*\.(php|cgi|php5|php3|php4|phtml|pl|py) {
                         deny all;
                }
                location ~ ^/upload/.*/.*\.(php|cgi|php5|php3|php4|phtml|pl|py) {
                         deny all;
                }

                # Defining rewrite rules
                rewrite /images/ayww/(.*) /images/banner/$1 last;
                rewrite /files/documents/.* /engine last;
                rewrite /templates/(.*(css|js))$ /engine/backend/php/sCacheTemplate.php?file=/templates/$1 last;
                rewrite /sitemap.xml(.*) /shopware.php?controller=SitemapXml;
                rewrite /application.yaml /engine last;
                rewrite /engine/core/php/sAjaxSearch.php$ /engine/backend/php/sAjaxSearch.php last;
                rewrite /engine/core/php/campaigns.php$ /engine/backend/php/campaigns.php last;

                # Defining controller based route processing behaviour
                if (!-e $request_filename) {
                         rewrite . /shopware.php last;
                }
       }

       location ~ \.php$ {
                try_files $uri =404;
                include /etc/nginx/fastcgi_params;
                fastcgi_pass 127.0.0.1:9000;
                fastcgi_param SCRIPT_FILENAME $document_root$fastcgi_script_name;
                fastcgi_param  HTTPS $fastcgi_https;
       }

}
|
See the comments in the above configuration if you want to enable https for the vhost. The procedure is described in this tutorial: How To Set Up SSL Vhosts Under Nginx + SNI Support (Ubuntu 11.04/Debian Squeeze)
To enable that vhost, we create a symlink to it from the /etc/nginx/sites-enabled/ directory:
cd /etc/nginx/sites-enabled/
ln -s /etc/nginx/sites-available/www.example.com.vhost www.example.com.vhost
Reload nginx for the changes to take effect:
/etc/init.d/nginx reload
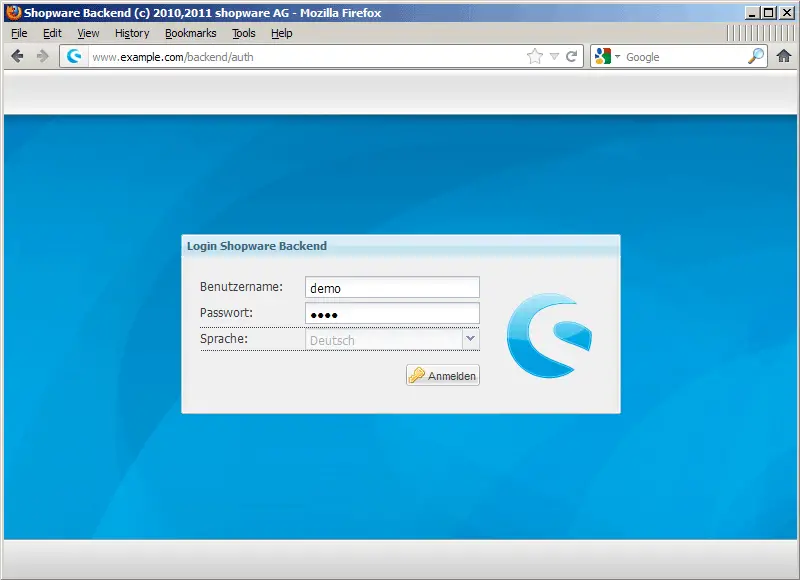
That's it already, Shopware Community Edition is now installed. You can log into the backend by going to http://www.example.com/backend - log in with the username demo and the password demo:
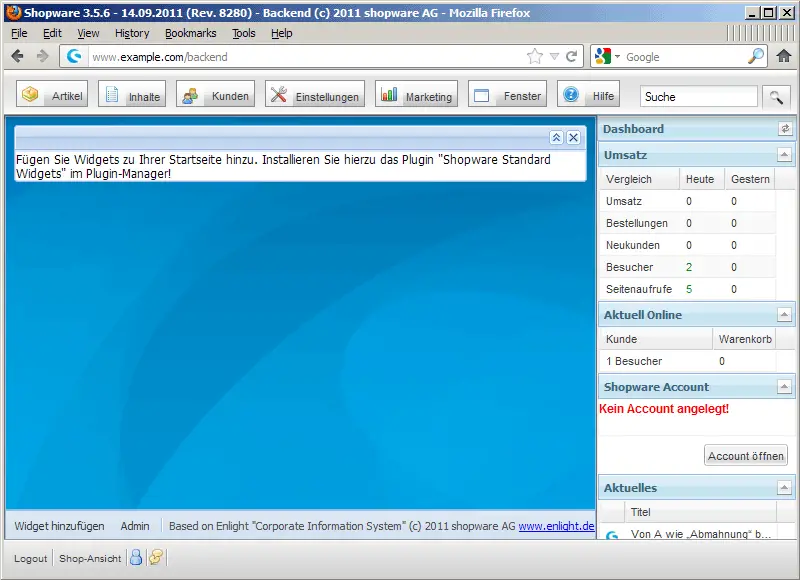
That's how the backend looks:
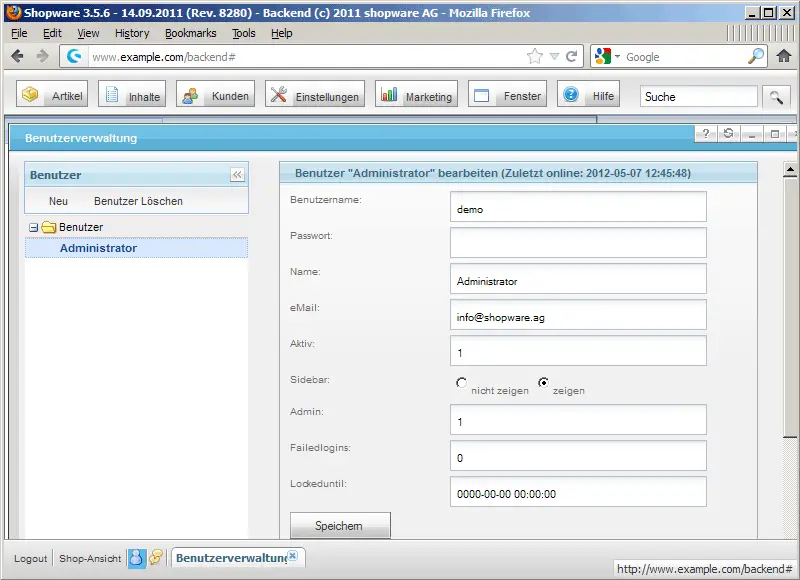
The first thing you should do is change the username and password of the demo user. Click on the blue icon right of Shop-Ansicht (at the bottom) - this will bring you to the user administration. Click on the Administrator user...
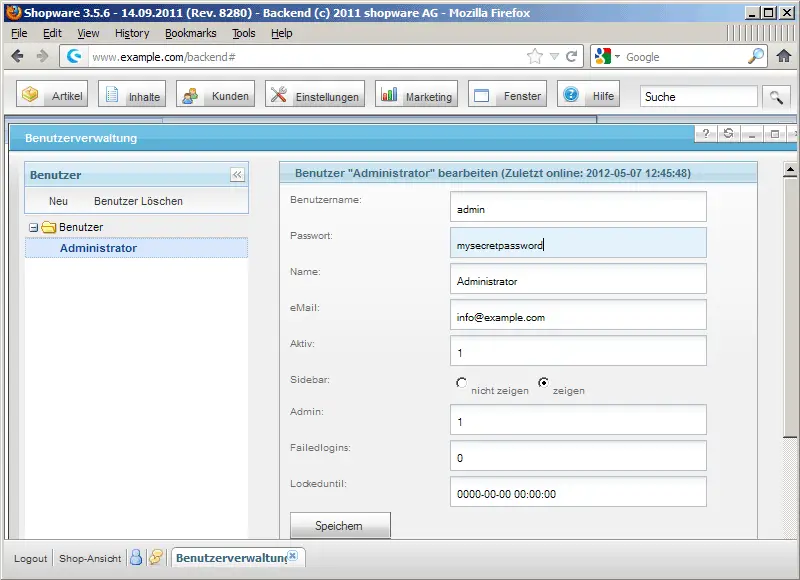
... and change his username from demo to (for example) admin and specify a new password. You should also change the email address:
The shop can be reached under http://www.example.com:
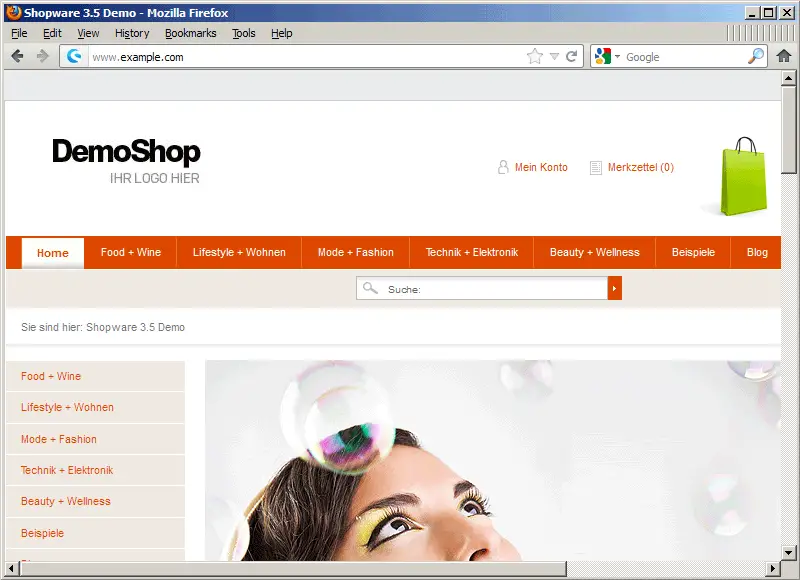
Have fun with your Shopware shop under nginx!
4 Links
- Shopware Community Edition: http://www.shopware.de/die-shopsoftware/shopware-community-edition/
- ionCube Loader: http://www.ioncube.com/loaders.php
- nginx: http://nginx.org/
- nginx Wiki: http://wiki.nginx.org/
- Debian: http://www.debian.org/
- Ubuntu: http://www.ubuntu.com/
About The Author

Falko Timme is the owner of ![]() Timme Hosting (ultra-fast nginx web hosting). He is the lead maintainer of HowtoForge (since 2005) and one of the core developers of ISPConfig (since 2000). He has also contributed to the O'Reilly book "Linux System Administration".
Timme Hosting (ultra-fast nginx web hosting). He is the lead maintainer of HowtoForge (since 2005) and one of the core developers of ISPConfig (since 2000). He has also contributed to the O'Reilly book "Linux System Administration".

