This tutorial exists for these OS versions
- Ubuntu 22.04 (Jammy Jellyfish)
- Ubuntu 20.04 (Focal Fossa)
- Ubuntu 18.04 (Bionic Beaver)
- Ubuntu 16.04 (Xenial Xerus)
- Ubuntu 15.04 (Vivid Vervet)
- Ubuntu 14.04 LTS (Trusty Tahr)
On this page
Nagios Installation On Ubuntu 10.04 (Lucid Lynx)
This tutorial shows how to set up Ubuntu Lucid Lynx (10.4) server with the Nagios Monitoring System. Nagios is a powerful, highly configurable monitoring and alarming system, which can monitor a wide variety of systems (network, server, daemons, applications). Monitoring could be done for instance for availability or utilization. The monitoring could be restricted to services which are connectable from the outside (e.g. a webserver on port 80/tcp), or with the help of NRPE (Nagios Remote Plugin Executor) plugins for testing could also be executed remote. There is a lot of info about nagios in the net, so feel free to use your preferred search engine to find whatever you need about it. One new feature for Nagios 3.2.3 is the ability to have multiple escalations. One person(s) can be notified at first notification, if no one has responded alternate people can be alerted to the issue. We will be installing Nagios, Nagios Plugins, and Postfix with this tutorial. Postfix will be configured to send email via your alternate email server. This tutorial will only give you the basic configuration with Postfix, any additional settings can be found in multiple places on the Internet. A great place to start looking is http://wiki.nagios.org/index.php/Forums the Nagios Forums.
I have created a script that will do all of the leg work for you. It will install all of the requirements for Nagios, Nagios Plugins, and Postfix. I will lay out the commands to enter manually if you would like to take care of business that way, or you can use the included script. The script in its entirety will be at the end of this tutorial.
Basic Install Of Ubuntu Server
First thing you will want to do is start with a fresh install of Ubuntu with only SSH server installed. Please follow the below instructions on setting up your initial server.
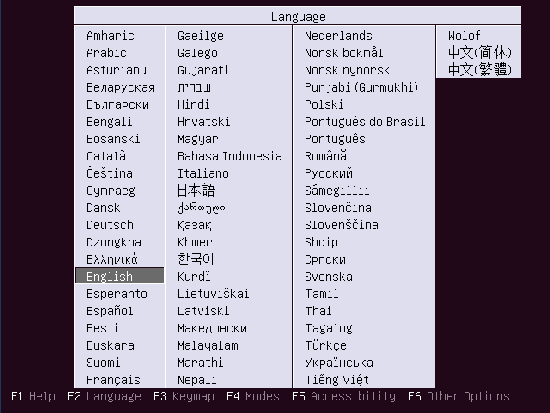
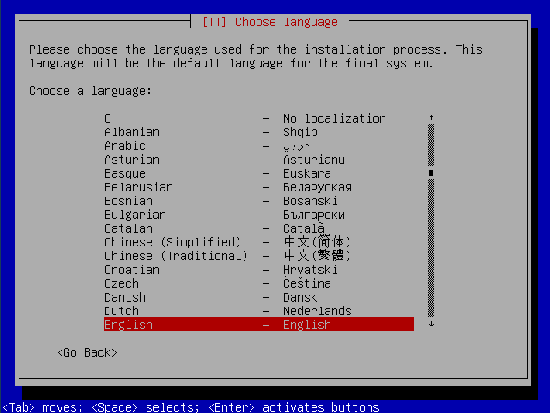
Select English, or your language of preference.
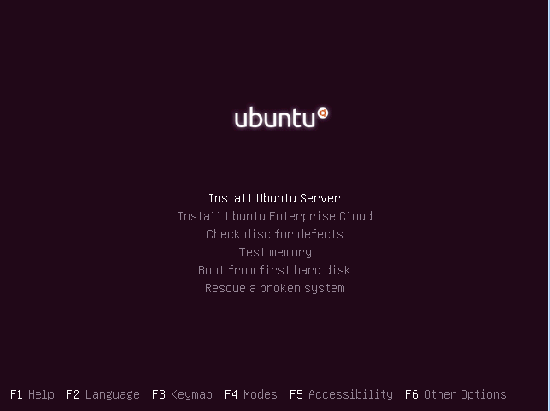
Now select Install Ubuntu Server:
Again select your language of preference:
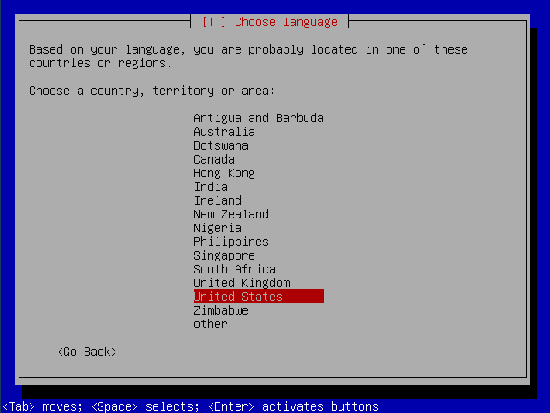
Now choose your region here:
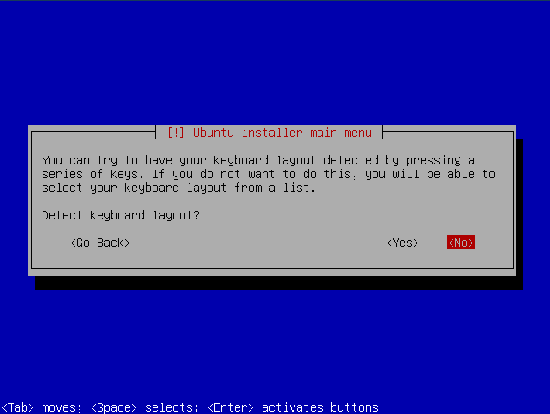
Now select No to Detect Keyboard Layout:
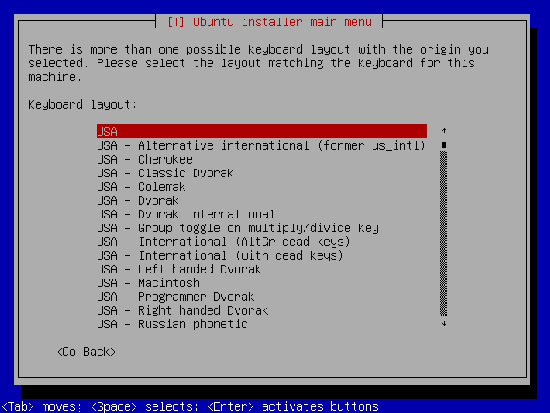
Now select where your keyboard is from:

Now select your keyboard layout:
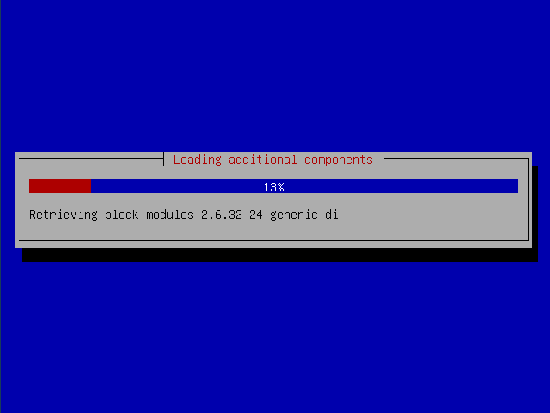
Now we will continue on with the installation:
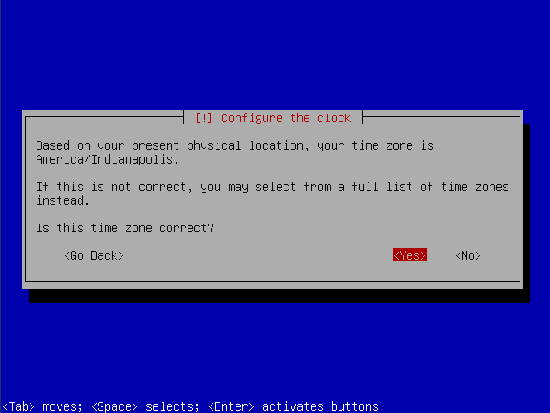
Now select your time zone (Ubuntu will automatically detect its best guess for you):
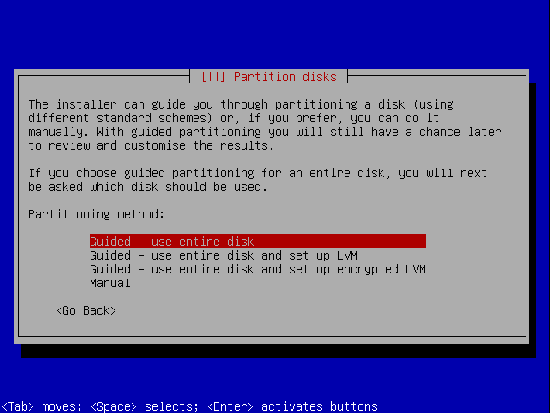
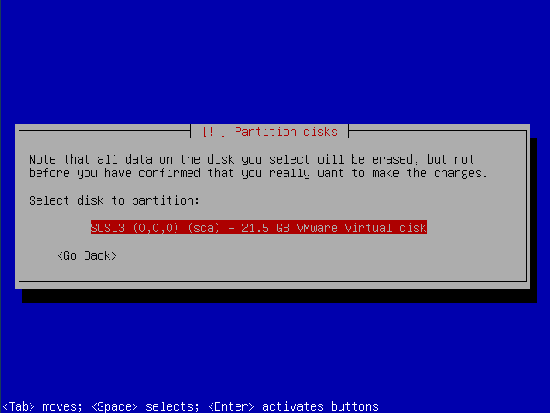
Now we are preparing for the partitioning of the hard drive:

I always use the entire disk when I set up a new server:
Now hit Enter to continue using your selected hard drive:
Select Yes to write the changes to the hard drive:
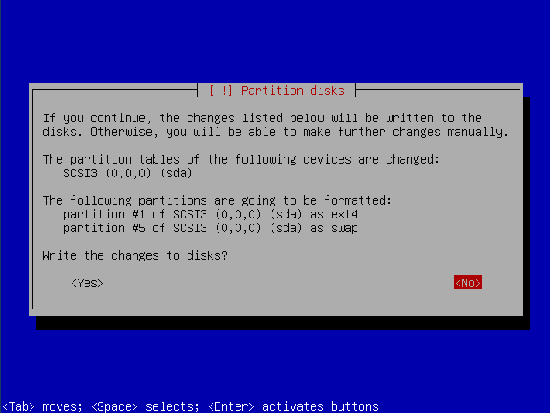
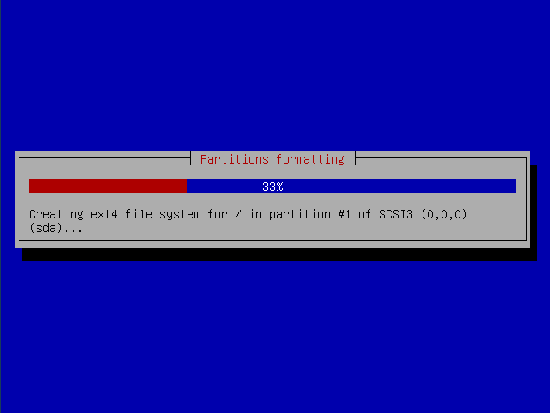
Now the system will partition your hard drive: