Back Up (And Restore) LVM Partitions With LVM Snapshots - Page 3

4 Restore A Backup

This chapter is about restoring the /dev/server1/root volume from the dd image we've created in the previous chapter. Normally you can restore a backup from the same running system if the volume that you want to restore doesn't contain system-critical files. But because the /dev/server1/root volume is the system partition of our machine, we must use a rescue system or Live-CD to restore the backup. The rescue system/Live-CD must support LVM.

To restore the /dev/server1/root volume, I boot the system from the Debian Etch Netinstall CD and type in rescue at the boot prompt:

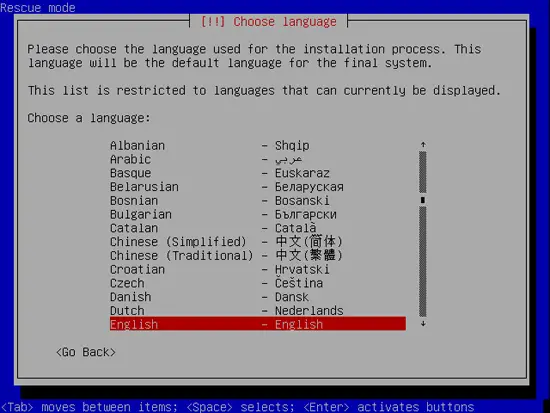
Select your language:

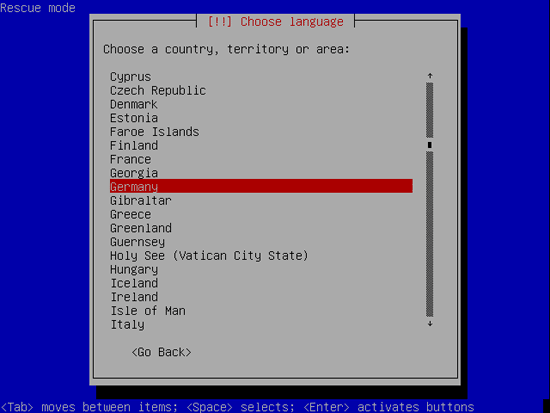
Choose your country:

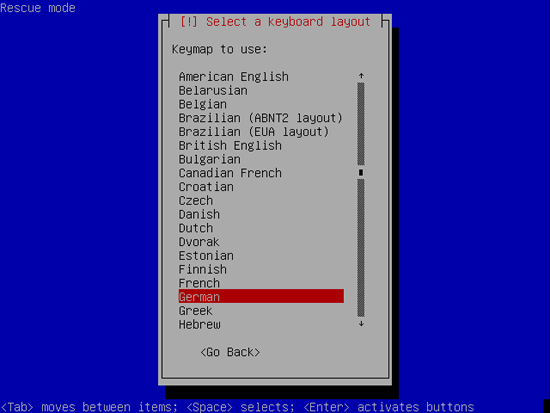
Choose your keyboard layout:

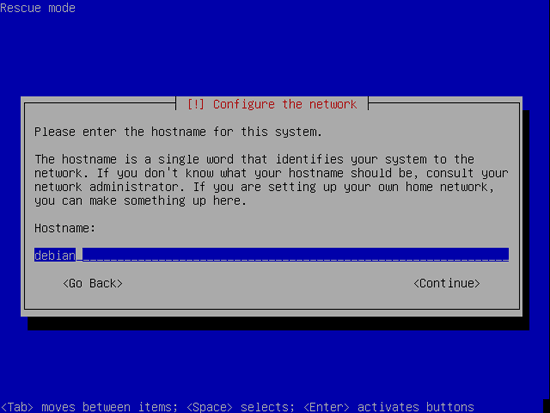
You can accept the default hostname:

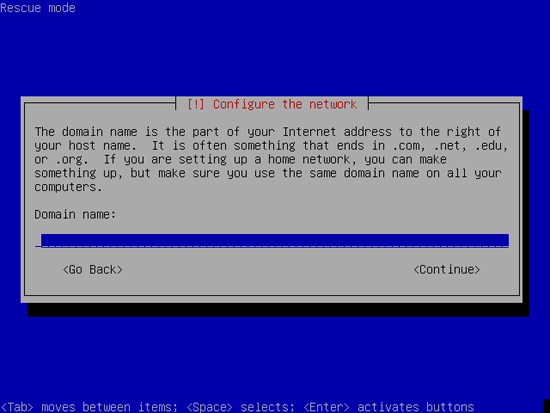
You can also accept the default domain name (which is empty):

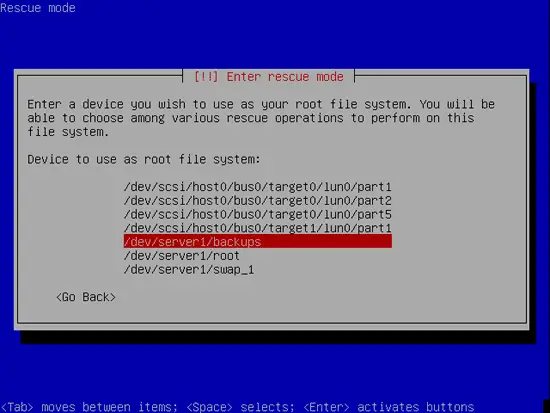
Select the backup volume (/dev/server1/backups) as the root file system:

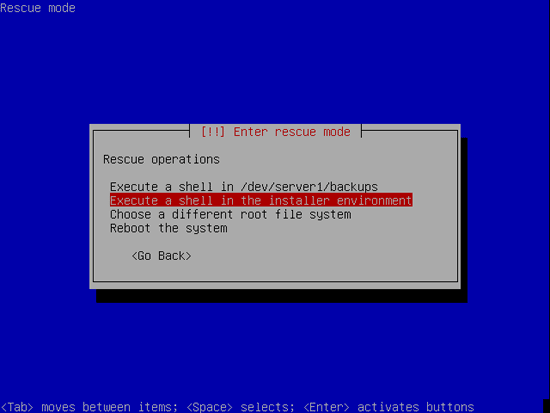
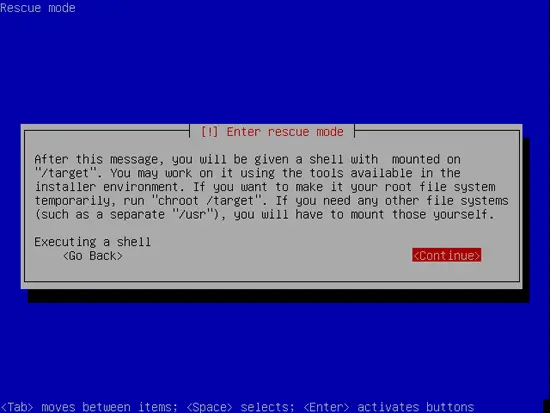
Then select Execute a shell in the installer environment:

Hit Continue:

Now we have a shell:
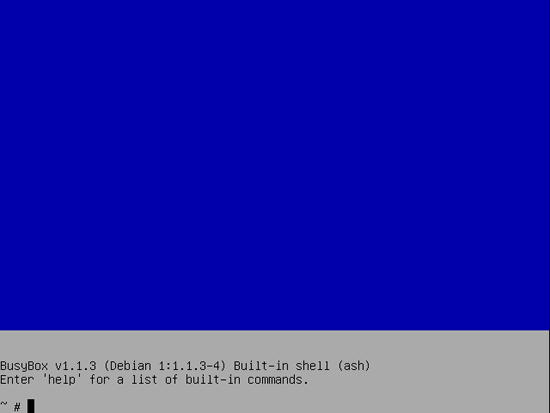
Run

mount

and you should see that /dev/server1/backups is mounted on /target. So the dd image of the /dev/server1/root volume should be /target/root.dd. To restore it, we simply run

dd if=/target/root.dd of=/dev/server1/root

That's it. It can take a few minutes until the task is finished. Afterwards you can remove the Live-CD and boot into the normal system again.


Share this page:

Suggested articles

10 Comment(s)

Add comment

Comments

By: Ritesh Raj Sarraf

Thanks for pointing out dd+compression_utils.

I was wondering if there are tools which could take a block diff and allow generating a delta ?

By: Anonymous

look at rdiff-backup

By:

I really enjoyed the tutorial, everything worked well and  it was nice and straight forward, but would you mind including how to restore a tar style backup?  dd backups are great, but they don't allow for the use of compression and use space on the destination disk for the free space on the source disk.

By: Anonymous

dd image files are very compressable! Just run gzip(1) or bzip2(1) on the 'rawImageFile.dd'.  Bzip2 will give you better compression, but will take longer (use pbipz2 if you have a multi-core box, it'll be faster).  This will give you rawImageFile.dd.bz2. 


You just have to have storage space available to uncompress it when you do a restore.  If you're of the geeky persuasion, pipe the output of bunzip2(1) directly to the disk.  This also applies to compressing the image file; you can pipe the output of dd(8) to bzip2 and compress the image, on the fly, directly to the raw file.

By: suresh

thanks a lot for this wonderful tutorial ,  keep it up

By: Drumar

Great job describing how this is done, this gave me all the pointers I needed to get the job done on an external disk. Since it's not that obvious, I'll give some pointers here:

Your snapshot must be in your volume group; But my volume group is 100% in use :-) But shortly I'll want to do an upgrade that I can revert if things go wrong...

My volumegroup has the name rootvg with the / partition on rootlv (sorry, grew up with lvm on AIX)

My external disk is on /dev/sdc1 and I bought it for this purpose mainly, so it can handle the 50G rootlv with ease (it's 1.5TB)

I noticed that for a snapshot you need slightly more space on disk than the size of the volume; so to be safe I added 10% (probably quite overdone)

mounted my /dev/sdc1 on /mnt/bigdisk

dd if=/dev/zero of=/mnt/bigdisk/rootlv_snapshot bs=1024 count=55M # this creates a 55G image file

added this image to the loopback interface:

losetup -f /mnt/bigdisk/rootlv_snapshot

added the 8e filesystem identifier with fdisk /dev/loop0

created the physical volume: pvcreate /dev/loop0

added it to rootvg: vgextend rootvg /dev/loop0

went on as described; you can dd /mnt/bigdisk/rootlv_snapshot, mount it and tar your files;


Cleaning up goes like

- umount the snapshot volume

- remove the logical volume: lvremove /dev/rootvg/rootsnapshot

- remove the physical volume from rootvg: vgreduce rootvg /dev/loop0

- remove the pyhsical volume: pvremove /dev/loop0

- detach the image from the loopback interface: losetup -d /dev/loop0

- remove the image file: rm /mnt/bigdisk/rootlv_snapshot

- bzip2 the dd image

Hope this helps people getting a backup done when their vg is fully used.

By:

What is the purpose to create a loop back device on the external usb storage ?

By: Drumar

It allows the file to be treated as a device, so it can be attached to the volumegroup, which allows it to be the snapshot device.

By: Johnny

Awesome tutorial, people like you keep linux going.  Thanks.

By:

If root hdd failure and no longer bootable, after replaced with a new hdd, could I use the snapshot backup image to restore back the whole system ?