Installing Elgg On An ISPConfig 3 System - Page 2
On this page
4 Creating A Database
Next we must create an empty MySQL database for the Elgg installation. Go to Database on the Sites tab and click on Add new Database:

Fill in a database name (e.g. elgg) and a username (e.g. elgg) as well as a password; normally you don't need remote access so you can uncheck that. Click on Save afterwards:

Similar to the FTP user, the database name and user get a prefix (default in this example); you can see the final database name on the overview page (default_elgg). The username is defaultelgg accordingly (without the underscore):

5 Creating A Shell User
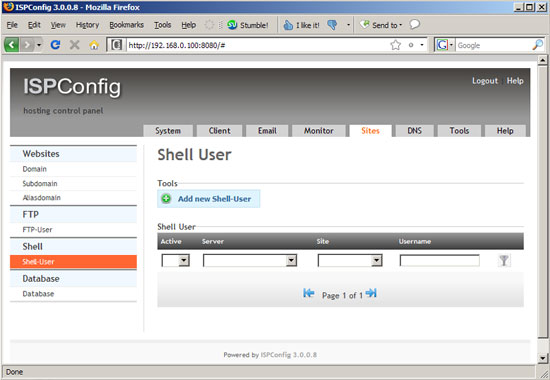
The Elgg installation will require us to create some cron jobs on the shell (as a normal user). Therefore we create a shell user now (you can delete it after the installation, if you like). Go to Shell-User on the Sites tab and click on Add new Shell-User:

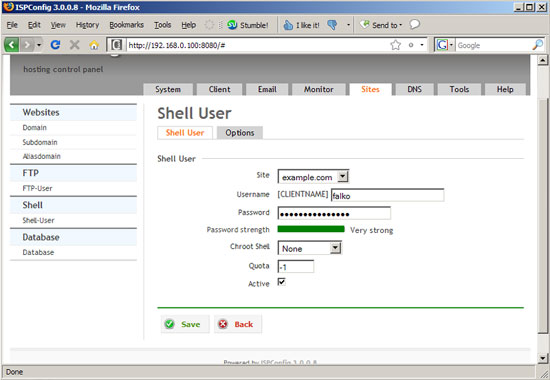
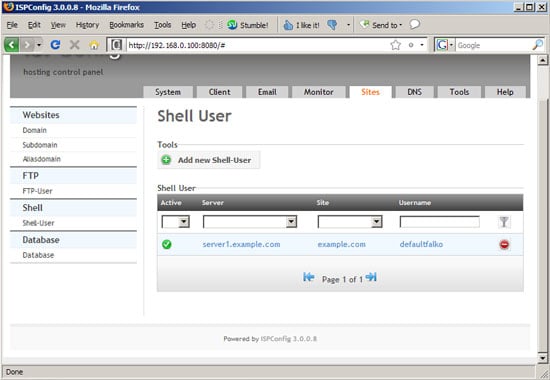
Select the web site (example.com) and fill in a username and password. The username will have a prefix again, so you can see the full username...

... on the Shell User overview page:


