Howto setup your OTP appliance with privacyIDEA
In this howto we will setup a system that can act as your own personal OTP appliance, managing all authentication devices in your network. You then may configure your services to authenticate against this machine. It is a good idea to use some virtualization mechanism. If you have some old hardware around, this is even as good.
We will install privacyIDEA on an Ubuntu 14.04 LTS system, which you may have seen earlier here or here. But this time we will do it even smoother and more elegant!
Base installation
Disclaimer: I assume you are user root in this scenario. If not, you should add "sudo" in front of every command.
So first we install a plain ubuntu server 14.04 LTS with nothing on it. Please do not install any database or webserver. You should only select openssh to run as a service on this machine.
Install privacyIDEA
privacyIDEA 1.3.3 comes with a bunch of new debian packages in a launchpad repository, which makes it eaven easier to setup.
First we need to add the repository to the system:
apt-get install software-properties-common
add-apt-repository ppa:privacyidea/privacyidea
apt-get update
Now that we added the privacyidea repository, you can take a look, what is available:
root@ubuntu:~# apt-cache search privacyidea
privacyidea - two-factor authentication system e.g. for OTP devices
privacyideaadm - admin client for privacyIDEA
privacyidea-radius - FreeRADIUS module for privacyIDEA, OTP authentication
privacyidea-all - two-factor authenticaion system. This is a metapackage to install everything.
privacyidea-otrs - OTRS module for privacyIDEA, OTP authentication
privacyidea-nginx - two-factor authentication system. This is a meta package to install privacyidea with nginx
privacyidea-appliance - two-factor authentication system. This is a setup tool for easy system setup.
There are different (meta)-packages for different scenarios. As mentioned, we would like to install a kind of "appliance". So lets do it:
apt-get install privacyidea-appliance privacyidea-radius
This will install the Nginx webserver, MySQL database, the FreeRADIUS server and privacyIDEA with all the python dependencies.
You will be asked to enter a MySQL root password. Choose a good one - we do not need it later! ;-)
After the installation you are ready to configure your appliance.
Configure your appliance
There is a tool to configure all necessary means of your appliance. Start it at the command line as user root.
privacyidea-setup-tui
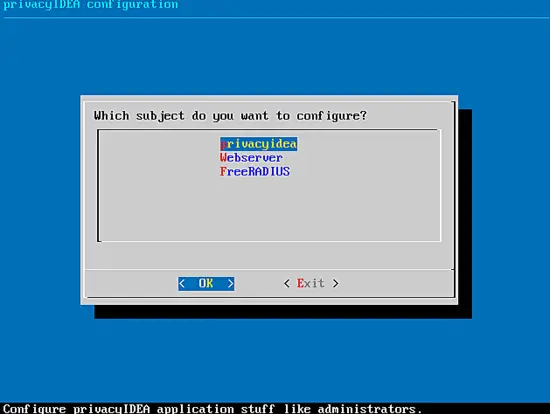
This is a dialog based text UI tool, that lets you perform all relevant tasks on the operating system level like managing your token administrators, setting log levels, regenerating encryption and signing keys, set the right webservice and RADIUS sevice and managing your RADIUS clients.
At least we need to perform the following tasks:
- create at least one token administrator
- create the MySQL database
- create a RADIUS client
The tool is based on parser logic for the FreeRADIUS client files, privacyIDEA ini files and the nginx file. So you can also edit the files at the command line, the changes will be preserved.
Note: The setup tool will not preserve any comments in the files, if you edit those files manually!
Create your token administrator
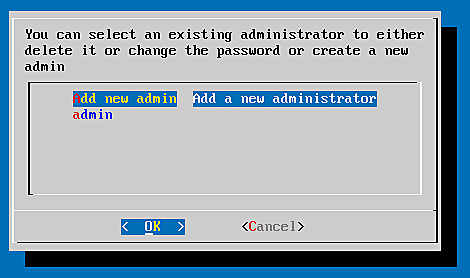
To manage your token administrators go to privacyidea ? manage admins.
There you can choose Add new admin.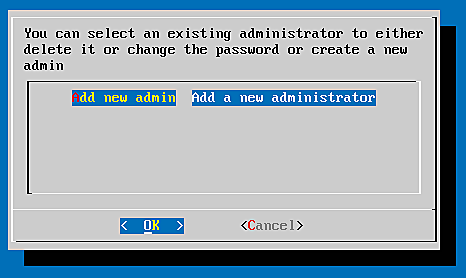
You will be asked for:
- A username, where I choose admin and
- the password (twice!) which is not echoed on the screen.
Now you created your admin (or admins) you can hit cancel and cancel and return to the main menu.
Create the MySQL database
You also might skipt this step. privacyIDEA would then run with the SQLite database at /var/lib/privacyidea/. But we choose to use a MySQL database in this scenario.
So go to privacyIDEA ? database...
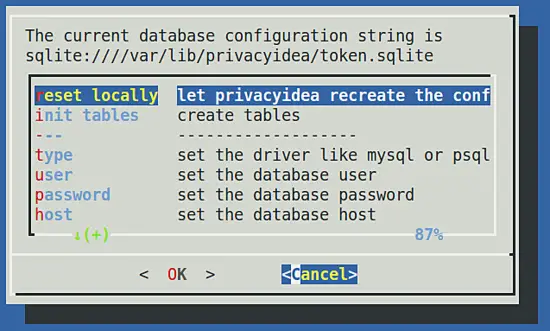
There you can choose reset locally, which will create the MySQL database, create a user and setup the database tables.

Yes, we do!
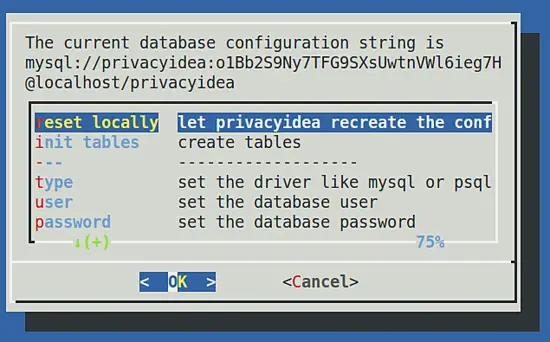
Finally you see the new configuration, using the MySQL database.
Create your RADIUS clients
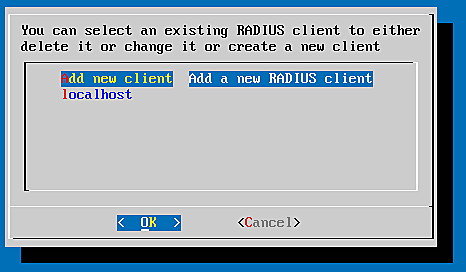
In the main menu choose FreeRADIUS ? client config to manage your RADIUS clients. The default /etc/freeradius/clients.conf comes with a localhost client, this is why you already see one client in the list.
Note: You can not delete the last client, so we create new clients!
We will create a client network to cope with all possible clients in your network and the client localhost, to run tests against the system. So I choose these values - you should adapt the network accordingly:
- mynetwork
- name: mynetwork
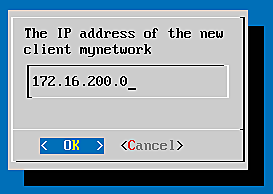
- ip: 172.16.200.0
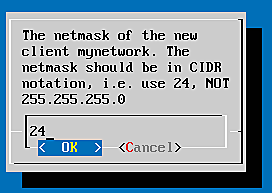
- netmask: 24
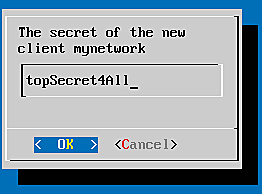
- secret: topSecret4All
- shortname: empty
- localhost
- name: localhost
- ip: 127.0.0.1
- netmask: 32
- secret: topSecretOnce
- shortname: empty
We choose Add new client to create the new client "mynetwork" and the dialogs will ask us for the above values. Thus all clients on the network 172.16.200.0/24 will be able to issue a RADIUS request with the RADIUS secret "topSecret4All".
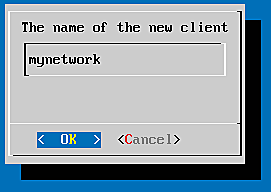
The name of the client configuration
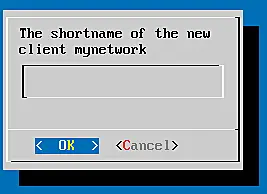
The shortname can be left blank
You can select the client "localhost" and delete it. After that you can create a new client "localhost" according to the above settings.
Done configuring
Now you are done configuring the base system. The setup tool should realize, that you change important data and restart the services. But just to be sure you can do this manually:
service uwsgi restart
service freeradius restart
Enroll your Token
You can now enroll your authentication devices, which is done using the management Web UI. Point your browser to https://your-server, accept the certificate warning of the self signed certificate and you will get the login screen:

On this login screen you can login as a token administrator. All the token administrator you created need to add "@admin" to their name, to indicate, that they are administrators.
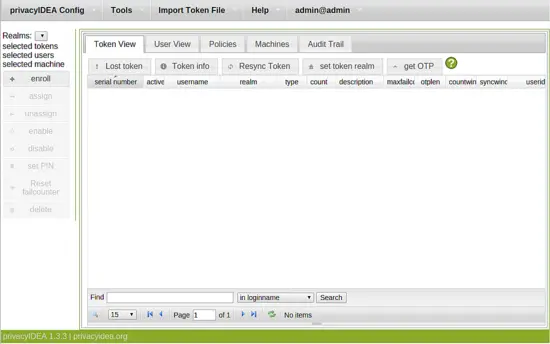
The web UI gives you a view of tokens, users, policies, machines and the audit log.
Connect to user source
As privacyIDEA does not manage users itself we need to read users from some source. We will use the /etc/passwd file.
Click on privacyIDEA config ? useridresolvers, click the button New and select Flatfile.
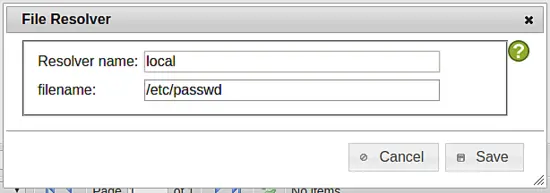
Click save to save the resolver definition with the name "local".
Note: At any point you may click the white question mark in the green circle which will take you to the context online help in another browser window. In fact it might be a good idea to read something about resolvers and realms ;-).
When you close the resolver window you will be either taken automatically to the realm window or you can click privacyIDEA Config ? realms to create a new realm. In this dialog you need to click New.
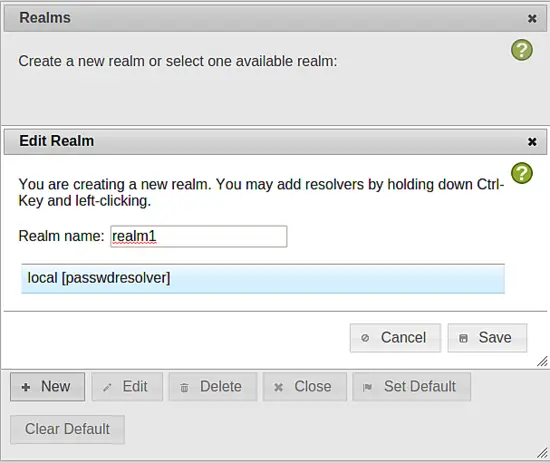
Enter the name of the realm ("realm1") and select the resolver ("local") and click Save.
Then you will see the new realm in your realm list.
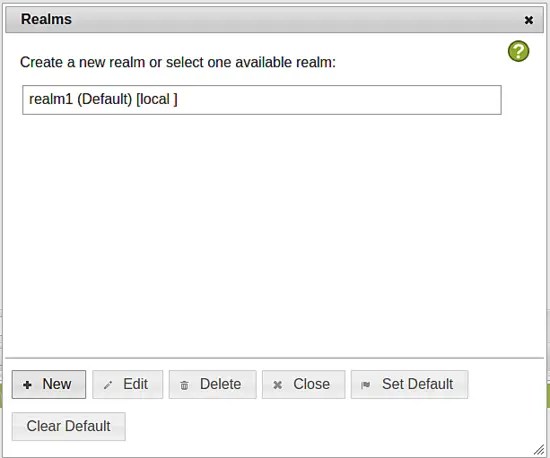
You may close the window and click the tab User View.
Enroll a token to the user
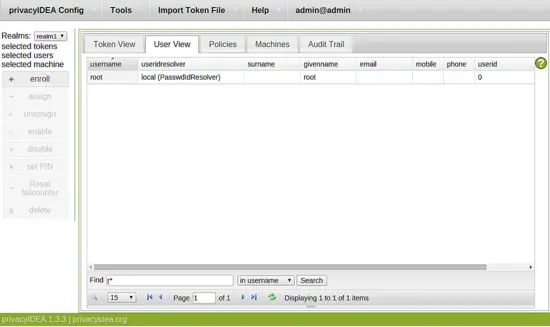
At the bottom you can search for a user by entering "r*" and clicking the search button. You will see the user root. Select the user by clicking on it. The user will be mentioned in the left sidebar as selected user. Now you can click the button enroll in the left sidebar.

Then the enrollment dialog will open. Choose the "HMAC eventbased" token type and select generate HMAC key.
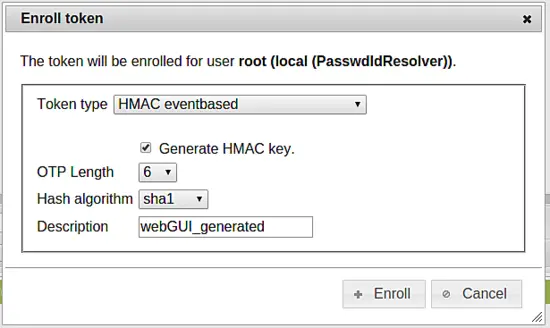
Click the button Enroll. The server will create a secret key and render a QR code that can be scanned with the Google Authenticator App. This Google Authenticator app will now work as an authentication device.

After you have scanned the QR code you can click OK and finally set a PIN - a password that only you know - for this very token.

Now you have two factors to authenticate with - the PIN and the OTP value generated by your authentication device.
Test your system
Now we can check the system by issuing a RADIUS request to this appliance. I will do it from the system itself being logged in as root via ssh with a command like:
echo "User-Name=root, Password=PIN+OTP" | radclient -s 127.0.0.1 auth topSecretOnce
The Password being concatenated from the PIN and the OTP value and "topSecretOnce" being the shared secret for the localhost.
root@ubuntu:~# echo "User-Name=root, Password=test570391" | radclient -s 127.0.0.1 auth topSecretOnce
Received response ID 209, code 3, length = 55
Reply-Message = "privacyIDEA server denied access!"
Total approved auths: 0
Total denied auths: 1
Total lost auths: 0
root@ubuntu:~# echo "User-Name=root, Password=test137634" | radclient -s 127.0.0.1 auth topSecretOnce
Received response ID 180, code 2, length = 48
Reply-Message = "privacyIDEA access granted"
Total approved auths: 1
Total denied auths: 0
Total lost auths: 0
Note: Due to a different starting counter in the App and in the server the first authentication will fail.
Now you can take all your RADIUS enabled applications (Firewall, OpenVPN) and configure it to authenticate against privacyIDEA using the previously defined shared secret.
Happy authenticating!


