How to create a Security Group (SG) and Network Access Control List (NACL) in AWS
Security Groups (SGs) and Network Access Control Lists(NACLs) are the features that come with Virtual Private Cloud (VPC) in Amazon Web Services(AWS).
SG acts as a firewall for our instance to control or restrict inbound and outbound traffic. When we launch an instance in a VPC, we can assign up to five security groups to the instance. Security groups act at the instance level and not the subnet level. If we don't specify a particular group at launch time, the instance is automatically assigned to the default security group of the VPC.
We can add rules in the SG that control the inbound traffic to instances, and a separate set of rules that control the outbound traffic.
An NACL is an optional layer of security for the VPC that acts as a firewall for controlling traffic in and out of one or more subnets. We can set up NACLs with rules similar to SGs in order to add an additional layer of security on the Subnet.
Before proceeding further to create an SG and NACL, lets see the difference between both of them.
- SG Operates at the instance level whereas NACL operates at the subnet level.
- SG Supports allow rules only and NACL supports allow rules and deny rules.
- SG evaluates all rules before deciding whether to allow traffic and in NACL rules are processed in number order when deciding whether to allow traffic.
- SG is applied to an instance only if someone specifies the security group whereas NACL is automatically applied to all instances in the subnets that it's associated with.
In this article, we will see the steps to create an SG and NACL.
Pre-requisites
- AWS Account (Create if you don’t have one).
What we will do?
- Login to AWS.
- Create a Security Group
- Create a Network Access Control List.
Login to AWS
- Click here to go to AWS Login Page.
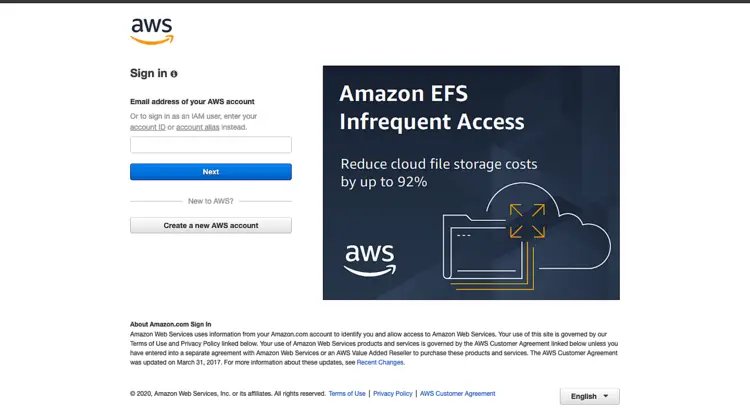
When we hit the above link, we will see a web page as follows where we are required to login using our login details.
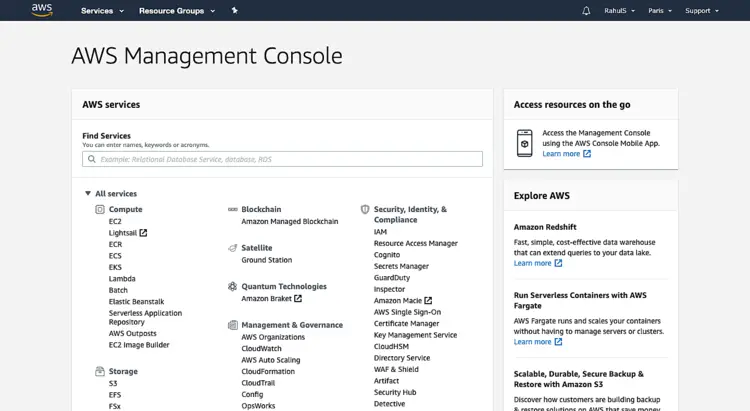
Once we login into AWS successfully, we will see the main console with all the services listed as follows.
Create a Security Group
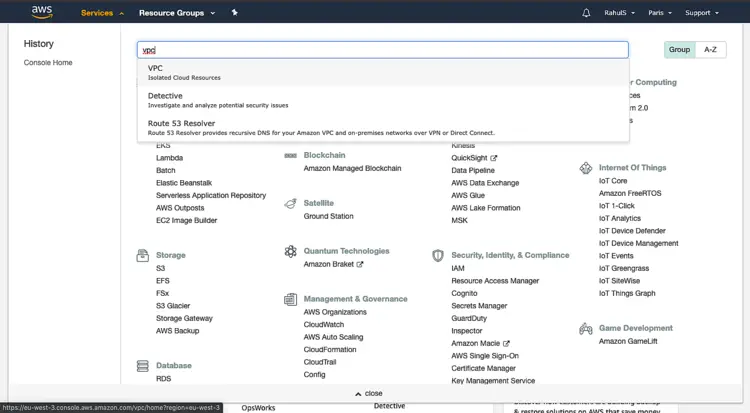
To create an SG, click on "Service" at the top menu bar and search for "VPC" and click on the result.
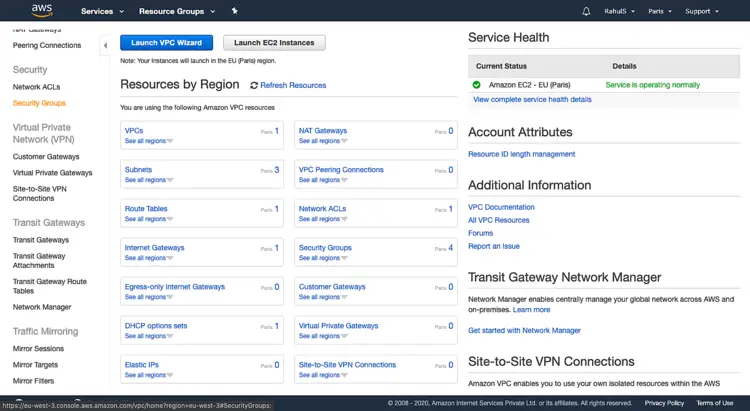
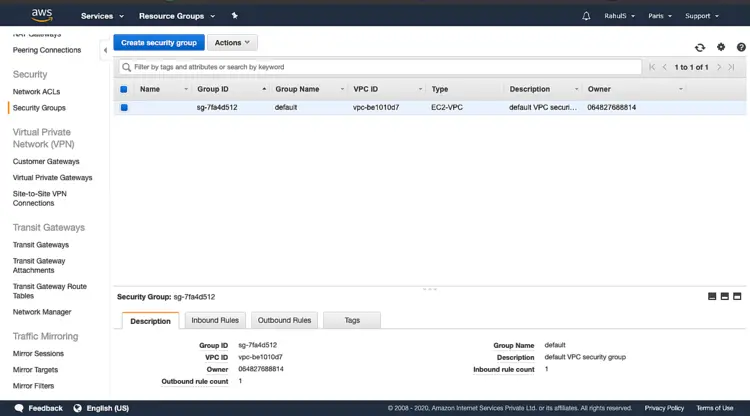
On the main VPC Dashboard, click on "Security Group" from the left panel to create your first security group.
Click on “Create security group” to create it.
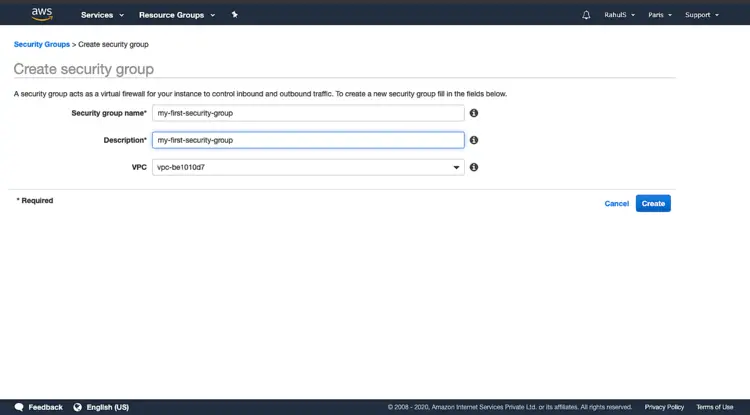
Give a name to the Security group to be created along with the description to it which can help to understand the purpose of it.
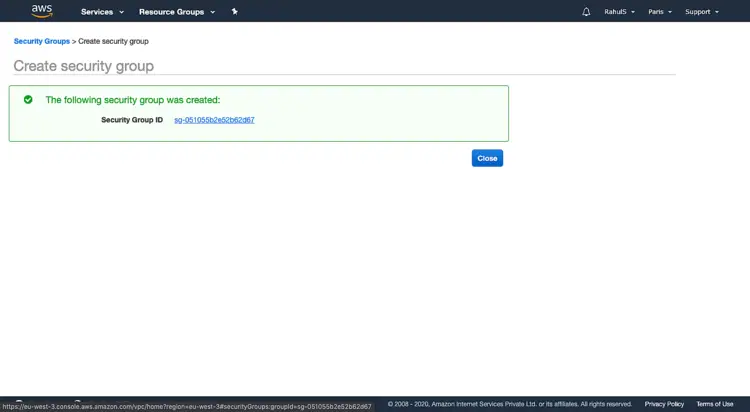
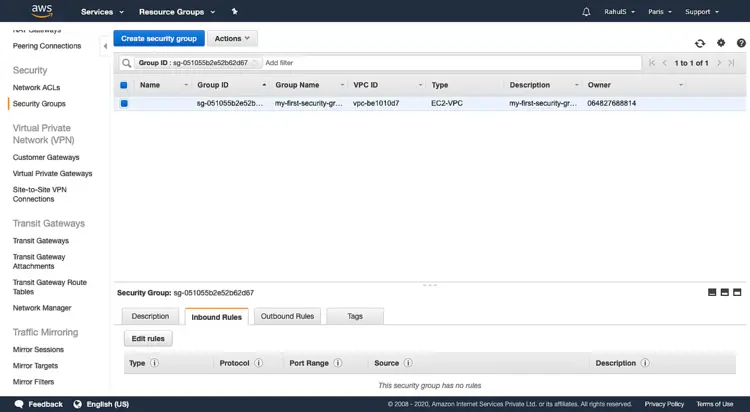
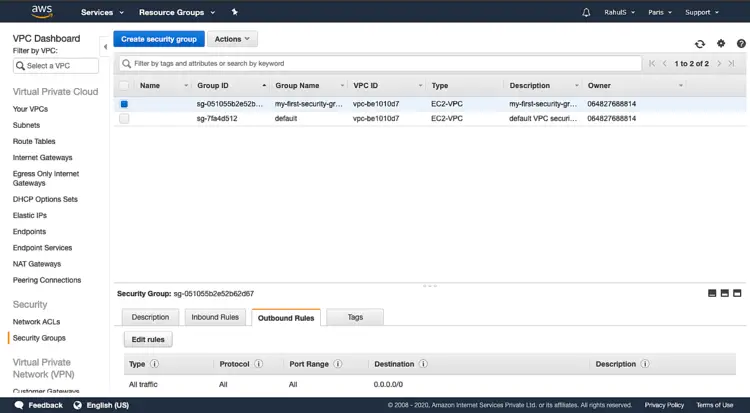
Once the Security group has been created, you can see the screen as follows. Click on the Security Group ID Link to go to the SG and add Inbound and Outbound Rules.
Here, click on "Inbound Rules" available at the bottom menu beside the description and click on "Edit Rules" to add rules in this SG.
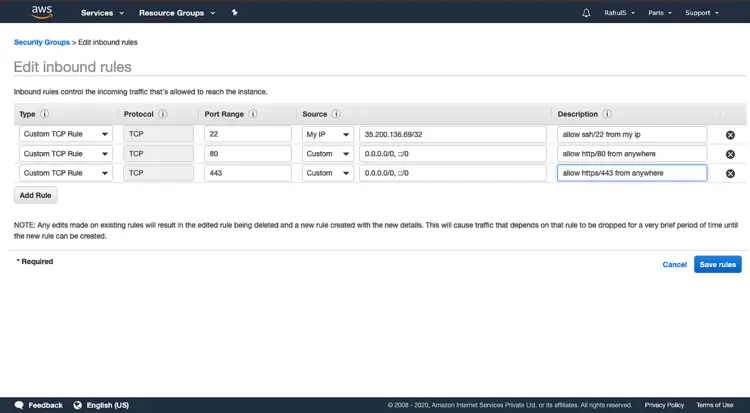
You can choose the type of Rule to be added, its port/port range. In Source you can select either "My IP", "Custom" or "Anywhere", this decides the source to be allowed. Add description which helps to understand the purpose of the Rule added. Once you are done with adding the desired rule click on "Save rules".
The way we added Inbound Rules, Outbound rules can also be added.
Create a Network Access Control List
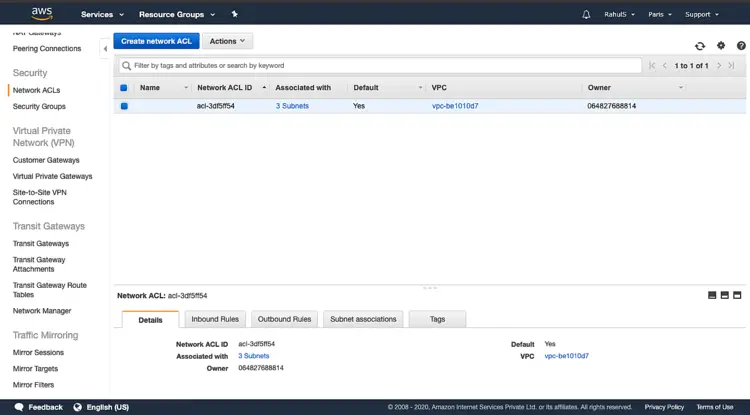
To create an NACL, click on "Network ACLs" from the left panel.
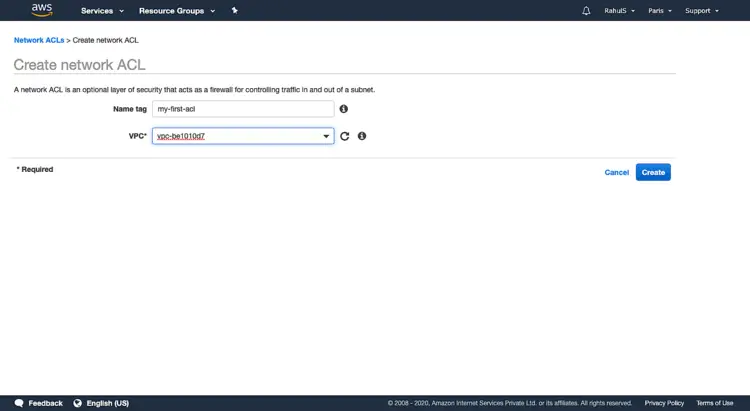
Give a name to the NACL and select the VPC to which this NACL will be applied and click on Create.
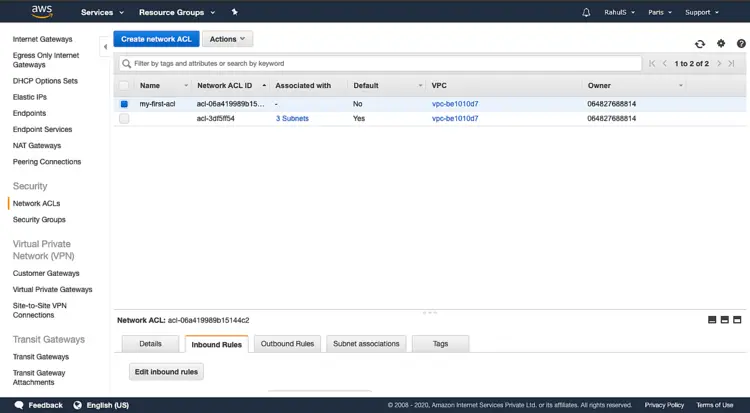
Select the NACL you just created and click on "Inbound Rules" from the bottom menu.
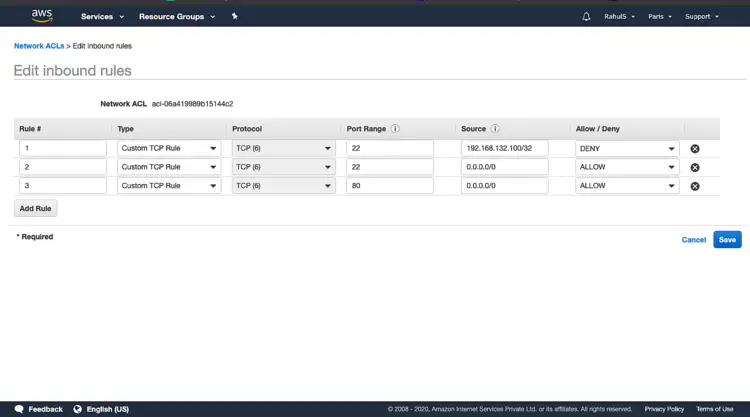
Add Rule number which decides the priority over other rules. The lowest number has the highest priority. Here, the first rule has Priority 1 for port 22 as Deny. This means that even if the second rule has Allow for all(0.0.0.0/0) with lower priority, this second rule will not have any effect on the Source of the first rule and will still deny to the source of the first rule. Be very careful while adding rules and Rule numbers to them. Once done with adding all the required rules, click on "Create".
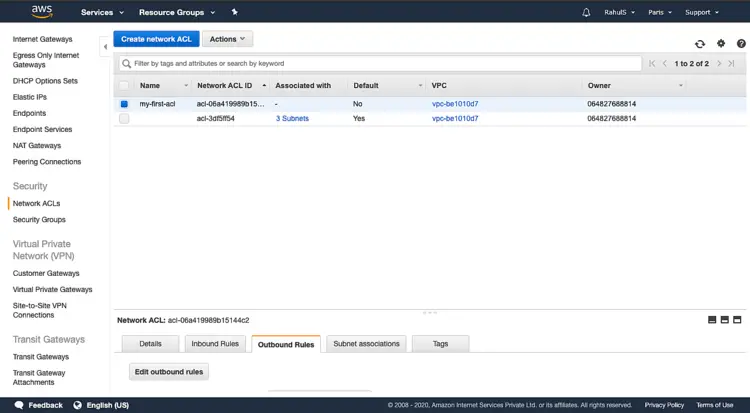
You can follow the same steps to add outbound rules.
Conclusion
In this article, we saw the steps to create an SG and NACL. Creating an SG or NACL is very easy but be very careful while adding the rules to them and especially to NACL.

