Floppy Disks vs 21st Century Linux
Headlines proclaim the demise of kernel support for floppy drives. Here's what to do with your collection of diskettes and how to do it.
Philip L. Gilmer, August 11, 2019
Recent headlines proclaim the imminent demise of support for the venerable floppy disk drive in the Linux kernel. My stomach churned and my heart gave a flutter or two. I have been in this business quite a few years and my collection of floppy disks goes back to 8-inchers. “Not again!” I thought.
Fortunately, further research indicated that the headlines overstated the situation somewhat. All floppy support isn't going away—just support for drives connected to dedicated floppy controllers. That USB drive you bought to bring diskette read/write capability to newer computers uses a different support mechanism and will continue to be supported—for now. All the same, it seemed like now was a good time to do something with all these diskettes.
History
The first floppy disks were 8 inches in diameter and were introduced by IBM in the late 1960s as mainframe components. IBM designated them as their “Type 1 Diskette” but the term “floppy disk” caught on very quickly. Late double-sided versions were capable of holding about 1.2 megabytes of data.
5-1/4 inch drives soon followed. Though less expensive they could hold only a modest amount of data. Initially holding only about 72 kilobytes of data, competition increased capacities to about 630 kilobytes.
The first 3-1/2 inch floppy drive was a marvel in its time. The “floppy disk” was no longer so floppy. Early Apple Macintosh computers used a 400 kilobyte size. IBM introduced the form factor in 1986 for its IBM PC Convertible line, bringing us the ability to store a “whopping” 720 kilobytes. The later PS/2 Series of IBM PCs increased the capacity to 1.44 and even 2.88 megabytes of data. But time marches on. Innovations like Iomega's Zip Drive and 3M SuperDisk LS-120 and LS-240 drives took capacities up to the 750 megabyte mark.
Advancements in CD and DVD technologies pretty much spelled the end of floppies. Though CDs were initially read-only media, writable devices soon became available and pushed storage capacities from 650 megabytes into the gigabyte range with dual-layer DVDs having a capacity of 8 gigabytes.
Thumb drives are the weapons of choice for most of us these days. Small, cheap, and handy they provide storage capacities now approaching a terabyte.
Great! I use the new technologies like every one else. But what do I do with all these floppies I have?
The Quandary
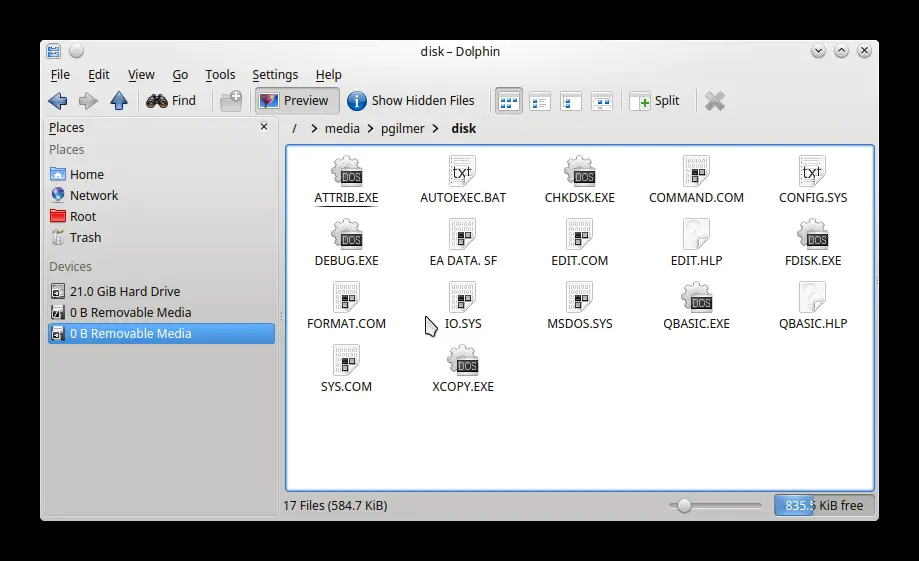
To be sure, many of these old diskettes contain data files of one sort or another and the files could be copied to a directory on my Linux system. Since I use Linux Mint KDE, I don't even have to manually mount the diskettes. Mint will offer to do that for me when the diskette is inserted. Open my file manager and I can simply drag and drop files to their new locations.
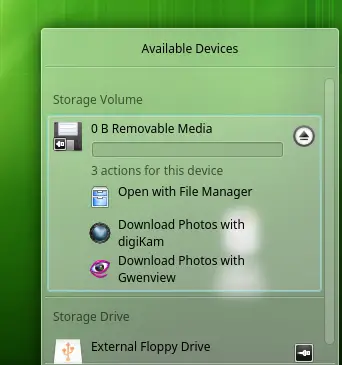
Other Linux distributions may do it a little differently, but most will give you a way to easily mount a floppy drive. Click on the diskette entry and the options will be displayed. I select “Open with File Manager” to view the files on the diskette.
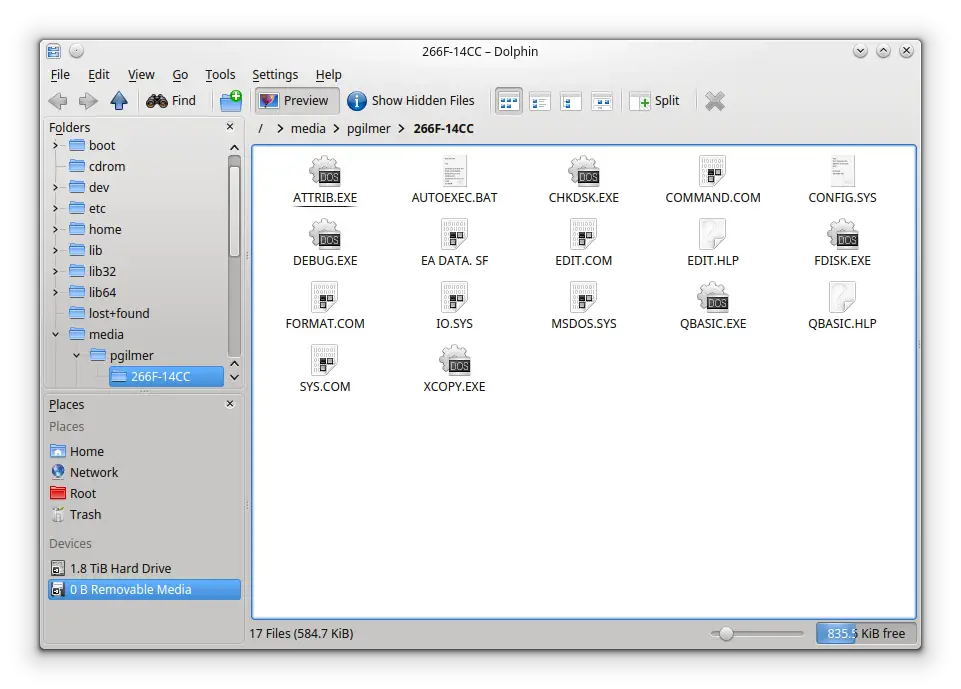
Copy the files to the directory of your choice by simply dragging and dropping them.
What to do with other diskettes was not so simple. To be of any use, they had to be useful as diskettes. I have made images of diskettes under DOS and Windows. But it was a long time ago. And the programs that I used are 16-bit DOS programs and will not run on any version of Windows since Windows XP.
Fortunately the process of doing this is simple. And you don't need any third-party vendor program to do it. Linux contains everything you need to do the job.
The Solution
We will use a program called dd to actually create the image.
The first thing we need to do is to find out where the floppy drive is mounted.
Plug your USB drive into the system, wait a few seconds, and then issue the command:
dmesg | tail
The output will look something like this:
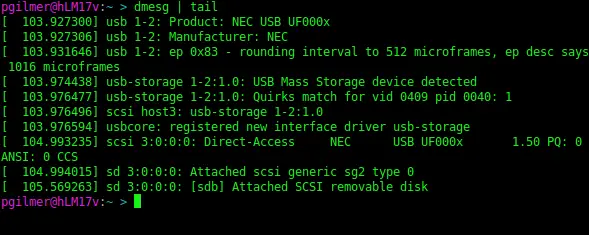
The last line here indicates that the floppy is designated /dev/sdb.
If you are using a floppy drive attached to a dedicated controller, then your device will look something like /dev/fd0 or /dev/floppy. Insert a floppy into it and use the df command to see the device used:
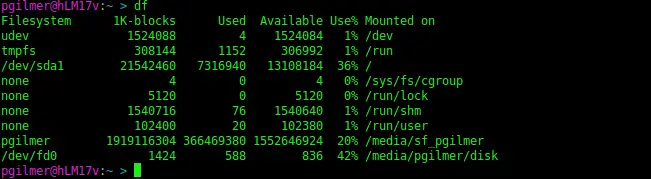
In our example the device assigned is /dev/fd0. If this is your configuration, then use this device wherever /dev/sdb is used in the examples below.
Insert a floppy to be imaged, switch to the directory where the image is to be stores, and issue the command:
dd if=/dev/sdb of=test.img
You will, we hope, see something like this:
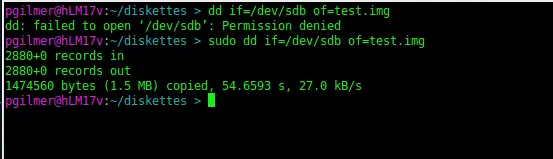
There are a couple of problems with using dd in its simplest form.
One, no matter how much or how little of the diskette is used, the image created will reflect the size of the diskette, in this case 1.44 megabytes. We can compress the file using the gzip command:
gzip test.img
with the following result:
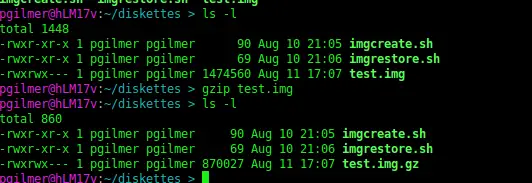
The file test.img is compressed and replaced by test.img.gz, which is smaller by almost half.
Two, the dd program doesn't handle errors as we might like. By default, if it encounters an error, a bad sector for instance, it reports the problem and quits.
Fortunately dd has the means to let us deal with some errors.
We will add the parameters to ignore the error and keep going. Furthermore we'll have it fill the unreadable section with zeros, so that we have no truncated data. I am going to alter the block size of the copy from 512 bytes to 1024 bytes, so that the record count now will equal the disk capacity (in kilobytes). Our copy now looks like this:

As before we can compress the file using the gzip utility.
It would be really nice to do this in one single step. Using the pipe (“|”) operator we can do this. We will issue the following command:
sudo dd if=/dev/sdb bs=1024 conv=sync,noerror | gzip > test.img.gz
With the following result:
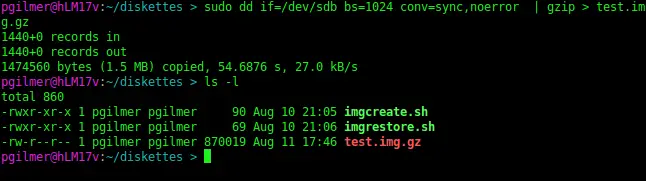
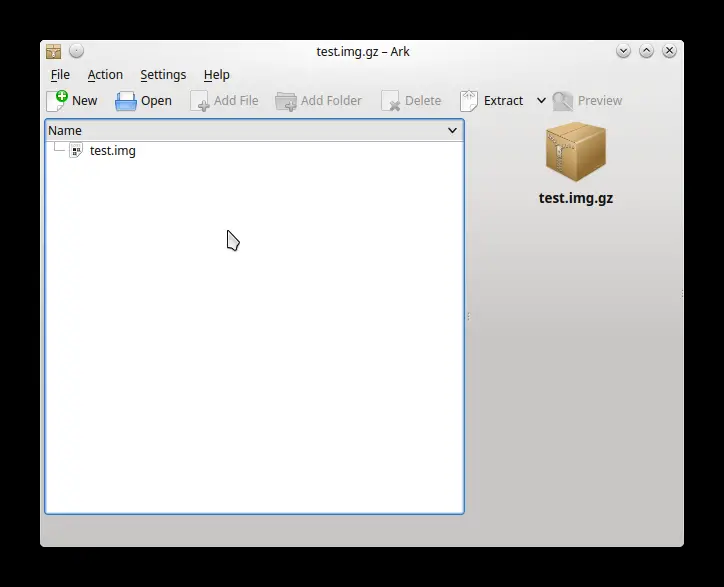
Since we supply a name ending with the file extension .gz, the gzip program uses the remainder of the file name as the name of the internal file, “test.img”. I highly recommend this naming convention. Without it gzip and gunzip get confused and the results can be unpredictable. So use <name>+".img"+".gz". If your name contains blanks or other special characters, enclose the whole name in quotes.
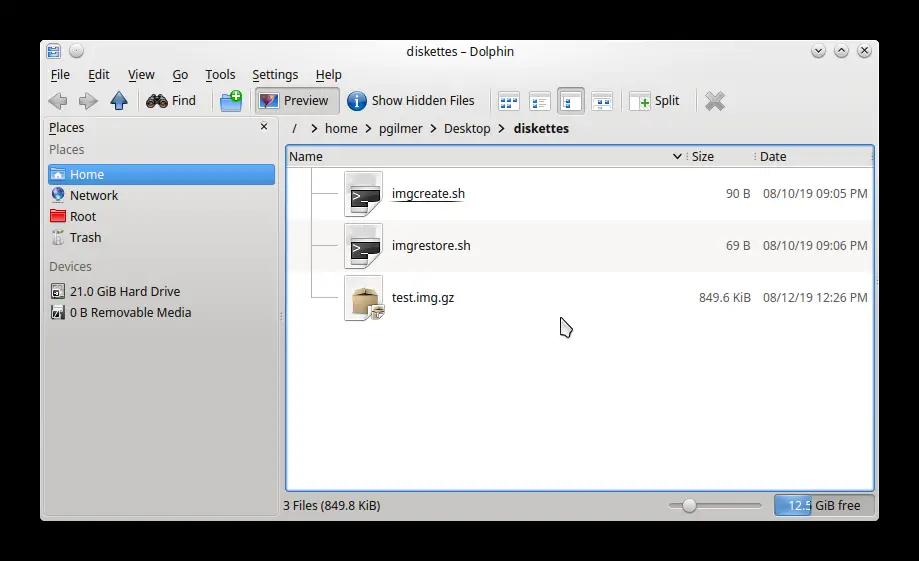
If we open our file in the archiver, we can see the actual file name:
Add a Progress Indicator
Our commands work, but you can't really see what is going on. It would be nice to be able to see if things are moving along like they should.
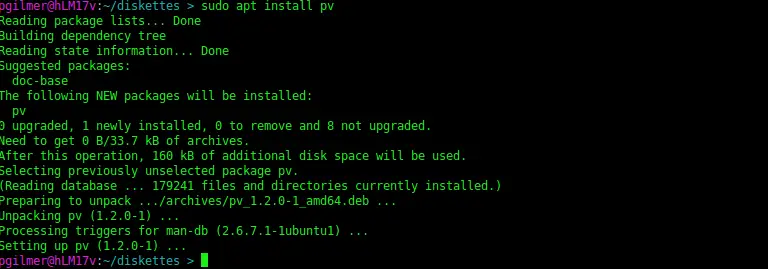
There is a dandy little utility called pv that will do the job. Install it from your distributions repositories. Linux Mint uses the apt package manager, so we install it using the command:
sudo apt install pv
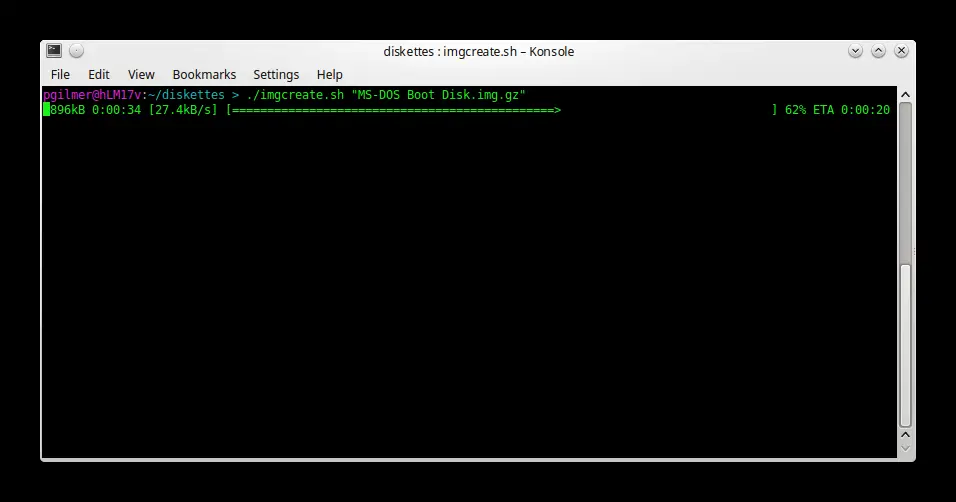
Using pv we now have our progress indicator. So our image creation process now looks like this:
pv -tpreb /dev/sdb | dd bs=1024 conv=sync,noerror | gzip > test.img.gz

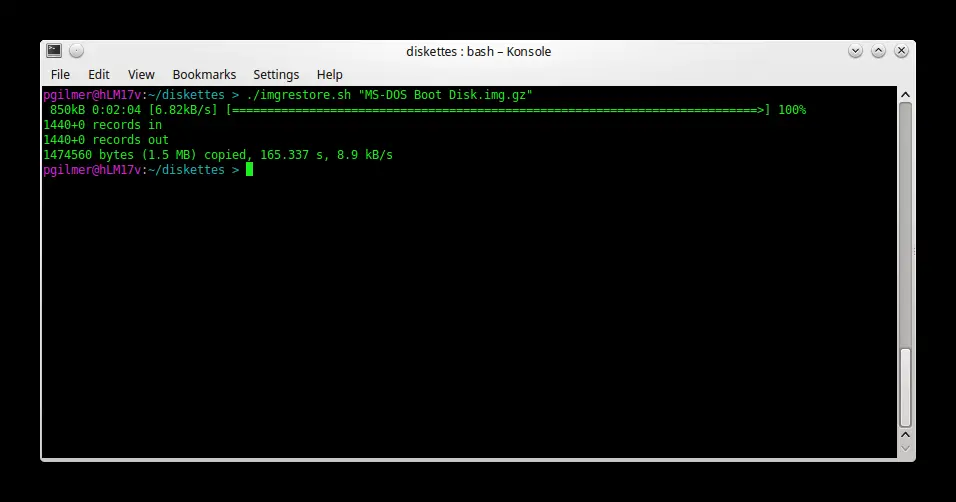
Similarly, our diskette restoration process becomes:
sudo pv -tpreb test.img.gz | gunzip -c | dd of=/dev/sdb

Making This Easier to Use
To make these commands easier to use, I created a couple of bash scripts. To image a diskette, use imgcreate.sh:
#! /bin/sh
#!
#! imgcreate.sh - Shell to create diskette image file from floppy diskette
#! Author - Philip L. Gilmer, 11-Aug-2019

#!pv -tpreb /dev/sdb | dd bs=1024 conv=sync,noerror,excl | gzip > "$1"

exit 0
Invoke using the name and the compressed file name.
To recreate the floppy, use imgrestore.sh:
#! /bin/sh
#!
#! imgcreate.sh - Shell to create diskette image file from floppy diskette
#! Author - Philip L. Gilmer, 11-Aug-2019
#!


pv -tpreb /dev/sdb | dd bs=1024 conv=sync,noerror,excl | gzip > "$1"


exit 0
Remember to change to device name if the floppy drive is not /dev/sdb.
Dealing with Errors
Okay, we're busy as can be imaging our diskettes and something like this happens:
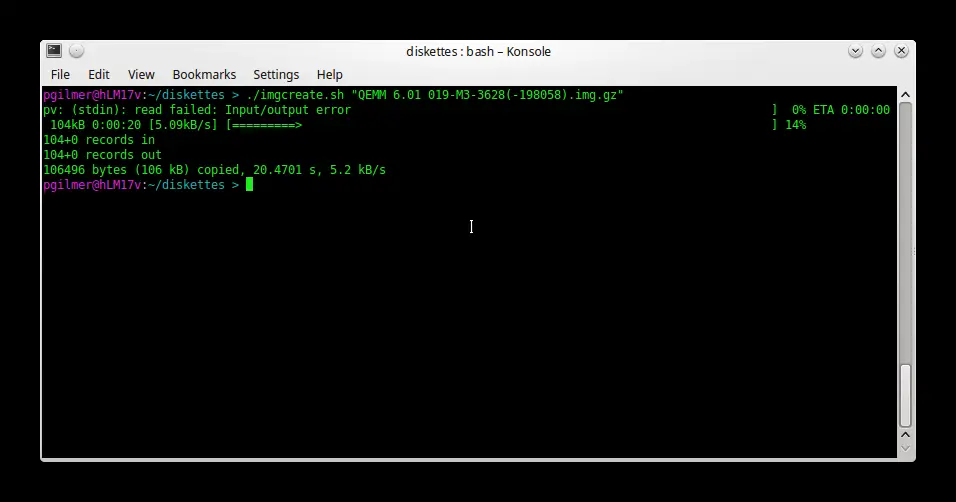
It should show 720 records read. Oops! 104? Not altogether unexpected. Some of these diskettes are 30 years old. So now what? I tried using the fsck command, but I didn't get very good results. Fortunately, the dosfsck command can help us out. This command is part of the repository package dosfstools. If not already installed on your system, install the package. On a Debian-based system like Linux Mint, you can install with the command:
sudo apt install dosfstools
Your flavor may vary.
Issue the command as follows:
sudo dosfsck -w -r -l -a -v -t /dev/sdb
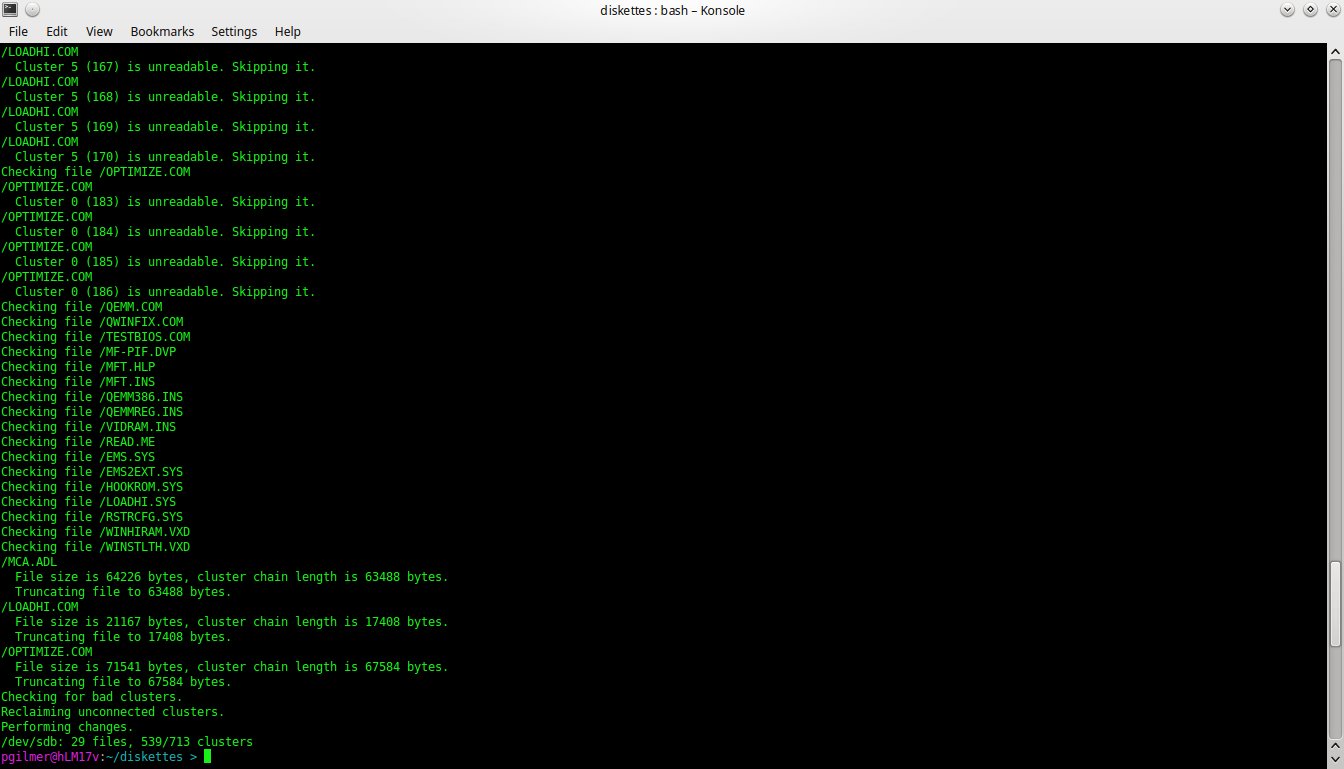
As entered dosfsck will attempt to repair the disk automatically listing the names of the files as they are processed, mark unreadable clusters as bad, and write changes to the disk immediately. Check the man page for additional information. For our current diskette we get the following output:

This diskette is not really usable. Too many files are damaged and contain unreadable clusters. The files affected would need to be recovered from some other source. Often though, unreadable clusters will lie outside the allocated clusters of any files. The repaired disk can then be imaged. Rerunning dosfsck shows that it has cleaned up the diskette as best it can:
So now we attempt to re-image the diskette:
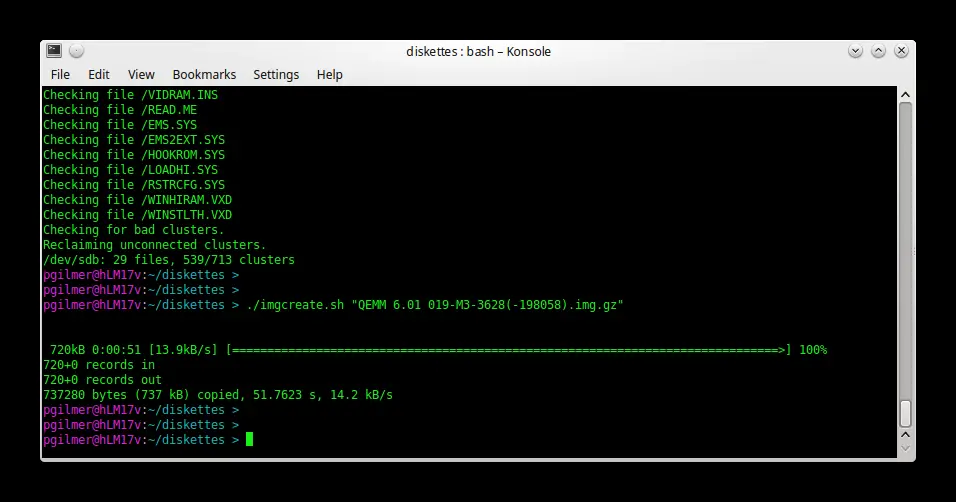
The entire disk can be imaged. Remember that any files that had bad clusters will not be usable.
Using the Image Files
To use the image file, first uncompress it.
To inspect the file, mount it on the loopback device:
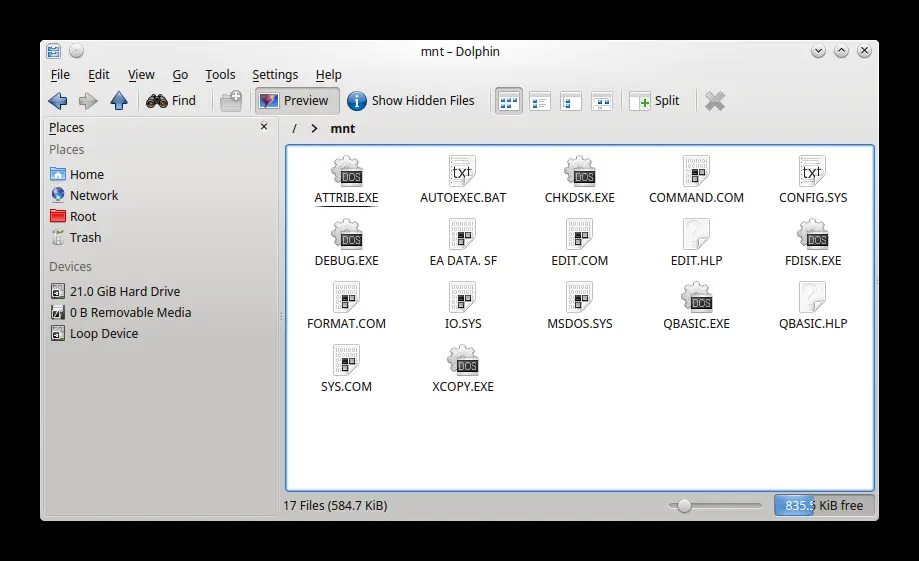
sudo mount -o loop -t msdos ./test.img /mnt
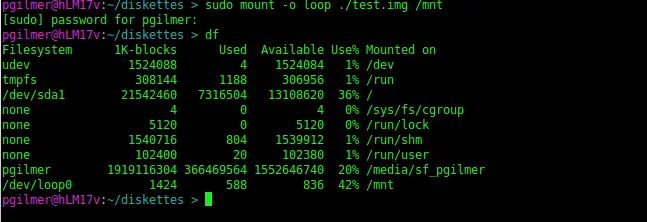
Browsing our mount point /mnt we can see the files:
The .img file may also be used as a virtual floppy disk in a virtual drive defined on the guest computer in a VirtualBox VM. The image file must reside on the host's hard drive.
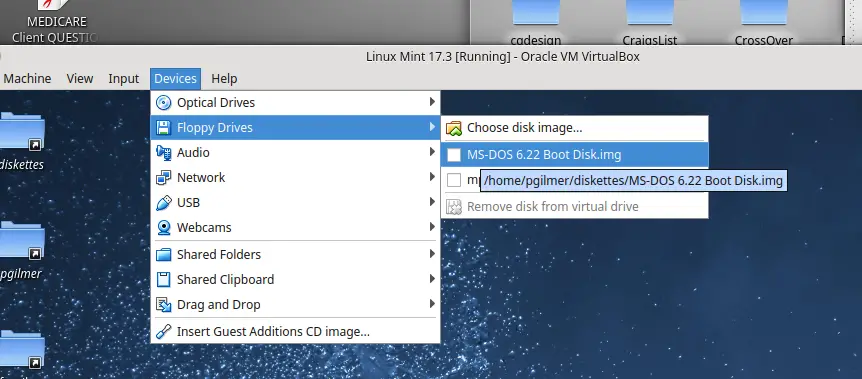
Select the highlighted entry and browse.
Conclusion
The introduction of newer technology may have made diskettes less useful over the years. Nonetheless they can be irreplaceable when dealing with virtual machines running older programs and systems. 21st century Linux distributions still include a lot of tools to support the older technology, but how long the technology will continue to be supported no one can say.
So get those diskettes imaged as soon as you can, y'hear? I still wish I had done something with those 8-inch floppies!

