Creating Backups With luckyBackup On An Ubuntu 9.04 Desktop
Version 1.0
Author: Falko Timme  Follow me on Twitter
This tutorial explains how to install and use luckyBackup on an Ubuntu 9.04 desktop. luckyBackup is an application for data back-up and synchronization powered by the rsync tool. It is simple to use, fast (transfers over only changes made and not all data), safe (keeps your data safe by checking all declared directories before proceeding in any data manipulation ), reliable and fully customizable.
I do not issue any guarantee that this will work for you!
1 Installing luckyBackup
luckyBackup is not available in the official Ubuntu repositories, but from Launchpad. Therefore we add the luckyBackup repository to our apt configuration.
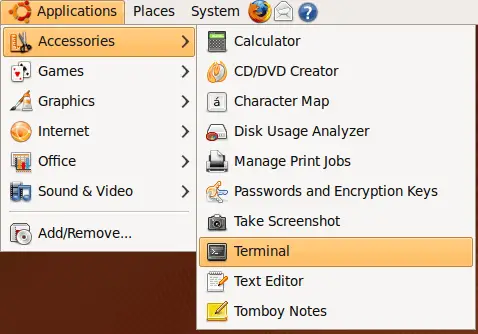
Open a terminal (Applications > Accessories > Terminal)...
... and run the following commands:
gpg --keyserver keyserver.ubuntu.com --recv-keys 62E44DBB
gpg --export 62E44DBB -a | sudo apt-key add -
sudo rm -f /etc/apt/sources.list.d/luckybackup-maintainers.list
echo "deb http://ppa.launchpad.net/luckybackup-maintainers/ppa/ubuntu `lsb_release -sc` main" | sudo tee -a /etc/apt/sources.list.d/luckybackup-maintainers.list
Afterwards we update our package database...
sudo apt-get update
... and install luckyBackup as follows:
sudo apt-get install luckybackup
That's it, luckyBackup is now installed and ready to be used.
2 Using luckyBackup
With luckyBackup you can backup/restore only folders that you have write access to (actually you can back up read-only folders, but you cannot restore them). Therefore you will find two launchers for luckyBackup, one for running it with normal user privileges under Applications > Accessories > luckyBackup...

... and one for running it with root privileges under Applications > System Tools > luckyBackup (super user):
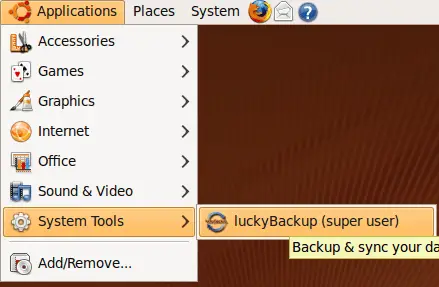
If you want to back up your home directory, for example, running luckyBackup as a normal user is fine.
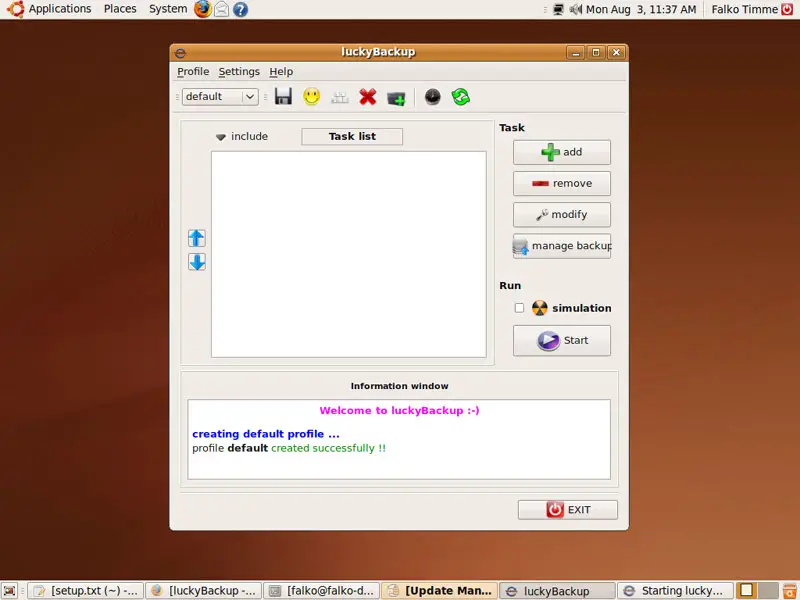
This is how luckyBackup looks. By default, no backup tasks are defined. To create a backup task, click on the add button...
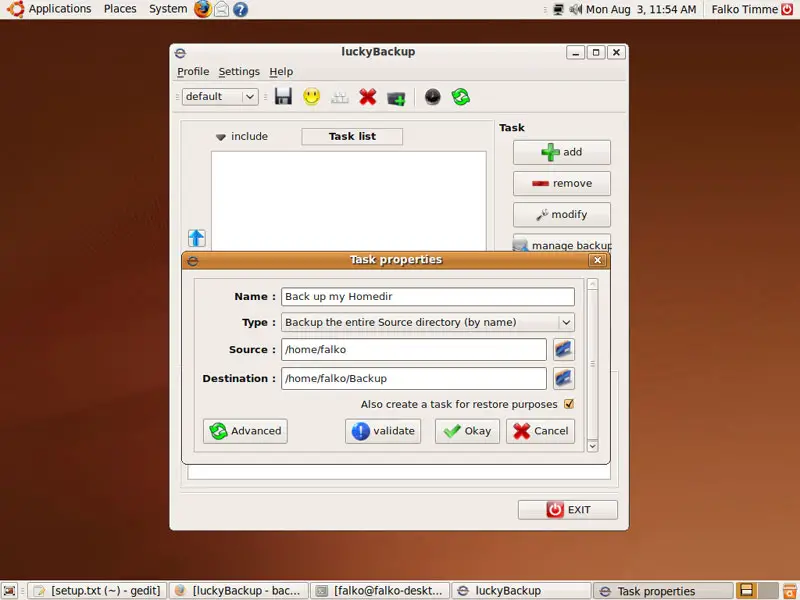
... and fill out the Task properties window. Specify a name for the task as well as a source directory (the directory that you want to back up) and a destination directory (the directory where you want luckyBackup to store the backups) (the destination directory can be inside the source directory, but we have to exclude the backup directory from the backup then, because otherwise we'd create a loop - I'll come to that in a minute). Mark the Also create a task for restore purposes to automatically create a suitable restore task for this backup. Then click on Advanced:
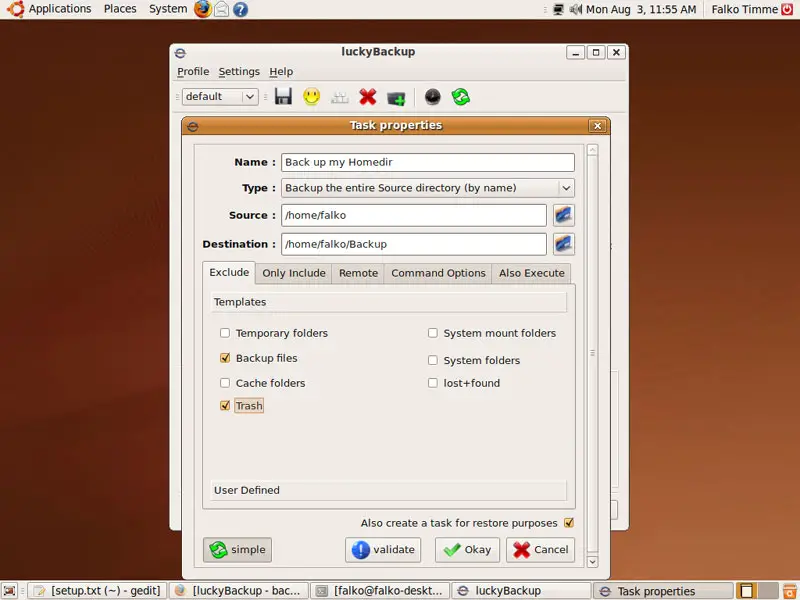
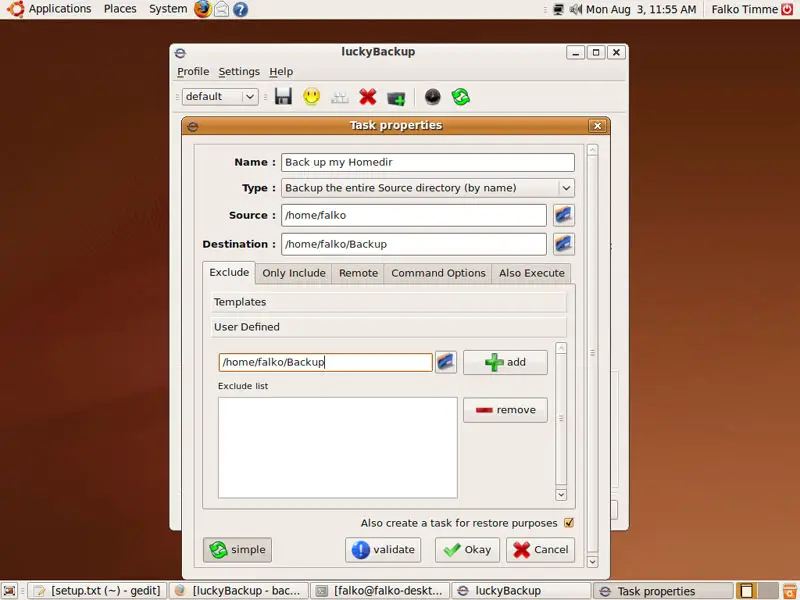
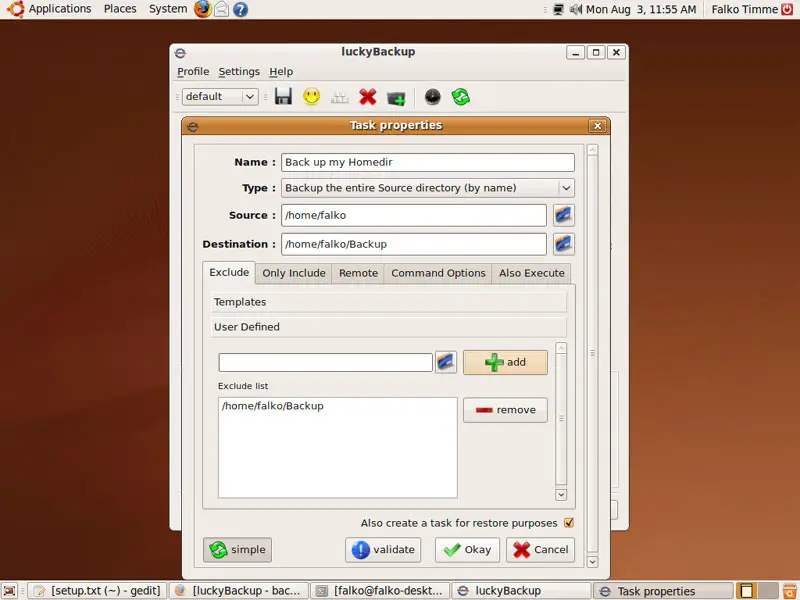
Under Advanced you can now exclude directories from the backup (e.g. Backup files, Trash). To avoid a backup loop (remember, my backup directory is /home/falko/Backup which is inside the source directory /home/falko), we have to exclude the backup directory; to do this, click on User Defined...
... and add the backup directory to the exclude list:
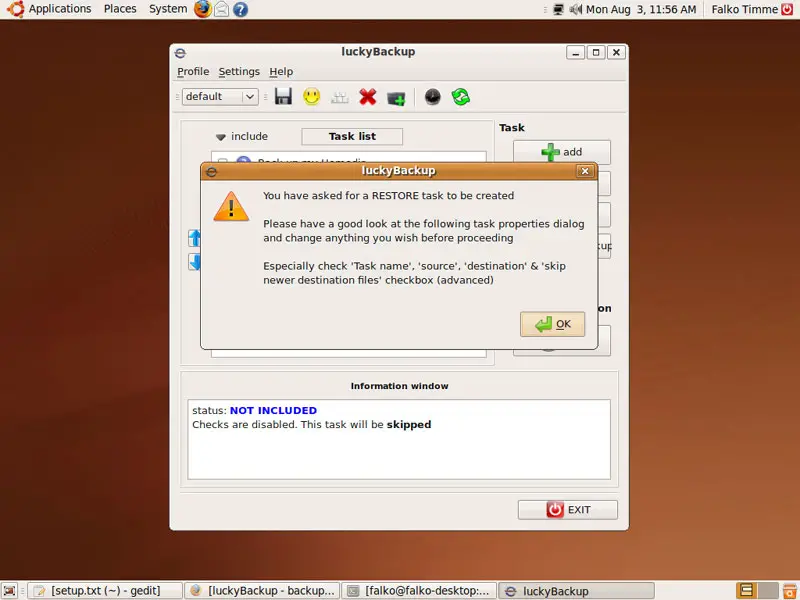
Then click on Okay. You will see the following warning - click on OK: