How to use Cloudformation to create an S3 bucket
There are multiple ways in which you can create an S3 bucket on AWS. Cloud formation is one of the Infrastructure as Code (IaC) ways using which you can create a bucket as well as have your code and share it with others. Before we proceed I assume you are aware of the S3 bucket and Cloudformation AWS Services. If you are not aware of S3, I would recommend you to first go through the steps to create an S3 bucket using the AWS console. Click here to go through the article to create an S3 bucket from the AWS console.
In this article, we will explore several options available in Cloudformation to create an S3 bucket. To know what all options are available in Cloudformation to create an S3 bucket visit the AWS official page here.
Pre-requisites
- AWS Account (Create if you don’t have one).
- Basic understanding of Cloudformation Templates.
- Basic understanding of S3 Buckets
What will we do?
- Login to AWS.
- Create a template.
- Create a Cloudformation Stack.
- Delete the Cloudformation Stack.
Login to AWS
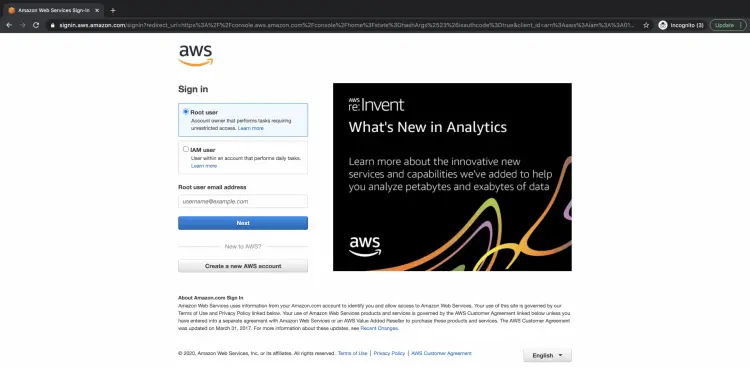
Click here to go to AWS Login Page. Enter your user credentials to login into your AWS account.
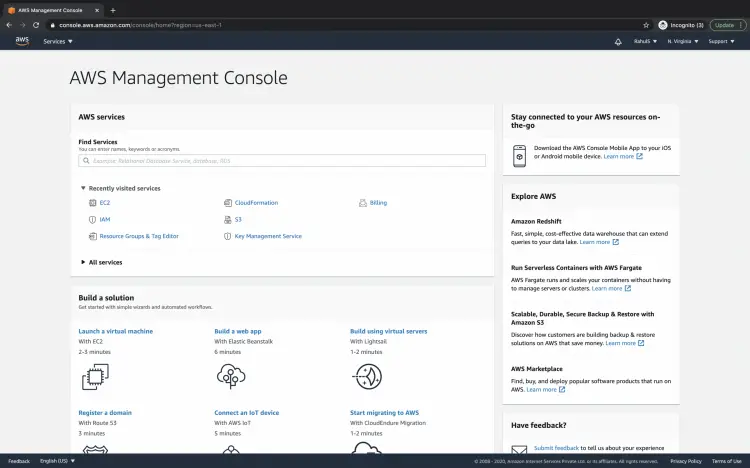
Once you successfully login into your AWS account you'll see the AWS management console as follows.
Create a Template
Before we proceed with the creation of a stack create a file on your local system with the following content.
You can even download the template from my Github repository, the link to the template is mentioned below.
https://github.com/shivalkarrahul/DevOps/blob/master/aws/cloudformation/create-s3/create-s3.template
AWSTemplateFormatVersion: '2010-09-09'
Metadata:
  License: Apache-2.0
Description: 'AWS CloudFormation Template to create an S3_Website_Bucket_With_Retain_On_Delete'
Parameters:
  BucketNameParameter:
    Type: String
    Description: Bucket Name
Resources:
  S3Bucket:
    Type: AWS::S3::Bucket
    Properties:
      BucketName: !Ref BucketNameParameter
      AccessControl: PublicRead
      WebsiteConfiguration:
        IndexDocument: index.html
        ErrorDocument: error.html
    DeletionPolicy: Retain
Outputs:
  WebsiteURL:
    Value: !GetAtt [S3Bucket, WebsiteURL]
    Description: URL for website hosted on S3
  S3BucketSecureURL:
    Value: !Join ['', ['https://', !GetAtt [S3Bucket, DomainName]]]
    Description: Name of AWS S3 bucket to hold website content
Create a Cloudformation Stack
Once you have a template on your local machine go to AWS main dashboard, Click on services on the top left of the screen and search for "Cloudformation". Click on the Cloudformation result you get.
You will see the main dashboard of the Cloudformation. I already have one stack in my account under the selected region.
To create a stack click on Create Stack --> With new resources(standard).
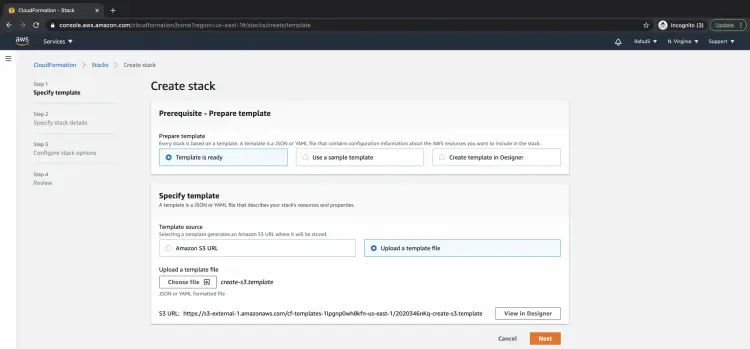
Select the "Upload a template file" option and choose the template from your local machine. Click on the "Next" button to proceed.
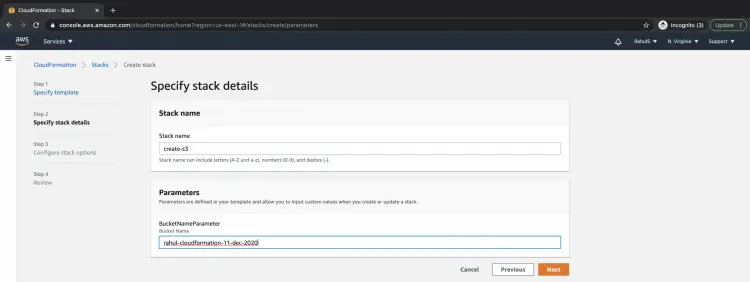
Specify a name to the stack, Also specify a name to an S3 bucket to be created. Make sure the name you specify is globally unique and no other bucket has the same name throughout the globe on AWS. Click on the "Next" button to proceed.
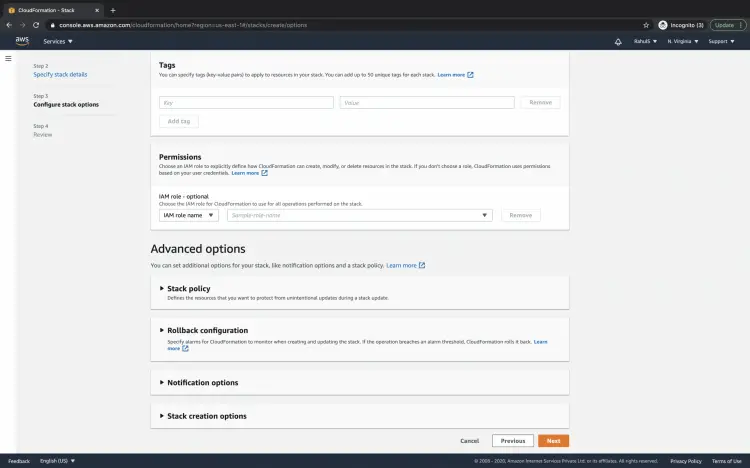
Tags are optional you may or may not specify, to proceed further click on the "Next" button.
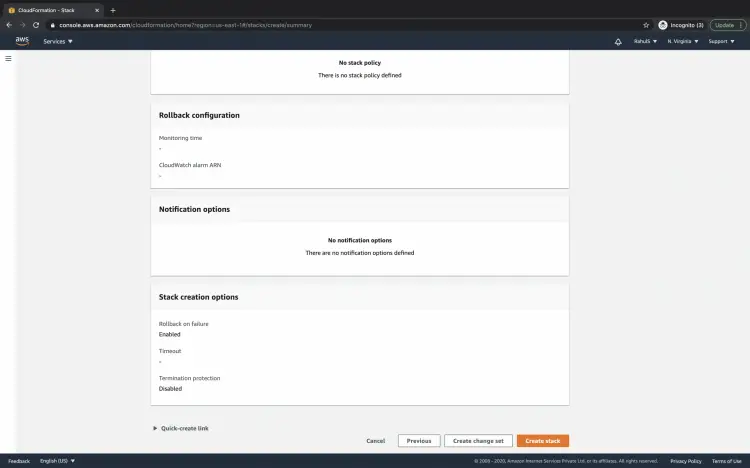
Scroll down at the end of the page and click on the "Create stack" button to create an S3 bucket using Cloudformation stack.
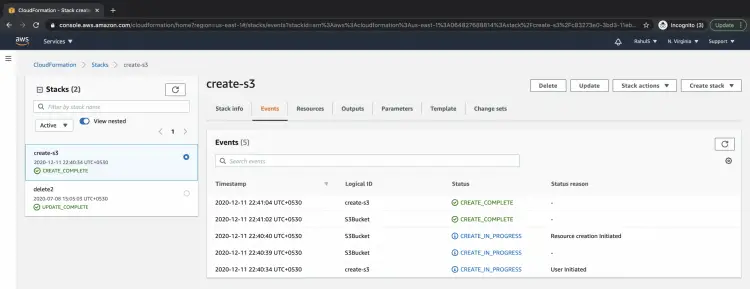
If the name you specified to the bucket is unique and no other bucket has the same name throughout the globe on AWS, your bucket will be created and upon successful creation, you will see the status as "CREATE_COMPLETE".
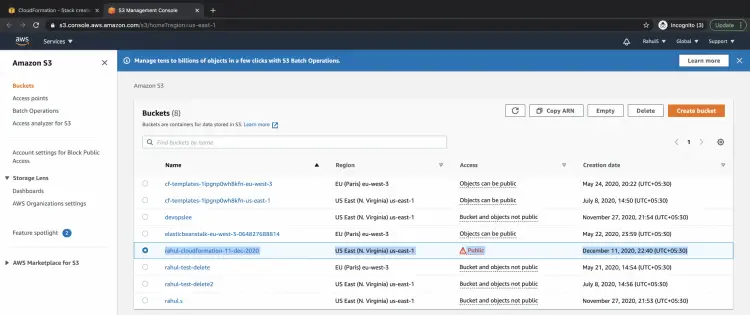
To verify if the bucket has been created, click on services at the top left of the screen and search for S3 to go to the S3 dashboard.
On the S3 dashboard, you will see that your S3 bucket has been created.
Delete the Cloudformation Stack
We know that deleting the Cloudformation stack deletes the resources it creates. This time it is a little different.
Now if you go back and check the code that we have in our template, you will notice that we have "DeletionPolicy: Retain". Due to this option, your bucket will not be deleted even if you delete the stack.
Still, if you want to delete the stack click on the "Delete" button.
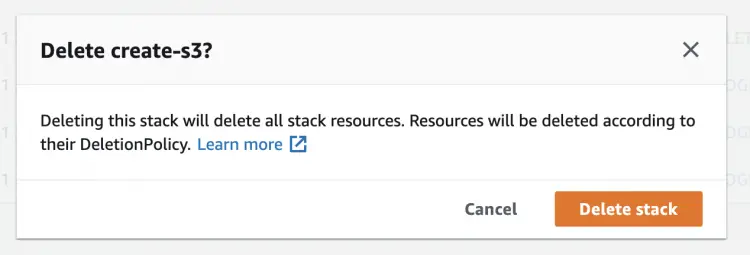
Confirm the deletion action on the pop-up screen you will receive.
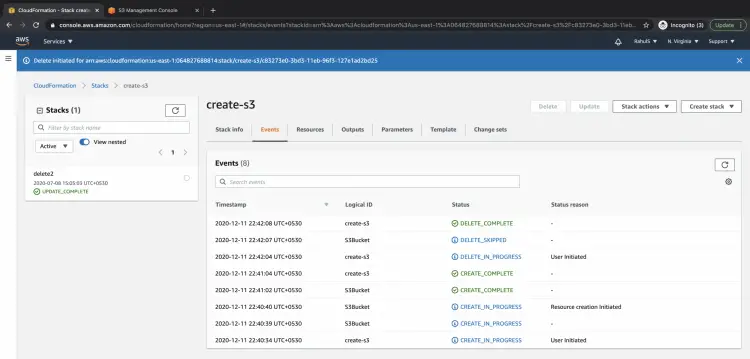
Once the stack is deleted you will see the status as "STACK_DELETE".
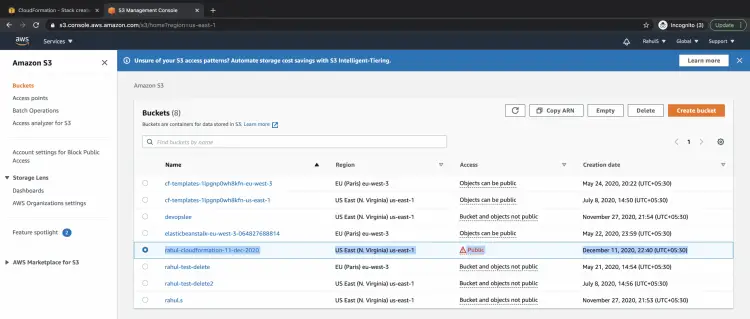
As I mentioned earlier due to the "DeletionPolicy: Retain" option, the stack will get deleted but the S3 bucket will still be retained.
You can go back to the S3 dashboard and see your S3 bucket still available in your account.
Conclusion
In this article, we saw how easy it is to create an S3 bucket using a Cloudformation stack. We can use the same stack to create multiple S3 buckets. We can even store our code on version control systems and share it with other people. We saw how the "DeletionPolicy: Retain" option retains the bucket and does not delete it even if the stack is deleted.

