On this page
CIITIX-VoIP 1.0 How-To
This document can be a used as a rough guide to installation of CIITIX-VOIP on a persistent media. It also describes the basic usage.
CIITIX-VoIP is a carrier grade VoIP server distribution, leveraging upon the great efforts of the open source community. CIITIX-VoIP is based on rock solid Debian Lenny. This distribution comes as a turn-key solution to any company (small, medium to large scale) wishing to deploy a SIP-based presence service à la Skype. Laced with accounting, NAT and DB backend based features, setting up a SIP based setup is a breeze, achievable within 7 minutes. Visit their site (http://ciitix.ciit.net.pk) for more information.
Download link http://ciitix.ciit.net.pk/index.php/downloads
Installation
1. Insert CIITIX-VoIP CD in CD-ROM and boot your computer from CD-ROM and at boot prompt choose "Start CIITIX-VOIP Live" to run distribution in live mode or opt for "Start GUI Install" to install it on your Hard Disk. We shall demonstrate the latter.
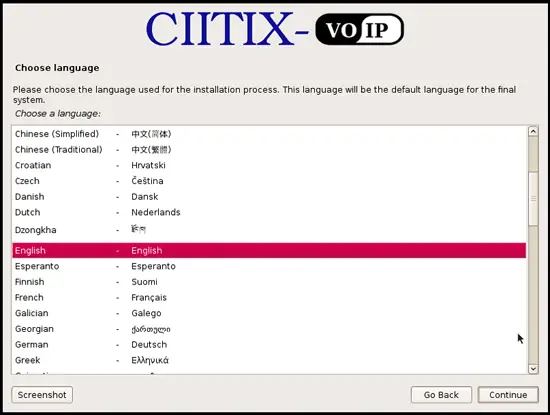
2. Choose language.
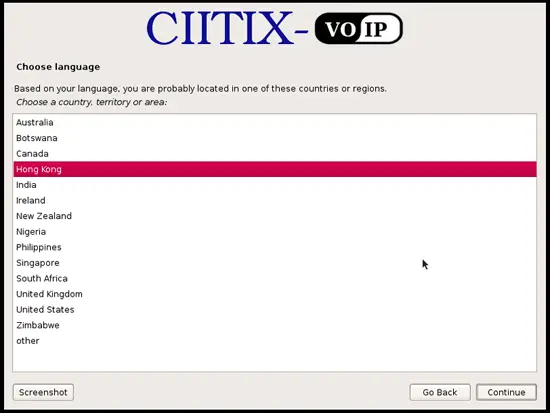
3. Choose your Location/Country territory or area.
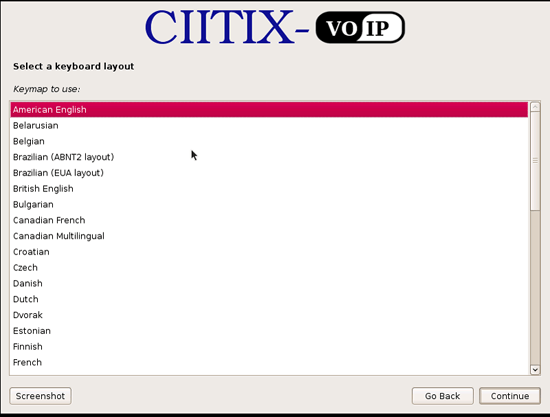
4. Select your keyboard layout.
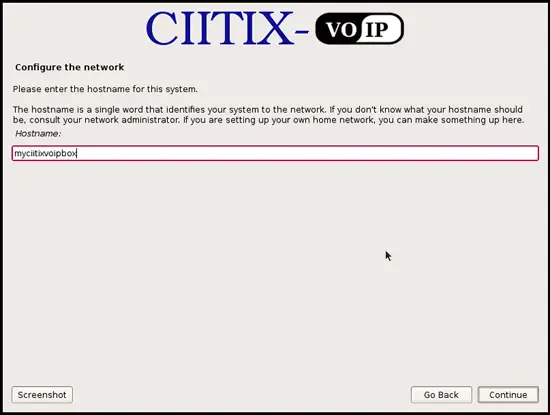
5. Configure network by first providing Hostname for your computer.
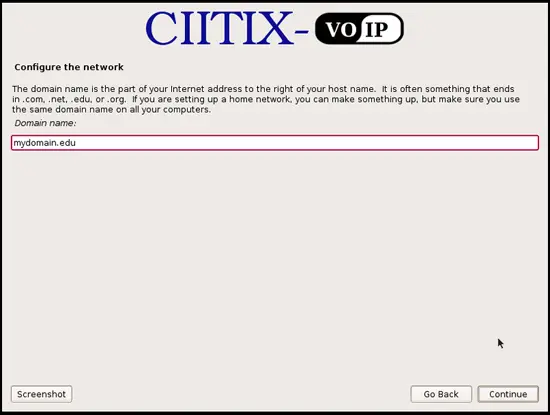
6. Provide the domain name for your computer.
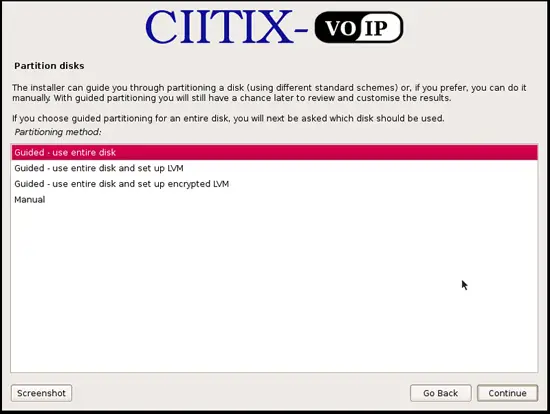
7. Choose a partition method "Guided - use entire disk" if you are a newbie to Linux will create required partitions itself.
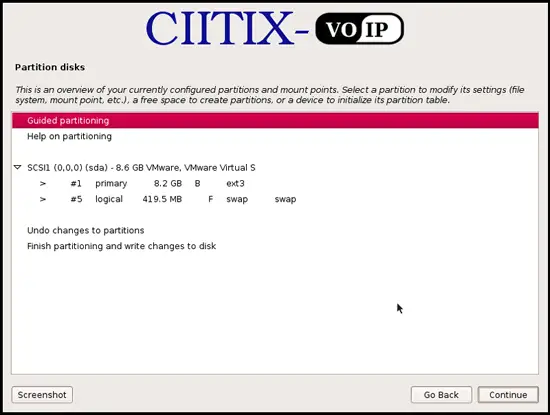
8. Select again "Guided partitioning" and click "Continue".
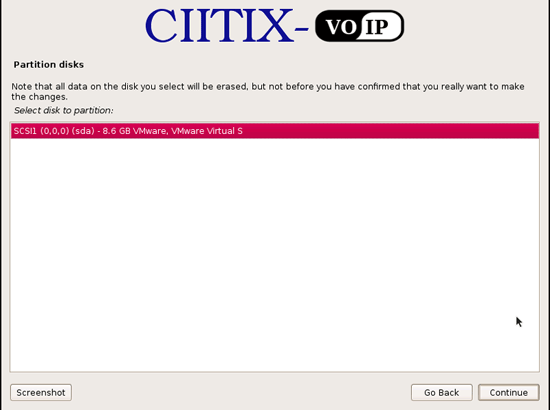
9. Select the disk you want to partition and click "Continue".
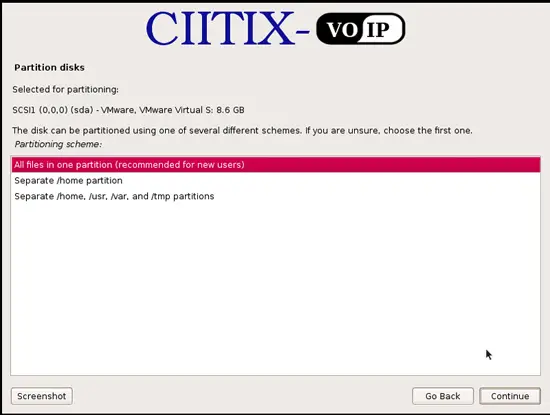
10. Select "All files in one partition (recommended for new users)" and click "Continue".
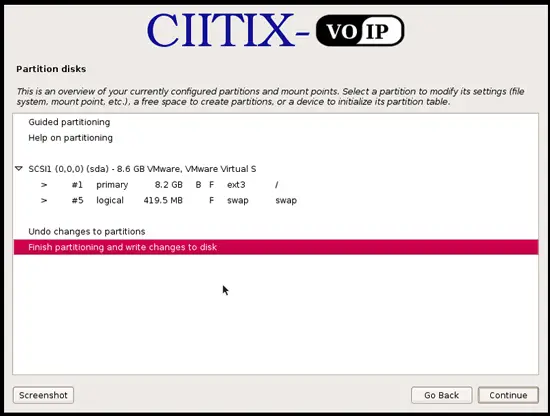
11. Select "Finish partitioning and write changes to disk" and "Continue".
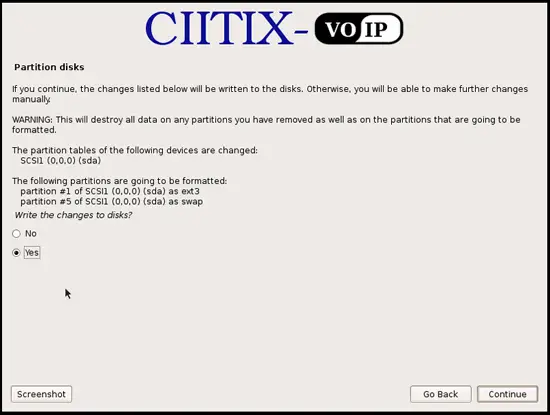
12. Check "Yes" under the "Write changes to Disks?" and "Continue".
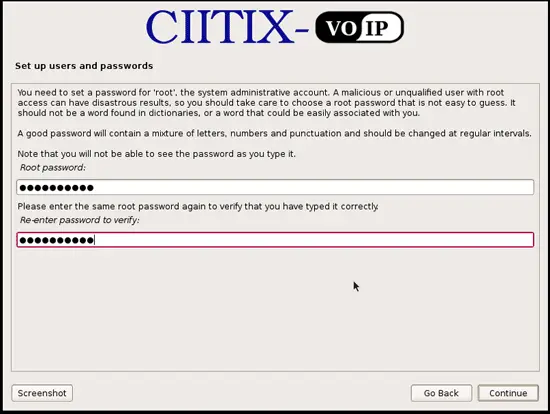
13. Setup "root" user password.
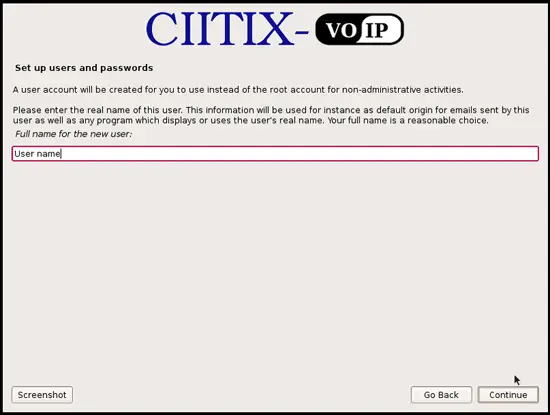
14. Provide full name of non-administrative user.
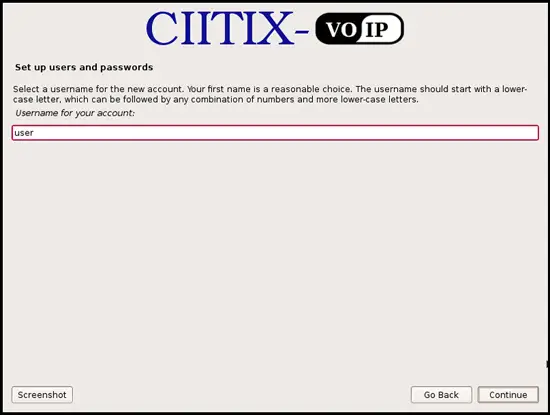
15. Fill in desired username of non-administrative account.
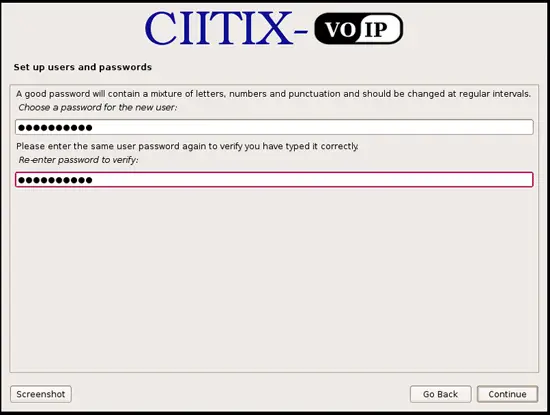
16. Now provide desired password for this non-administrative user account.
17. check "Yes" under the "Install the GRUB to master boot record?" and click "Continue".
18. Click "Continue" to proceed with Install.
After reboot you should be able to login with user/root. Go ahead and log in.
Edit the following file to activate real-time proxy for your users if they are on the NATted network.
root@CIITIX-VOIP:~# vi /etc/default/rtpproxy
Change only the first occurrence of "localhost" to the IP/DomainName of your server. Save & exit.
Restart the realtime proxy or the server if you are too challenged.
root@CIITIX-VOIP:~# /etc/init.d/rtpproxy restart


