Virtualization With KVM And openQRM 5.1 On Debian Wheezy - Page 2
Create one or more network bridges
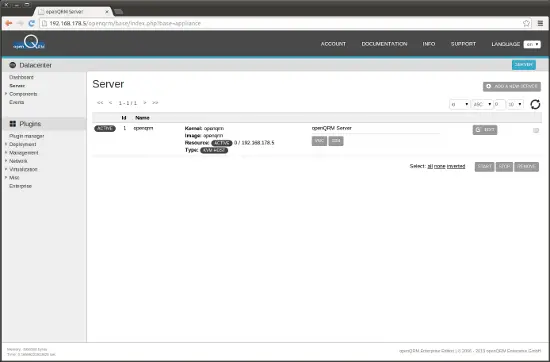
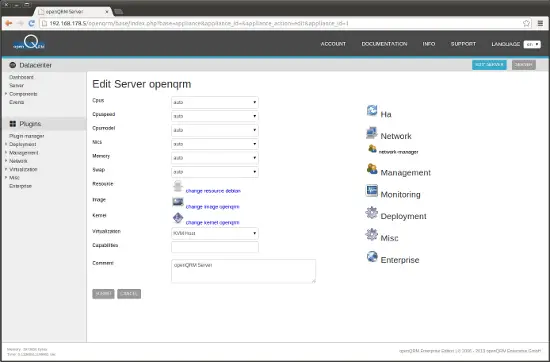
Go to Datacenter -> Server and click on 'Edit' of the openQRM server object
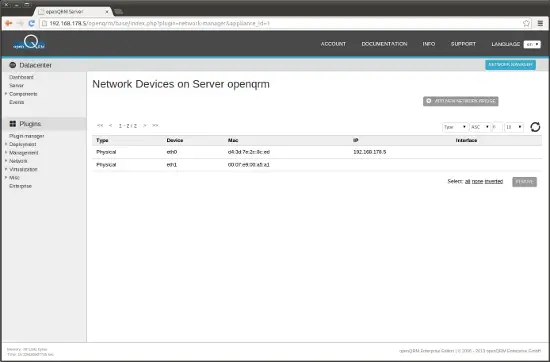
In the server edit section please select Network -> Network Manager. This will provide a list of all available network interfaces on the system
Please notice!
The system automatically checks if the system utilities for the bridge and network functionalities are available. If not it openQRM triggers to automatically install them via the distribution package manager. This may delay the first time the command is executed on the system.
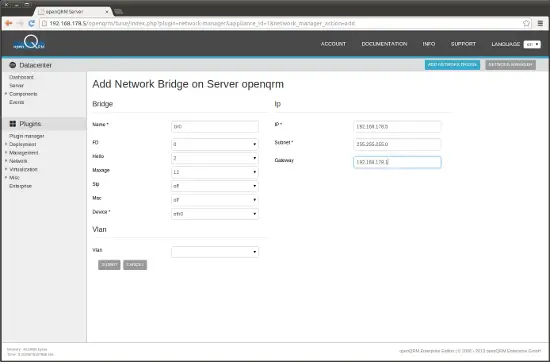
Please click on 'Add new network bridge' to create a new network bridge
Fill in 'br0' as the bridge name, select eth0 (the openQRM Management network interface) and insert the same IP configuration as for eth0. In this Howto the IP 192.168.178.5/255.255.255.0 is used with a default gateway 192.168.178.1. Then click on submit to create the new network bridge.
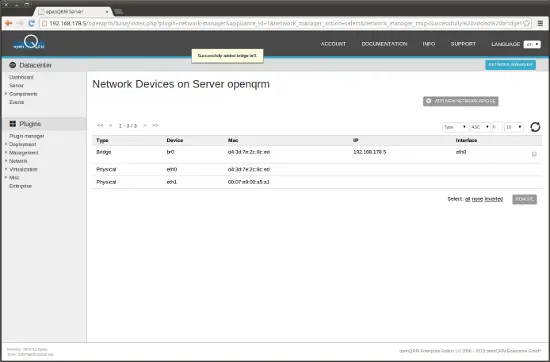
Here a screenshot of the network interface list after creating the new network bridge 'br0'.
Create a LinuxCOE automatic-installation template
The LinuxCOE Project provides a useful UI to create automatic-installation ISO images for various Linux distribution e.g. preseed, kickstart and autoyast. Those ISO images can be then used to fully automatically install a Linux distribution without any manual interaction needed. The integration of LinuxCOE in openQRM makes those automatic-installation ISO images automatically available on all Virtualization Hosts (mounted by nfs at /linuxcoe from the openQRM server). This makes it easy to configure a Virtual Machines installation boot image from the central ISO Pool mount point.
Please notice!
The LinuxCOE plugin in openQRM comes with a fully automatically setup and pre-configuration of LinuxCOE. Since LinuxCOE is an installation-framework it is recommended to add further custom configuration such as local package mirrors, new distribution data and config files etc. Please read more about how to further enhance your LinuxCOE installation at http://linuxcoe.sourceforge.net/#documentation.
First step is to create a new automatic-installation profile and ISO image.
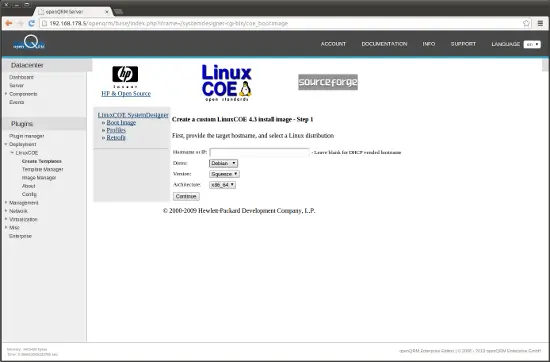
Go to Plugins -> Deployment -> LinuxCOE -> Create Templates and select a Linux distribution and version for the automatic-installation. For this Howto we will use 'Debian Squeeze 64bit'. Please leave the hostname input empty since openQRM will care about this via its dhcpd plugin.
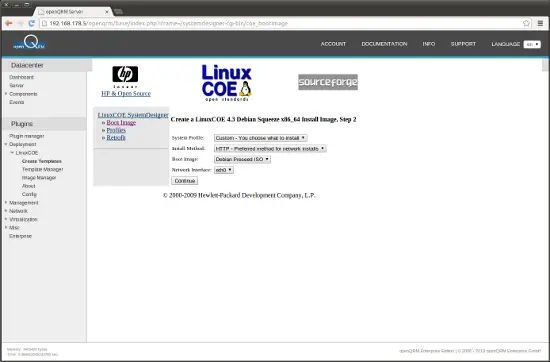
Leave the default settings on the next page of LinuxCOE wizard.
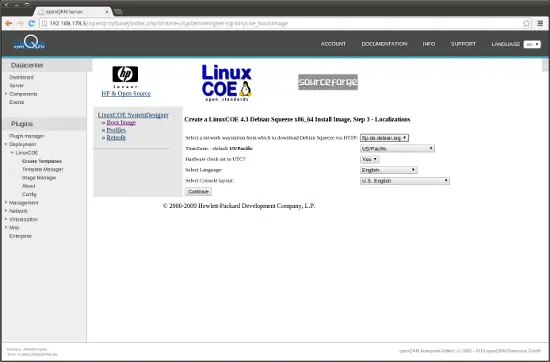
Next please select a Mirror from the list.
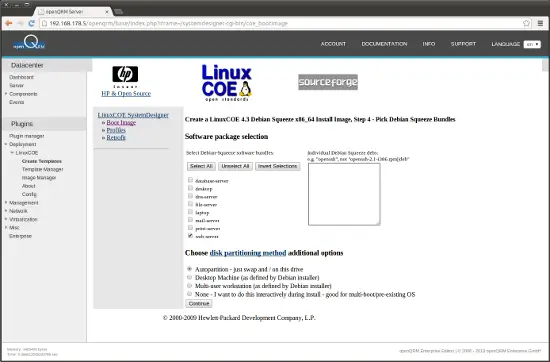
Here please provide your custom package setup for the automatic-installation.
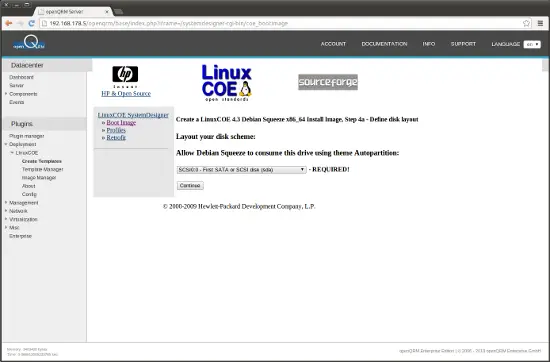
On the following page please leave the default settings.
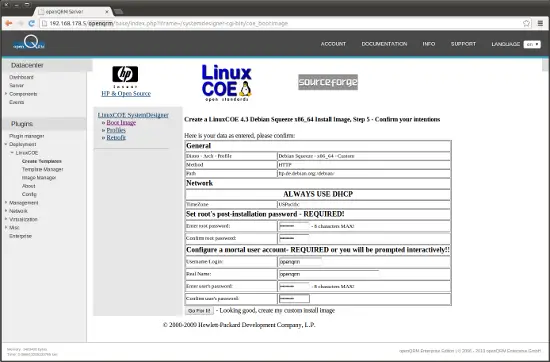
The summary page of the LinuxCOE wizard allows to preconfigure a root and user account. Click on 'Go for it' to create the automatic-installation template.
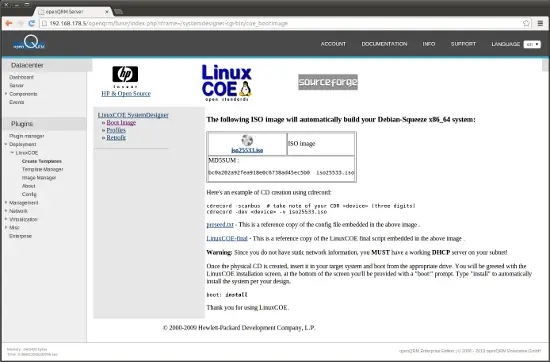
The ISO image is created. No need to download it since it will be used for a KVM Virtual Machine installation on the openQRM server.
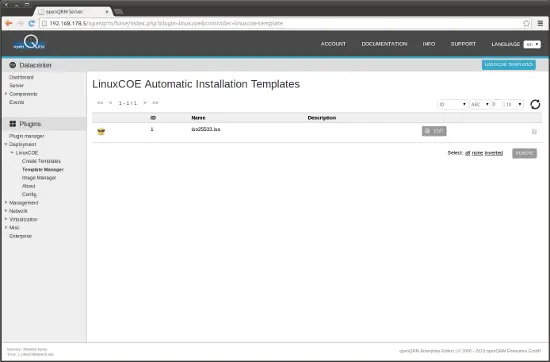
Go to Plugins -> Deployment -> LinuxCOE -> Template Manager and click on 'Edit'.
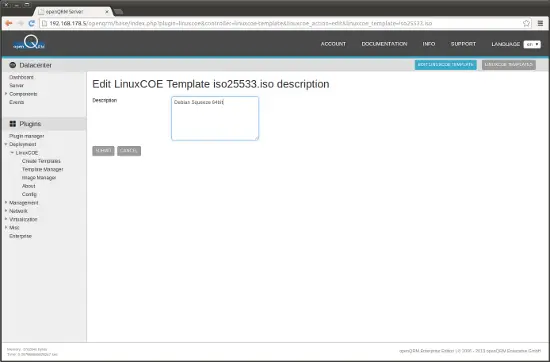
Now provide a description for the just created automatic-installation template.
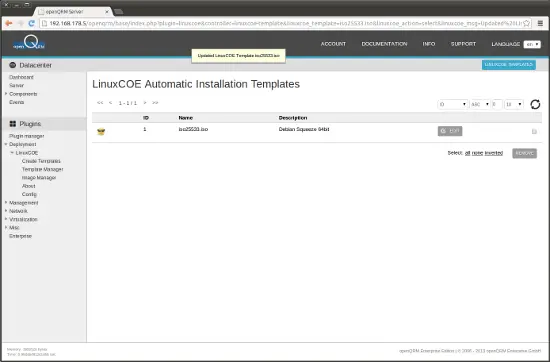
Here the list view of the updated automatic-installation template.

