Virtualization With KVM And openQRM 5.1 On Debian Wheezy
Version 1.0
Last edited 14. August 2013
Author Matt Rechenburg
This HowTo is about how to create and manage KVM Virtual Machines on Debian 7 aka Wheezy with openQRM 5.1.
Requirements
- One physical Server - at least 1 GB of Memory
- at least 100 GB of Diskspace
- VT (Virtualization Technology) enabled in the Systems BIOS so that the openQRM Server can run Virtual Machines later
Install openQRM 5.1 on Debian Wheezy
Install a minimal Debian Wheezy on a physical Server.
Install and initialize openQRM 5.1
Please notice!
A detailed Howto about the above initial starting point is available at 'Install openQRM 5.1 on Debian Wheezy' - https://www.howtoforge.com/install-openqrm-5.1-on-debian-wheezy
Set a custom Domain name
As the first step after the openQRM installation and initialization it is recommended to configure a custom domain name for the openQRM management network. In this Use-Case the openQRM Server has the private Class C IP address 192.168.178.5/255.255.255.0 based on the previous 'Howto install openQRM 5.1 on Debian Wheezy' (URL). Since the openQRM management network is a private one any syntactically correct domain name can be used e.g. 'my123cloud.net'. The default domain name pre-configured in the DNS plugin is "oqnet.org".
Best practice is to use the 'openqrm' commandline util to setup the domain name for the DNS plugin. Please login to the openQRM Server system and run the following command as 'root' in a terminal:
/usr/share/openqrm/bin/openqrm boot-service configure -n dns -a default -k OPENQRM_SERVER_DOMAIN -v my123cloud.net
The output of the above command will look like
root@debian:~# /usr/share/openqrm/bin/openqrm boot-service configure -n dns -a default -k OPENQRM_SERVER_DOMAIN -v my123cloud.net
Setting up default Boot-Service Konfiguration of plugin dns
root@debian:~#
To (re)view the current configuration of the DNS plugin please run:
/usr/share/openqrm/bin/openqrm boot-service view -n dns -a default
Enabling Plugins
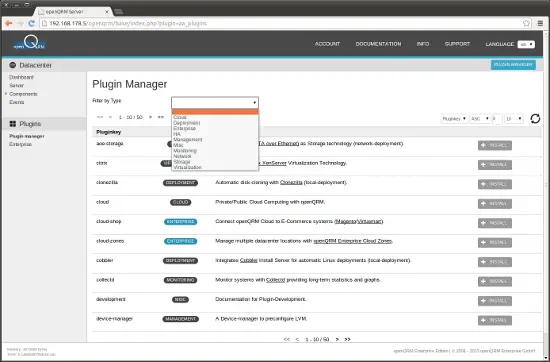
Hint: You can use the filter in the plugin list to find plugins by their type easily!
In the openQRM Plugin Manager please enable and start the following plugins in the sequence below:
dns plugin - type Networking
dhcpd plugin - type Networking
tftpd plugin - type Networking
network-manager plugin - type Networking
local-server plugin - type Misc
device-manager plugin - type Management
novnc plugin - type Management
sshterm plugin - type Management
linuxcoe plugin - type Deployment
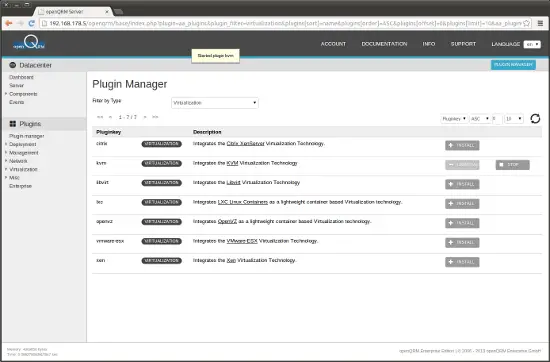
kvm plugin - type Virtualization
Create the Virtualization Host Object
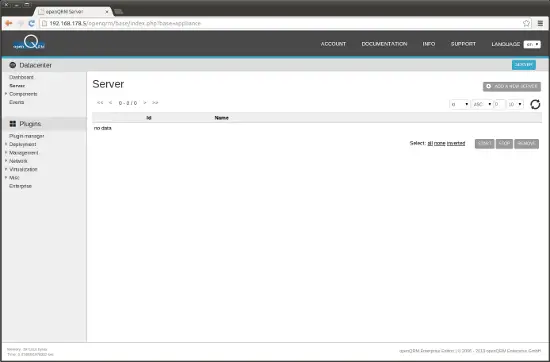
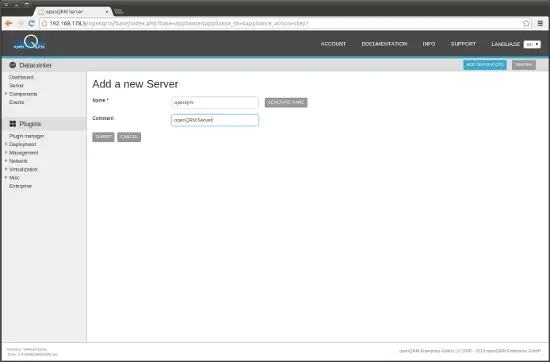
Go to Datacenter -> Server -> Add a new Server
Give 'openqrm' as the server name and provide a descriptive description
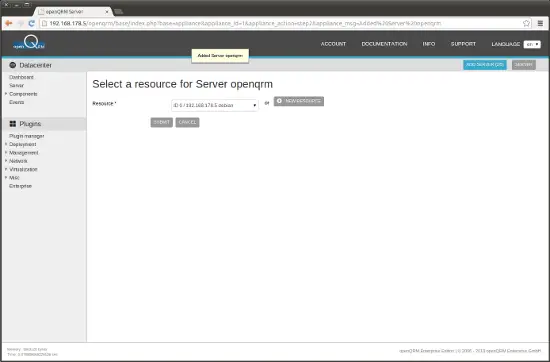
Select the openQRM Server resource
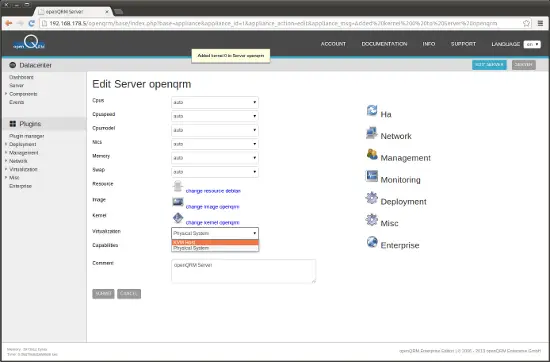
In the following Edit dialog please set 'KVM Host' as the Virtualization type of this server, then submit to save
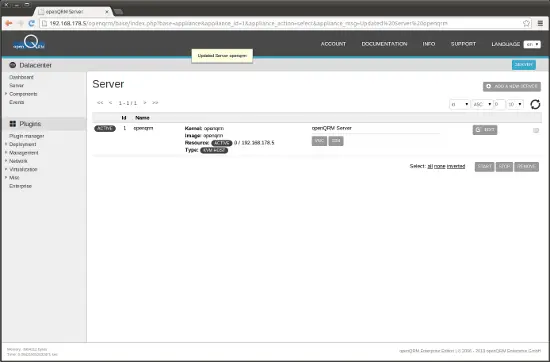
This is the Server list after adding the Virtualization Host Object
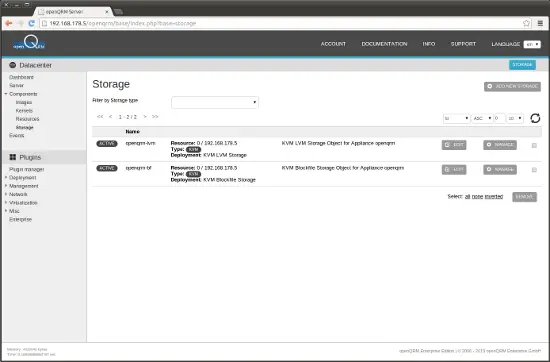
Additionally 2 KVM Storage Objects are automatically created to manage different types of VM volumes
Create a LVM Volume Group
The KVM Storage type with the best flexibility regarding volume management is 'KVM LVM Storage'. Each VM gets its own dedicated logical volume as its root image. Alternatively 'KVM Blockfile Storage' can be used. Volumes for this storage type are created on the Hosts filesystem via the qemu-img command. This Howto describes the 'KVM LVM Storage' type.
Go to Datacenter -> Storage and click on the 'manage' button of the 'openqrm-lvm' storage object
Please notice!
The system automatically checks if the system utilities for the LVM functionalities are available. If not it openQRM triggers to automatically install them via the distribution package manager. This may delay the first time the command is executed on the system.
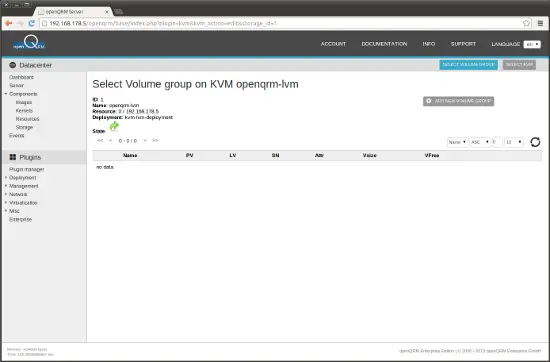
Now click on 'Add new Volume group'
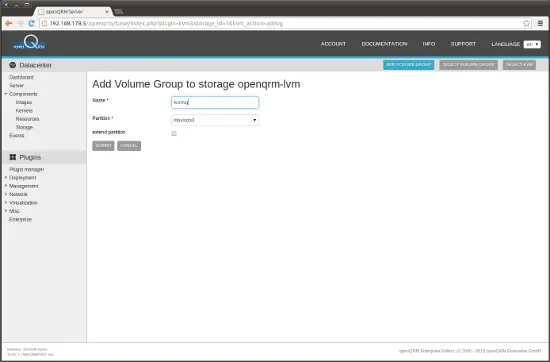
When you have followed the initial 'Howto install openQRM 5.1 on Debian Wheezy' (https://www.howtoforge.com/install-openqrm-5.1-on-debian-wheezy) there is now a dedicated /dev/sda3 partition available which can be used to create a LVM Volume group. Please provide a name for the LVM Volume group (here 'kvmvg'), select the /dev/sda3 device and submit.
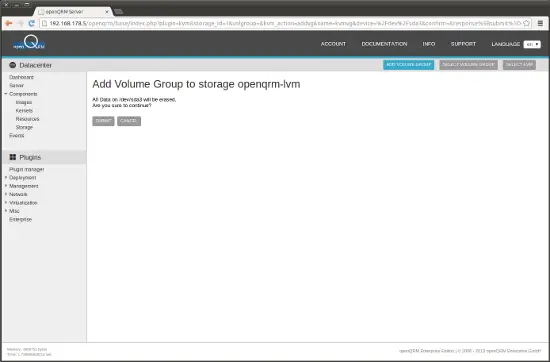
Confirm to create the new Volume group
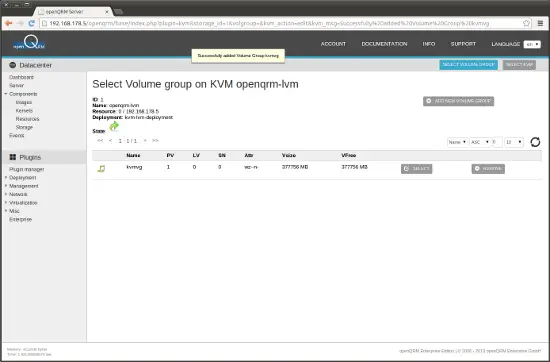
The LVM Volume group to store the VM Images is created now

