Using Zivios Identity Management - Page 2
Services
Computer Plugins
Some modules can provide "Computer plugins". This makes sense for modules which require computer-wide configuration such as DNS, LDAP, Kerberos, CA, DHCP and NTP. When you add a server, Zivios will automatically initiate computer plugins for:
- DNS: It will write the correct /etc/resolv.conf
- Kerberos: It will write the correct /etc/krb5.conf and generate host keytabs pushing them to /etc/krb5.keytab
- LDAP: It will automatically configure /etc/nssswitch and libnss-ldap to read user/group information from LDAP
- NTP: It will automatically generate and write a /etc/ntp.conf
- CA: It will generate server public and private certs. It will write CA, server private and server public certs to /etc/ssl
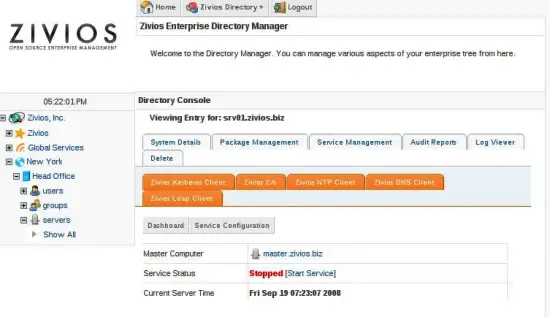
If you click on the NTP plugin in the server you just added it will probably show up as STOPPED. This is because the NTP Service is not yet installed (most likely) on that system.
Try installing the NTP service by doing:
apt-get install ntp
Upon refreshing the view (Update status) you would see it automatically finds out that the NTP service is running. For the experiment, check /etc/ntp.conf on the newly added server. It would be the default ntp.conf.
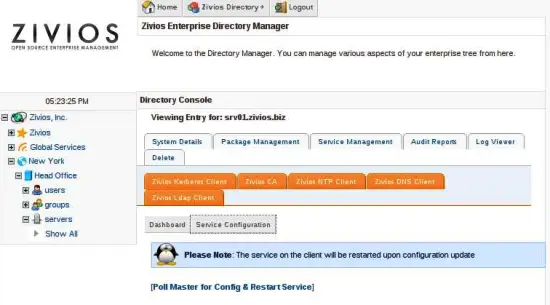
Click on service configuration in the NTP plugin and click "Poll config".
Check /etc/ntp.conf on the server again, it would be updated to reflect the new NTP server (the master zivios server).
This is how plugins work. They can keep your entire datacentre computer configurations in sync so that manual steps are unnecessary.
Adding a Service
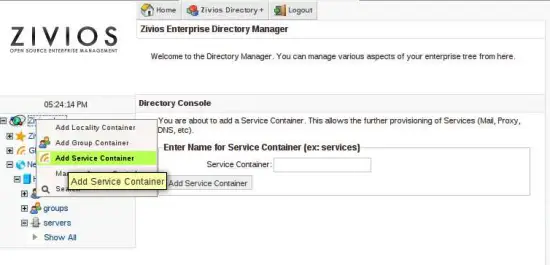
First we need to add a service container. Service containers can be placed anywhere but would only be visible to service in the same tree depth. An exception is placing Services in the base tree. To keep things simple, we are going to add a "Global Services" container to the root tree. Right click on "Zivios, Inc" and select "Add service container" call it "Global Services".
Right click on the container and ADD your service.
Adding an Asterisk service
Out of the modules shipped with Zivios, we are going to select and install the Asterisk module for testing. Before doing this you need to complete the following steps on the target server:
Server side Asterisk plugin installation
Post Installation
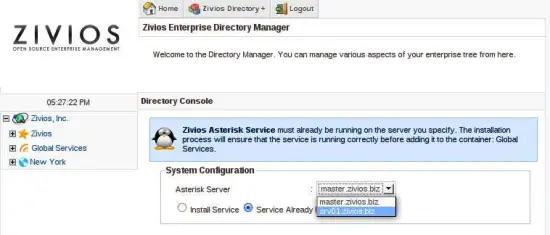
After that we are ready to add the asterisk service. Click on "Install".
Select the target computer as the master computer. In some services (in the future) you would be able to select multiple SLAVE computers to install on. This would make sense for replicated setups such as DNS or clustered setups such as Asterisk or Mail.
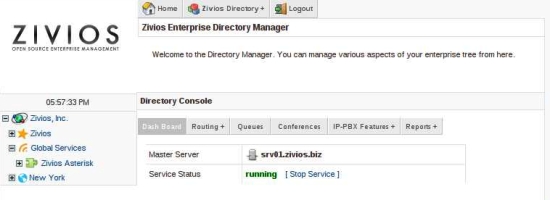
When the installation proceeds successfully you should see the Asterisk Service object appear and the screen change to the Asterisk Service DAshboard.
Feel free to explore the service. Remember this is the "Service wide" configuration aspect of Zivios- creating inbound routes, conferences and queues.
Creating extensions, voicemail, etc would logically come under the "User Management" part of the Asterisk plugin. Likewise ring groups, etc would come under the "Group Management" part of the Asterisk plugin.
Hope the concept of Services, Computers, Users and Groups is becoming clearer by this example.
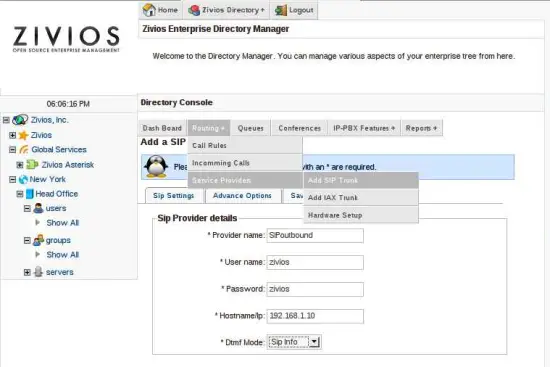
Add a SIP Trunk
Zivios does user permissions by trunks. It is necessary to add atleast ONE outgoing TRUNK for zivios to function properly. Lets add a simple SIP Trunk:
Let's proceed to the next section and add some users!

