Using Pydio In An ISPConfig 3 Multiserver Installation - Page 2
On this page
On your home screen point to the top-right corner and select "Settings" from the drop down menu.
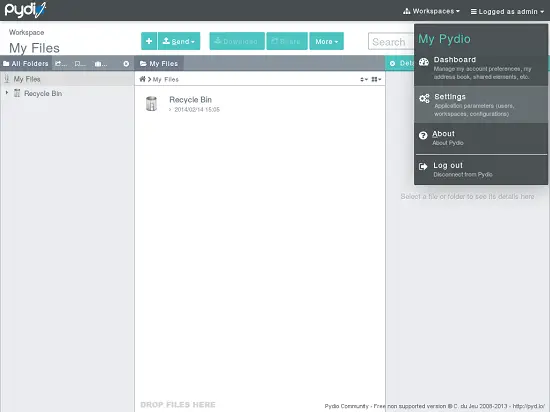
We need to make some settings now. At first a workspace has to be added. Go to "Workspaces & Users" -> "Workspaces" and click on the "New Workspace" button at the top. In the popup select "FTP Server" as Access Driver and you will get a window like this:
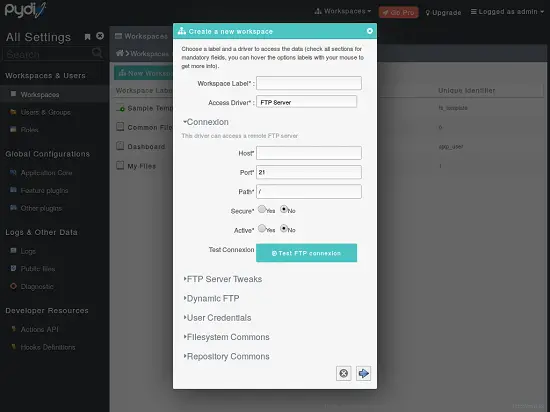
Fill out the fields like this:
Workspace Label: Fill as you like, I prefer "WebFTP"
Connexion
Host: localhost
Port: 21
Path: /
Secure: No
Active: Yes
FTP Server Teaks
User Id: 1000
Nothing more to change here!
Dynamic FTP
Pass FTP Data through Auth driver: Yes
User Credentials
User: leave empty
Password: leave empty
Session credentials: Yes
Filesystem Commons
Recycle Bin Folder: empty(!)
Leave the rest of the fields as they are.
Repository Commons
Default Rights: Read and Write
Alias: ISPConfigFTP
Leave the rest of the fields as they are.
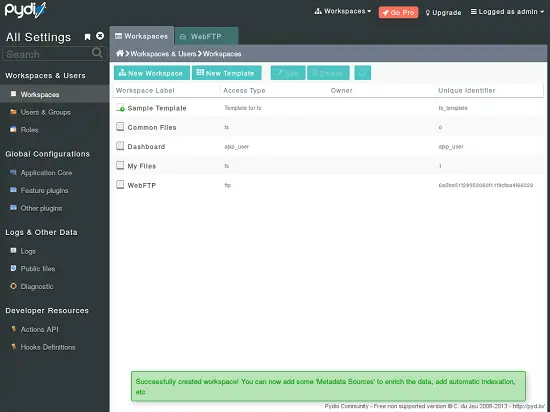
Once you click the "Next" button in the lower right corner you should get something like this:
Further configuration
Go to "Global Configuration" -> "Feature Plugins" -> "Access"
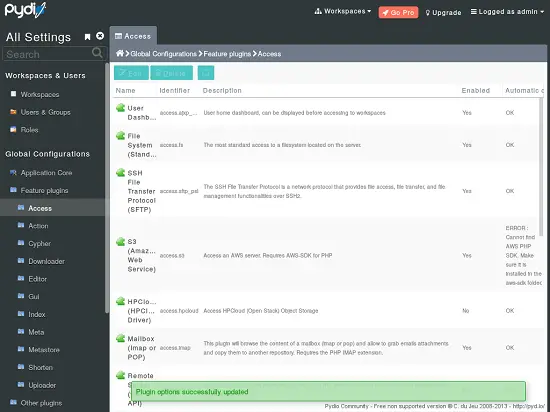
Double click on the "User Dashboard" entry and set "Available" option to "No" and click "Save" in the upper right corner.
Now log out from the admin panel (upper right corner) and you will be redirected to the login screen.
Modify code to access ISPConfig
We will have to alter some code files of pydio so it uses the remoting api of ISPConfig. First we need a set-up remoting use in ISPConfig.
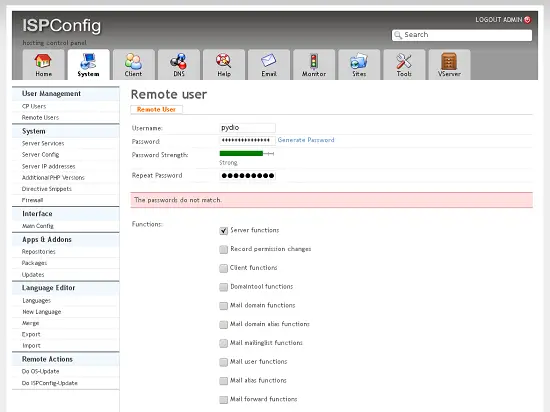
Log in to ISPConfig as admin and click on the "System" tab and on "Remote Users". Click the "Add new user" button.
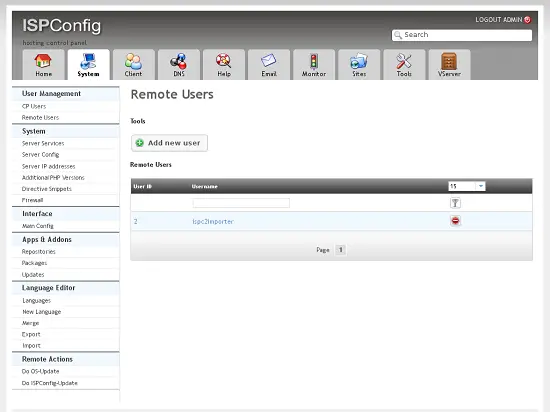
Enter the username and password for the remote user and check the boxes that say "Server functions" and "Sites FTP-User functions". Then click "Save".
