Using eBox As Windows Primary Domain Controller - Page 2
2. Login to the web interface
Now you are ready to login for first time to the eBox web interface. With your browser, go to https://address/ where the address is the one given to you by the installer in the previous step.
Because the eBox server has a new self-signed certificate your browser likely will ask you whether it should trust it. Make your browser trust it to be able to continue.
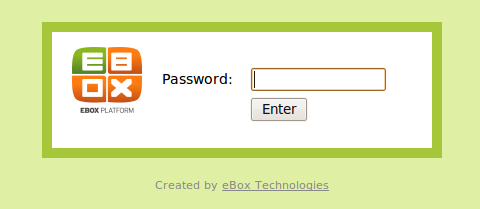
Then you will be show the login screen, to login enter here the eBox administration password that you set in the installation process.
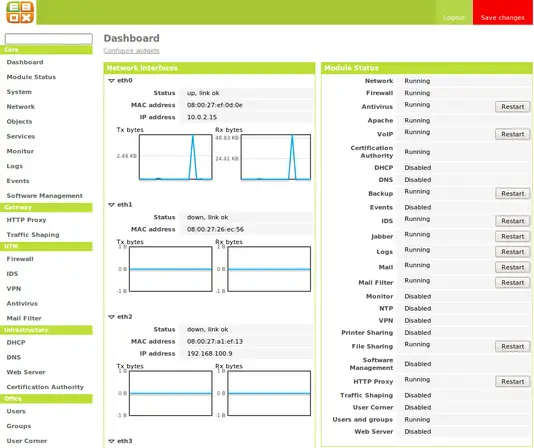
After the login you will be show the summary page.
3. Enabling and disabling modules
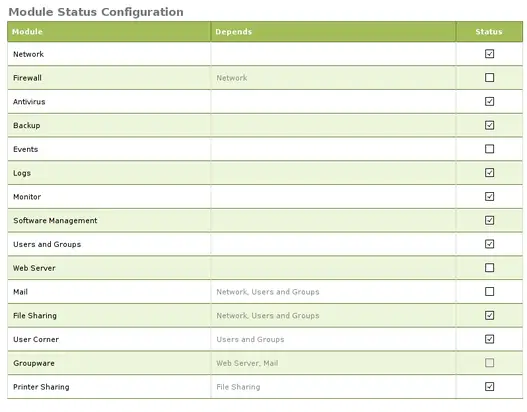
Next step is to disable the modules that are not needed for the PDC server. To do so in the left menu select Module Status. In this page you will be shown the list of installed eBox modules and a checkbox to enable or disable them.
By default all installed modules are enabled but to make better use of your resources you might want to disable modules not related with the PDC server.
The modules needed for the PDC server are:
- Network
- Logs
- Users and Groups
- File Sharing
- Printers
- Antivirus
You can disable any other module to save resources on your system.
4. Creating groups
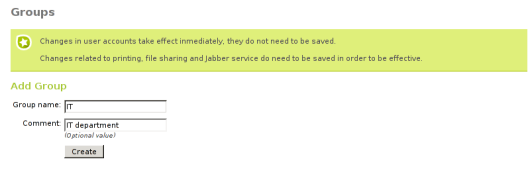
You may need user groups in your domain. To create a group, in the left menu select Groups -> Add group. You will be asked for a group name and an optional commentary.
After a group creation you will be forwarded to the Edit group page. We are not interested in any setting here right now, but remember you can come back to this page selecting in left menu Groups -> Edit group.
We will create the group IT for this tutorial. You can also create any other necessary groups for your domain.
5. Creating users
To create your domain users, in the left menu select Users -> Add user. You will be show a form for adding the new user. This form has the following fields:
- User name: user name for the user.
- First name: first name of the user.
- Last name: last name of the user.
- Comment: optional commentary.
- Password and Retype password: first user password, he can change his password when he connects to the domain. We will see later how to establish password policies for the domain users.
- Group: user primary group. After its creation the user can be added to more aditional groups.
For this tutorial we will create a user with pdcadmin as user name. Other fields will be filled in with the appropiate vaules.
After a user creation you will be forwarded to the Edit user page. Remember that you can come back to this page selecting in the left menu Users -> Edit user.
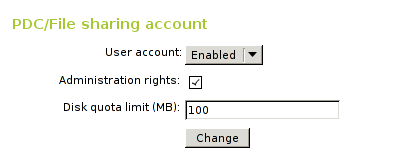
There are some PDC user settings on this page, under the PDC/File sharing account heading.
You can enable or disable the user account, a disabled account cannot login or be used in the domain. We will leave our new user account enabled. Also you can give administration rights to the user. An user with administration rights can add computers to the domain so you will need at least one user with administration rights. For this reason, we will enable this option for the pdcadmin user.
There is another field to change the disk quota for the user. We do not need to touch this setting now.
Now you can create some other user accounts for your regular users. They only need to have an enabled account without administration rights. If you feel that their disk quota is too big or too small you can edit it as well.

