Two-Factor Authentication For Google Apps For Your Domain Using SSO/SAML And WiKID Strong Authentication Server - Page 2
On this page
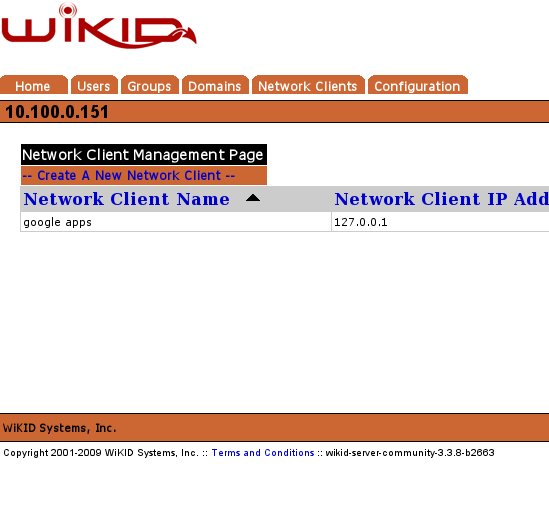
Give the network client a name. Leave the IP address empty. Select the domain and choose GoogleSSO as the protocol.
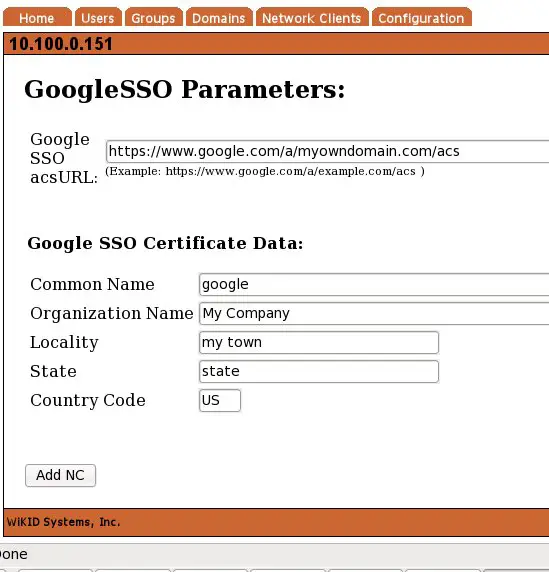
On the following page, set your ACS URL. This is usually http://www.google.com/a/yourdomain.com/acs. Enter the additional information that is required to create a certificate for Google. The WiKID server will create this certiticate for you to provide to Google.
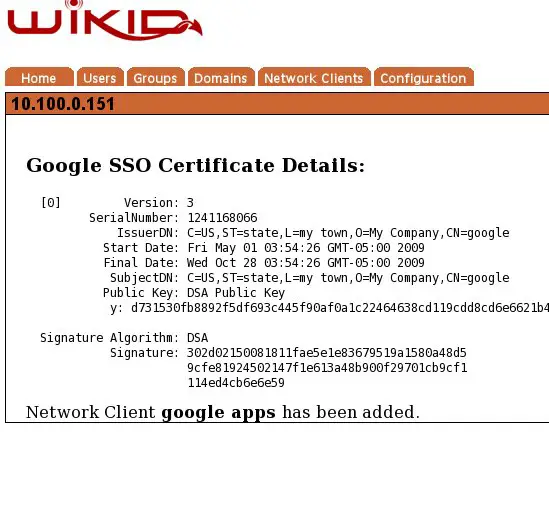
Your network client has been created.
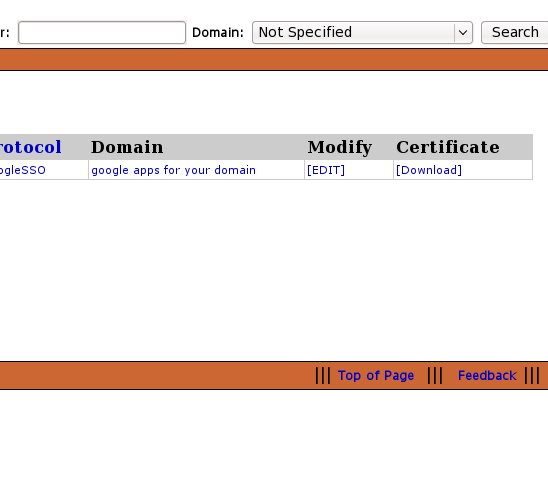
On the far right hand side of the Network Client page you will see a link to download the certifice. Download it to your local PC.
Important: Now restart the WiKID server from the command line with:
# wikidctl restart
Configuring Google Apps For Your Domain
Log onto Google Apps for your Domain.
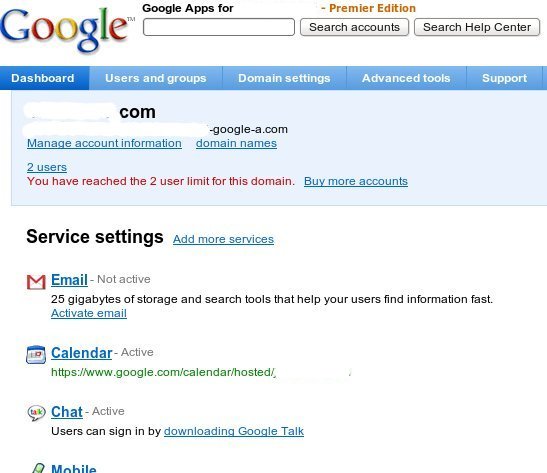
Click on Advanced Tools:
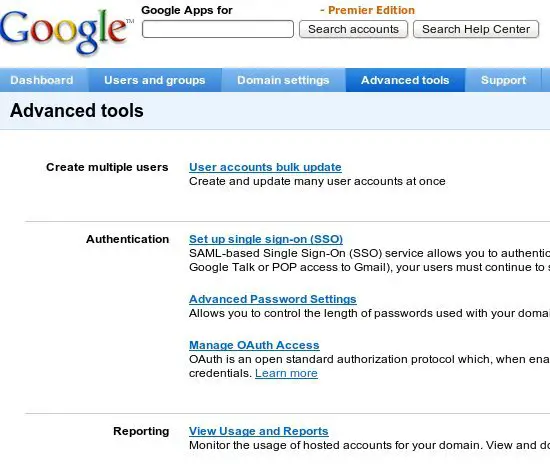
Click on Setup Single Sign-On (SSO):
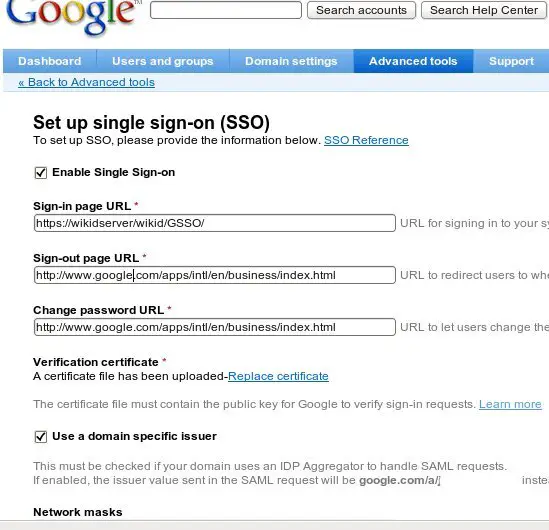
For the Sign-in page URL, enter the URL of your WiKID server and append wikid/GSSO/. Be sure to use https://!
Testing
Head to the Google Apps login page:
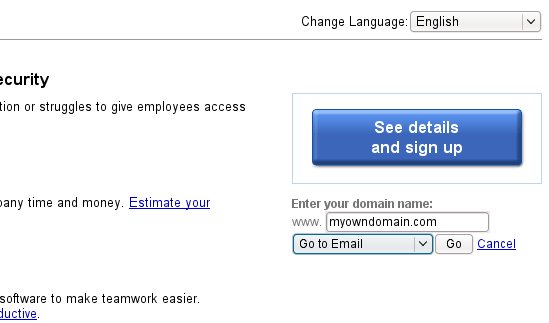
A SAML request will be create and you will be re-directed to the WiKID login page on your WiKID Server.
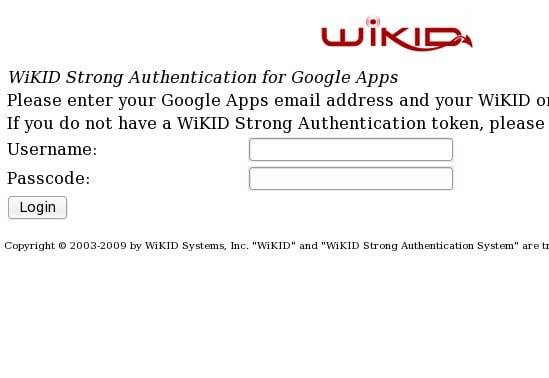
Start your WiKID token and generate a one-time passcode (assuming you have a registered token. See more on how to enable your users for two-factor authentication.
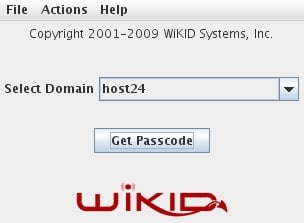
Select the domain. WiKID Software tokens are capable of authenticating to mutliple domains across multiple enterprises.
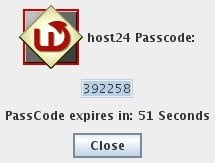
Type in your email address and the one-time passcode that is returned by the WiKID Software token (it is automatically pasted into the clipboard, so all you have to do it hit Ctrl-V in the password box) and login:
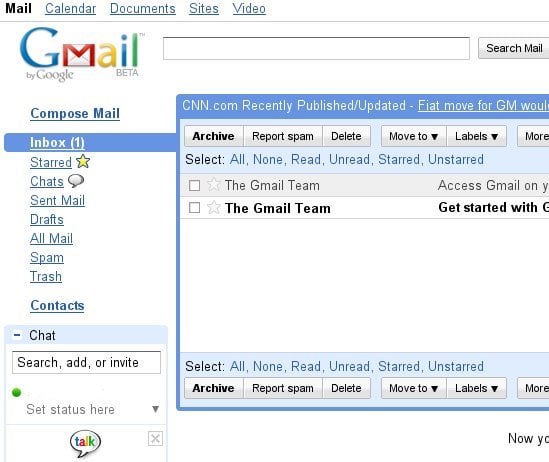
That should be it. Now access to your Google mail is secured using two-factor authentication from WiKID.
This document supercedes the previous tutorial on Google/WiKID two-factor authentication.

