How to install and use Waartaa IRC client as a local standalone application
1 Introduction
Waartaa is an open source communication and collaboration tool. It is an IRC client focussed to overcome the subtle disadvantages of existing clients. It is a web based IRC client as a service, facilitating some extremely useful services such as: centralised logging, unique Identity, global access, notifications, responsiveness to devices and displays across multiple clients.
This project is opensourced under the MIT Licence and built on the Meteor Platform and written using Meteor JS. The database at the backend is MongoDB and it has also incorporated node-irc, an IRC client library written in JavaScript for Node.
Waartaa being a web application, can scale very easily on different devices and it hasgot a beautiful UI that appeals instantly to anyone who uses it. One of the advantage of Waartaa is that, it can be deployed on any server and can be used for private purposes as well. In this post, we go about installing Waartaa and running it locally on Ubuntu 14.04 and using it's various features.
2 Installing dependencies
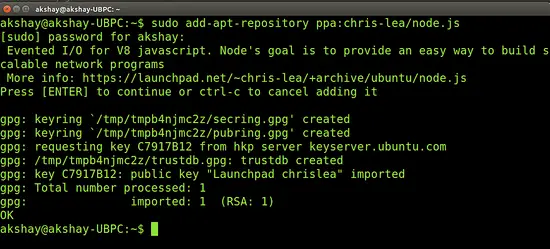
Waartaa requires that a few dependencies be satisfied before it can be installed. The main dependencies are Node JS and curl. It involves adding the Node JS repositories, updating the list and then installing curl. Use the following commands, one after the other.
sudo add-apt-repository ppa:chris-lea/node.js
sudo apt-get updatesudo apt-get install nodejssudo apt-get install curl
3 Downloading Waartaa
Waartaa can be downloaded either through git or by direct download. Either of the method gives the same packages.
3.1 Download through git
Use the following command to download and extract Waartaa through git.
git clone --recursive https://github.com/waartaa/waartaa.git
3.2 Direct download
You can download the zipped folder here. Once downloaded, extract it into your home folder.
4 Setup and starting the application
Before Waartaa can be run, we have to set it up with the server details and then install it onto our system. Use the following commands:
cd waartaa./setup.sh
Now wait for the setup to finish.
Once the setup is complete, we now have to configure the server hosts file. Open the file settings-local.js file by using the following commands:
cd app
gedit server/settings-local.js
Once the file is opened, scroll to the very bottom and add your details such as the "SUPER_USER", "SUPER_USER_EMAIL", "SUPER_USER_PASSWORD" and "SECRET_KEY". An example is given in the image below. Do remember to change it to your preferred credentials.
This completes the setup. We can now run Waartaa. The first time you run it, it will download the meteor platform tools and the dependencies it needs to run the application like the MongoDB packages. But the 2nd time onwards, it runs immediately. To run the application use the following command:
meteor
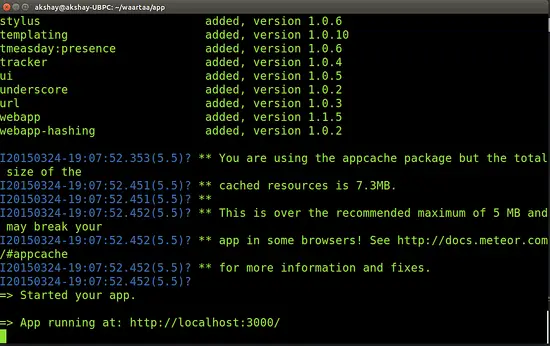
Make sure that while running the meteor command, you are always present in the app folder of Waartaa, which is the meteor's project folder. Once the command successfully launches the application, your terminal will look similar to the image below:
If upon running the command "meteor" you get an error saying: " project uses Meteor 1.0.2.1, which is not installed and could not be downloaded. Please check to make sure that you are online.", then all you have to do is run the "meteor" command again and it will download the required version and start the application.
5 Using Waartaa
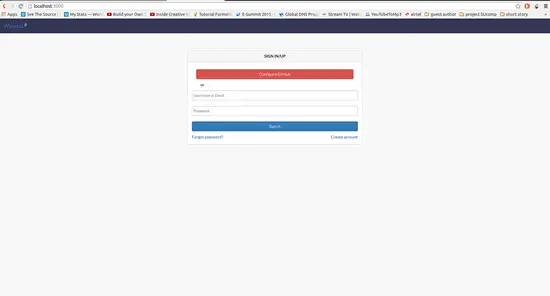
The image in the previous step shows that the application is running on localhost port 3000. To to start using Waartaa, type the following url in a browser and a Waartaa window opens as shown in the image below.
http://localhost:3000
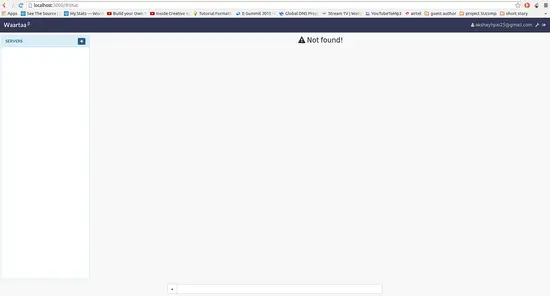
Login by creating an account. if you choose to login using Github, then you will have to provide the credentials that you had given in the settings-local.js file from step 4. Once you have logged in, you will get your home screen similar to the image below:
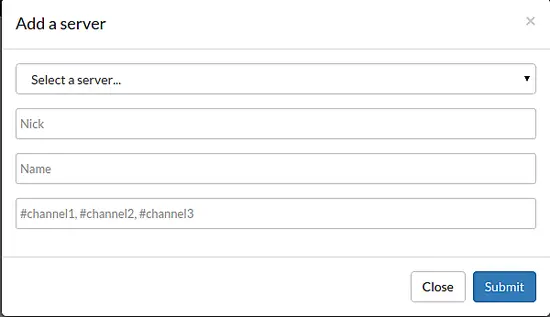
Then, click on the "+"(plus) button beside the server panel on the left and a window pops up like the one shown below:
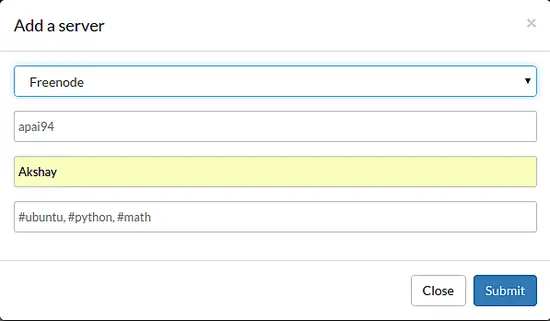
In that window fill in the details. Make sure your nickname is unique and registered with IRC, so that you can use it in all the IRC channels. I have chosen the freenode server. The last field can help you log onto several IRC channels at once. An example is shown below:
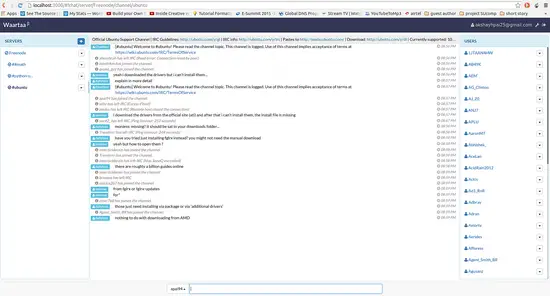
SO when "submit" is clicked, you will be connected to the freenode server and you would have joined the channels that you had given before. an example is shown below:
every channel that you had mentioned earlier, present on the left panel. If a channel doesn't allow users without proper credentials like #python, then the channel is shown with a "-unregistered" indicating that, to join that channel one must be registered with the freenode.
6 Creating new channels
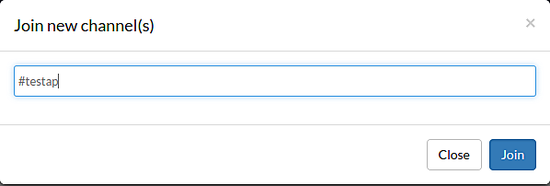
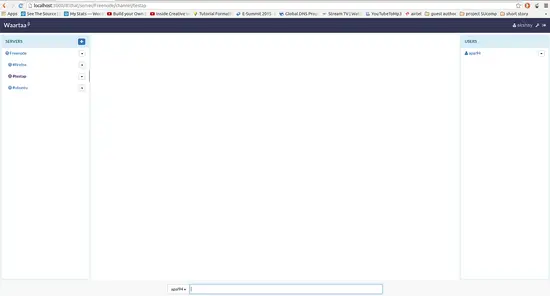
It is very easy to create new channels. there are two ways to do it. One is to provide a unique name for a channel that doesn't exist "#testap" during selecting of server and nickname. Another method is to click on the button beside freenode and selecting "+channel"button. it open a window, where you can type the unique channel name. The Images below gives an example
As seen in the image above, we can see that I am the only one available, so now you can share this channel name among the people you want to have conversation with.
7 Conclusion
The reason Waartaa is the one to use is because of the simple user friendly interface that works beautifully on any device. Apart from this, there are other advantages:
- while GUI clients work only for single machines, Waartaa on a better infrastructure will ensure that the user is always connected to IRC while it also captures IRC logs.
- It also provides a central place to store all the chat logs
- No matter what device you login from to Waartaa, "YOU" is always "YOU" in the IRC and not some "YOU_" and "YOU_THIS", etc. which means the it can identify you when you are logged in from multiple devices simultaneously.
- Being a web service, it runs flawlessly on the browser of any device making your experience comfortable.

