How to install Arch Linux on VirtualBox
Arch Linux is a Linux-based operating system that is designed for i689 and x86-64 computers. Its unique package manager is responsible for providing updates to the latest software applications using “pacman” with complete tracking. Pacman is the package manager that is used to install, update, and remove the software packages. It is designed entirely for free and open-source software, along with the support from the Linux community.
Arch Linux is also popular for having a comprehensive documentation in form of the community wiki known as ArchWiki. This Linux operating system is based on binary packages that are targeted for i832, 64-bit, and 32-bit systems and optimized for the best performance on modern hardware systems.
You can install Arch Linux directly to your home computer by following this guide but you can also install it on a virtual machine on your Windows computer by using VirtualBox.
Arch Linux Repositories
To install Arch Linux on Virtual Box, you must know the basic repositories of this Linux-based operating system. A repository is a storage location from where the software packages are retrieved during the installation process. There are multiple repositories available for Arch Linux, which are accessible via pacman and maintained by package maintainers. Here is a list of some of the basic repositories used to install Arch Linux on Virtual Box:
-
The core repository contains all the packages that are needed to setup the base system like booting Arch Linux and building packages.
-
The extra repository contains extra packages that do not fit in the core involving desktop environment.
-
The community repository has packages that are adopted by trusted Linux community users, and most of them will transfer to the core or extra repository.
-
The Multilib repository contains 32-bit software and libraries for 32-bit application installation on 64-bit system.
-
The testing repository contains packages that are destined for core or extra repositories.
-
The community-testing repository is for the Linux community.
-
The multilib testing repository is similar to the testing repository, but for multilib candidates.
-
The gnome-unstable repository has the latest GNOME desktop environment.
-
The kde-unstable repository contains the latest KDE software before they are been released.
Install Arch Linux on Virtual Box
Download Arch Linux
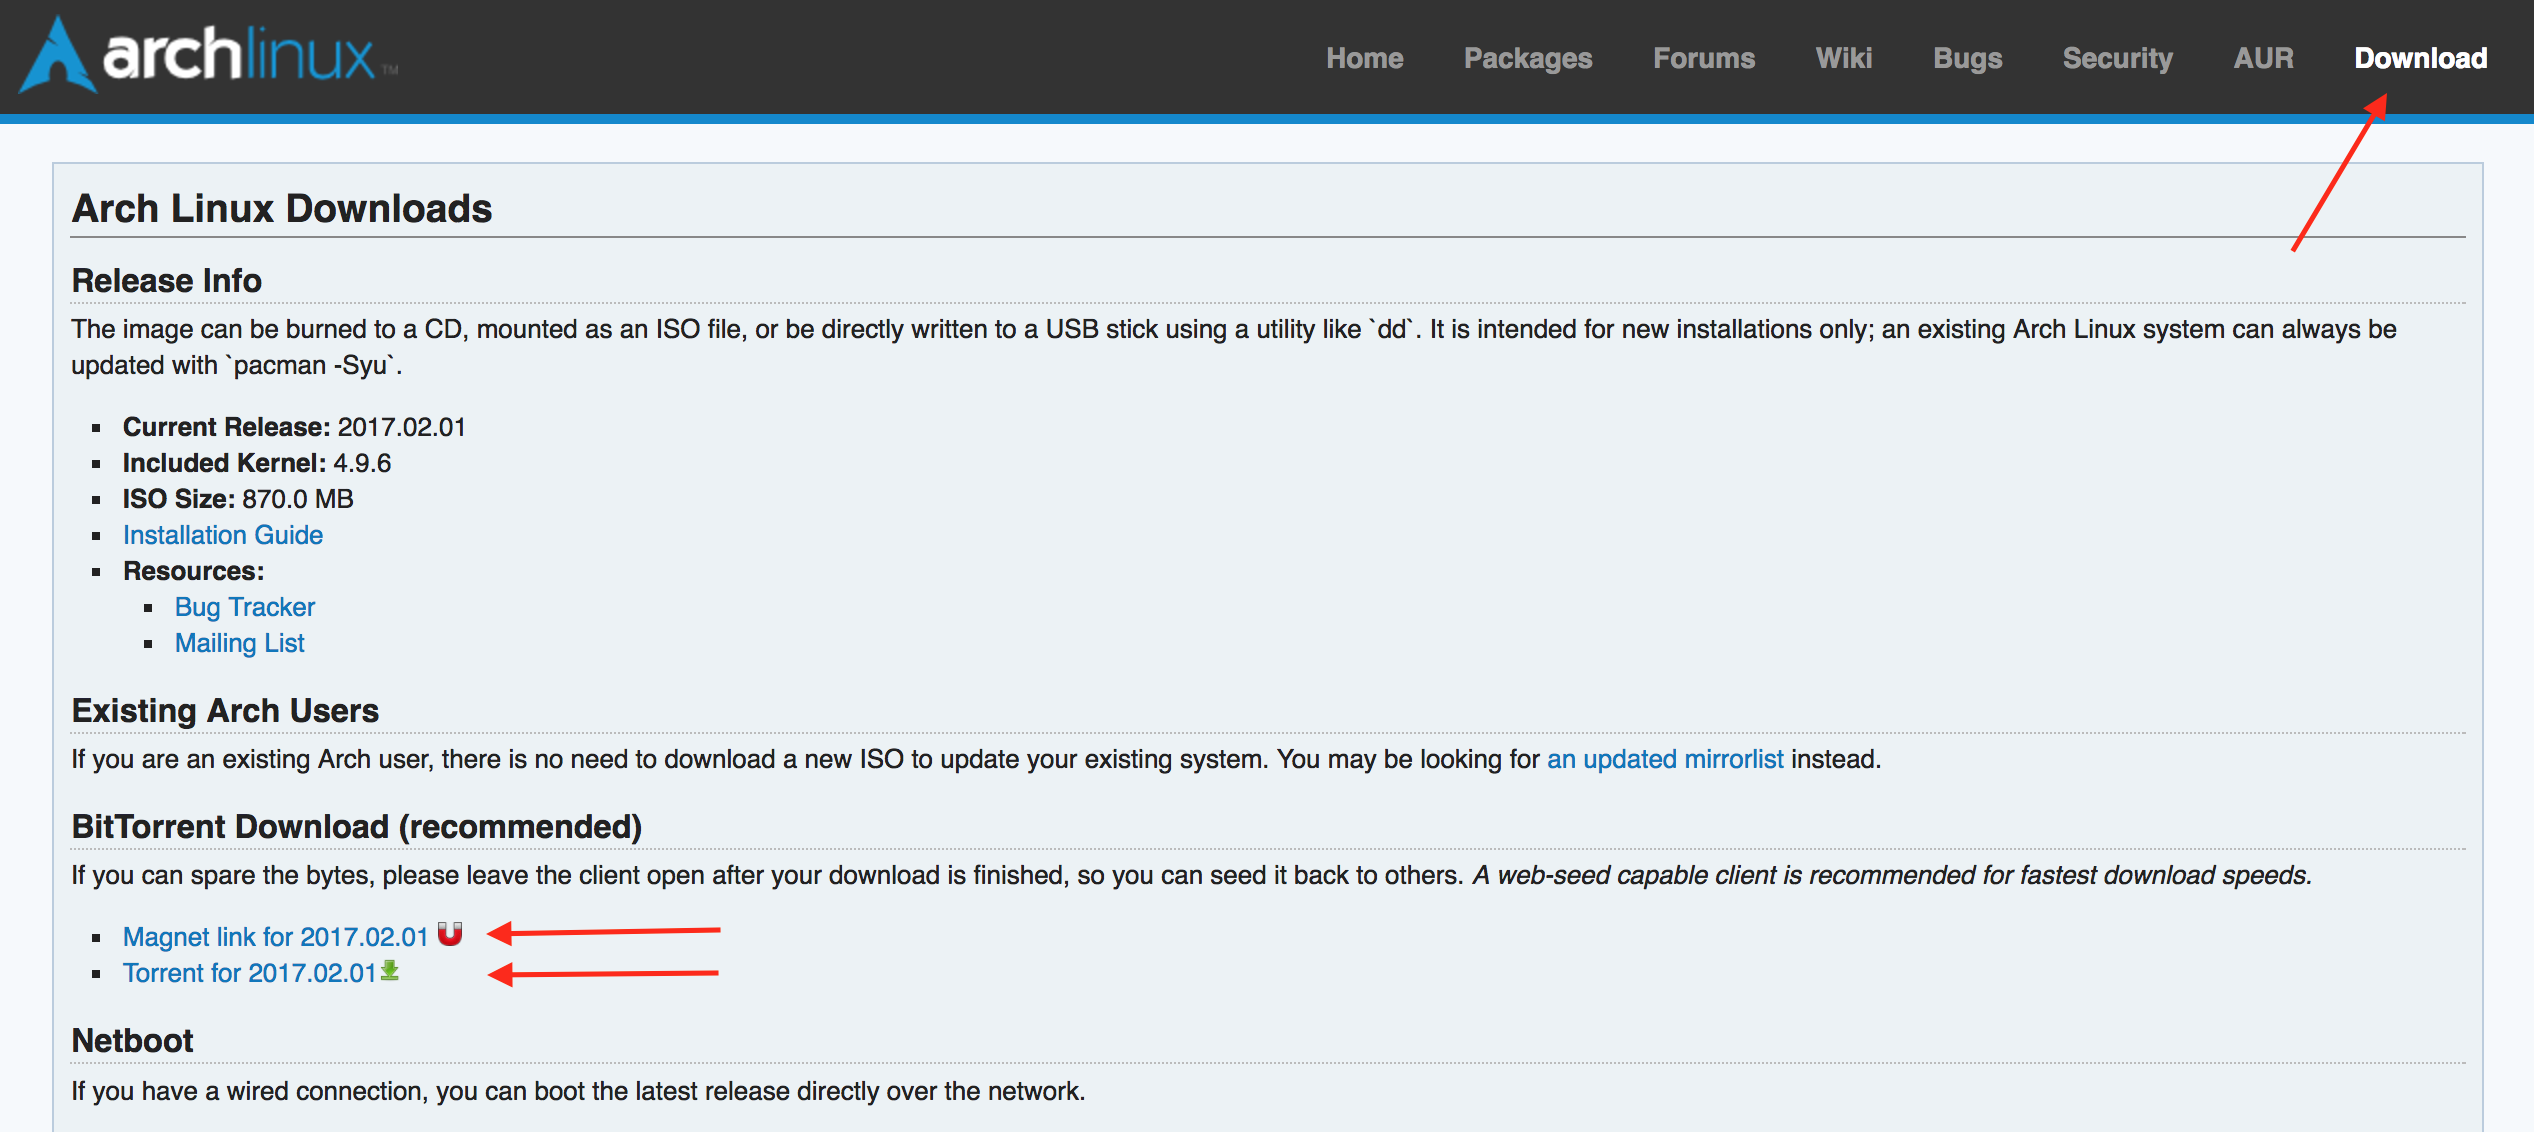
To install Arch Linux on Virtual Box, you must have the latest Arch Linux version that you can download from their official website. You can pick either the direct download option or torrent download, which is on a secure server. Before the installation, make sure you have 20 MB of free disk space and 1 GB of RAM in your system.
Initializing Installation with Oracle VM VirtualBox Manager
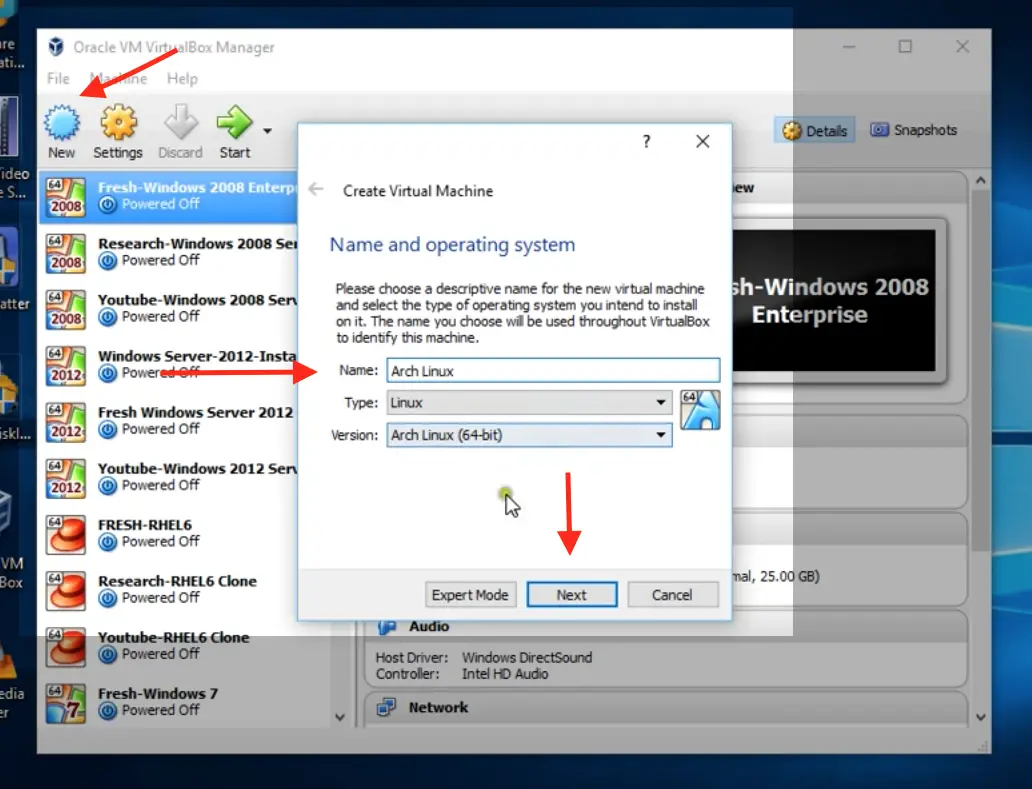
Open the Oracle VM VirtualBox manager, click on new, and type in the name of the new operating system you want to create; in this case, it is Arch Linux. The system will automatically pick up the type and version of the Arch Linux, based on your system’s configuration. Click on next.
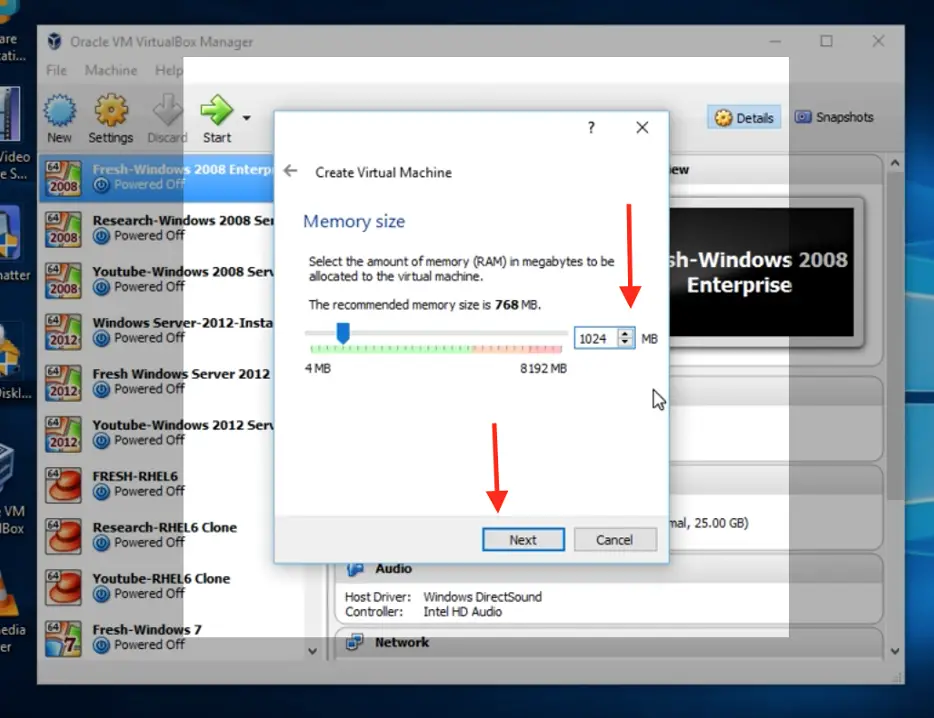
Allocate the desired RAM size to your new operating system, which is ideally 1024 MB. Click on next and then click on create, to create a virtual disk now.
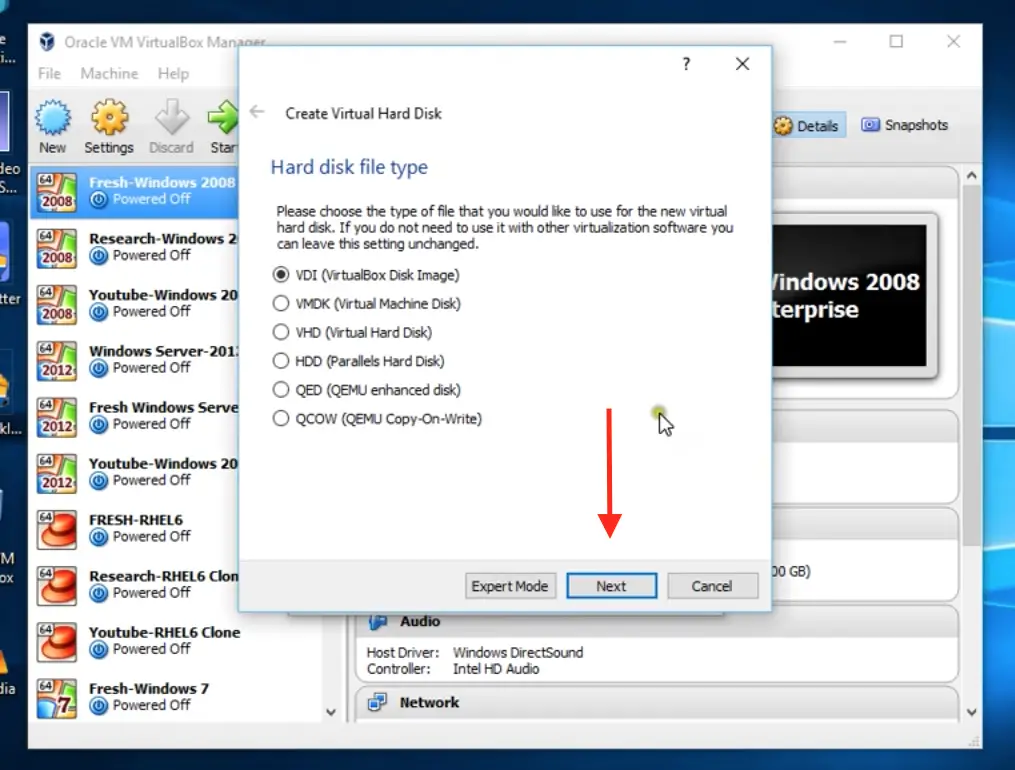
On the next page, you will be asked to select the type of hard disk file you want for your new operating system. Select VirtualBox Disk Image usually.
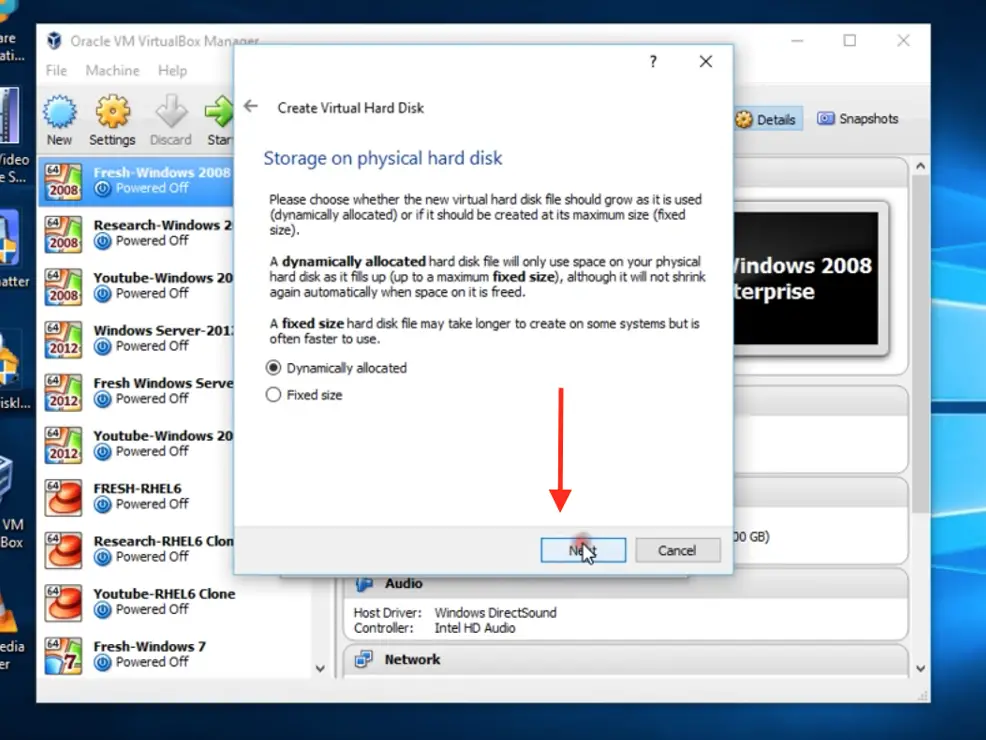
Choose dynamically allocated and click next.
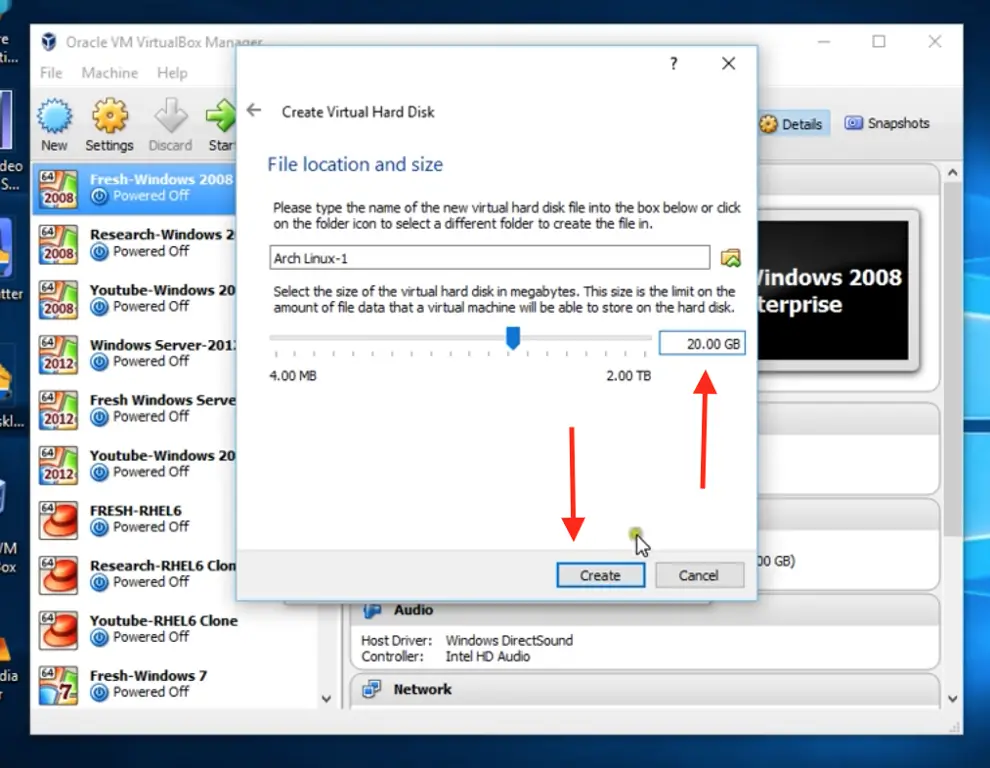
Allocate 20 GB hard disk file location and size.
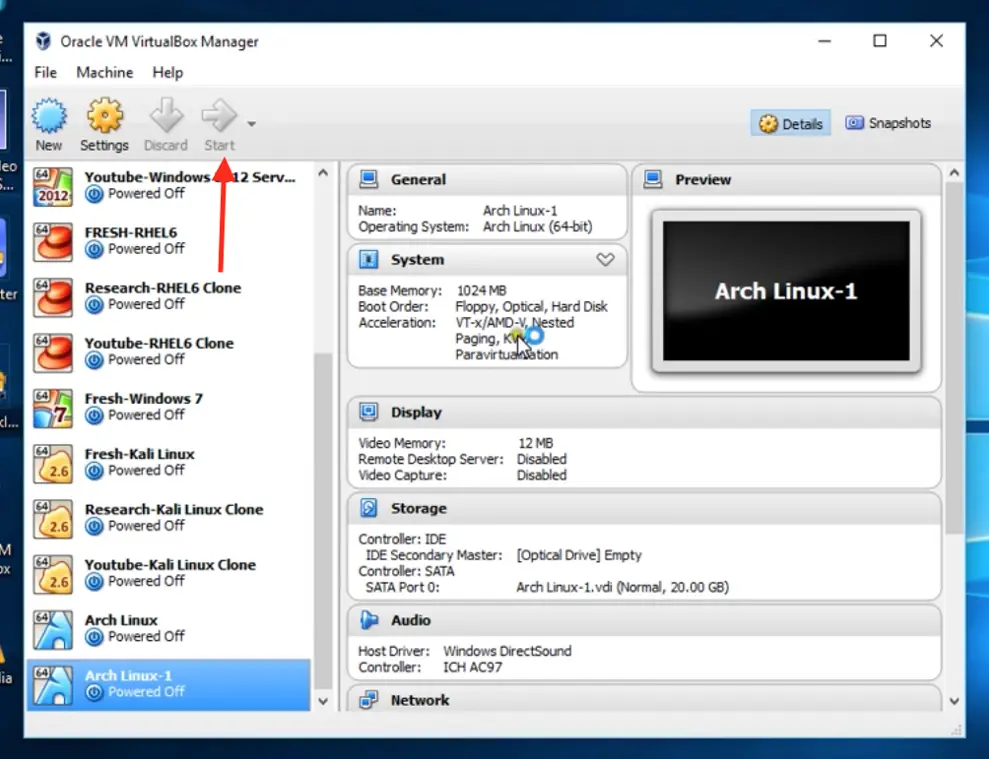
Now you can see that your Arch Linux operating system is created. Now you can click start.
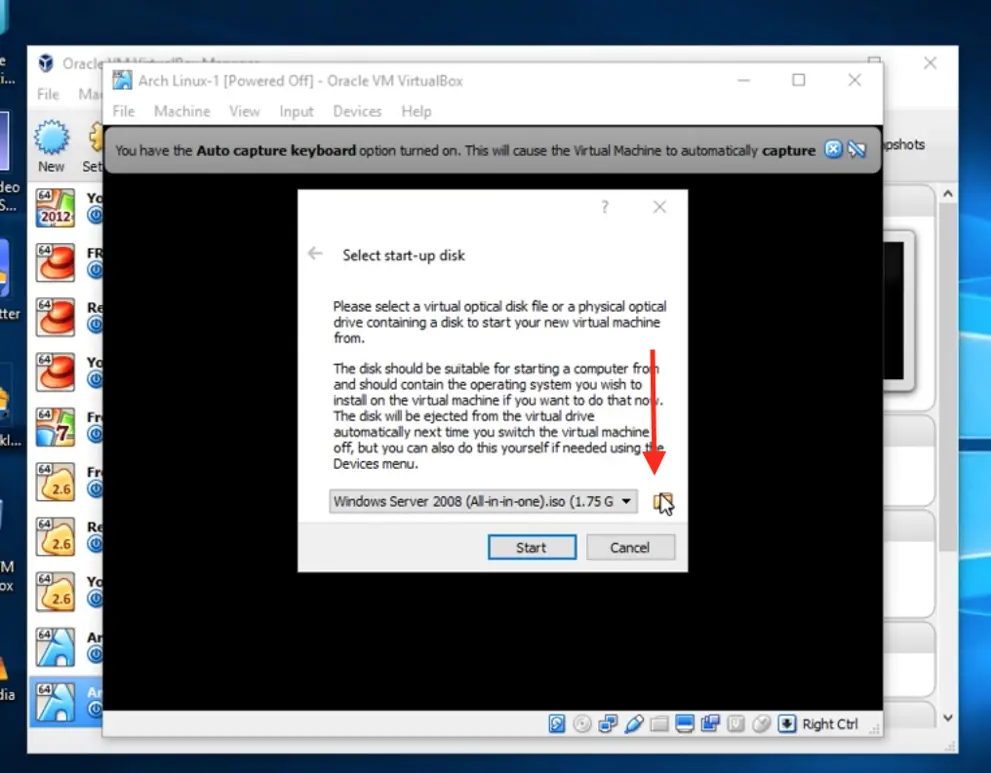
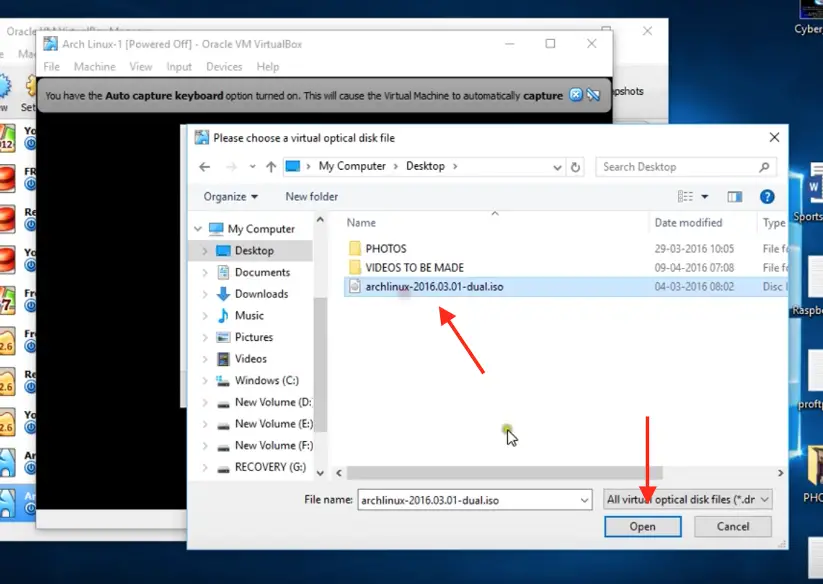
Click on 'browser' and select the startup disk, which you downloaded from the Arch Linux official website.
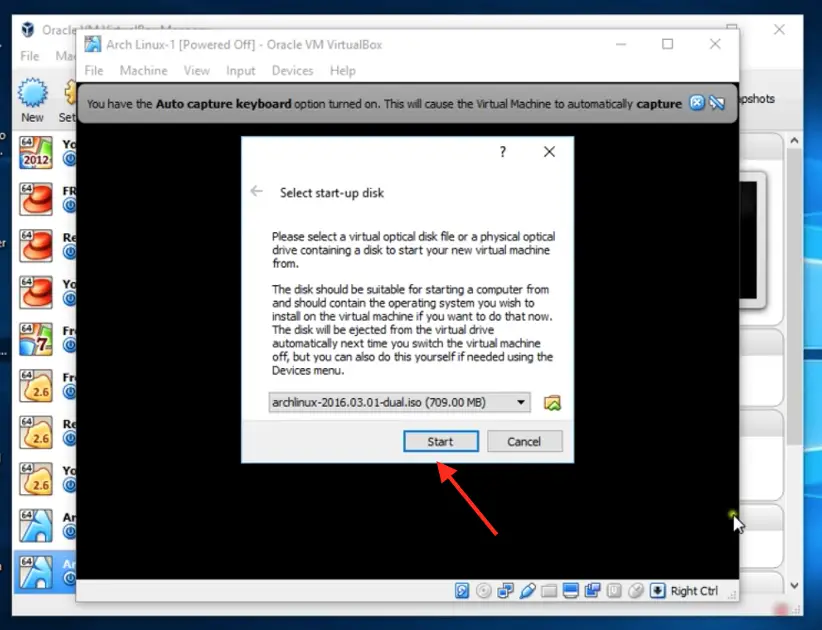
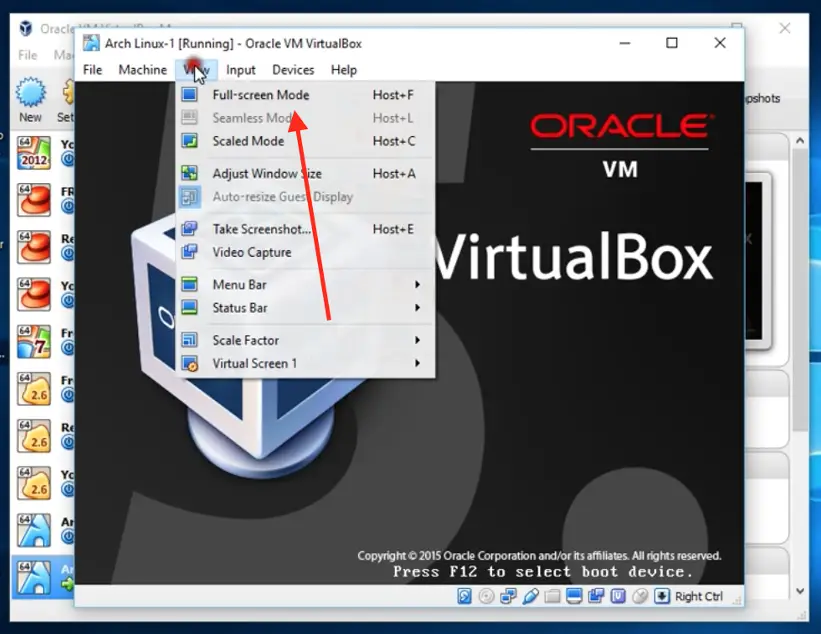
Click on start and then open the full-screen view.
Booting to Install Arch Linux on Virtual Box
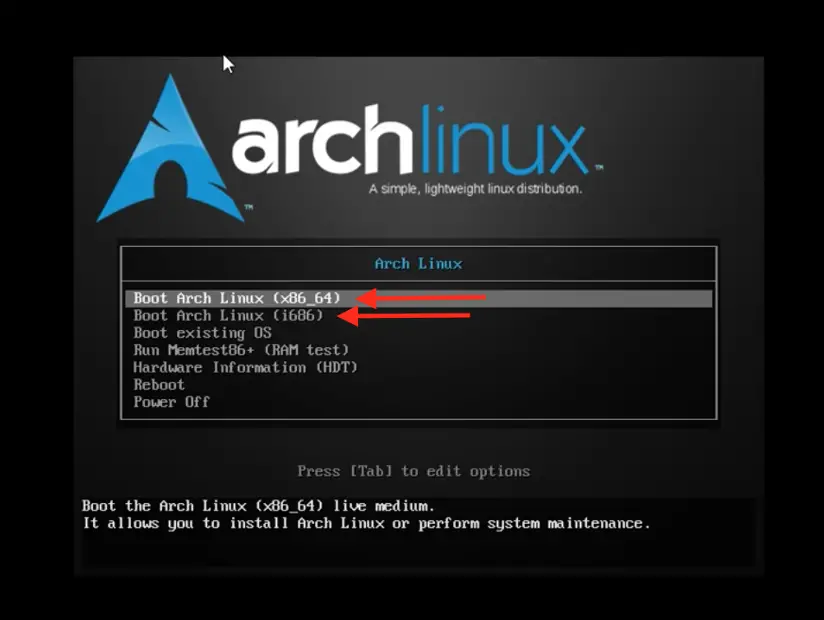
You will see the first opening page of Arch Linux. Click on “Boot Arch Linux (x86_64), which is for 64-bit or click on “Boot Arch Linux (i686)”, which is for 32-bit.
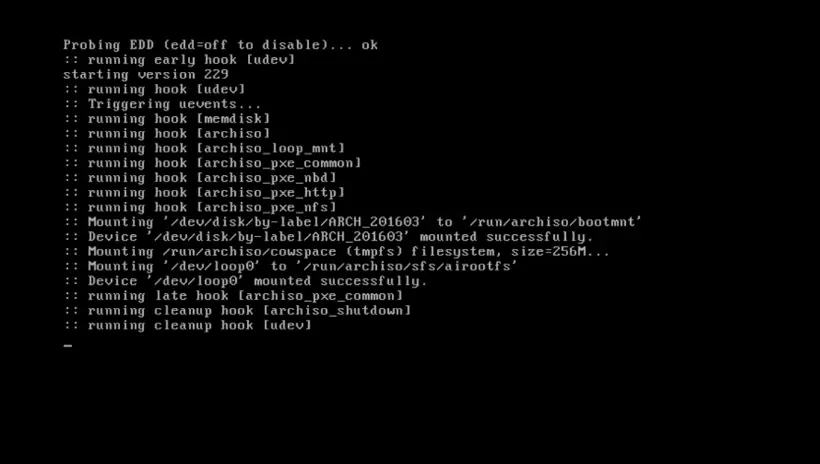
As soon as you click on the first option, the system will start booting. While it completes the temporary boot, we are basically moving into the live version and are logged in as root user.
Check the Internet connection by typing in the following command.
ping google.com
The word ping stands for packet internet gopher. You will soon see the response that means Arch Linux has activated the Internet connection. This is essential to perform certain installation steps.

Clear the command by typing
clear
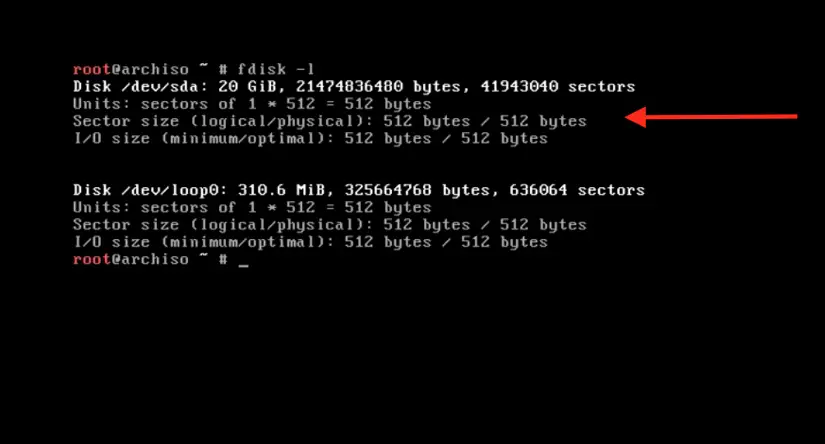
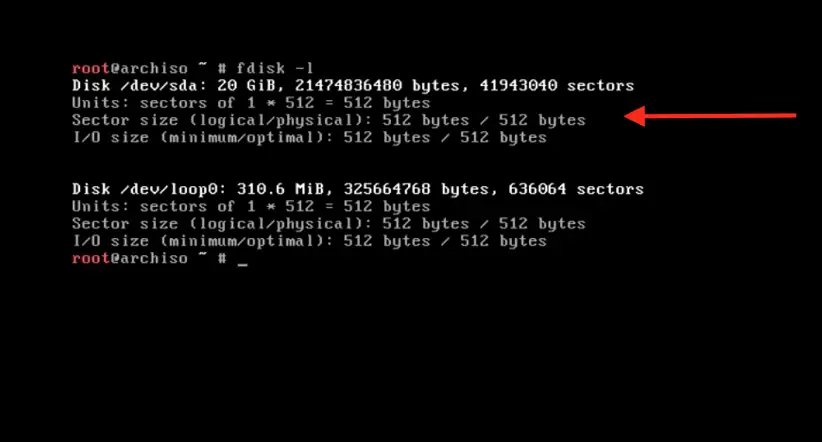
Before we start the installation, you should partition your drive. Type # fdisk – l and you will see the current system’s disk partition. Focus on the 20 GB hard drives that you allocated to Arch in the beginning.
fsdisk -l
Partition the hard disk
We are going to partition this 20 GB space into three partitions. The first one is the primary root partition that will be of 10 GB. The second will be the swap partition, which will be twice the initial RAM allocation that will be 2048 MB. The third will be the logical partition that will be 8 GB allocated.
Type the command:
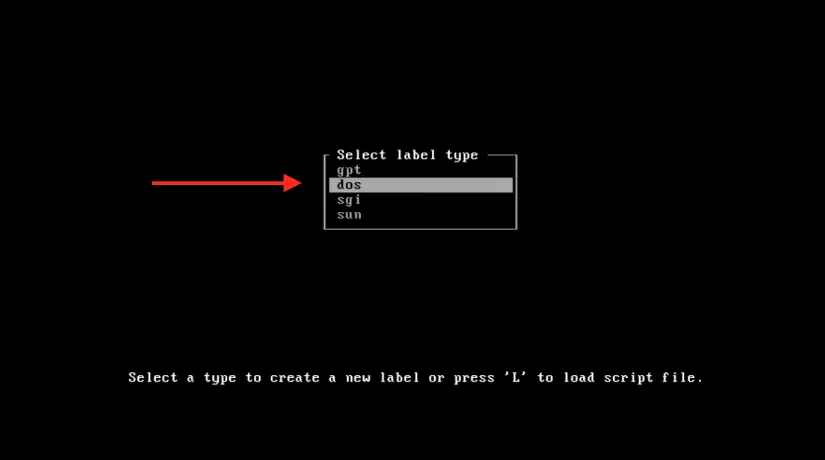
cfdisk
You will see gpt, dos, sgi, and sun. Select the dos option and press enter.
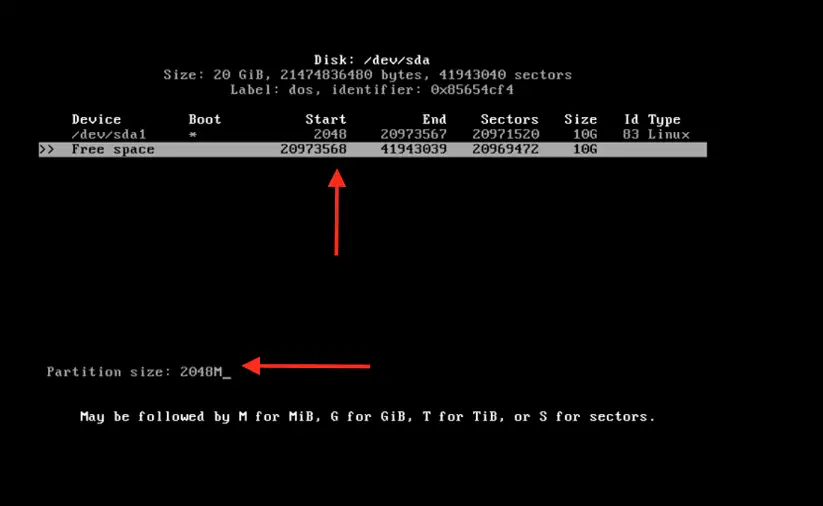
Here you will see the main disk space, which is 20 GB. To change this, press <enter> on the free space and type 10G.
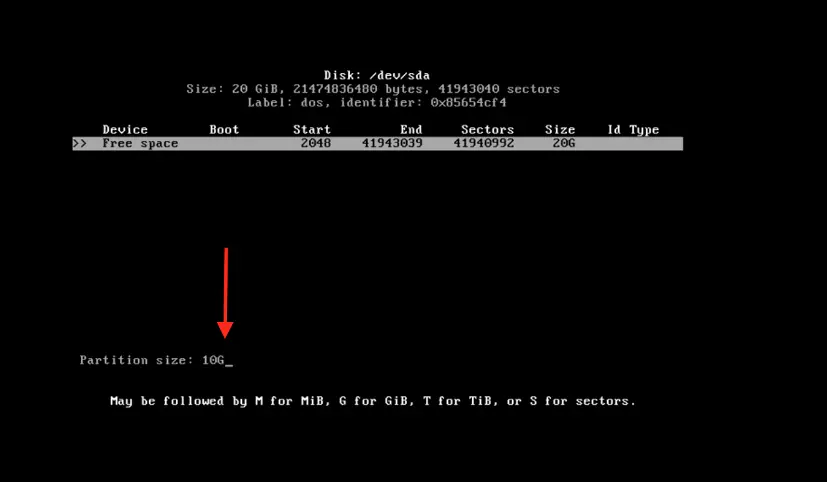
Press enter and then click on the “primary” partition.

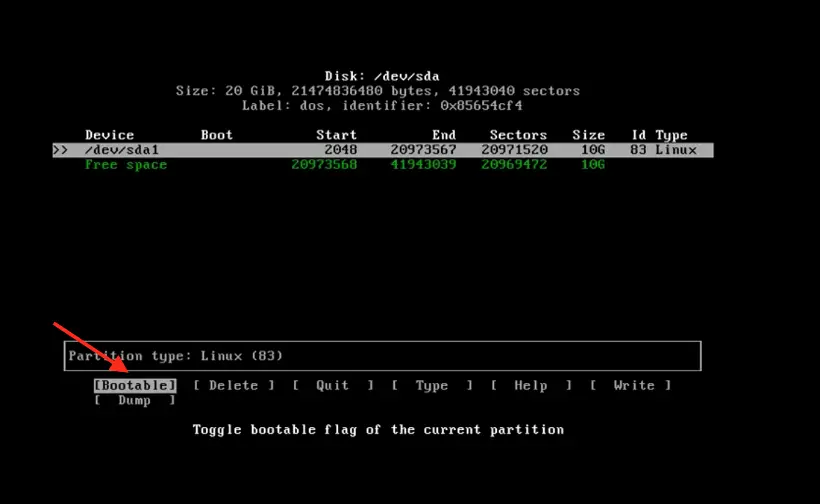
Now select the “bootable” type by pressing enter on bootable.
Go to write and press enter, to write partition to disk.
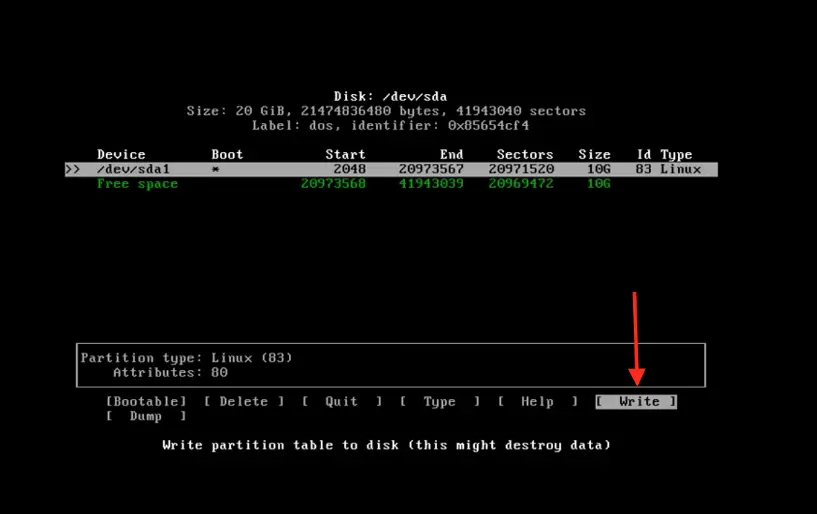
Then type yes to make the changes, successfully.

Now the 10 GB partition is created. Click on free space and then enter the partition size of 2048 M.
Now follow the same steps to create the logical partition. Then press enter on quit and clear the command by typing
clear

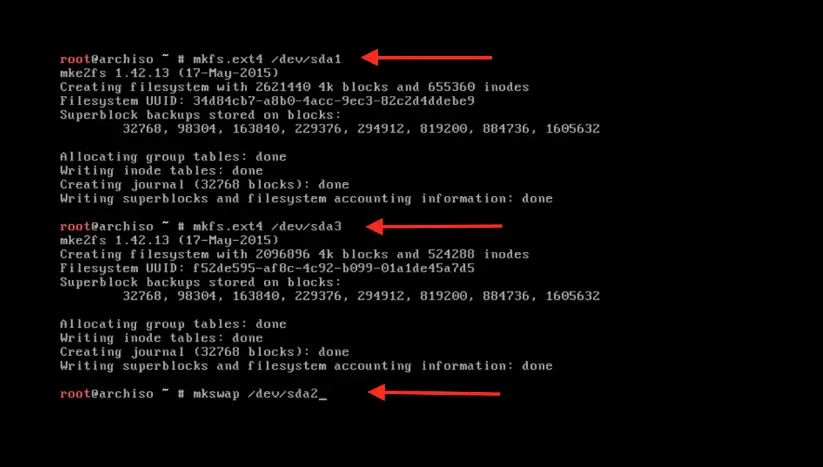
Format the newly partitioned disk by typing:
mkfs.ext4 /dev/sda1
Here sda1 is the partition name. Repeat this for the second drive by typing:
mkfs.ext4 /dev/sda3
and for the swap partition,
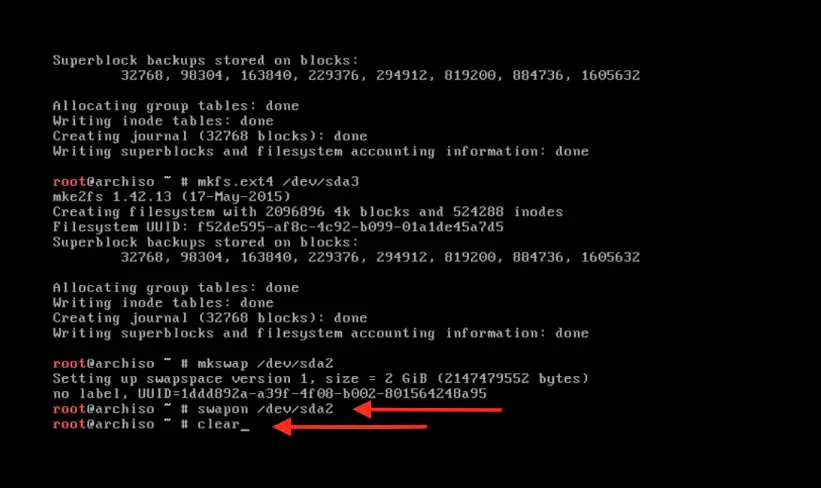
mkswap /dev/sda2
Activate the swap by typing:
swapon /dev/sda2
and clear the command by typing:
clear
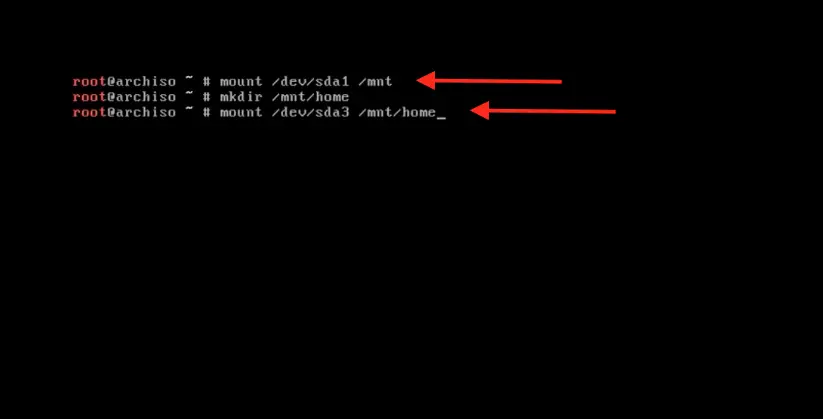
Mount the primary partition to start the installation part by typing:
mount /dev/sda1 /mnt
mkdir /mnt/home
mount /dev/sda3 /mnt/home
Bootstrap Arch Linux
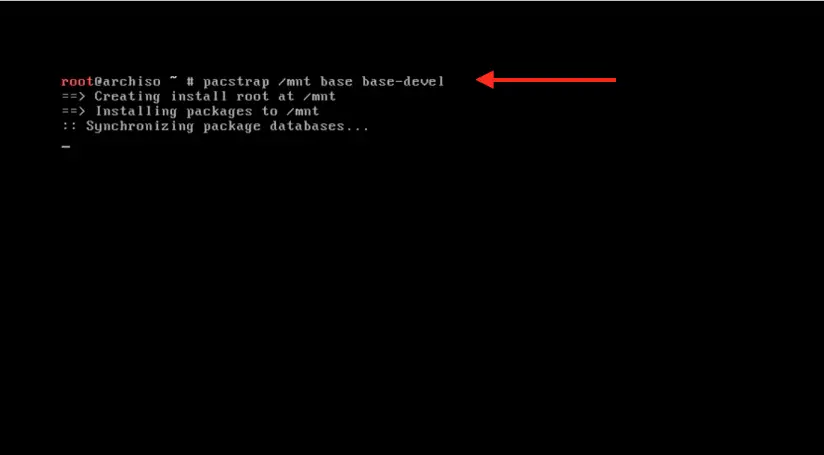
Bootstrap the system by typing:
pacstrap /mnt base base-devel
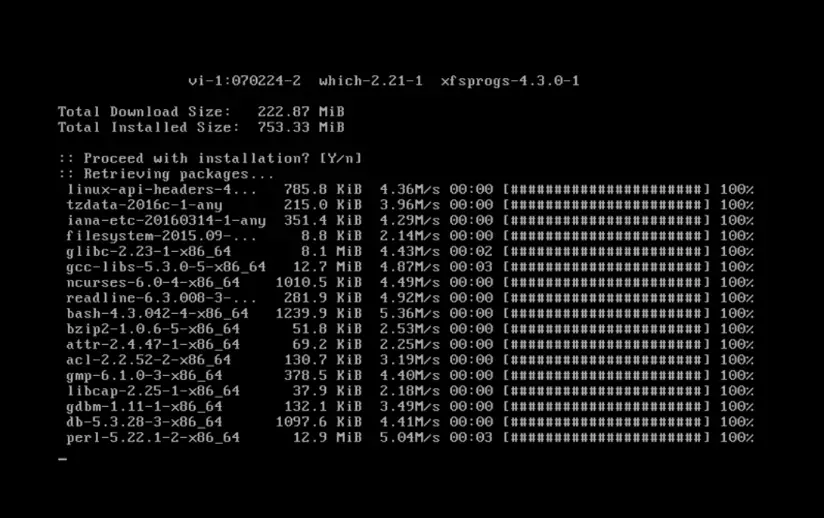
You can see that it is synchronizing the data packages.
The installation will start and will take a few minutes.
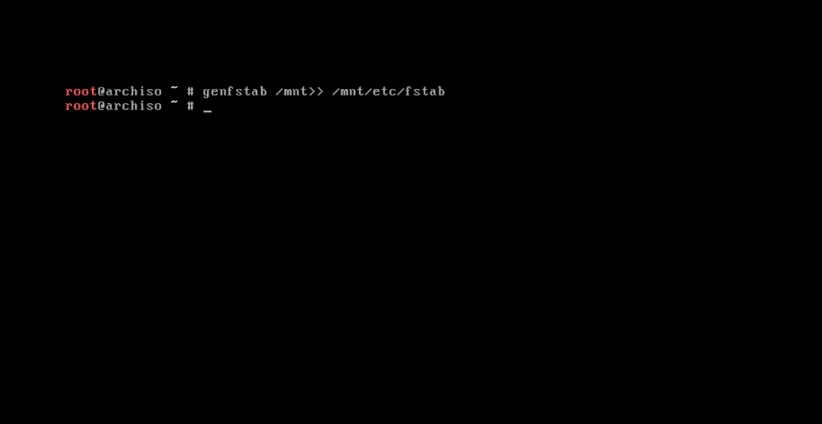
After the base installation create the fstab file by tying:
genfstab /mnt>> /mnt/etc/fstab
Configure locale, time and root password.
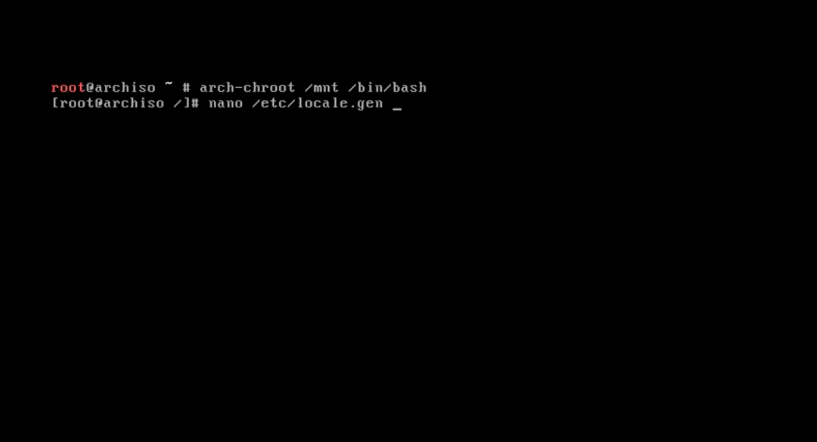
Change the system root to the Arch Linux installation directory by typing:
arch-chroot /mnt /bin/bash
Now to configure the language settings:
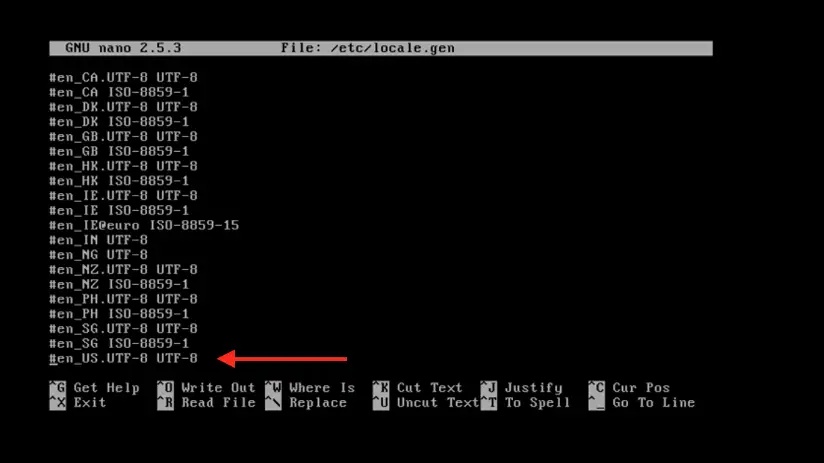
nano /etc/locale.gen
Select the following language configuration (en_US.UTF-8 UTF-8) by deleting the # and pressing control + x, press y, and press enter.
Now activate it by typing:
locale-gen
and press enter.

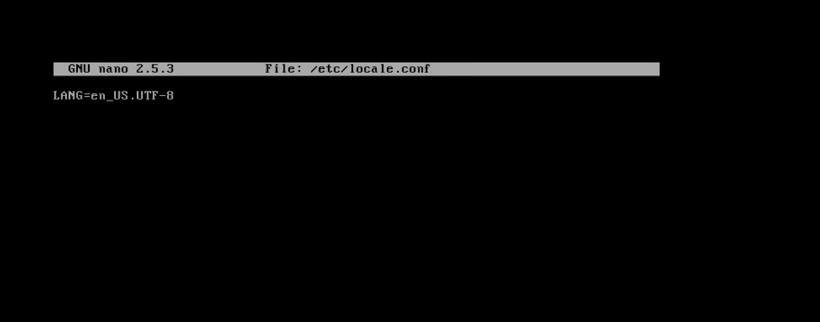
Create the /etc/locale.conf file by typing:
nano /etc/locale.conf
then press enter. Now you can add your language to the system by adding this line to the file:
LANG=en_US.UTF-8
Then press control + x and press y, and press enter.
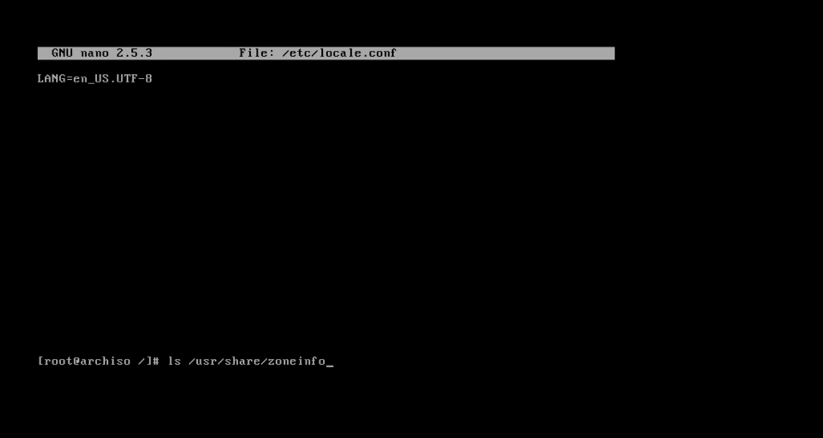
Synchronize the zone information by typing:
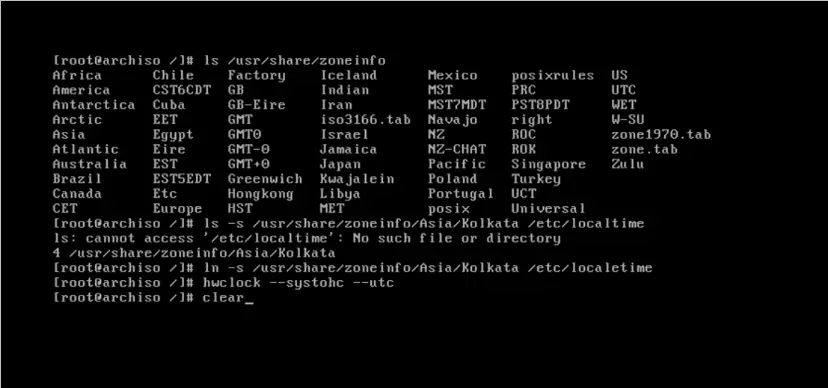
ls /usr/share/zoneinfo
and you will find a list of all the zones of the world.
To select your zone, type:
ln –s /usr/share/zoneinfo/Asia/Kolkata /etc/localtime
or you can select any name from the below list.

Set the time standard using the command.
hwclock --systohc --utc
And the hardware clock is synchronized.
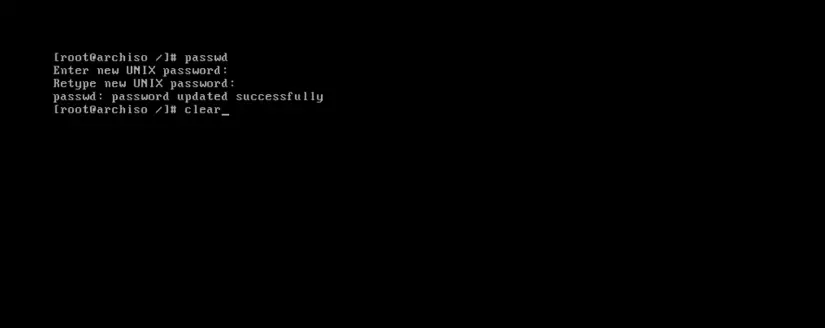
Set the root user password by typing:
passwd
And press enter. Then type your password and press enter.
Setup hostname and networking
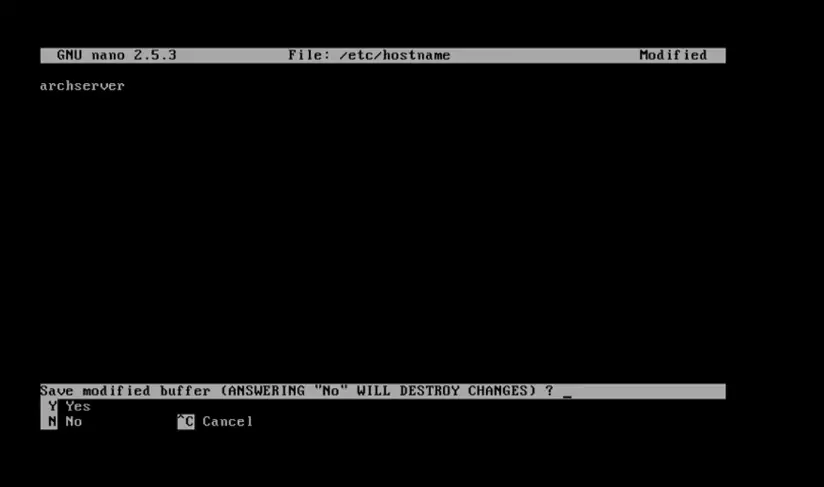
Enter the host name of the network by typing:
nano /etc/hostname
and press enter. Now type any name and then press control + x and press y, and press enter.
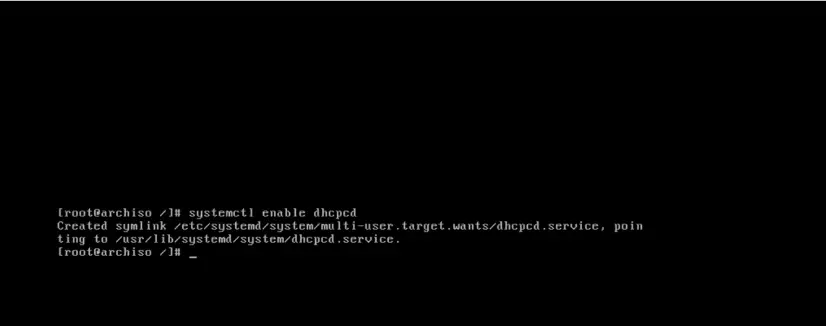
Enable the dhcpcd by typing:
systemctl enable dhcpcd
and it will be started at next boot time to fetch an IP address automatically.
Install the Bootloader
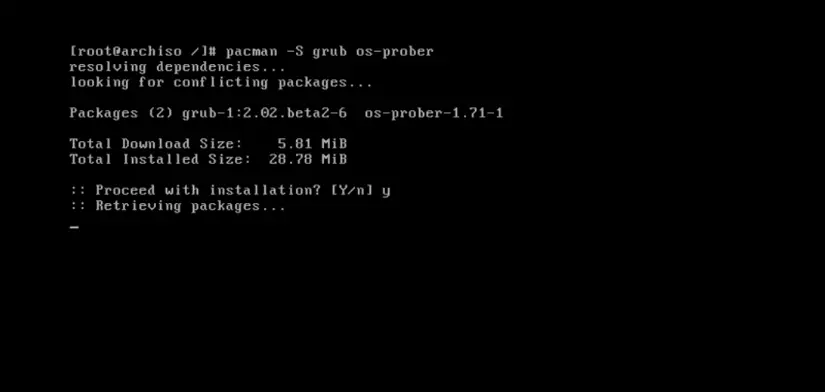
The final step, initiate the grub installation. Type:
pacman –S grub os-prober
then press y and the download part will begin.
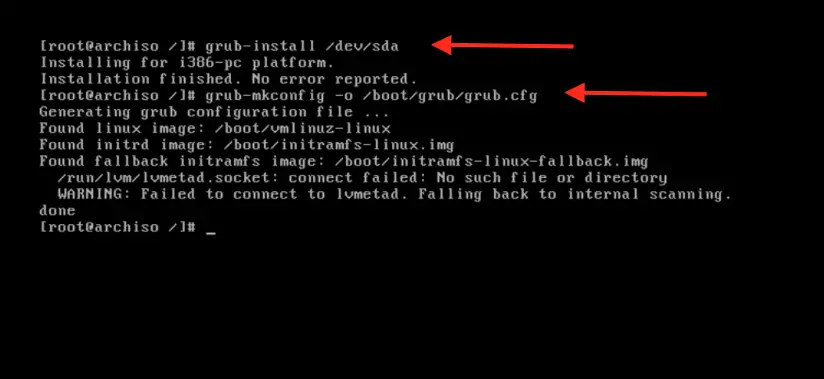
Install the grub boot loader to the hard disk by typing:
grub-install /dev/sda
and configure it:
grub-mkconfig –o /boot/grub/grub.cfg
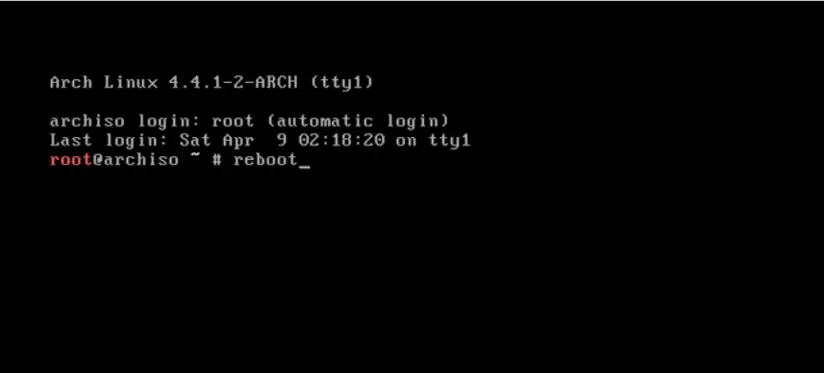
Finally, exit from chroot and then reboot the system by typing:
exit
reboot
and press enter.
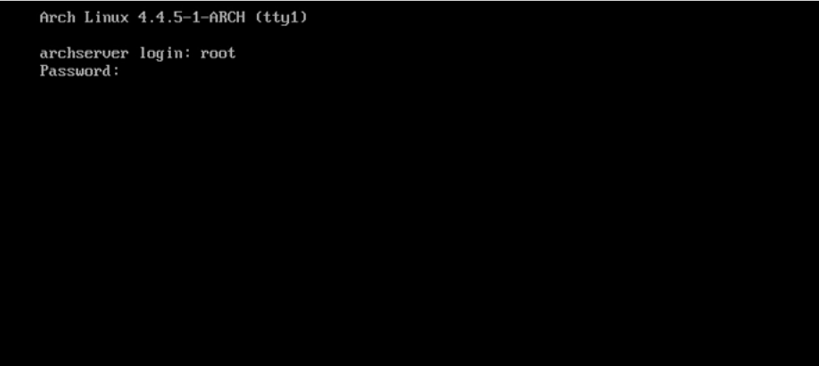
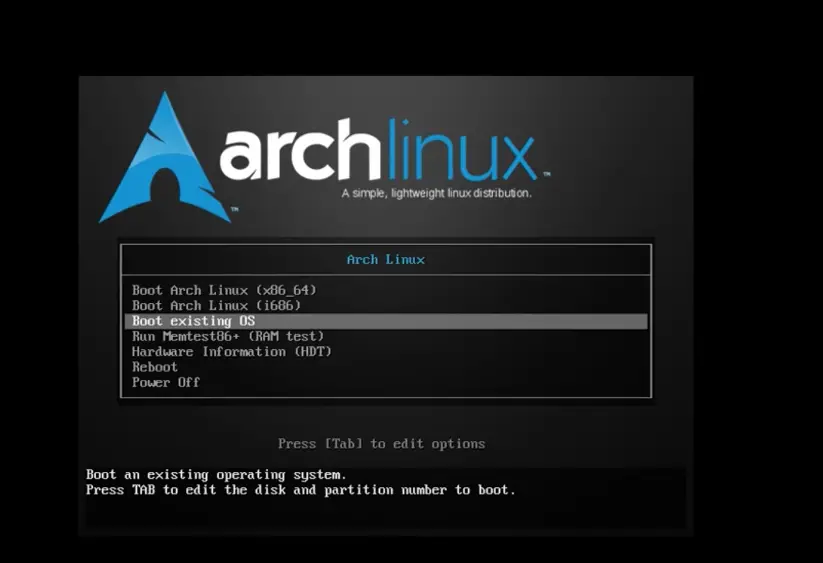
Boot into the installed ArchLinux operating system
Choose “Boot Existing OS” to boot Arch Linux on Virtual Box.
Login with your root name and password, and you will enter your new Arch Linux operating system.