How to install ownCloud with ONLYOFFICE using Univention App Appliance
ONLYOFFICE is an open source office suite distributed under GNU AGPL v3.0. It incorporates online editors for text documents, spreadsheets and presentations fully compatible with OOXML file formats, as well as multiple collaborative features.
ownCloud is an open source file sync&share solution with the ability to run a cloud storage that you administer and control yourself. With ONLYOFFICE Document Server integrated into ownCloud, you are able not only to store and share your documents, but also edit and collaborate on them in real time.
If you are an ownCloud user already, you can integrate ONLYOFFICE editors with ownCloud following the instructions given in this tutorial. If you are new to ownCloud, you can get both solutions installed and already integrated with each other all at once using virtual app appliance.
Part 1: App appliances within Univention Corporate Server
Univention Corporate Server (UCS) is an open source server operating system that unifies various services, apps, virtualized IT environments, etc. under a single interface, allowing their central and cross-platform administration. All processes, including installation, updating and maintenance are to a greater extent automated.
Virtual app appliances are VirtualBox or VMware images that comprise the app itself, the UCS management system and the UCS runtime environment. To install an appliance, you need to download it and import to the virtualization platform, inputting several local settings. The rest is self-configured automatically.
When installing ONLYOFFICE Document Server as a virtual appliance, it is automatically paired to ownCloud, since it’s a document processor and requires a platform to host and manage the processed files.
Part 2: Installation
Step 1. Download the necessary components
Download and install the hypervisor for the virtual machine: VirtualBox or VMware Workstation Player.
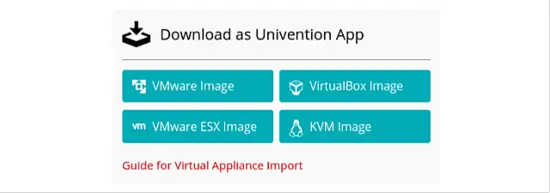
Download the ONLYOFFICE-ownCloud app compliant with the installed hypervisor.
Step 2. Import the image to the hypervisor
Open your hypervisor and import the ONLYOFFICE virtual image. The required steps are different depending on the installed hypervisor.
Step 3. Start booting process
Start the Virtual Machine with ONLYOFFICE and UCS, inputting the data to get system operated in your environment.
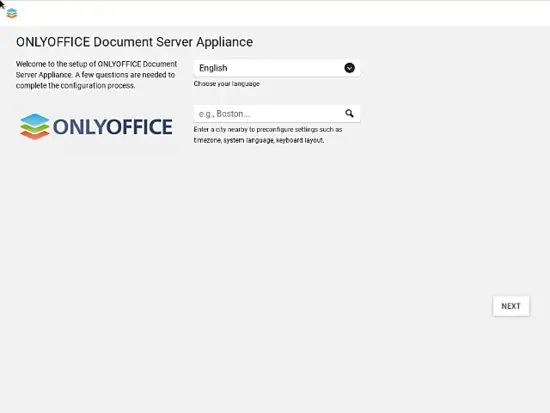
Step 4. Localize your system
Select the nearest city to obtain the localization data, such as timezone, keyboard layouts, etc.
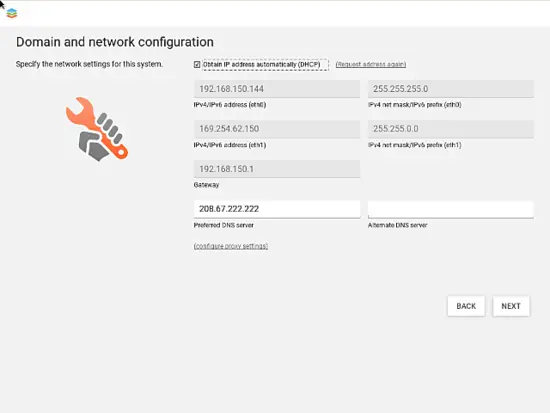
Step 5. Set up your domain and network
Specify IP addresses manually, or obtain them automatically.
Enter the address of the preferred DNS server.
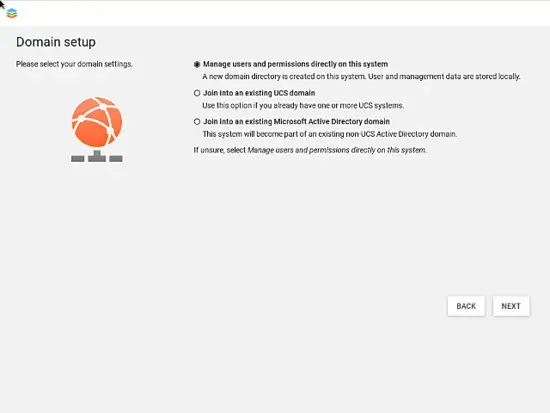
Step 6. Select your domain settings
Create the new domain directory, selecting the option Manage users and permissions directly on this system.
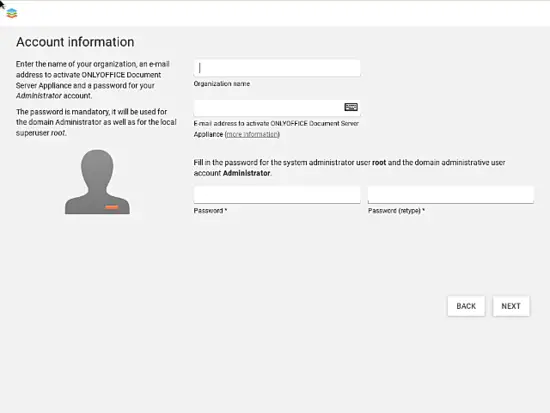
Step 7. Fill in your admin account information
Enter your company name, email address for activating ONLYOFFICE, and a new password.
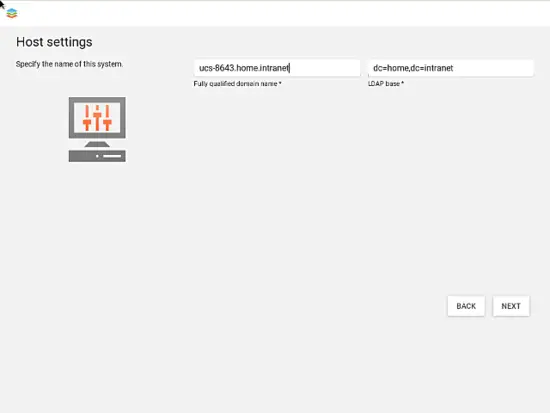
Step 8. Adjust host settings
Specify the full domain name for the system and the LDAP base.
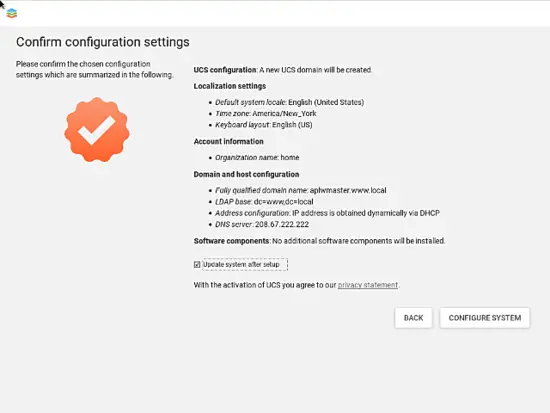
Step 9. Confirm your configuration settings
Once done, the settings overview opens. Double-check your inputs and click the CONFIGURE SYSTEM button.
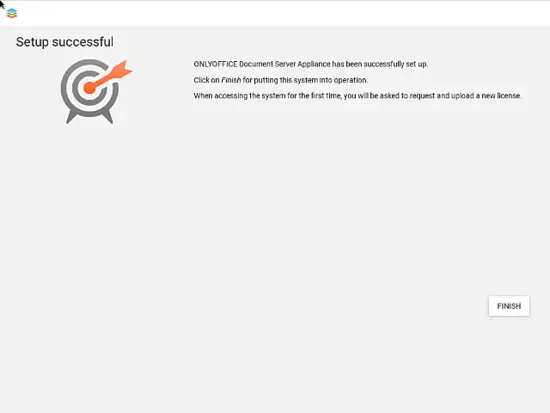
That’s all. Now you can start ONLYOFFICE paired to ownCloud in a newly created UCS platform.
Links
- ONLYOFFICE support forum for any questions
- ONLYOFFICE source code on GitHub

