How To Set Up WebDAV With Apache2 On Debian Etch - Page 2
6 Configure A Windows XP Client To Connect To The WebDAV Share
According to http://www.heise.de/netze/WebDAV-mit-Apache--/artikel/77605/3 (in German!), Windows XP clients with SP2 don't support the Basic authentication in conjunction with WebDAV unless you download this file and tweak the Windows registry: ftp://ftp.heise.de/pub/ct/listings/0504-202.zip
The file contains a .reg file. Double-click on it to install it, then restart Windows.
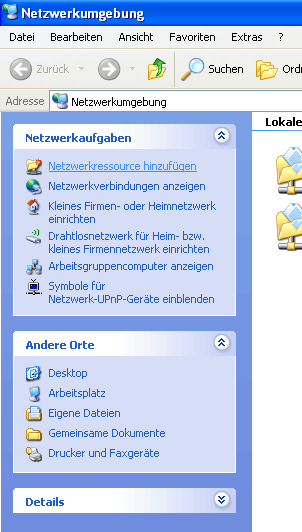
After the restart, click on My Network Places on your desktop (I have a German Windows, so the names are a bit different in the screenshots):

Select Add a Network Place from the Network Tasks menu (on the left):
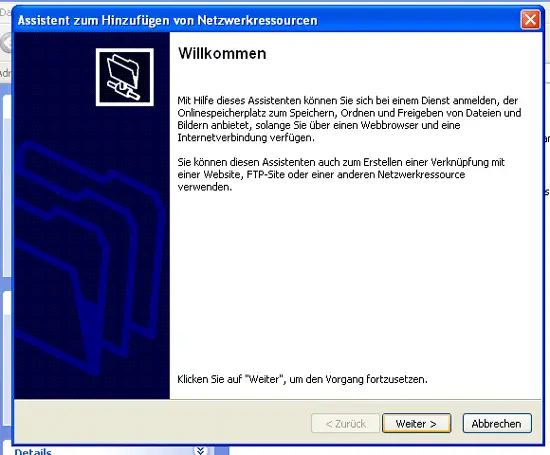
The Add Network Place Wizard comes up. Click on the Next button:
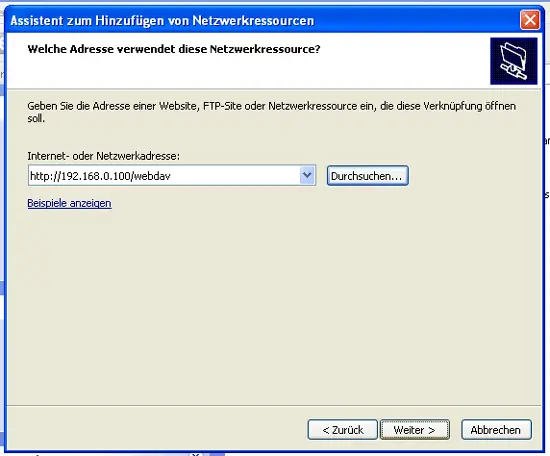
Select Choose another network location, and click on Next:

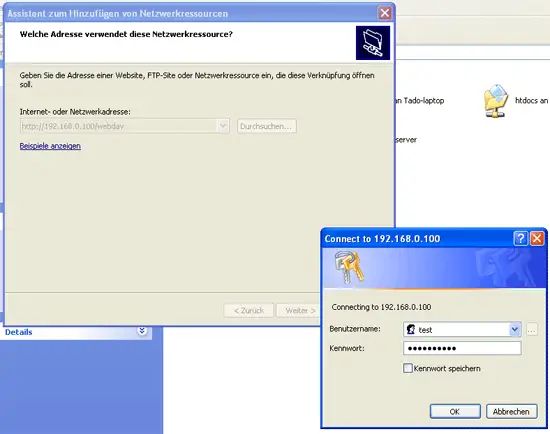
Enter http://192.168.0.100/webdav as the location and click on Next:
You will be prompted for a user name and a password. Type in the user name test and the password for the user test:
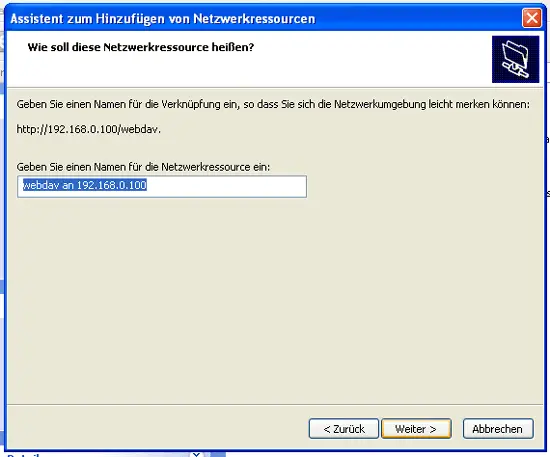
Then type in a name for the WebDAV folder:
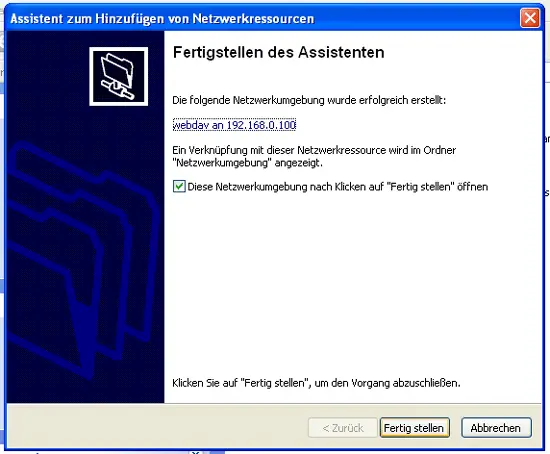
To open the new connection, keep the Open this network place when I click Finish box checked, and click on Finish:
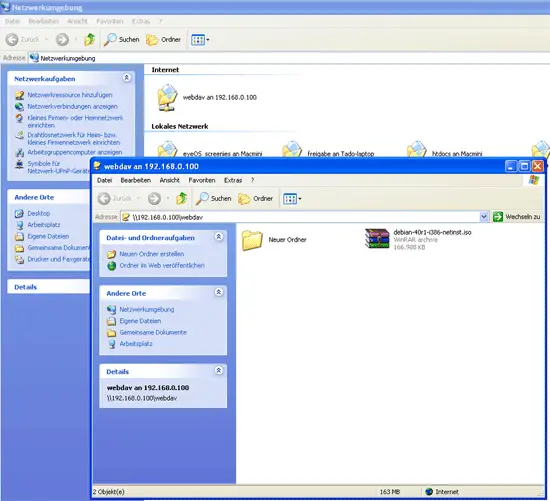
The WebDAV folder will then open where you can browse the contents of the /var/www/web1/web directory and its subdirectories on the server, and you will find an icon for your new WebDAV share in the My Network Places folder: