Setting up AWS Redshift for Cloud Data warehousing
In this tutorial, I will explain and guide how to set up AWS Redshift to use Cloud Data Warehousing. Redshift is a fully managed petabyte data warehouse service being introduced to the cloud by Amazon Web Services. It works by combining one or more collections of computing resources called nodes, organized into a group, a cluster. Each cluster runs a Redshift engine and can contain one or more databases. The architecture can basically be worked out as follows:
1. How does it work
Basically, Redshift is based on PostgreSQL as its core engine, so most SQL applications can work with Redshift. Redshift can also be integrated with a wide range of applications including BI, analysis, and ETL (Extract, Transform, Load) tools that allow analysts or engineers to work with the data it contains.
When a user sets up an Amazon Redshift data warehouse, they have a core topology for operations called a cluster. A Redshift cluster is composed of 1 or more compute nodes. If the user chooses to use more than one compute node, Redshift automatically starts a master node. This leader node is set up to receive requests and commands from the client execution side and is not billed by AWS.
Client applications communicate only with the leader node. The calculation nodes under the leader node are transparent to the user. When clients execute a query, the leading node analyzes the query and creates an optimal execution plan for execution on the compute nodes, taking into account the amount of data stored on each node.
In this tutorial, I will show you how to set up and configure Redhift for our own use. In this example, I will create an account and start with the free tier package.
2. Configuration Phase
2.1 Prerequisite
Before we begin setting up an Amazon Redshift cluster, there is a certain prerequisite that needs to be completed.
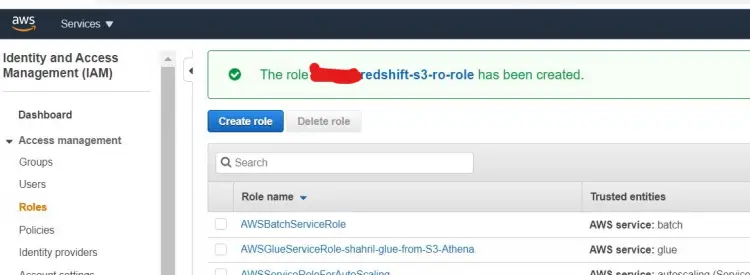
First sign up to AWS then once done, go to IAM service to create a role that we could use for Redshift usage. You can follow the screenshot as per below:
Once done, you should get a screenshot like below stated that the role has successfully created.
2.2 Setting up Redshift Configuration
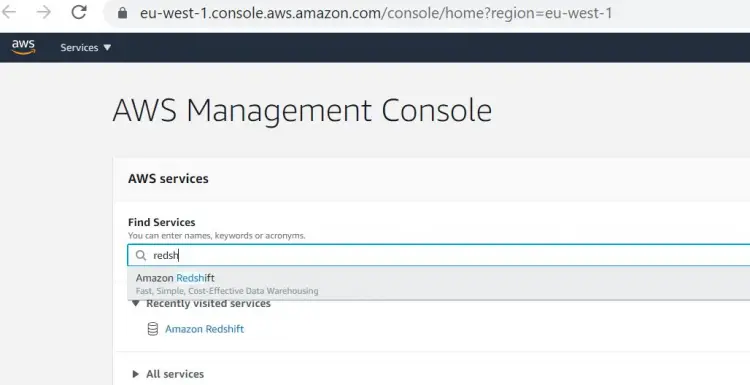
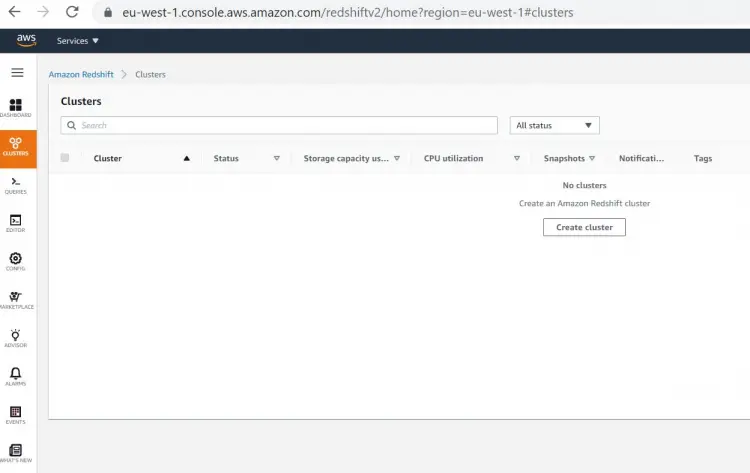
As the prerequisites are done, we can proceed to create our own Redshift Cluster. Search for Redshift features in the search pane and proceed from there. Below are the screenshot example:
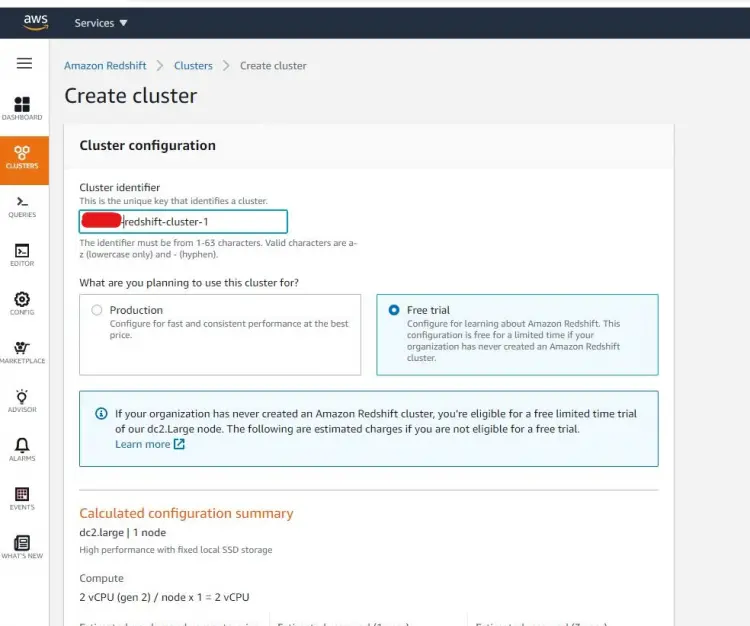
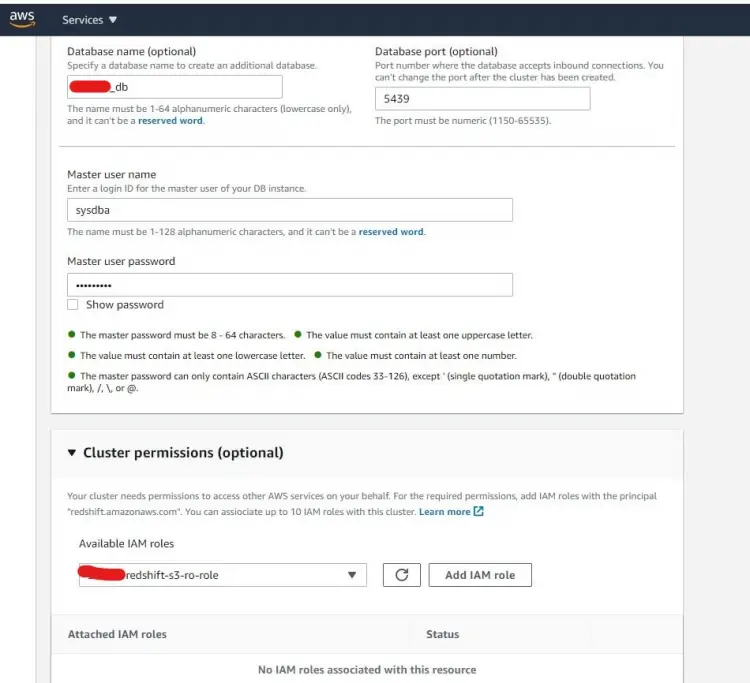
Click on Create Cluster button and proceed with the needed variables, noted that on Cluster Permission side we include our IAM role that we've created previously.
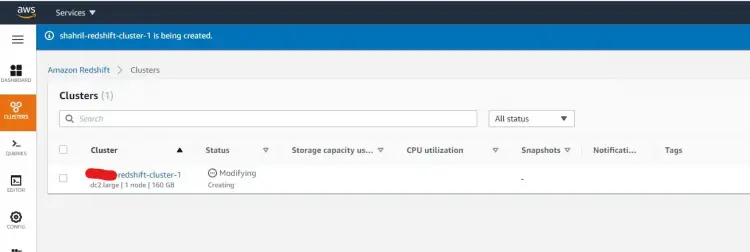
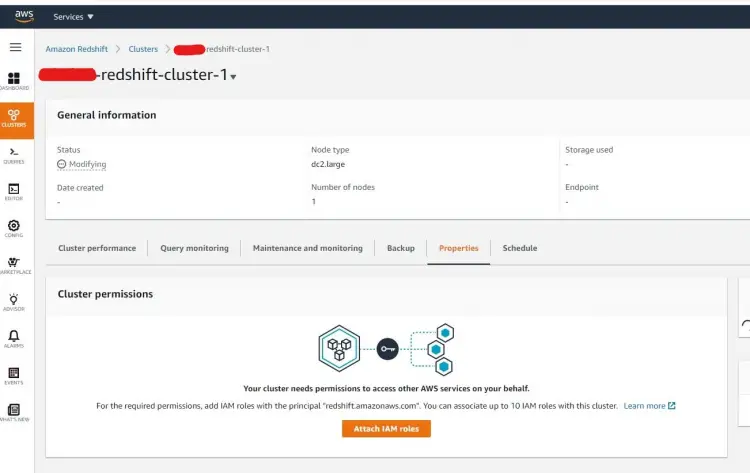
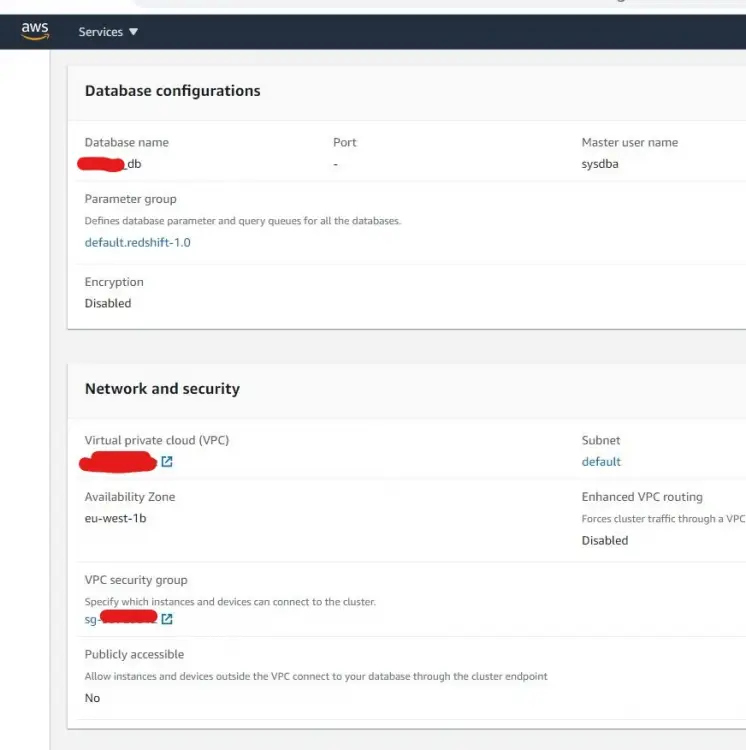
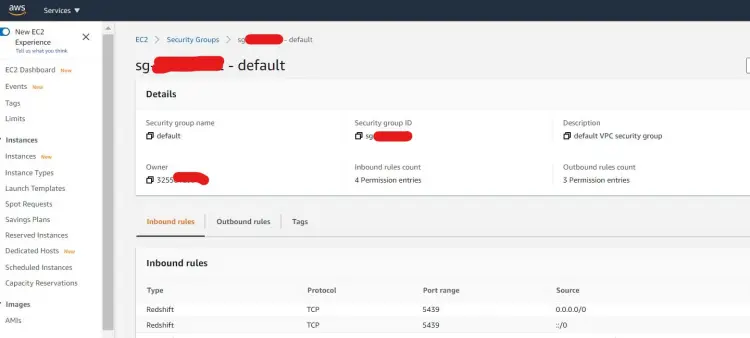
Once done, you should end up in the redshift dashboard as above. For this tutorial, we will disable the network security layer by changing the security group. To do that, go to the bottom of the dashboard and add the Redshift port in the Inbound tab. Below is an example:
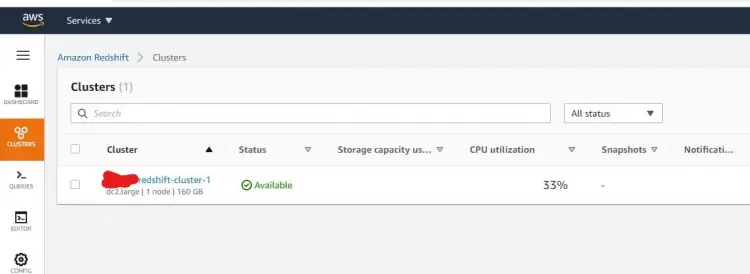
Once everything is done, you should see the new cluster you've created is now is available to be used.
3. Testing Phase
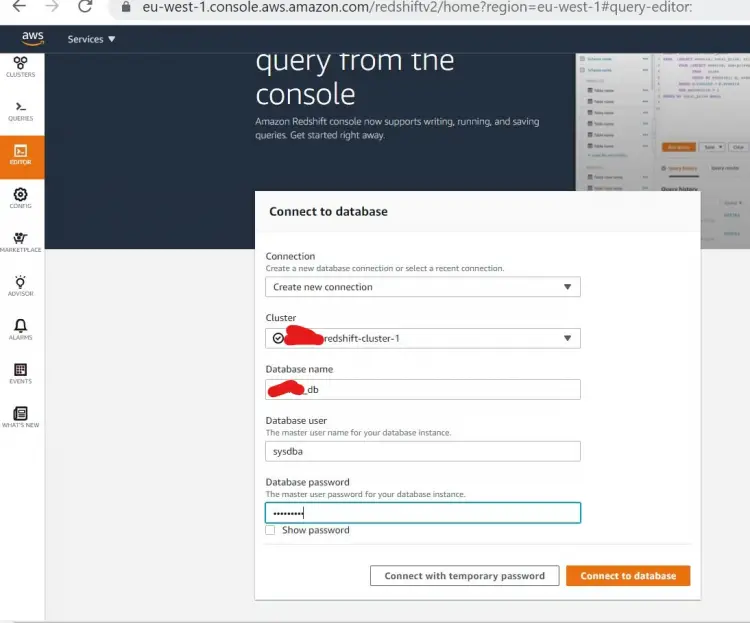
Now, let's try to access our data warehouse. To test it out, click on EDITOR on the left pane, include the necessary variables the click on Connect to database
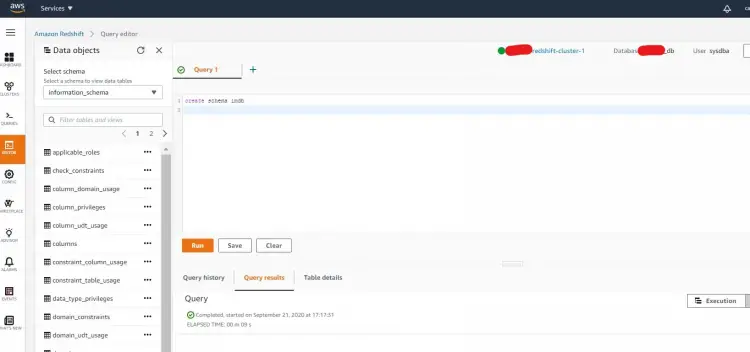
You should be brought over to an editor page, now let's start by creating our own testing schema. Create a schema as per below then execute it.
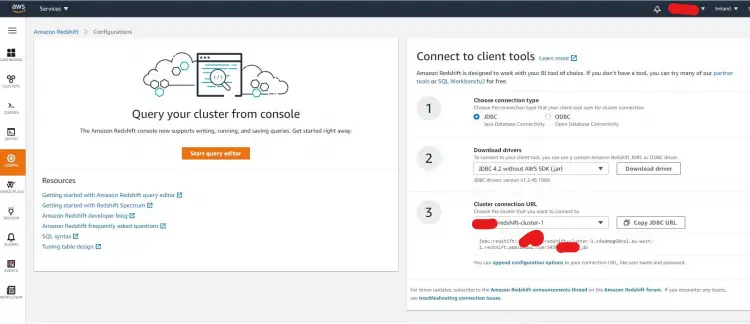
Great, now let's test on the client local side. To do that, you need to get either JDBC or ODBC connection from the Redshift side. To get that info, click on the Config button on the left pane of the dashboard.
Choose your favor of connection type then download the libraries needed and copy the URL as shown in the below example:
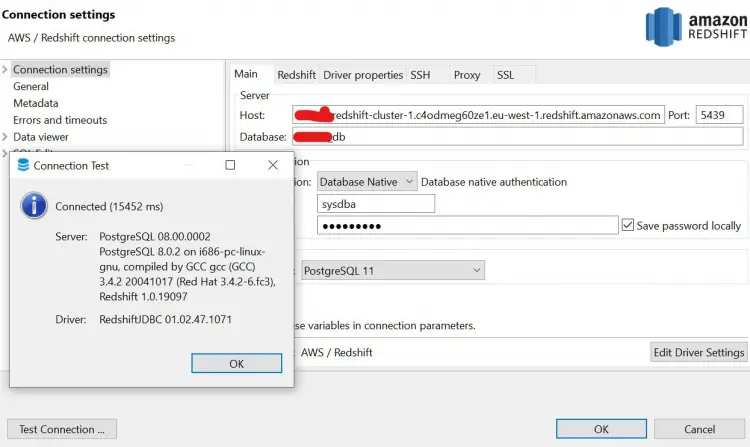
Next, open any of your SQL client tools and input the connection variables needed. In our example here, we are using SQL client tools name DBeaver which can get from here
Your connection should be successful as expected. If in any case, you stumble with an authentication issue, check with your configuration made under AWS security group for further detail.
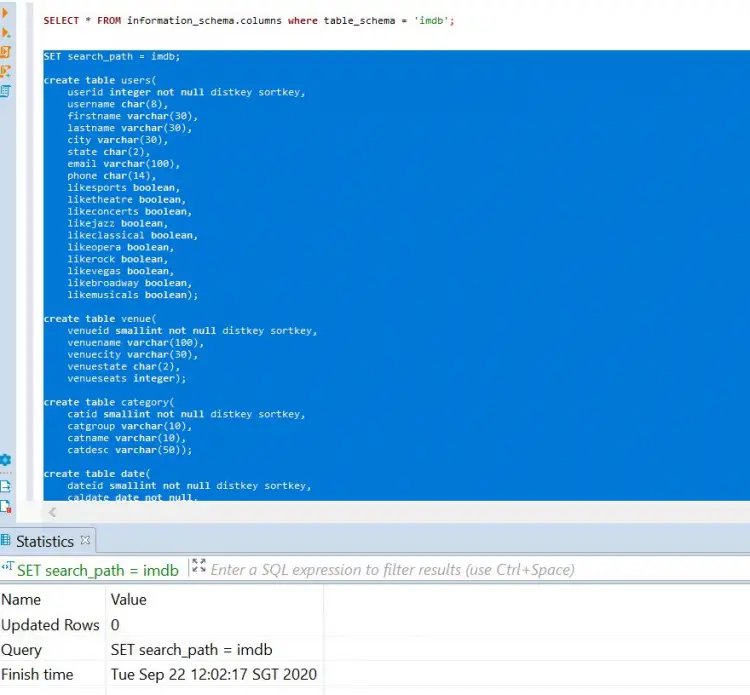
Next, let's create a set of tables under our previous newly created schema. Below are an example of table creation that we will execute in our cluster:
 SET search_path = imdb;

create table users(
userid integer not null distkey sortkey,
username char(8),
firstname varchar(30),
lastname varchar(30),
city varchar(30),
state char(2),
email varchar(100),
phone char(14),
likesports boolean,
liketheatre boolean,
likeconcerts boolean,
likejazz boolean,
likeclassical boolean,
likeopera boolean,
likerock boolean,
likevegas boolean,
likebroadway boolean,
likemusicals boolean);

create table venue(
venueid smallint not null distkey sortkey,
venuename varchar(100),
venuecity varchar(30),
venuestate char(2),
venueseats integer);

create table category(
catid smallint not null distkey sortkey,
catgroup varchar(10),
catname varchar(10),
catdesc varchar(50));

create table date(
dateid smallint not null distkey sortkey,
caldate date not null,
day character(3) not null,
week smallint not null,
month character(5) not null,
qtr character(5) not null,
year smallint not null,
holiday boolean default('N'));

create table event(
eventid integer not null distkey,
venueid smallint not null,
catid smallint not null,
dateid smallint not null sortkey,
eventname varchar(200),
starttime timestamp);

create table listing(
listid integer not null distkey,
sellerid integer not null,
eventid integer not null,
dateid smallint not null sortkey,
numtickets smallint not null,
priceperticket decimal(8,2),
totalprice decimal(8,2),
listtime timestamp);

create table sales(
salesid integer not null,
listid integer not null distkey,
sellerid integer not null,
buyerid integer not null,
eventid integer not null,
dateid smallint not null sortkey,
qtysold smallint not null,
pricepaid decimal(8,2),
commission decimal(8,2),
saletime timestamp);
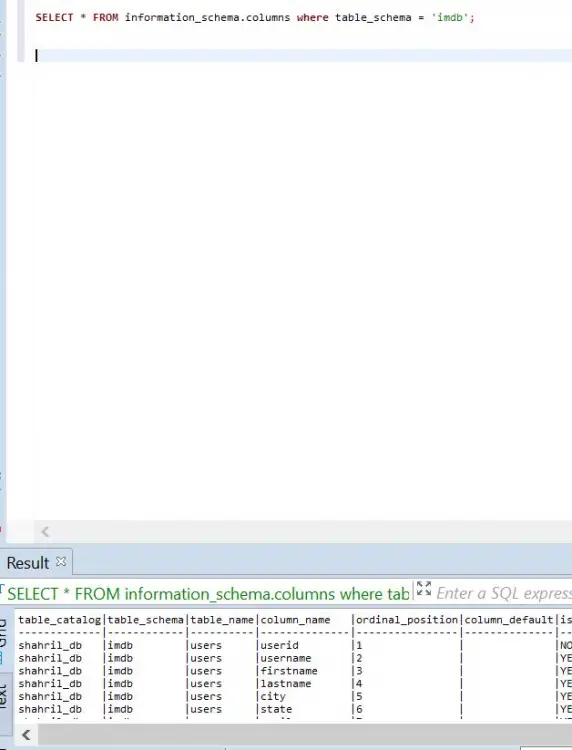
Expected result will shown like below :-
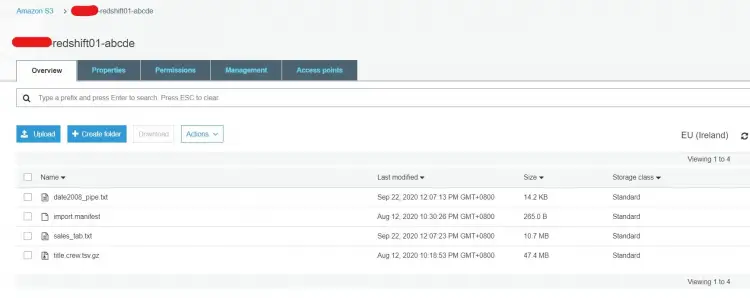
Next, let's try to upload sample data into our data warehouse. For this example, I've uploaded a sample data into my own S3 bucket then use the below script to copy the data from S3 file into Redshift.
copy sales from 's3://shahril-redshift01-abcde/sales_tab.txt'
iam_role 'arn:aws:iam::325581293405:role/shahril-redshift-s3-ro-role'
delimiter '\t' timeformat 'MM/DD/YYYY HH:MI:SS' region 'eu-west-1';

copy dates from 's3://shahril-redshift01-abcde/date2008_pipe.txt'
iam_role 'arn:aws:iam::325581293405:role/shahril-redshift-s3-ro-role'
delimiter '|' region 'eu-west-1';
If in any way during the load you stumble into an issue, you can query from redshift dictionary table named stl_load_errors like below to get a hint of the issue.
select * from stl_load_errors ;
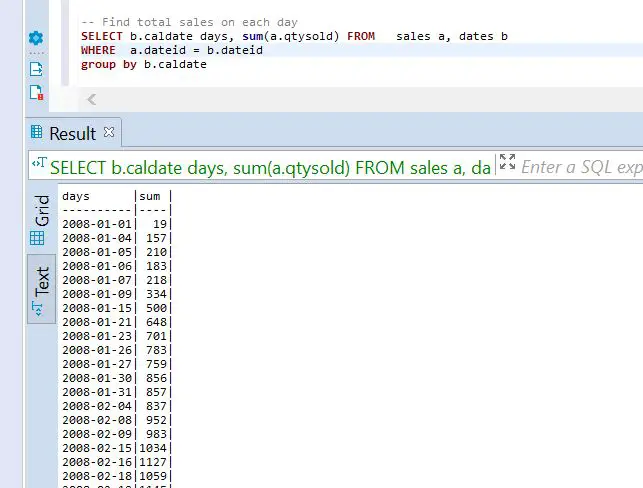
Finally, once everything is done you should able to extract and manipulate the data using any SQL function provided. Below are some of the example scripts of queries that I've used for our example.
-- Get definition for the sales table.
SELECT *
FROM pg_table_def
WHERE tablename = 'sales';

-- Find total sales on each day
SELECT b.caldate days, sum(a.qtysold) FROM sales a, dates b
WHERE a.dateid = b.dateid
group by b.caldate ;

-- Find top 10 buyers by quantity.
SELECT firstname, lastname, total_quantity
FROM (SELECT buyerid, sum(qtysold) total_quantity
FROM sales
GROUP BY buyerid
ORDER BY total_quantity desc limit 10) Q, users
WHERE Q.buyerid = userid
ORDER BY Q.total_quantity desc;

-- Find events in the 99.9 percentile in terms of all time gross sales.
SELECT eventname, total_price
FROM (SELECT eventid, total_price, ntile(1000) over(order by total_price desc) as percentile
FROM (SELECT eventid, sum(pricepaid) total_price
FROM sales
GROUP BY eventid)) Q, event E
WHERE Q.eventid = E.eventid
AND percentile = 1
ORDER BY total_price desc;
Thumb's up! now we've successfully set up our own Redshift Cluster for data warehousing usage. Next, we'll look at combining existing data in Redshift Cluster with any flat-file using Redshift Spectrum.


