Modify Your Partitions With GParted Without Losing Data - Page 2
On this page
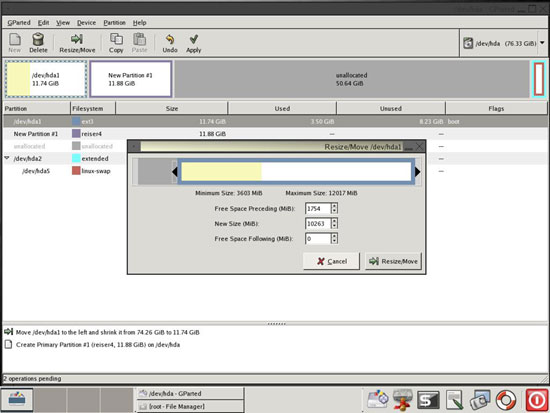
Next I want to move /dev/hda1 on the hard disk, i.e. move the beginning of /dev/hda1 to the right so that some unallocated space will be created to the left of /dev/hda1. Therefore I mark /dev/hda1 and click on Resize/Move and drag the left black arrow to the right:
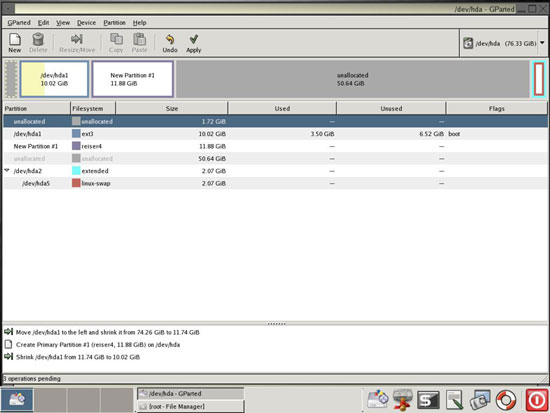
The result looks like this. As you see, there's now some unallocated space at the beginning of the hard disk:
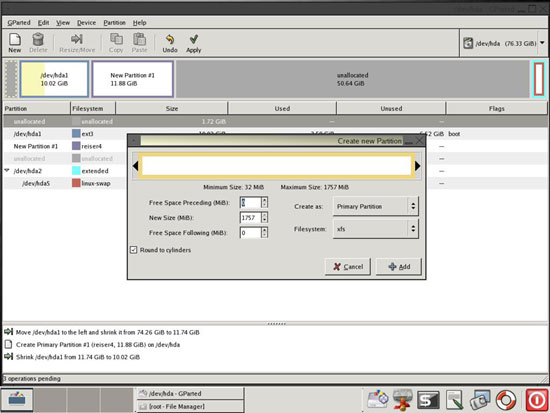
I mark that unallocated space, click on New and create an xfs partition:
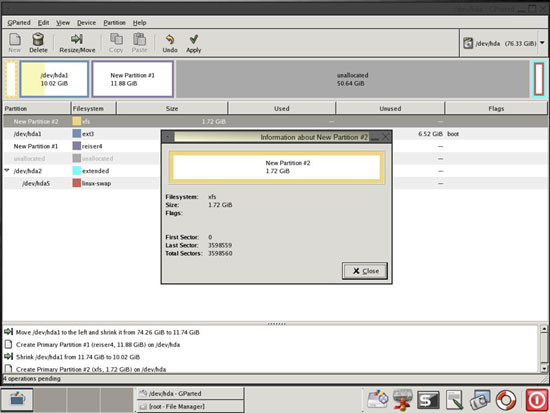
Afterwards you can right-click the new partition and select Properties, and you'll get an overview of the new partition:
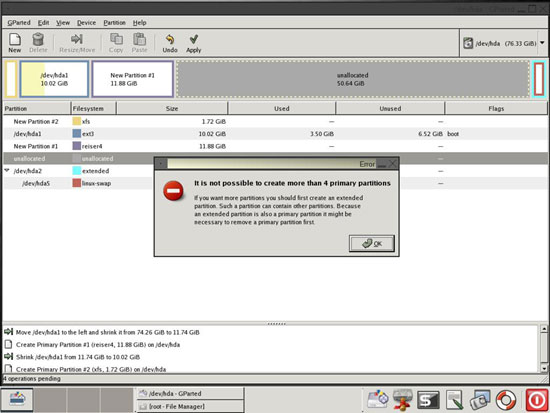
Of course, GParted denies to complete any action that is incorrect or impossible and shows you a comprehensible error message. For example, if you try to create a fifth primary partition, you'll see this:
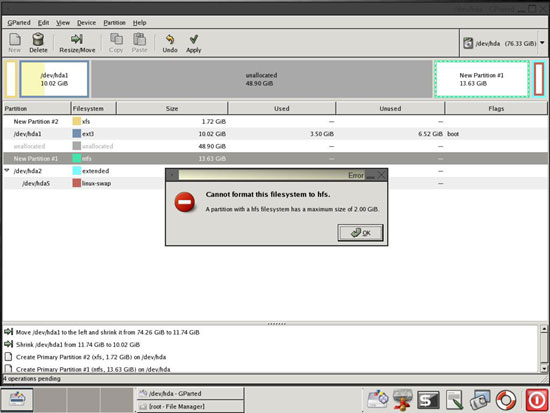
Or, if you try to format a filesystem bigger than 2GB to hfs:
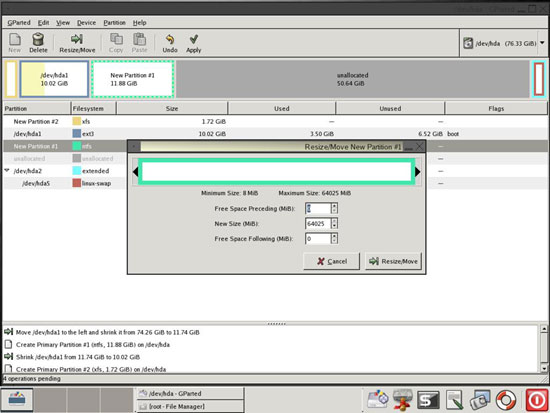
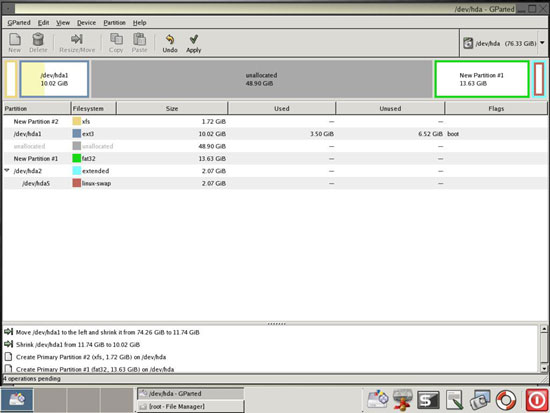
I skip a few steps now. In the meantime, I have moved my reiser4 partition to the right (so the unallocated space is now left of it) and converted it into a fat32 partition:
Next I convert it into a reiserfs partition that uses also the unallocated space:
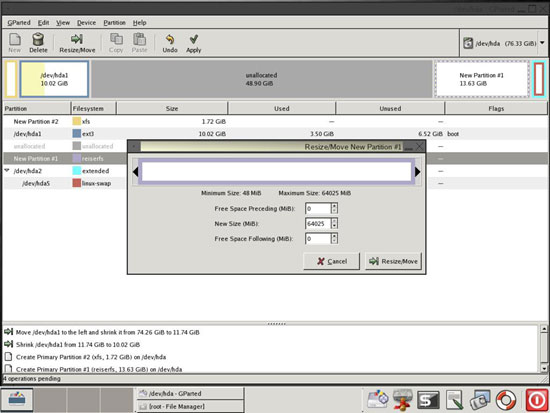
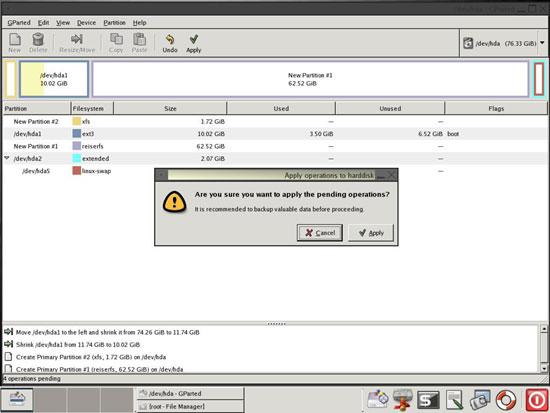
Until now nothing has happened, i.e. the original partitioning hasn't been touched. To write our new partitioning to the disk, we must click on Apply. (To undo your changes, click on Undo.) GParted asks you if you are sure that you want to apply the pending operations. Click on Apply again:
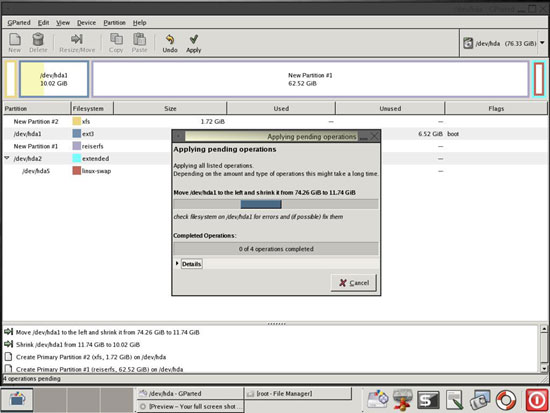
It is only now that all your modifications are written to the hard disk(s). GParted shows a short summary of the ongoing processes:
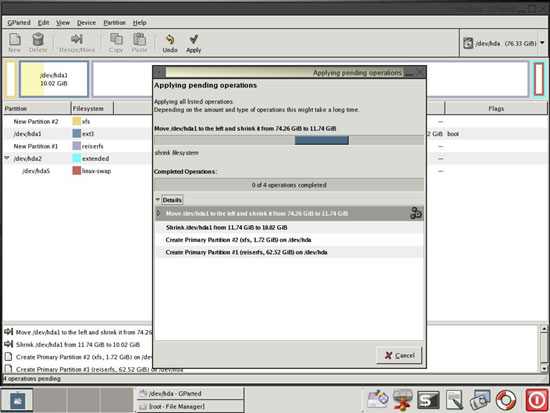
By clicking on Details GParted will display a little more information:
After all modifications have been written to the hard disk(s), you can shut down the desktop, remove the GParted Live-CD, and boot back into your normal system. If everything went well, no data should be lost now.
3 Links
- GParted: http://gparted.sourceforge.net

