KVM & OpenVZ Virtualization And Cloud Computing With Proxmox VE
Version 1.0
Author: Falko Timme
Proxmox VE (virtual environment) is a distribution based on Debian Etch (x86_64); it provides an OpenSource virtualization platform for running virtual machines (OpenVZ and KVM) and comes with a powerful, web-based control panel (it includes a web-based graphical console that you can use to connect to the virtual machines). With Proxmox VE, you can even create a cluster of virtualization hosts and create/control virtual machines on remote hosts from the control panel. Proxmox VE also supports live migration of virtual machines from one host to the other. This guide shows how you can use Proxmox VE to control KVM and OpenVZ virtual machines and how to create a small computing cloud with it.
I do not issue any guarantee that this will work for you!
1 Preliminary Note
Proxmox VE is an x86_64 distribution, so you cannot install it on an i386 system. Also, if you want to use KVM, your CPU must support hardware virtualization (Intel VT or AMD-V) - this is not needed if you ust want to use OpenVZ.
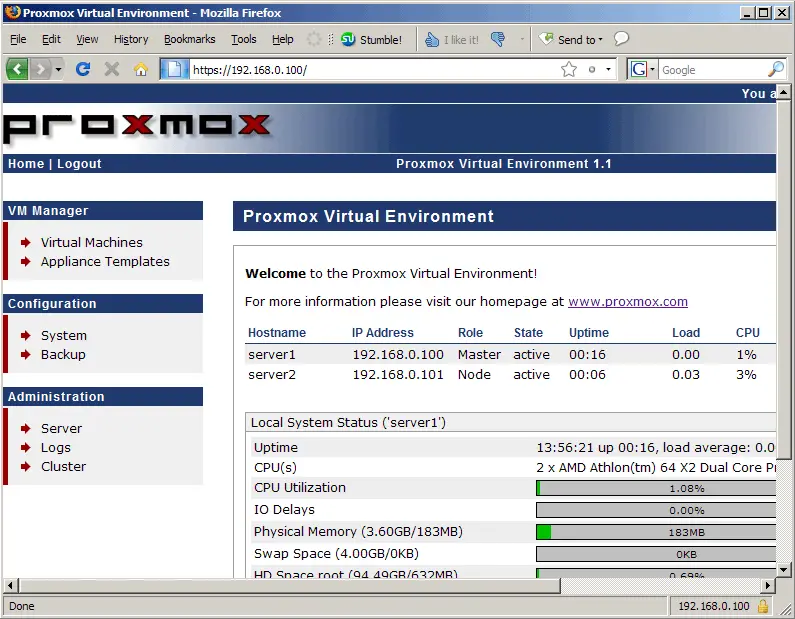
In this tutorial I will create a small cluster of two machines, the Proxmox master (server1.example.com with the IP 192.168.0.100) and a slave (server2.example.com, IP: 192.168.0.101) so that I can demonstrate the live migration feature and also the creation and management of virtual machines on remote hosts through Proxmox VE. Of course, it is perfectly fine to run Proxmox VE on just one host.
2 Installing Proxmox VE On server1.example.com (Master)
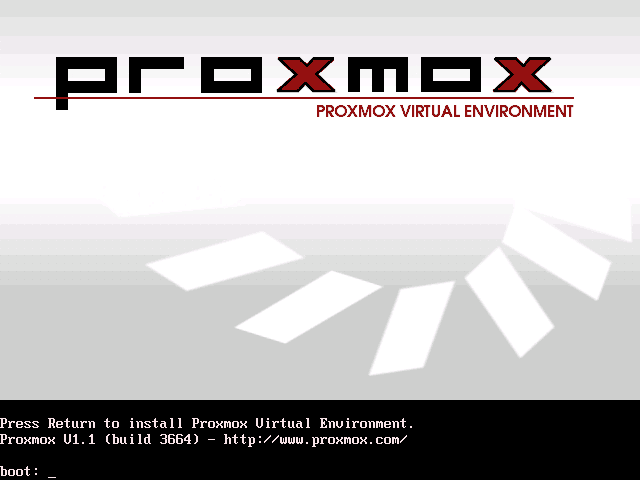
Download the latest Proxmox VE ISO image from http://pve.proxmox.com/wiki/Downloads, burn it onto a CD, and boot your system from it. Press ENTER at the boot prompt:
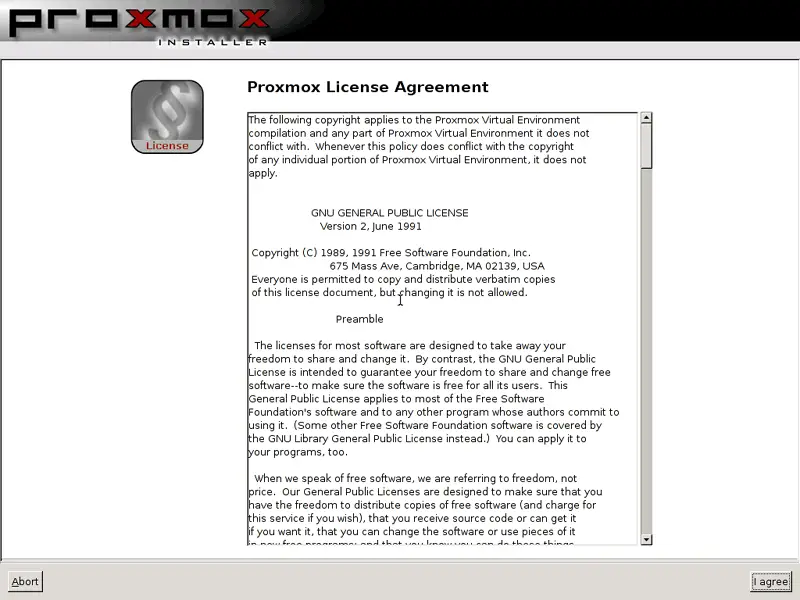
Accept the Proxmox license agreement (GPL):
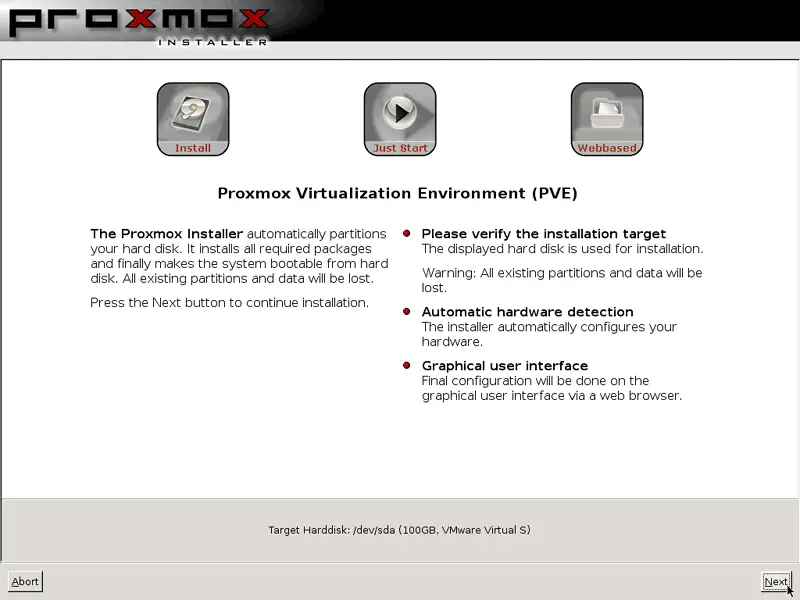
Select the hard drive on which you want to install Proxmox. Please note that all existing partitions and data will be lost!
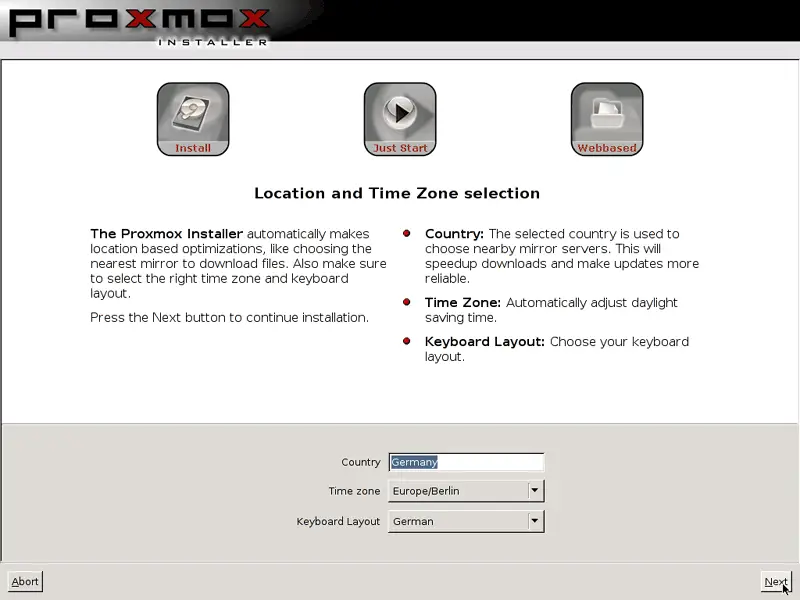
Select your country, time zone, and keyboard layout:
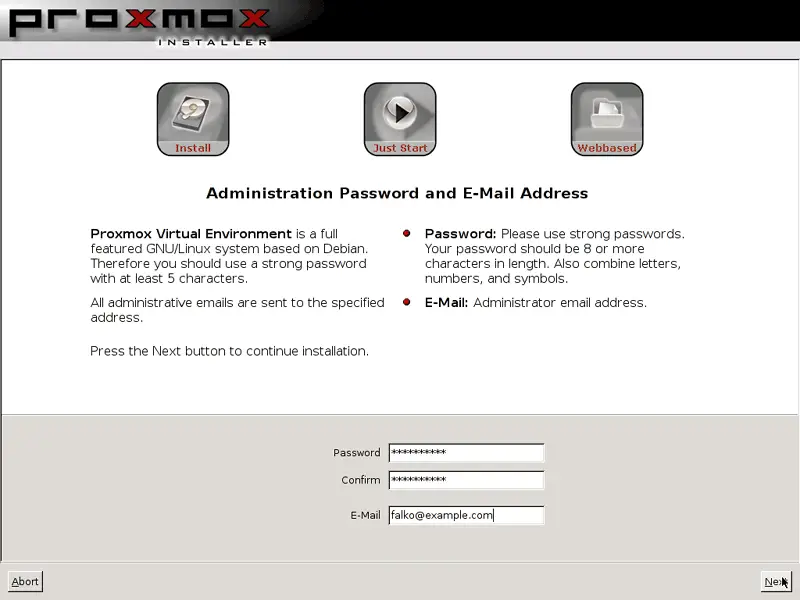
Type in a password (this is the root password that allows you to log in on the shell and also to the Proxmox web interface) and your email address:
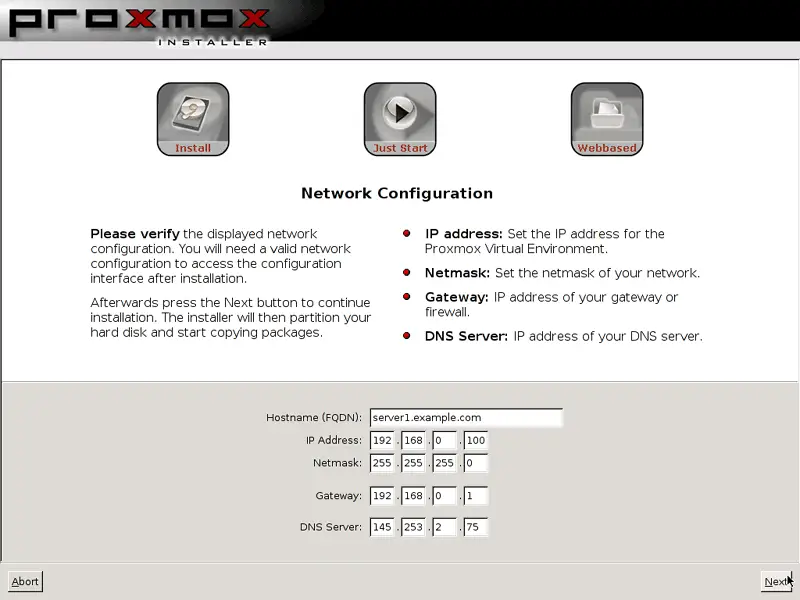
Now we come to the network configuration. Type in the hostname (server1.example.com in this example), IP address (e.g. 192.168.0.100), netmask (e.g. 255.255.255.0), gateway (e.g. 192.168.0.1), and a nameserver (e.g. 145.253.2.75):
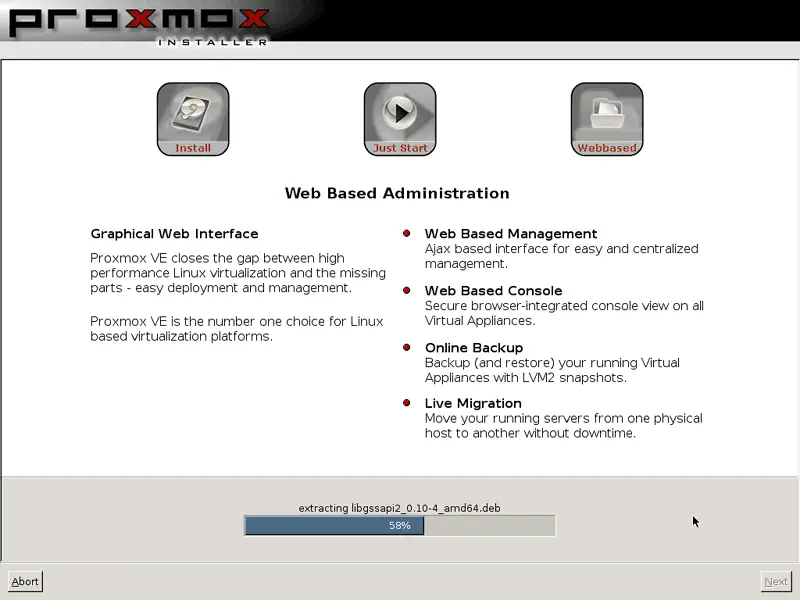
Afterwards, Proxmox is installed. The installer will automatically partition your hard drive using LVM - that's why there is no partition dialogue in the installer. Proxmox uses LVM because that allows to create snapshot backups of virtual machines.
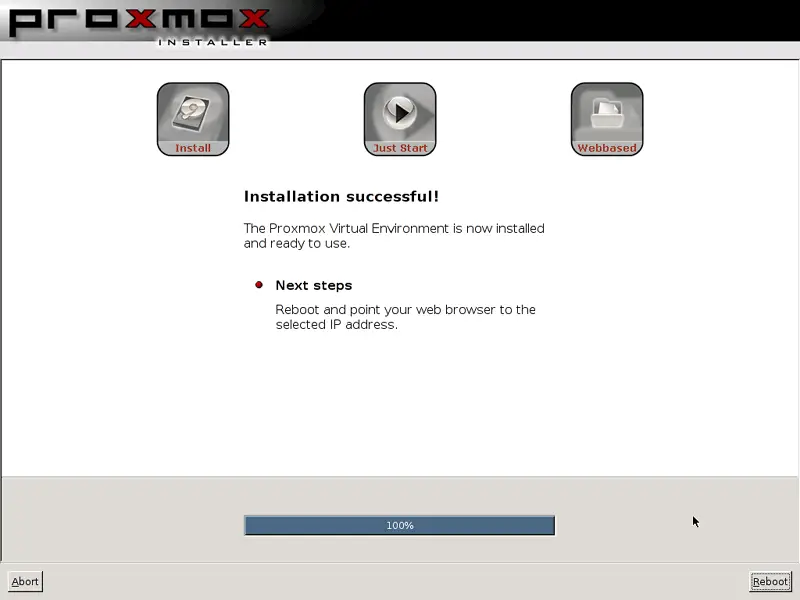
Reboot the system afterwards:
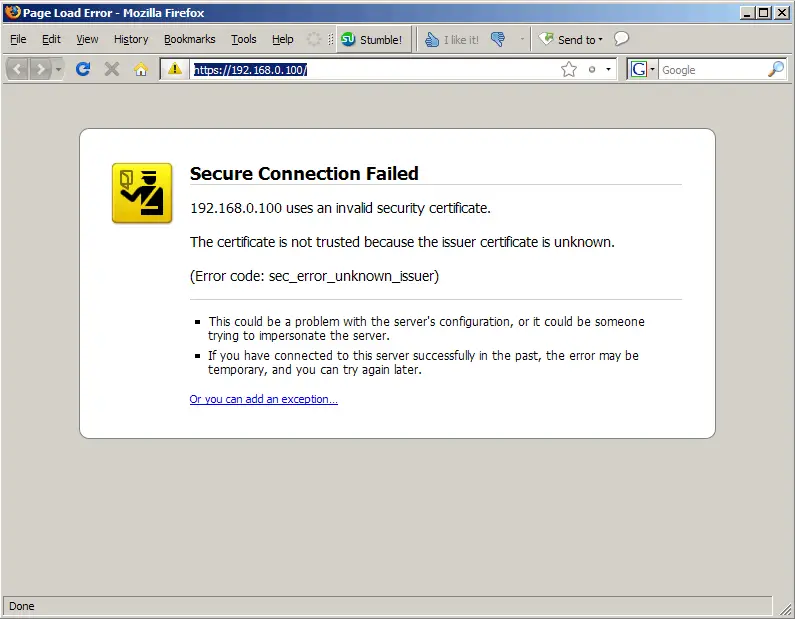
After server1 has rebooted, you can open a browser and go to http://192.168.0.100/ - this will redirect you to https://192.168.0.100/.
If you're using Firefox 3 and use HTTPS, Firefox will complain about the self-signed certificate, therefore you must tell Firefox to accept the certificate - to do this, click on the Or you can add an exception... link:
Click on Add Exception...:
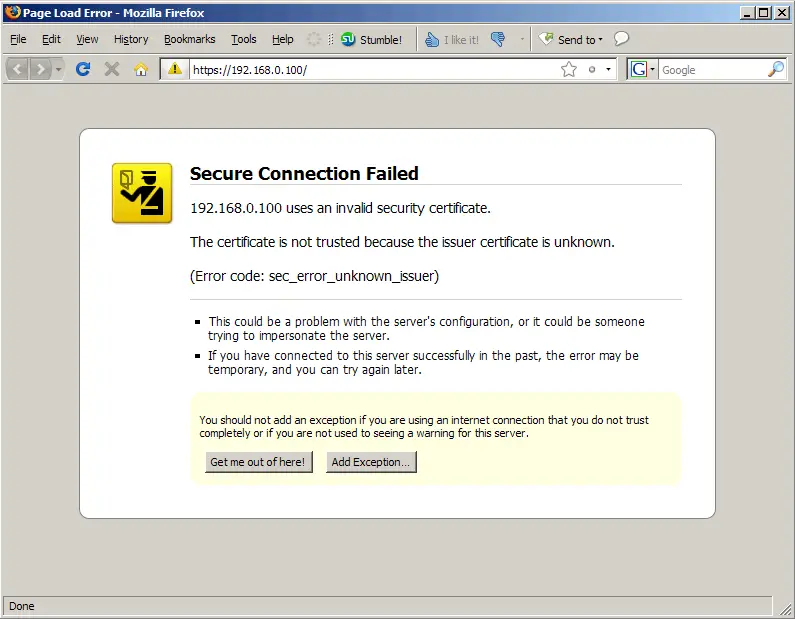
The Add Security Exception window opens. In that window, click on the Get Certificate button first and then on the Confirm Security Exception button:

Afterwards, you will see the Proxmox login form. Type in root and the password you've created during the installation:
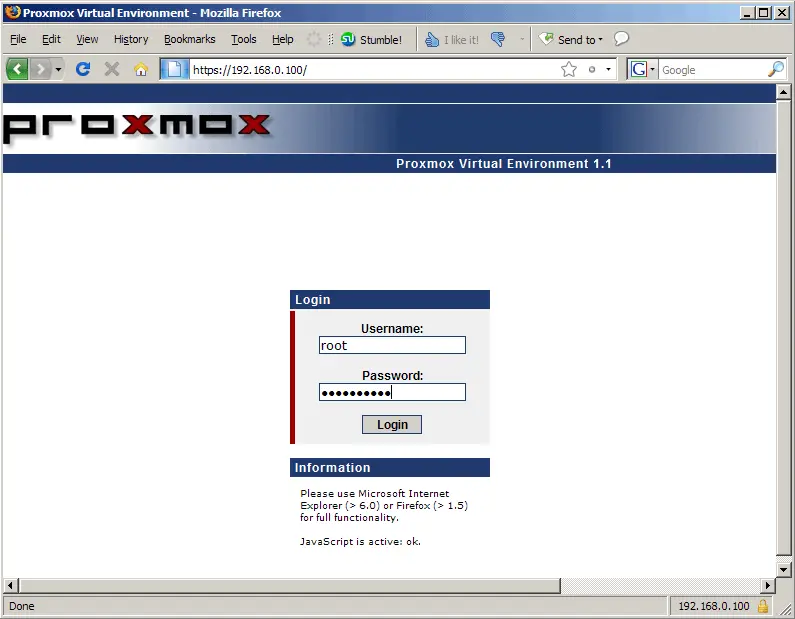
This is how the Proxmox control panel looks: