How To Install ImpressCMS 1.0 Final On Debian Etch
Version 1.0
Author: Oliver Meyer <o [dot] meyer [at] projektfarm [dot] de>
This document describes how to set up ImpressCMS 1.0 Final On Debian Etch. Taken from the ImpressCMS page: "ImpressCMS is a community developed Content Management System for easily building and maintaining a dynamic web site. Keep your web site up to date with this easy to use, secure and flexible system."
This howto is a practical guide without any warranty - it doesn't cover the theoretical backgrounds. There are many ways to set up such a system - this is the way I chose.
1 Preliminary Note
I used a minimal Debian Etch system (network install) for this howto. The attached VM is configured as follows:
Hostname: server1.example.com
IP: 192.168.0.100
Gateway: 192.168.0.2
All passwords: howtoforge
2 Needed Packages
Let's install some needed package for this setup.
apt-get install apache2 libapache2-mod-php5 php5-mysql mysql-server mysql-client
3 MySQL Configuration
3.1 Bind Address
In order that the MySQL server will listen on all available interfaces, we have to adjust its configuration.
vi /etc/mysql/my.cnf
Search this line ...
bind-address = 127.0.0.1
... and comment it so that it looks like this:
# bind-address = 127.0.0.1
Afterwards restart the MySQL server.
/etc/init.d/mysql restart
3.2 MySQL Root User
First we have to set a password for the MySQL root user.
mysqladmin -u root password %sql_root_password%
mysqladmin -h server1.example.com -u root password %sql_root_password%
3.3 ImpressCMS Database & Database User
Next we create a database for ImpressCMS.
mysqladmin -u root -p create impresscms
After that we create a user for this database.
mysql -u root -p
GRANT CREATE, ALTER, INDEX, DROP, CREATE TEMPORARY TABLES, SELECT, INSERT, UPDATE, DELETE ON impresscms.* TO 'impresscms_admin'@'localhost' IDENTIFIED BY '%impresscms_admin_password%';
GRANT CREATE, ALTER, INDEX, DROP, CREATE TEMPORARY TABLES, SELECT, INSERT, UPDATE, DELETE ON impresscms.* TO 'impresscms_admin'@'localhost.localdomain' IDENTIFIED BY '%impresscms_admin_password%';
FLUSH PRIVILEGES;
quit;
4 ImpressCMS Vhost
Create the document root for ImpressCMS ...
mkdir /var/www/impresscms/
... and the ImpressCMS trust directory.
mkdir /var/www/impresscms_trust/
Now we create the vhost configuration file.
vi /etc/apache2/sites-available/impresscms
It could look like this:
NameVirtualHost 192.168.0.100:80
<VirtualHost 192.168.0.100:80>
    ServerName server1.example.com
    ServerAdmin [email protected]
    DocumentRoot /var/www/impresscms/
    LogLevel warn
    ErrorLog /var/log/apache2/impresscms_error.log
    CustomLog /var/log/apache2/impresscms_access.log combined
</VirtualHost>
After that enable the new vhost ...
a2ensite impresscms
... and restart Apache to take the changes effect.
/etc/init.d/apache2 restart
5 Get ImpressCMS
Please take a look at http://www.impresscms.org/modules/mastop_publish/?tac=Download to find out which is the latest version. When I was writing this howto it was version 1.0 .
cd /tmp/
wget http://downloads.sourceforge.net/impresscms/impresscms_1.0_final.tar.gz
tar xvfz impresscms_1.0_final.tar.gz
Afterwards copy the content of the extracted folder "htdocs" to the vhost document root ...
cp -R /tmp/htdocs/* /var/www/impresscms/
... and change the permissions.
chown -R www-data:www-data /var/www/impresscms/ /var/www/impresscms_trust/<br> chmod -R 755 /var/www/impresscms/uploads/ /var/www/impresscms/cache/ /var/www/impresscms/templates_c/ /var/www/impresscms/mainfile.php</p> <img src="data:image/gif;base64,R0lGODlhAQABAIAAAAAAAP///yH5BAEAAAAALAAAAAABAAEAAAIBRAA7" class="mce-pagebreak" data-mce-resize="false" data-mce-placeholder />
6 Installation
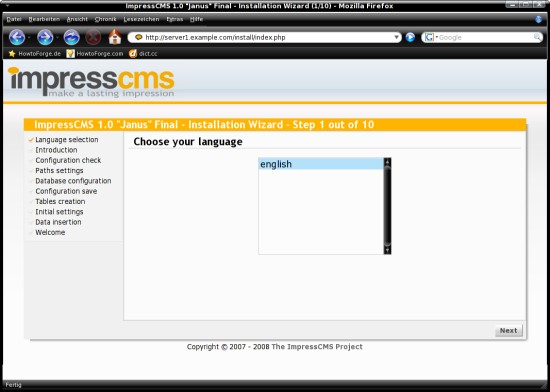
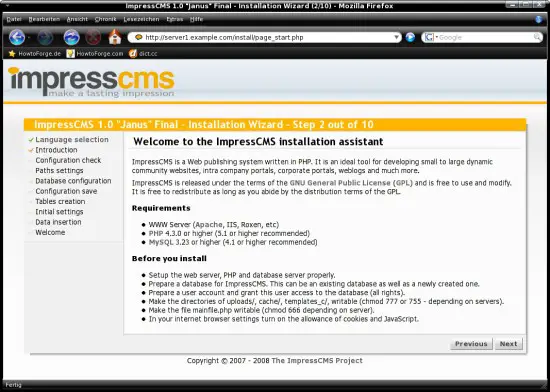
Now we are ready for the installation - open http://server1.example.com/ within your preferred browser. An installation wizard will guide you through the installation process. Note: Additional language files can be found on the ImpressCMS SourceForge page.
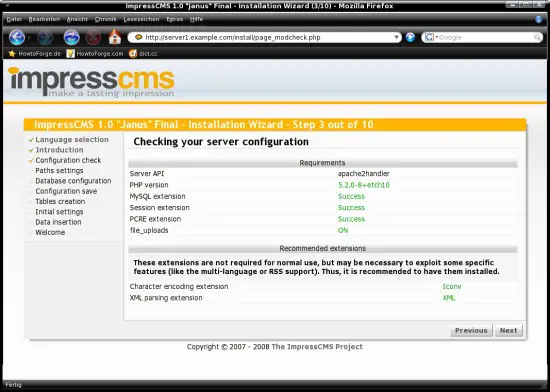
The script has checked the server configuration - all results should be green.
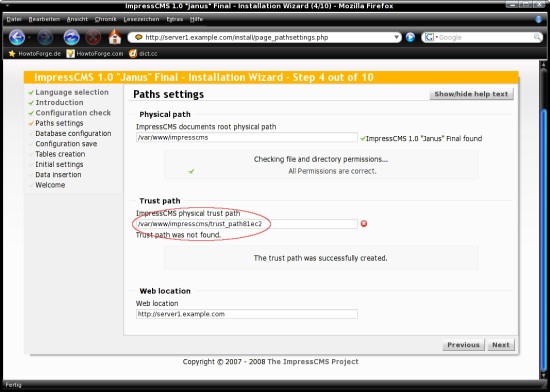
The script has checked the file and directory permissions - they should be correct. Change the trust path to "/var/www/impresscms_trust" and create the path (click on the corresponding button).
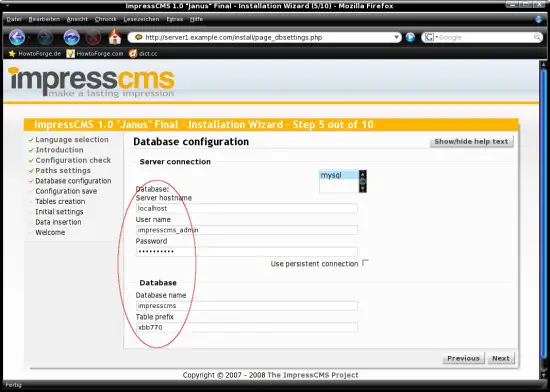
Insert the database name, user name and password (from step 3.3).
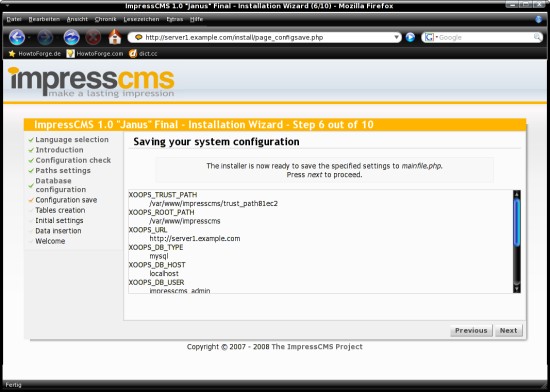
Proceed with the installation.
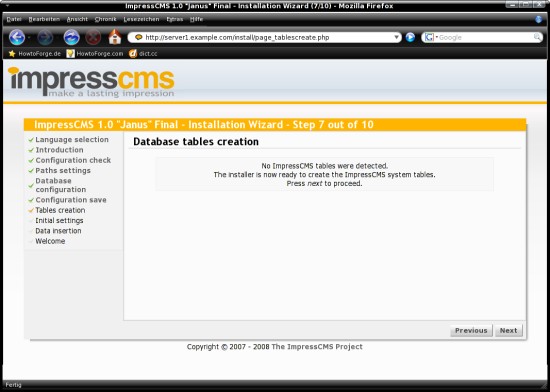
At this point the script is ready to create the database tables.
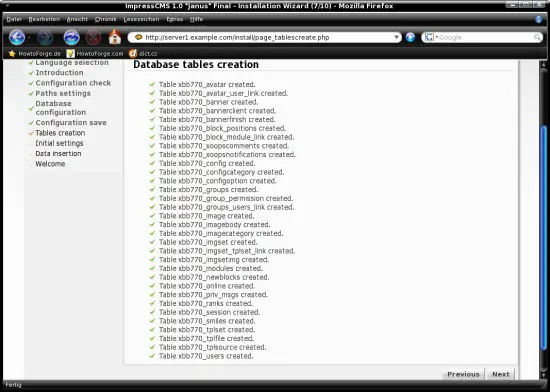
The database tables have been created.
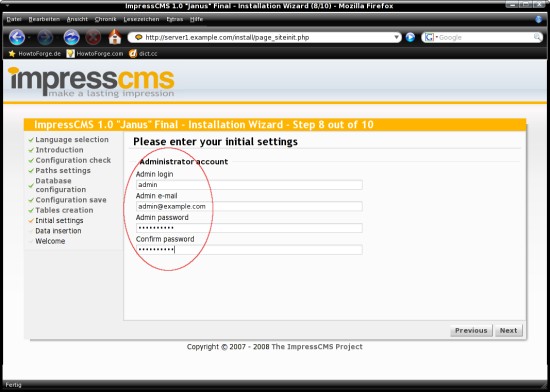
Insert the data for the administrator account (I chose "admin" as admin login).
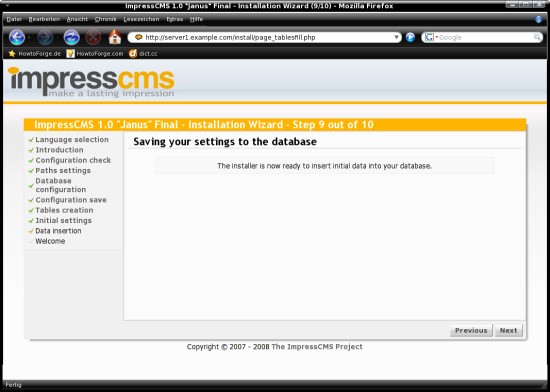
The script is now ready to populate the database.
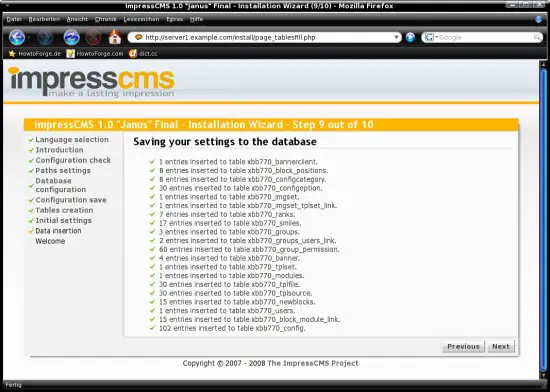
The database has been populated.
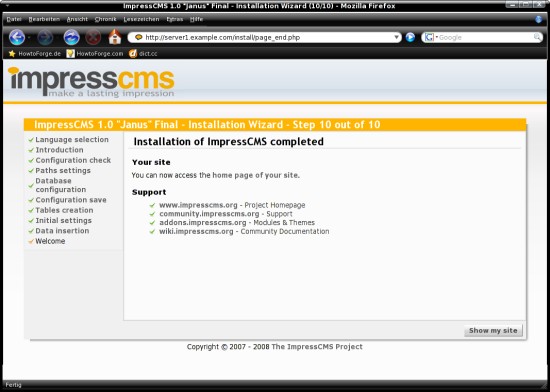
Finished. Click on "Show my site".
Afterwards, before you log in, delete the install directory and change the permissions of the mainfile.
rm -Rf /var/www/impresscms/install/
chmod 444 /var/www/impresscms/mainfile.php
Now you can log in with the administrator account that you created at step 8/10 in the installation wizard.
7 Links
- Debian: http://www.debian.org/
- ImpressCMS: http://www.impresscms.org/
- ImpressCMS on SourceForge: http://sourceforge.net/projects/impresscms/

