How to Install Zabbix on Debian 12 Server
This tutorial exists for these OS versions
- Debian 12 (Bookworm)
- Debian 11 (Bullseye)
- Debian 10 (Buster)
- Debian 9 (Stretch)
- Debian 4 (Etch)
On this page
Zabbix is a free and open-source monitoring solution for IT infrastructure. It allows you to monitor networks, servers, virtual machines, and cloud services. Zabbix offers a client/server model. You can easily install the Zabbix agent on the target server and monitor it through the Zabbix dashboard. Zabbix also supports generic monitoring protocols such as SNMP and IPMI.
This guide'll show you how to install Zabbix Monitoring Solution on a Debian 12 server. You'll install Zabbix with PostgreSQL as the database server, Nginx web server, and PHP-FPM.
Prerequisites
To begin with this guide, make sure you have the following:
- A Debian 12 server
- A non-root user with an administrator user
Installing PostgreSQL Server
By default, Zabbix supports RDBMS such as MySQL and PostgreSQL. In this guide, you'll use PostgreSQL as a Zabbix installation database. So for now, you'll be installing PostgreSQL from the Debian repository with the APT package manager.
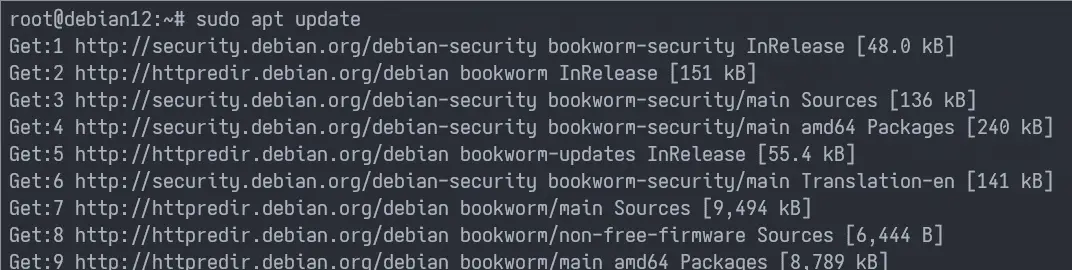
First, run the 'apt' command below to update your Debian package index.
sudo apt update
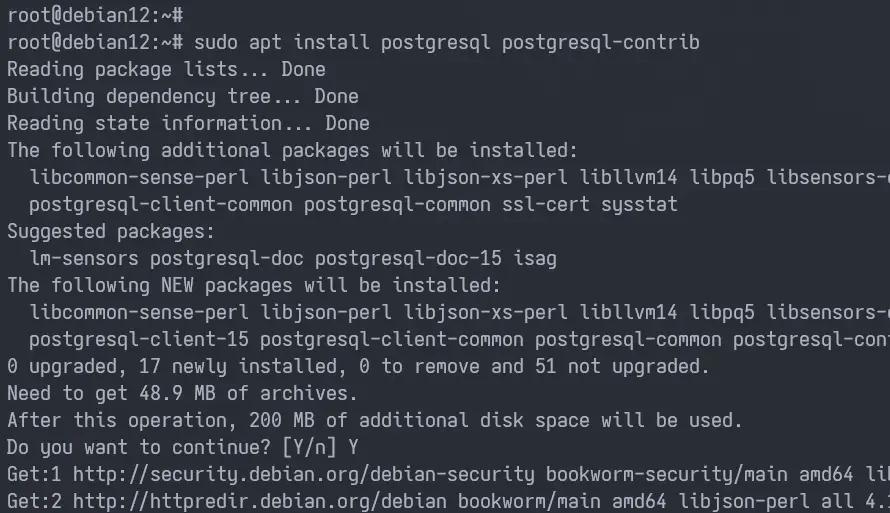
Now install the PostgreSQL with the command below. Enter 'Y' to confirm the installation.
sudo apt install postgresql postgresql-contrib
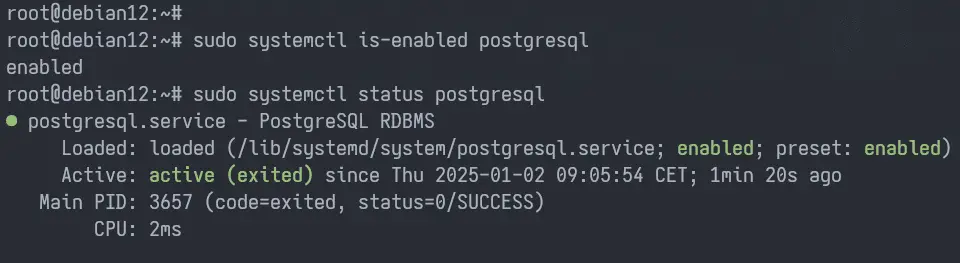
After the installation is finished, check the 'postgresql' service status to ensure it is running. You'll see the PostgreSQL with the status 'running(exited)', which means the service is running, but the systemd can't find any daemon to monitor.
sudo systemctl is-enabled postgresql
sudo systemctl status postgresql
Creating PostgreSQL Database and User
After installing PostgreSQL, you must create a new user and database for Zabbix. In this step, you'll be using the 'createuser' command to create a new role in PostgreSQL and the 'createdb' command to create the PostgreSQL database.
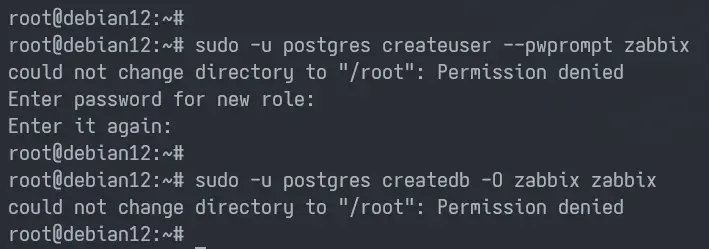
To create a new PostgreSQL user 'zabbix', run the command below. Now enter the password for your database user and repeat when prompted.
sudo -u postgres createuser --pwprompt zabbix
Now run the command below to create a new database 'zabbix' with the default owner 'zabbix'. This database and user will be used for Zabbix installation.
sudo -u postgres createdb -O zabbix zabbix
Installing Zabbix
Now that you've installed and configured PostgreSQL, let's add the Zabbix repository, and install Zabbix packages such as 'zabbix-frontend-php', 'zabbix-server-pgsql', and 'zabbix-agent'. Also, this will automatically install the Nginx web server and PHP-FPM, which will be used by the Zabbix front end.
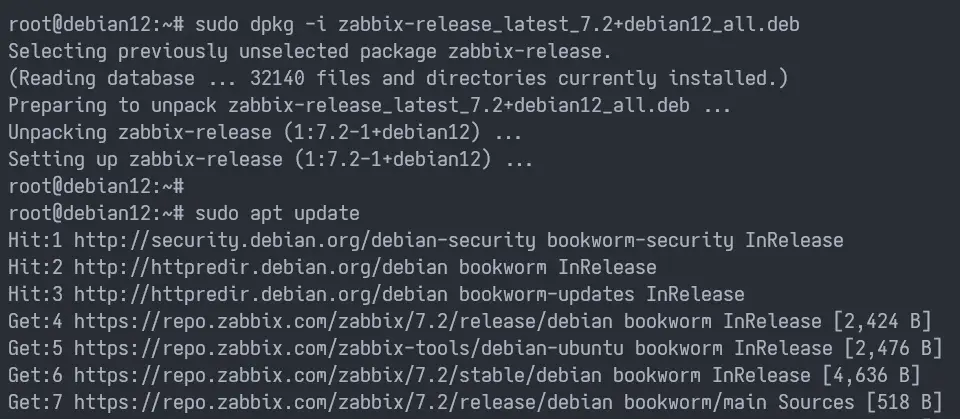
Download the Zabbix repository for the Debian system with the command below. In this example, you'll be installing Zabbix 7.2 on your Debian server. Once downloaded, the file 'zabbix-release_latest_7.2+debian12_all.deb' will be available in your current working directory.
wget https://repo.zabbix.com/zabbix/7.2/release/debian/pool/main/z/zabbix-release/zabbix-release_latest_7.2+debian12_all.deb
Now run the 'dpkg' command below to add the Zabbix repository to your system.
sudo dpkg -i zabbix-release_latest_7.2+debian12_all.deb
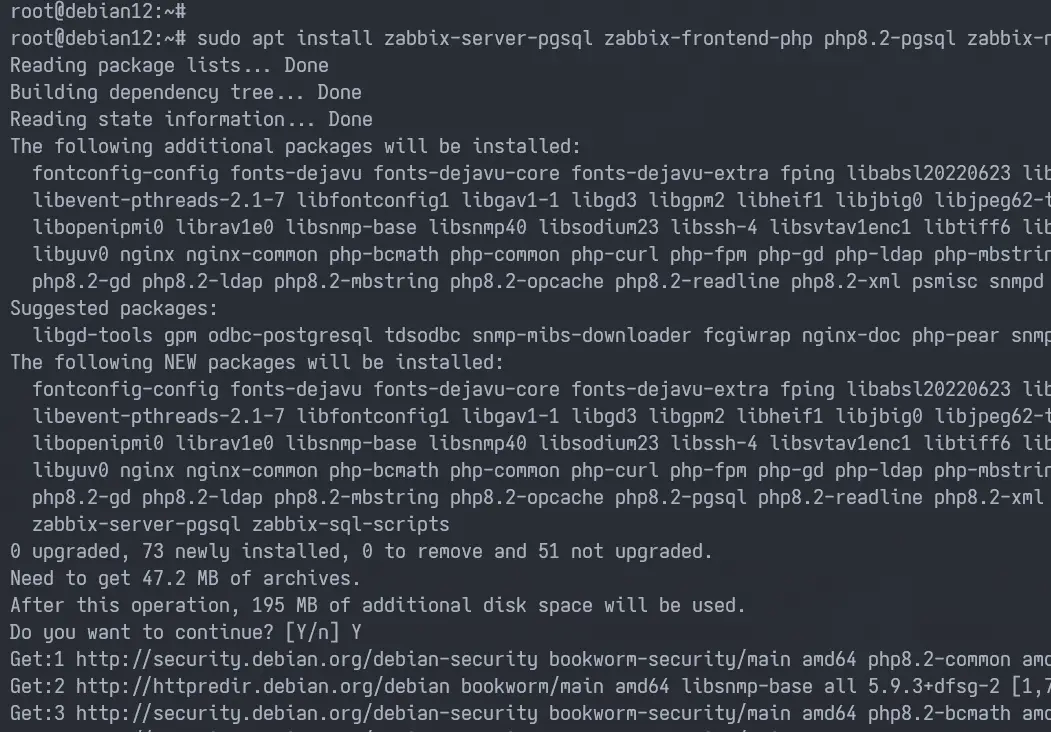
After that, run the following 'apt' command to refresh your Debian repository and install the Zabbix server. In this example, you'll be installing Zabbix and Zabbix Agent with the PostgreSQL database, Nginx web server, and PHP-FPM.
sudo apt update
sudo apt install zabbix-server-pgsql zabbix-frontend-php php8.2-pgsql zabbix-nginx-conf zabbix-sql-scripts zabbix-agent
Enter 'Y' to proceed with the installation.
Integrating Zabbix with PostgreSQL
Now that you've installed Zabbix packages, the next step is to integrate Zabbix with the PostgreSQL database server. To do that, you need to import the Zabbix database schema and modify the PostgreSQL credentials within the '/etc/zabbix/zabbix_server.conf' file.
Import the database schema for Zabbix to the 'zabbix' database with the user 'zabbix'. Enter your 'zabbix' password when prompted.
zcat /usr/share/zabbix/sql-scripts/postgresql/server.sql.gz | sudo -u zabbix psql zabbix
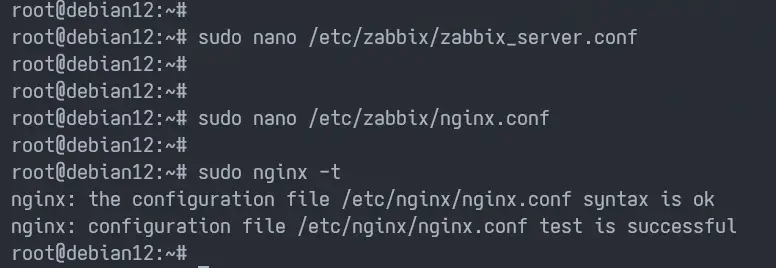
Next, open Zabbix configuration '/etc/zabbix/zabbix_server.conf' with the 'nano' editor.
sudo nano /etc/zabbix/zabbix_server.conf
Uncomment the default 'DBHost', 'DBName', 'DBUser', and 'DBPassword' with your PostgreSQL credentials.
DBHost = localhost
DBName = zabbix
DBUser = zabbix
DBPassword = password
Save the file and exit the editor when done.
Setting up Nginx Web Server
Now that you've integrated Zabbix with PostgreSQL, let's configure the Nginx web server. By default, the Nginx configuration for Zabbix is available in the '/etc/zabbix/nginx.conf' file, and now you need to modify it by changing the default domain name and change the default port for Zabbix (optional).
Open the Nginx configuration '/etc/zabbix/nginx.conf' for the Zabbix integration with the 'nano' editor.
sudo nano /etc/zabbix/nginx.conf
Change the default 'listen' option to port '8080'. In this example, we'll run Zabbix with the Nginx web server on port '8080'.
listen 8080;
Change the 'server_name' option with your domain name. In this example, we'll be using the local domain name that you can create via the '/etc/hosts' file.
server_name zabbix.howtoforge.local;
Save the file and exit the editor when finished.
Lastly, run the 'nginx' command below to verify your Nginx configuration. If you've corrected the Nginx configuration, you'll see an output such as 'syntax is ok - test is successful'.
sudo nginx -t
Restarting Zabbix Services
At this point, you've installed Zabbix packages and integrated Zabbix with the PostgreSQL server and Nginx web server. Now you need to restart each Zabbix service to apply all of your changes, and then you need to check each Zabbix service to ensure it is running.
First, run the 'systemctl' command below to enable services for 'zabbix-server', 'zabbix-agent', 'nginx', and 'php8.2-fpm'.
sudo systemctl enable zabbix-server zabbix-agent nginx php8.2-fpm
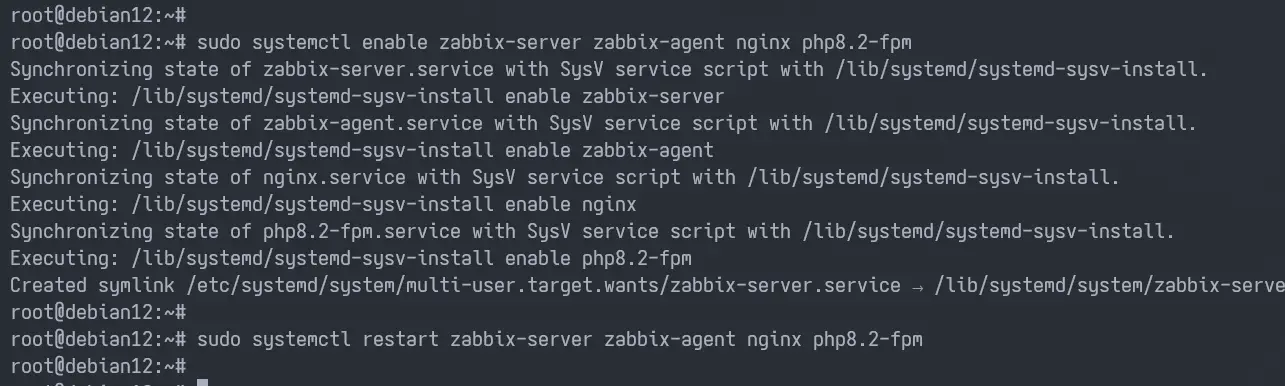
Now run the following command to restart Zabbix services and apply your new changes to Zabbix.
sudo systemctl restart zabbix-server zabbix-agent nginx php8.2-fpm
Lastly, check those Zabbix services with the following command to ensure that the service is running.
sudo systemctl status zabbix-server zabbix-agent nginx php8.2-fpm
You can see below that 'zabbix-server' is running.

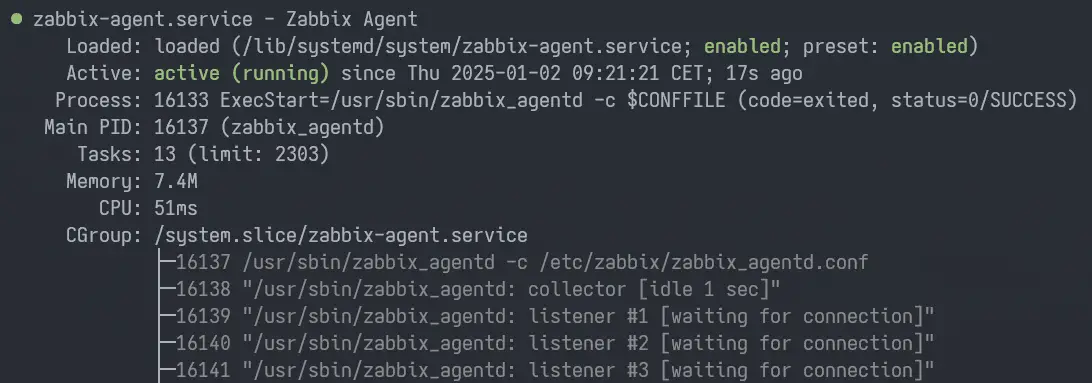
As well the 'zabbix-agent' also running.
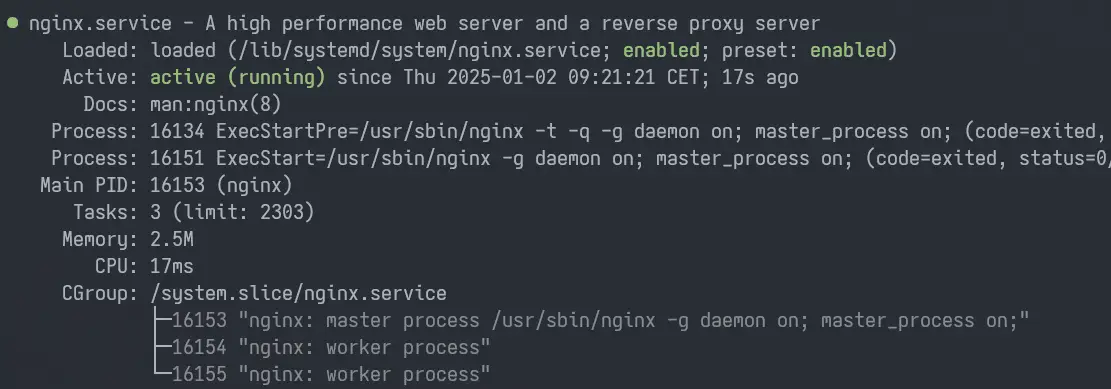
Below you can see that the 'nginx' service is running.
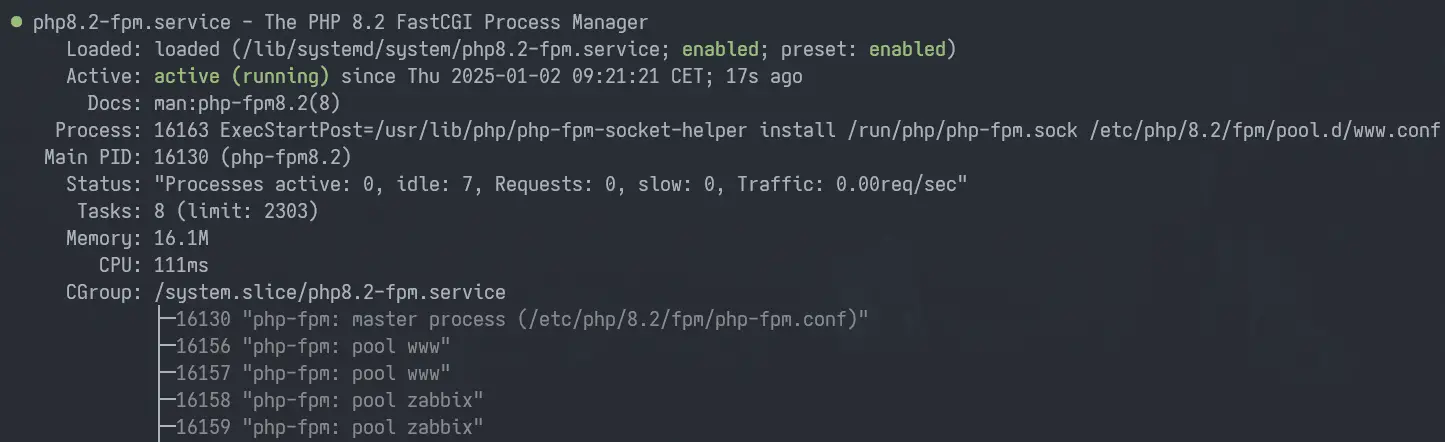
Lastly, you can see the 'php8.2-fpm' service is running on your server.
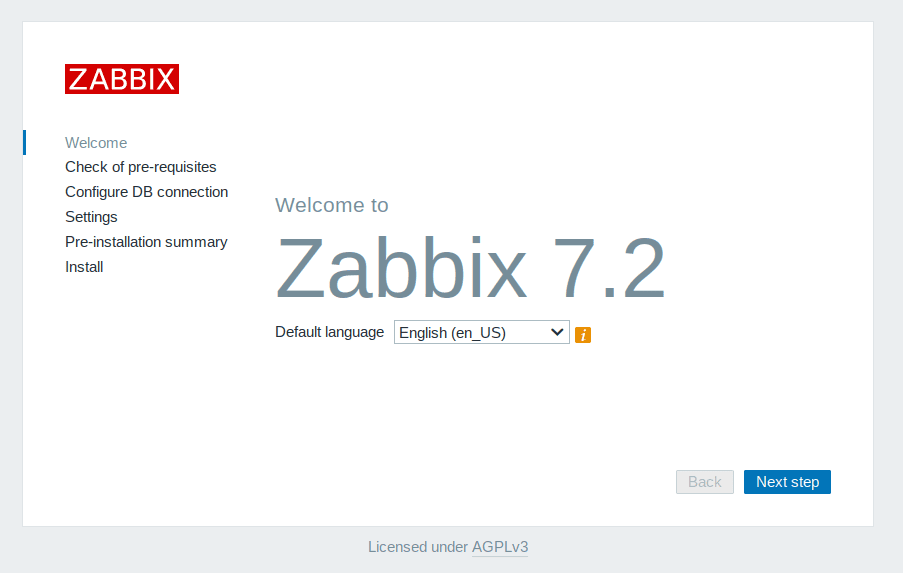
Zabbix Installation Wizard
With each Zabbix service running, you can now access your Zabbix installation.
On your local computer, edit the '/etc/hosts' file using your text editor. Make sure to use administrator privileges. For Windows users, you can modify 'C:\Windows\System32\drivers\etc\hosts' as administrator.
Within the 'hosts' file, define your Zabbix server IP address and domain name like the following:
192.168.10.10 zabbix.howtoforge.local
Save the file and exit the editor.
Now open your web browser and visit http://zabbix.howtoforge.local:8080/. If your Zabbix installation is successful, you'll see the Zabbix installation wizard.
Select your default language for Zabbix and click 'Next step' to continue.
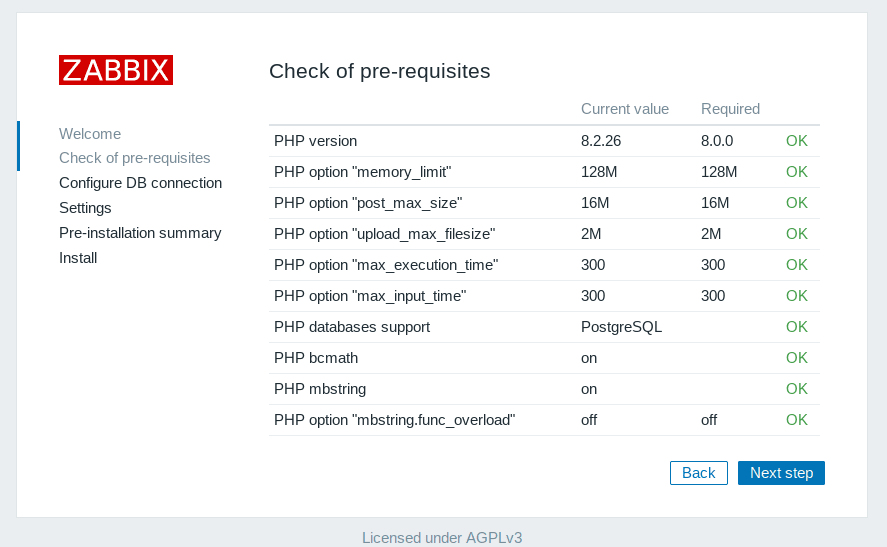
During the pre-check, make sure that your server configuration is met with the Zabbix requirements.
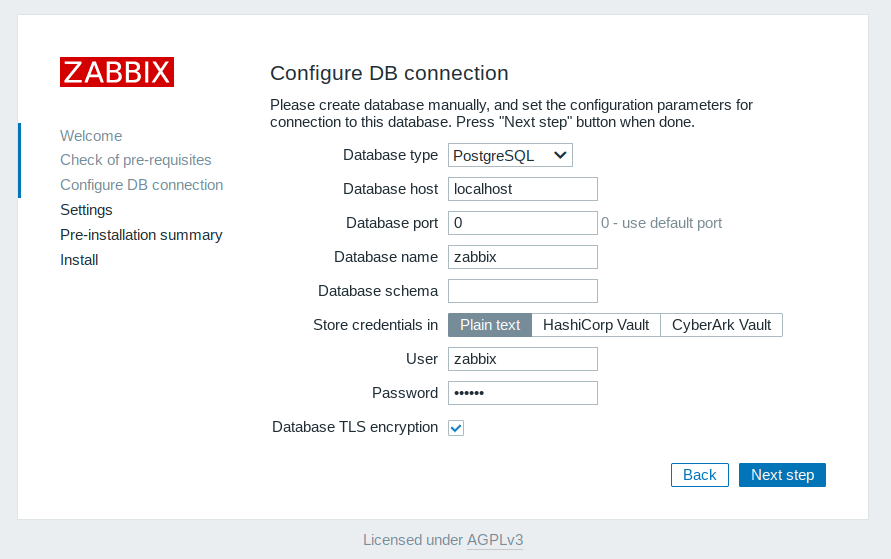
Now select the database as 'PostgreSQL' and input your database details.
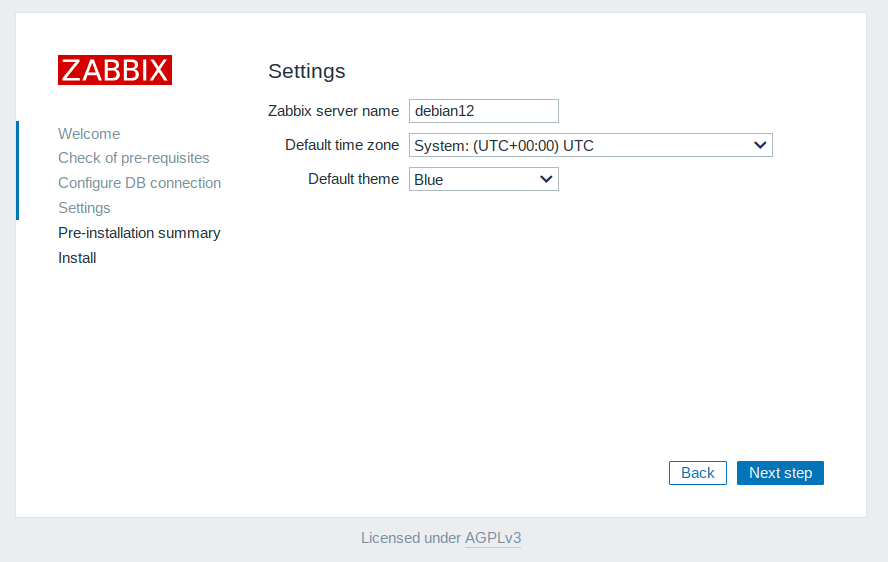
Enter your server name and select the default timezone for Zabbix.
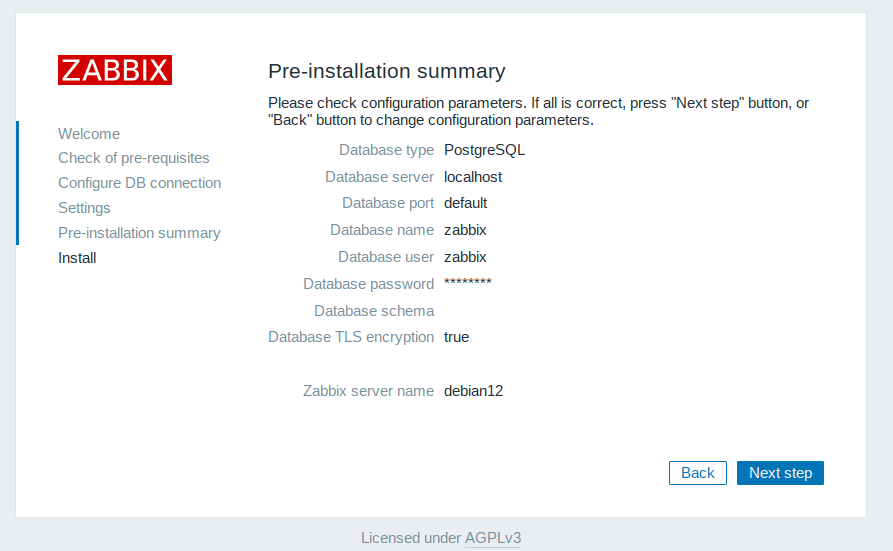
Check everything before you continue, then click 'Next step'.
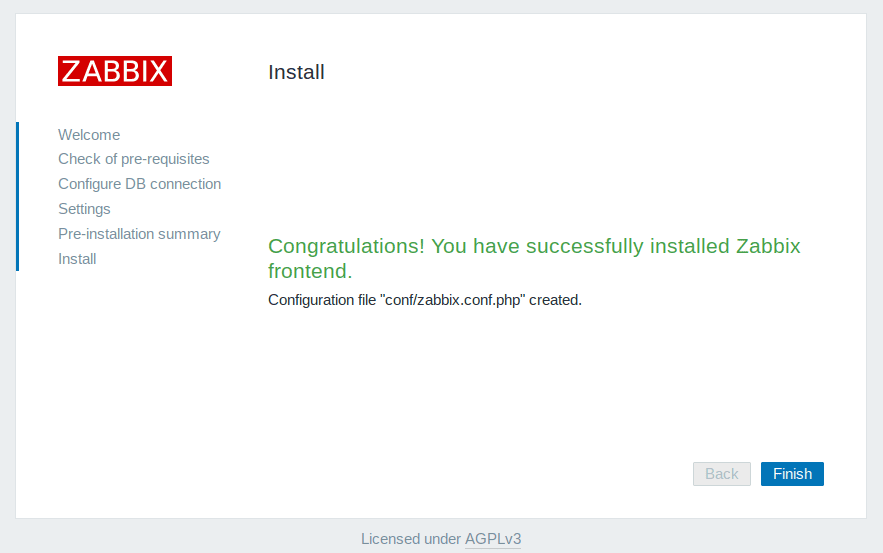
After the installation is complete, you'll see a message such as 'Congratulations! You have successfully installed the Zabbix frontend.'.
Click 'Finish' to complete the installation.
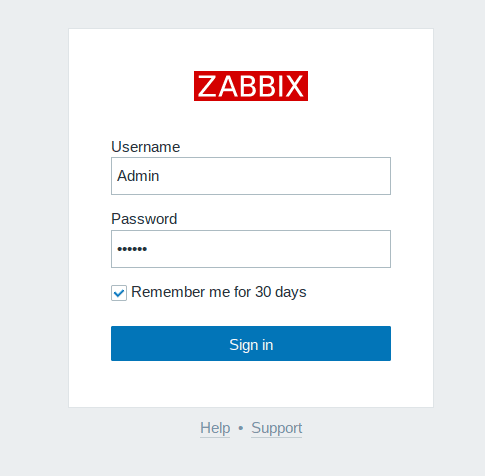
Now you'll be redirected to the Zabbix login page. Enter user Admin and password zabbix, and then click 'Sign in'.
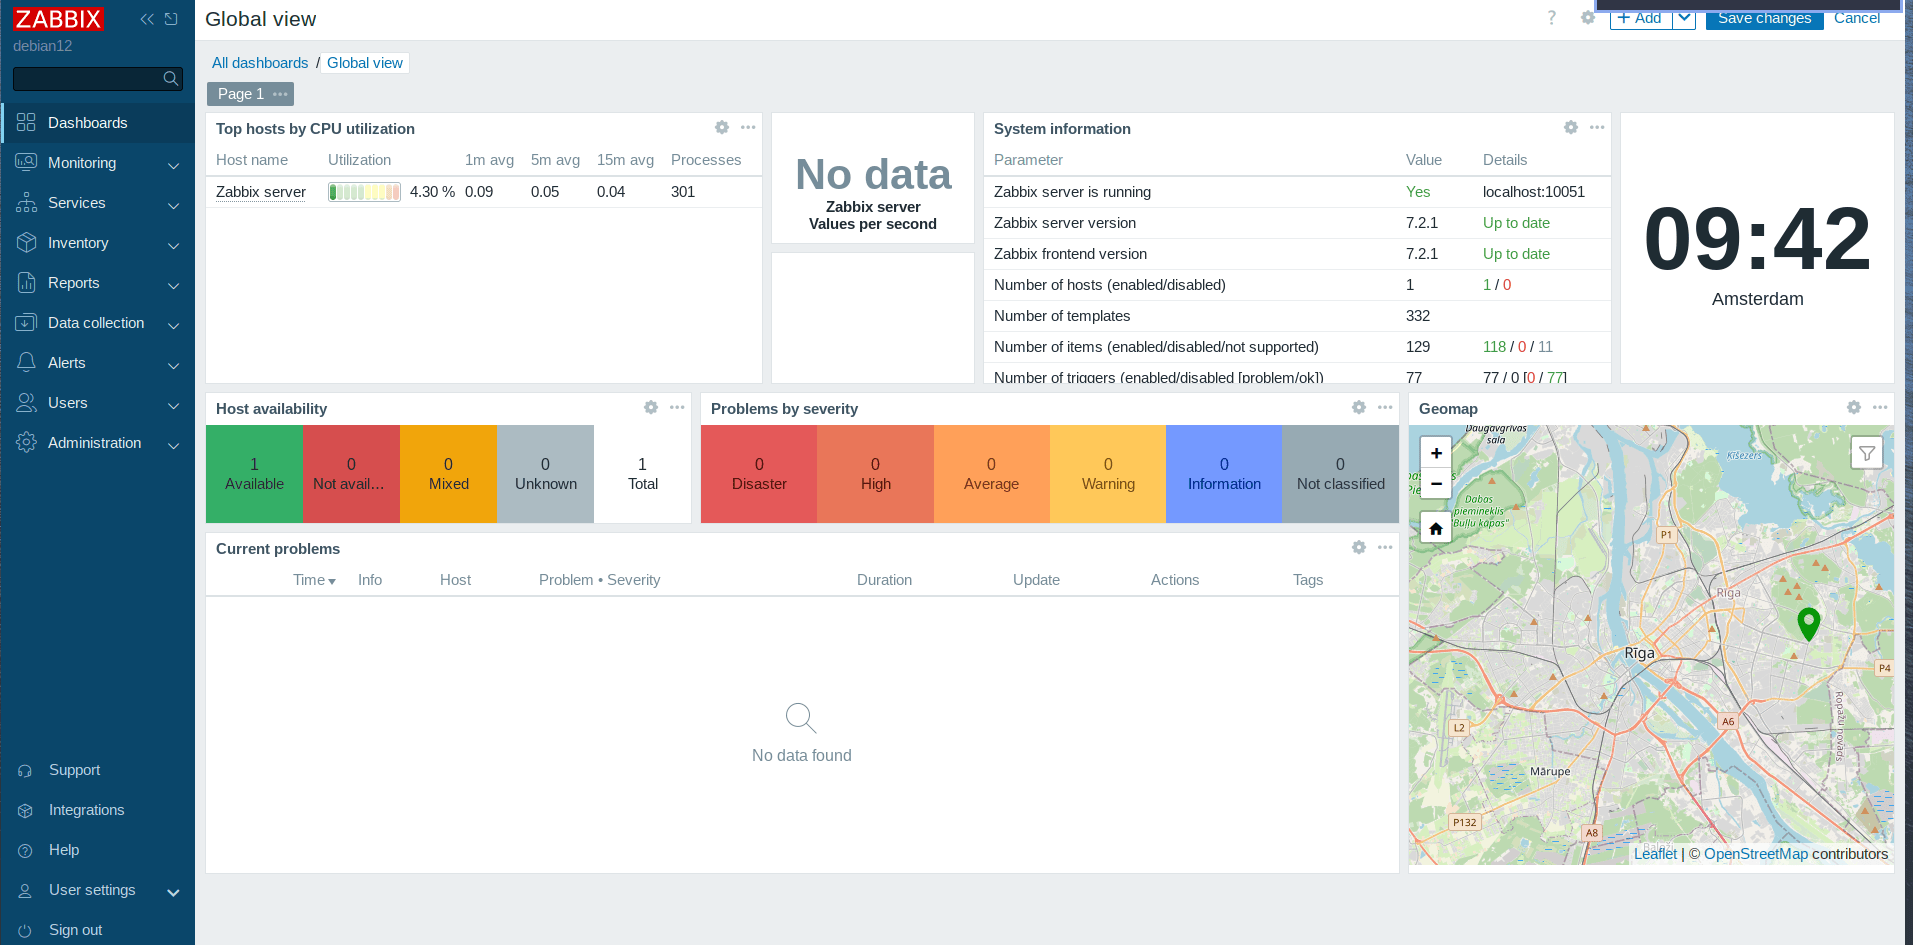
If everything goes well, you'll see the following Zabbix administration dashboard.
Conclusion
Congratulations! You've completed the installation of the Zabbix monitoring Solution on the Debian 12 server. You've Zabbix up and running with the PostgreSQL database server, Nginx web server, and PHP-FPM. You've also 'zabbix-agent' running on your server that will monitor your Zabbix instance. From here, you can now add a new target host to monitor Zabbix set up notifications through multiple services, and then monitor your services via Zabbix.

