How to Install Rsnapshot Linux Backup on Rocky Linux 9
Rsnapshot is a backup utility for Linux-based machines. It is available on most Linux distributions, you can easily install it through the package manager. rsnapshot is written in Perl with no dependencies, it also supports local and remote backup.
With Rsnapshot, you can back up your local directory. As for remote backup, rsnapshot utilizes 'ssh' and 'rsync'.
In this guide, you'll learn how to install and configure Rsnapshot on Rocky Linux 9 server. You'll also learn how to do an automatic backup with Rsnapshot and Cron.
Prerequisites
Before you begin, make sure you have the following:
- A Rocky Linux 9 server
- A non-root user with administrator privileges
Installing Rsnapshot
Rsnapshot is a backup utility for the Unix-like operating system. On RedHat-based distribution, you can install Rsnapshot through the EPEL (Extra Packages for Enterprise Linux) repository. So for this step, you'll add the EPEL repository to your system, and then install the Rsnapshot.
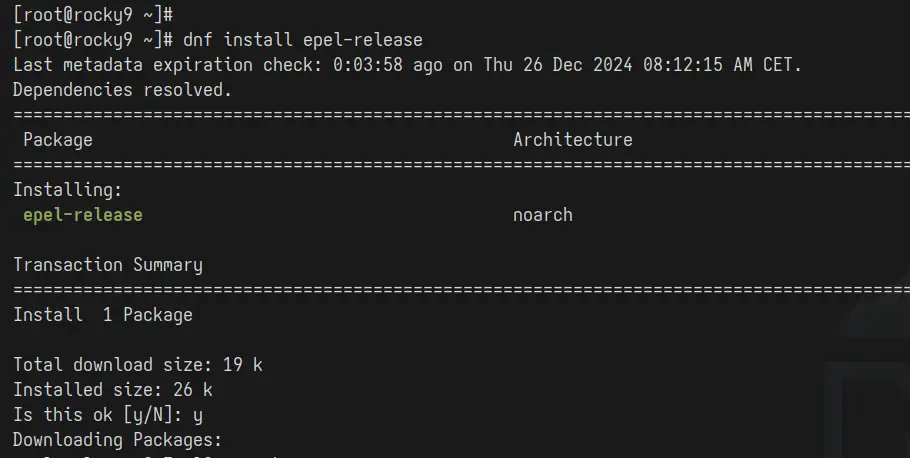
First, run the command below to add the EPEL (Extra Packages for Enterprise Linux) repository to your Rocky Linux server. Enter 'Y' to confirm and add the EPEL repository.
sudo dnf install epel-release
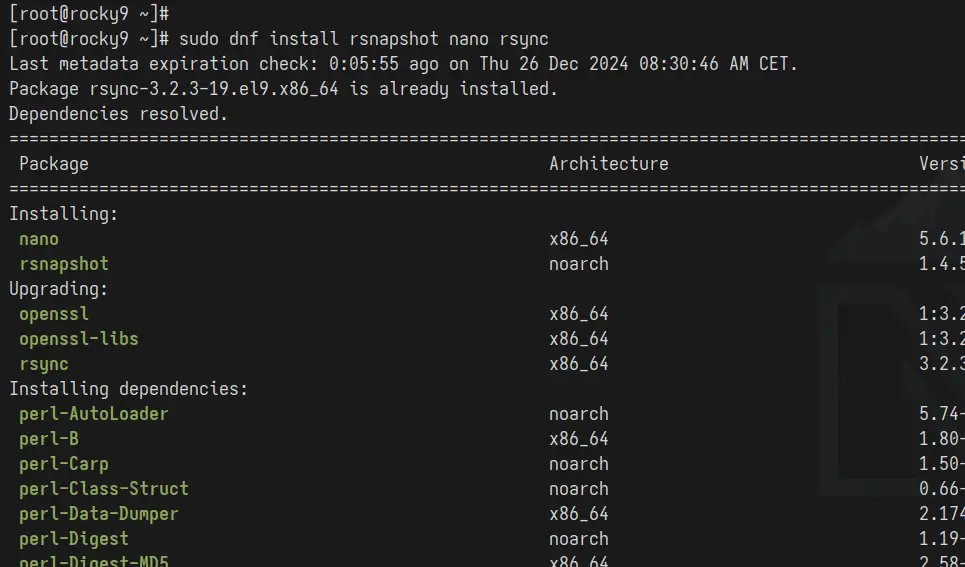
Once EPEL is added, run the 'dnf' command below to install the 'rsnapshot' package. Input 'Y' to confirm with the installation.
sudo dnf install rsnapshot nano firewalls
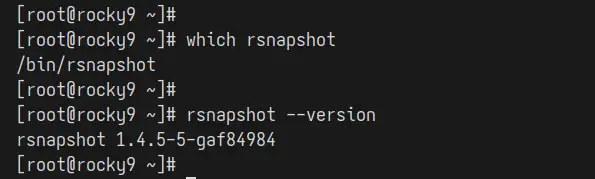
After the installation is finished, check the binary file location and the 'rsnapshot' version with the command below.
which rsnapshot
rsnapshot --version
In the output below, you can see that 'rsnapshot' 1.4.5 is installed in the '/usr/bin/rsnapshot'.
Configuring SSH for Remote Backup
To do remote backup with Rsnapshot via SSH, you must configure key-based authentication to your servers. Ensure that you can log in to the target server from your Rsnapshot server via SSH key. As for this step, you'll generate an SSH key on the Rsnapshot server and then upload the public key to the target backup server.
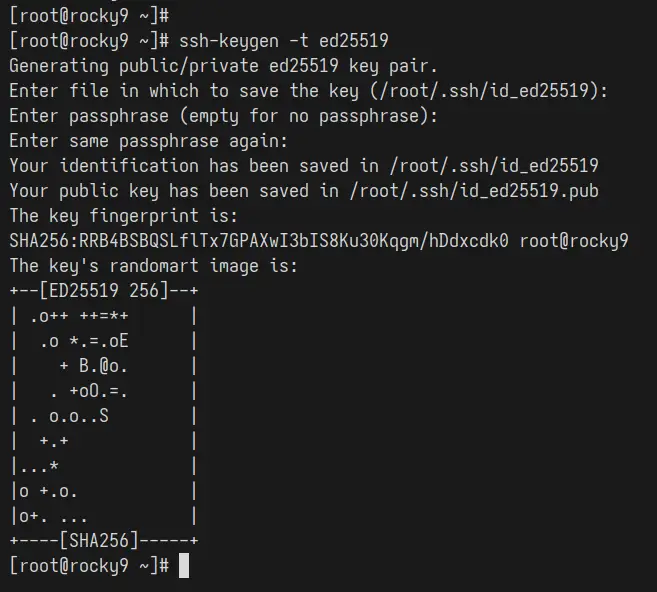
On your Rocky Linux server, run the 'ssh-keygen' command below to generate new SSH keys.
ssh-keygen -t ed25519
- Press ENTER to save the key in the default location at '~/.ssh' directory
- Press ENTER twice when prompted for passphrase
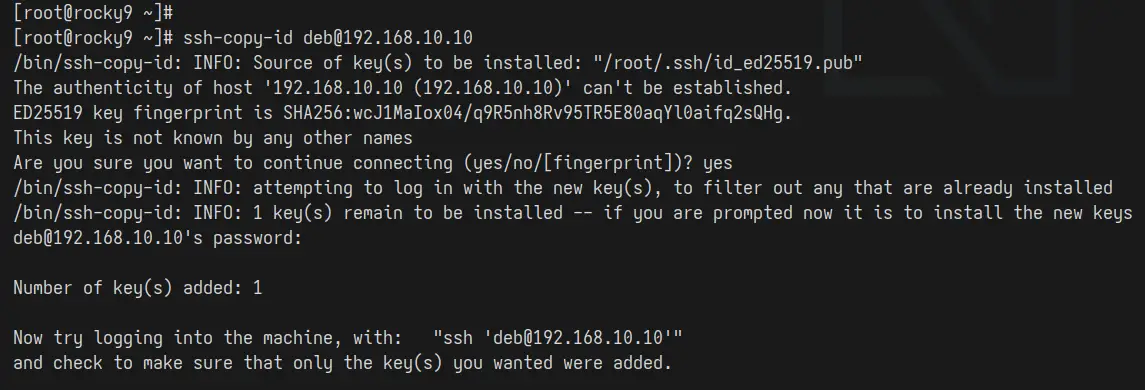
Now run the 'ssh-copy-id' command below to upload your SSH key to the target machine. In this example, we'll back up some data from server '192.168.10.50' to our Rocky Linux server with 'rsnapshot'.
ssh-copy-id [email protected]
Enter your password when prompted. Once uploaded, you can log in to the target server without a password and be ready to set up Rsnapshot.
Setting up Rsnapshot for Local and Remote Backup
Now that you've configured the SSH key-based authentication, you can now configure Rsnapshot. In this example, you'll set up the backup directory, backup retains, backup local files, and then create a remote backup through SSH.
Backup the default configuration '/etc/rsnapshot.conf' and modify it using the 'nano' editor.
sudo cp /etc/rsnapshot.conf /etc/rsnapshot.conf.orig
sudo nano /etc/rsnapshot.conf
Add your backup destination path to the 'snapshot_root' option. In this example, all backups will be stored in the '/data/backup' directory.
snapshot_root /data/backup/
Uncomment the options 'cmd_rsync', 'cmd_ssh', 'cmd_du', and 'cmd_rsnapshot_diff'. Make sure the path of every command is correct.
cmd_rsync /usr/bin/rsync
cmd_ssh /usr/bin/ssh
cmd_du /usr/bin/du
cmd_rsnapshot_diff /usr/bin/rsnapshot_diff
Change the default 'retain' configuration to the following. The naming is optional, you can change it as needed. For this example, the 'retain daily 6' will create new backup directories 'daily.0' to 'daily.5'.
retain daily 6
retain weekly 7
retain monthly 4
Uncomment the 'logfile' option to enable logging for Rsnapshot.
logfile /var/log/rsnapshot.log
Uncomment the 'ssh_args' to pass an additional SSH command. Especially if you're running SSH in a non-standard port.
ssh_args -p 22
Now change the 'backup' configuration like this to backup the local directory '/home/arvdl'.
backup /home/arvdl/ local
For remote backup via SSH, use the configuration like the following. In this example, we'll backup directories '/etc' and '/var/www' from the '192.168.10.50' server to the Rsnapshot server. Also, make sure to use the correct SSH user with SSH-key-based authentication.
backup [email protected]:/etc/ rocky9
backup [email protected]:/var/www rocky9
When done, save the file and exit the editor.
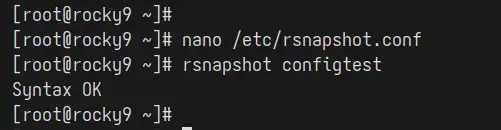
Lastly, run the 'rsnapshot' command below to verify your configuration. If you've proper configuration, you'll see an output 'Syntax is OK'.
rsnapshot configtest
Testing Backup with Rsnapshot
At this point, you've configured Rsnapshot and created a backup for local and remote servers. Now you'll back up with Rsnapshot manually via the 'rsnapshot' command line. You'll also check the backup size and checking the Rsnapshot log file.
To take backup manually, run the 'rsnapshot' command followed by the retention name, for example, 'daily'. This will create a new backup to the 'snapshot_root' directory.
rsnapshot daily
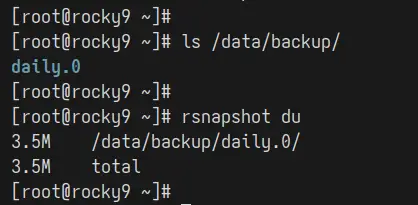
Check the 'snapshoot_root' directory to ensure that your backup is created. In this example, the 'snapshot_root' directory is '/data/backup'.
ls /data/backup
Now run the 'rsnapshot' command below to check the size of your backup. In the following example, the only backup of our files is '3MB'.
rsnapshot du
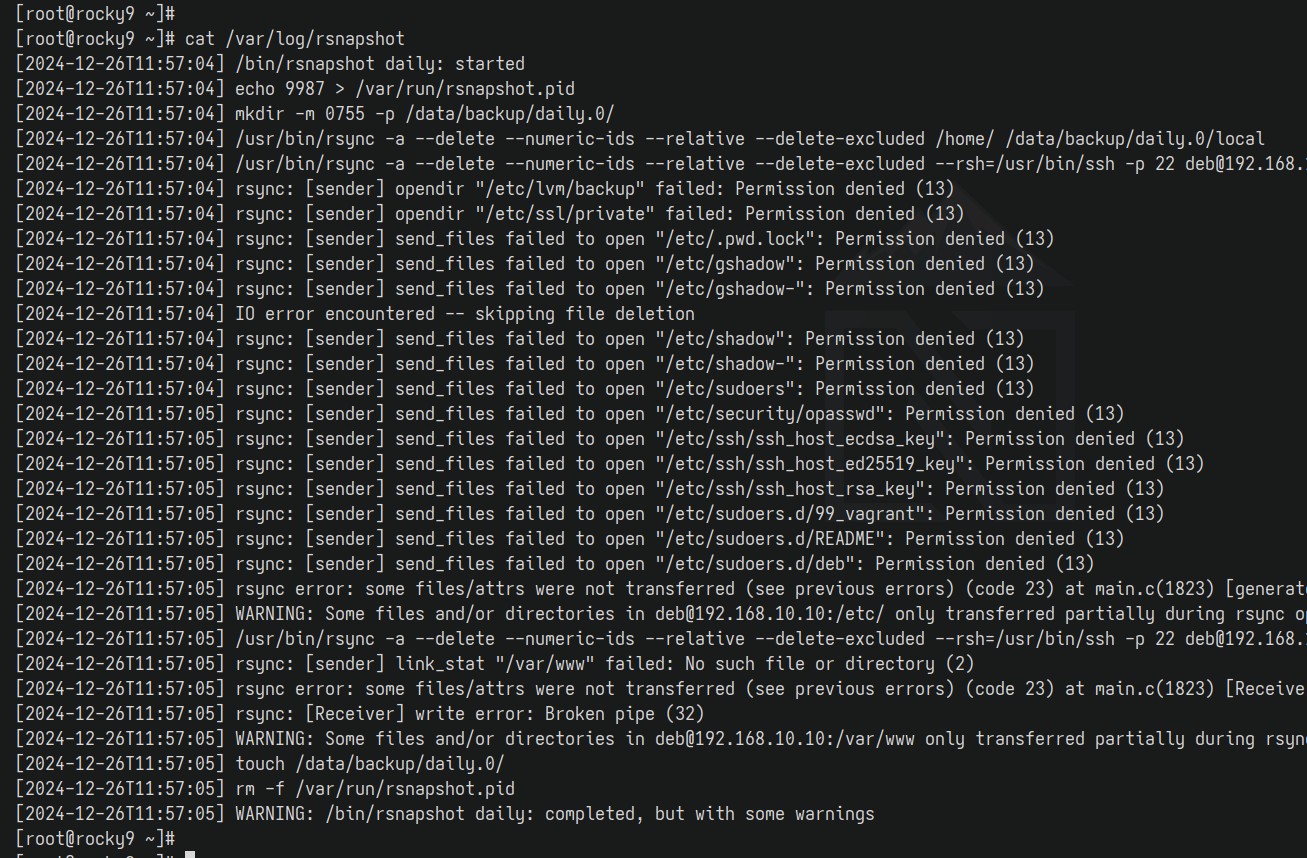
Lastly, you can also check the Rsnapshot log file '/var/log/rsnapshot' to get information about the Rsnapshot operations.
cat /var/log/rsnapshot
Automatic backup with Rsnapshot and Cronjob
In this last section, you'll learn how to set up an automatic backup with Rsnapshot and Cronjob. This way, the 'rsnapshot' command will be running periodically and automatically via Cron.
Create a new cron config file '/etc/cron.d/snapshot' with the following 'nano' editor.
sudo nano /etc/cron.d/rsnapshot
Insert the configuration below to set up a crontab for Rsnapshot. In the following example, you'll run the 'rsnapshot daily', 'rsnapshot weekly', and the 'rsnapshot monthly'.
# Backup on daily
0 0 * * * root rsnapshot daily

# Backup on weekly
0 0 * * 0 root rsnapshot weekly

# backup monthly
0 0 1 * * root rsnapshot monthly
Save the file and exit the editor when done.
Conclusion
Congratulations! You've completed the installation and configuration of Rsnapshot on the Rocky Linux 9 server. You've also learned the basic 'rsnapshot' command, how to set up multiple Rsnapshot retains, how to backup remotely with Rsnapshot via SSH, and also learned how to set up automatic backup with Rsnapshot and Cronjob.

