This tutorial exists for these OS versions
- Ubuntu 11.10 (Oneiric Ocelot)
- Ubuntu 14.04 LTS (Trusty Tahr)
On this page
How To Install ownCloud 7 On Ubuntu 14.04
Version 1.0
Author: Srijan Kishore![]() Follow howtoforge on Twitter
Follow howtoforge on Twitter
This document describes how to install and configure ownCloud 7 on Ubuntu 14.04. I will also connect to the ownCloud Server's data with another Ubuntu 14.04 Desktop and a Windows 7 machine. ownCloud provides access to your data through a web interface or WebDAV while providing a platform to easily view, sync and share across devices—all under your control. ownCloud’s open architecture is extensible via a simple but powerful API for applications and plugins and works with any storage.
1 Preliminary Note
This tutorial is based on Ubuntu 14.04 server, so you should set up a basic Ubuntu 14.04 server installation before you continue with this tutorial. The system should have a static IP address. I use 192.168.0.100 as my IP address in this tutorial and server1.example.com as the hostname. Again I have 192.168.0.101 as IP address of second Ubuntu 14.04 server and server2.example.com as the hostname. I will be using the user=srijan for the installation and configuration. I will also show the ownCloud sharing options with windows machine, so I have working Windows 7 machine too.
2 Installation of ownCloud 7
OwnCloud is a web application that can store and serve content from a centralized location, much like Dropbox. The difference is that ownCloud 7 allows you to host the serving software on your own machines, taking the trust issues out of putting your personal data someone else's server.
We will first download the release key associated with the ownCloud software:
cd /tmp
wget http://download.opensuse.org/repositories/isv:ownCloud:community/xUbuntu_14.04/Release.key
sudo apt-key add - < Release.key
Then we can add the ownCloud 7 repository as follows:
sudo sh -c "echo 'deb http://download.opensuse.org/repositories/isv:/ownCloud:/community/xUbuntu_14.04/ /' >> /etc/apt/sources.list.d/owncloud.list"
Finally, update the package database and install ownCloud:
sudo apt-get update
sudo apt-get install owncloud
3 ownCloud 7 configuration on Ubuntu 14.04
Further we need to install Mariadb(Mysql) to get the configurations as follows:
sudo apt-get install mariadb-server
It will ask for password input, just enter your desired password there.
We will be configuring our ownCloud server to take advantage of the more robust MySQL database instead of the SQLite default implementation. To do so, we must configure MySQL first as:
sudo mysql -u root -p
Put the mariadb password which you selected before, & create a database for ownCloud in Mariadb prompt:
CREATE DATABASE owncloud;
Assign privileges to a new MySQL user to handle database operations for ownCloud:
GRANT ALL ON owncloud.* to 'owncloud'@'localhost' IDENTIFIED BY 'database_password';
exit
Now, if you go to your IP address or domain name followed by "/owncloud" in your browser, you will see a page that looks like this:
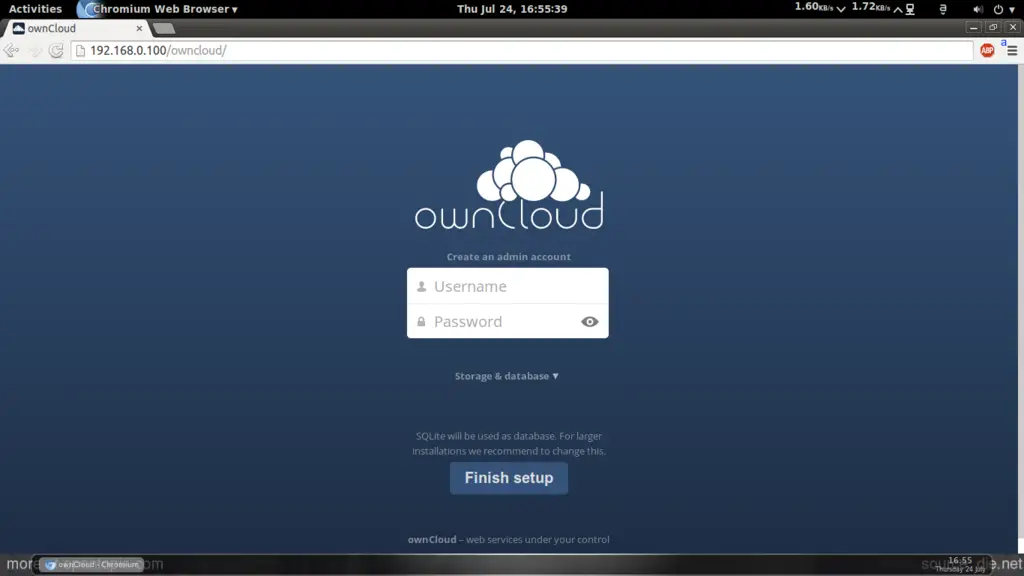
Click on Storage & database:
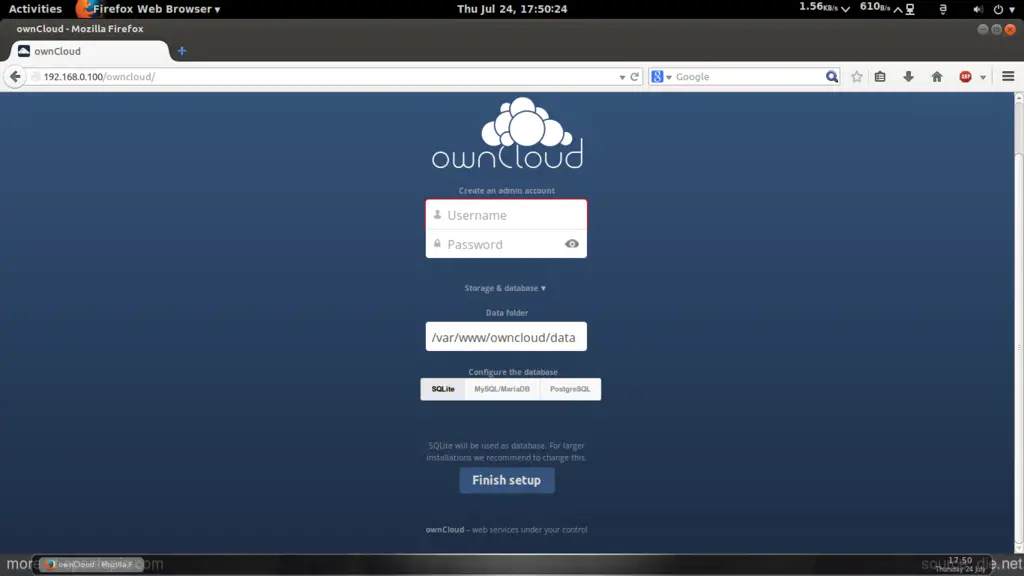
Now select MySQL/MariaDB and create an admin account as in my case I have choosen owncloud as my admin account and a desired password for that user: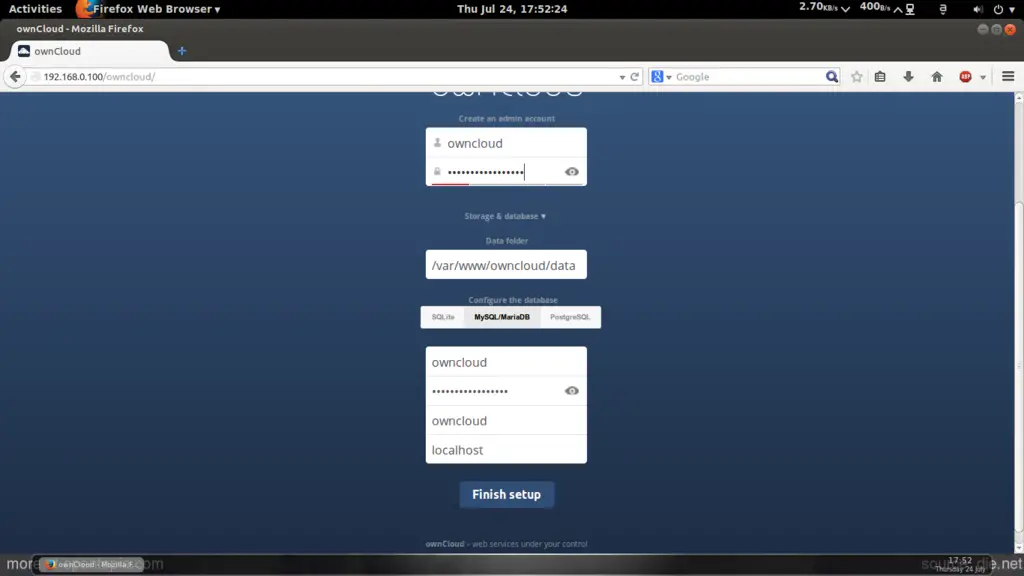
In the lower tab below the MySQL/MariaDB give the entry of the username=owncloud password=database_password databasename=owncloud.
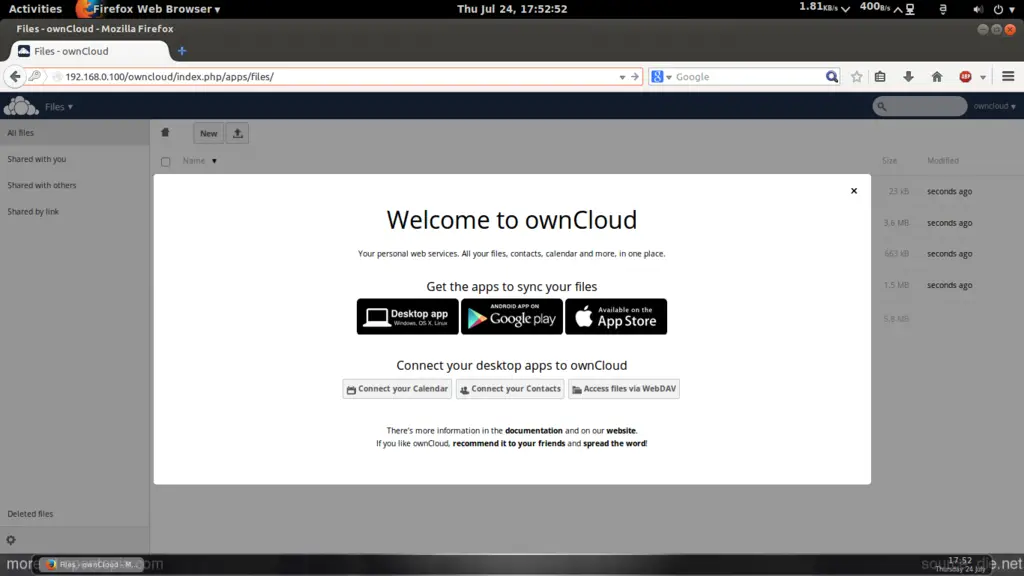
Then press Finish setup.
4 Mounting the ownCloud 7 share on Ubuntu 14.04
We can mount the shared point with the other machines, here I will show you the way to process to moint it through WebDAV tools in another Ubuntu machine. I am running the command on my second machine server2.example.com:
sudo apt-get update
sudo apt-get install davfs2
We will allow non-root users to mount and unmount the WebDAV shares by typing:
sudo dpkg-reconfigure davfs2Should unprivileged users be allowed to mount WebDAV resources? <--Yes
Moving ahead I will be adding my username=srijan to WebDAV group:
sudo usermod -aG davfs2 srijan
We want to make the permanent mount point in server2.example.com, so I will give the following entries in the /etc/fstab:
sudo vi /etc/fstab
[...] 192.168.0.100/owncloud/remote.php/webdav /home/srijan/owncloud davfs user,rw,noauto 0 0 |
Now in user=srijan's home drive I will create directories, one to mount the share point and another to hold the configurations details:
mkdir ~/owncloud
mkdir ~/.davfs2
Further create a file as:
vi ~/.davfs2/secrets
192.168.0.100/owncloud/remote.php/webdav owncloud database_password |
Ensure that the file is writable by only you by using the file manager or by issuing the following command:
chmod 600 ~/.davfs2/secrets
Now we will mount it as follows:
sudo mount owncloud/srijan@server2:~$ sudo mount owncloud/
Please enter the username to authenticate with server
192.168.0.100/owncloud/remote.php/webdav/ or hit enter for none.
Username: owncloud
Please enter the password to authenticate user owncloud with server
192.168.0.100/owncloud/remote.php/webdav/ or hit enter for none.
Password: database_password
srijan@server2:~$
Note: The given credentials will be used further, so please take a note of it:
Username: owncloud
Password:  database_password
Further there could be have permissions error in the folder, so we will change the folder permission as owner of the user:
chown -R srijan:srijan owncloud/
To automatically mount the folder on login at server2.example.com, add the mount ~/owncloud command to the ~/.bashrc file.
vi ~/.bashrc
[...] |
After mounting successfully you can get some error Resource temporarily unavailable and Certificate warnings then it can be removed as follows:
- For Resource temporarily unavailable:
vi /etc/davfs2/davfs2.conf
[...] |
- For Certificate warnings:
If you use a self-signed certificate, you will get a warning. If you are willing to take the risk of a man in the middle attack, run this command instead:
echo "y" | mount ~/owncloud > /dev/null 2>&1

