How to Install Bitwarden Password Manager on Ubuntu 20.04
This tutorial exists for these OS versions
- Ubuntu 22.04 (Jammy Jellyfish)
- Ubuntu 20.04 (Focal Fossa)
On this page
Bitwarden is an open-source password manager. It not only stores or creates strong passwords but also syncs them across multiple devices. Bitwarden offers apps for Windows, macOS, Linux, Android, iPhone along with Browser extensions and is accessible via the web as well.
Bitwarden allows you to secure your account via two-factor authentication and can also store and 2FA keys.
Bitwarden can be managed either on their cloud hosting or you can install it on your server which offers you an advantage as your data remains with you.
In this tutorial, you will learn to install Bitwarden on an Ubuntu 20.04 server.
Prerequisite
-
A Ubuntu 20.04 based server with a non-root user with sudo privileges.
-
A domain name pointing to the said server.
-
Update the system
$ sudo apt update && sudo apt upgrade
Configure Firewall
Ubuntu 20.04 comes with Uncomplicated Firewall(UFW) by default. In case it is not, install it first.
$ sudo apt install ufw
Enable SSH port.
$ sudo ufw allow "OpenSSH"
Enable the firewall.
$ sudo ufw enable
Also, open the HTTP and HTTPS ports which we will need later.
$ sudo ufw allow http
$ sudo ufw allow https
Check the firewall status.
$ sudo ufw status
Status: active

To                         Action      From
--                         ------      ----
OpenSSH                    ALLOW       Anywhere
80/tcp                     ALLOW       Anywhere
443/tcp                    ALLOW       Anywhere
OpenSSH (v6)               ALLOW       Anywhere (v6)
80/tcp (v6)                ALLOW       Anywhere (v6)
443/tcp (v6)               ALLOW       Anywhere (v6)
Install Docker
Bitwarden is bundled as a Docker image. Docker is an application that can run applications in a resource-isolated process called containers. They are similar to virtual machines but more portable and resource-friendly.
Before installing Docker, first, we need to install some dependencies and packages that it requires.
$ sudo apt install apt-transport-https ca-certificates curl gnupg-agent software-properties-common
Add Docker's official GPG key.
$ curl -fsSL https://download.docker.com/linux/ubuntu/gpg | sudo apt-key add -
Add Docker's official Ubuntu repository.
$ sudo add-apt-repository "deb [arch=amd64] https://download.docker.com/linux/ubuntu $(lsb_release -cs) stable"
Install the Docker engine.
$ sudo apt-get install docker-ce docker-ce-cli containerd.io
Verify that Docker is installed correctly.
$ sudo docker run hello-world
Unable to find image 'hello-world:latest' locally
latest: Pulling from library/hello-world
0e03bdcc26d7: Pull complete
Digest: sha256:8c5aeeb6a5f3ba4883347d3747a7249f491766ca1caa47e5da5dfcf6b9b717c0
Status: Downloaded newer image for hello-world:latest

Hello from Docker!
This message shows that your installation appears to be working correctly.
The above command will download a test image and run it.
Run Docker without Sudo
By default, Docker can only be run via the root user or using sudo privileges. There is another way as well which is to run a user which is a part of the docker group which was created during the time of the installation.
If you want to avoid using sudo every time when you run the docker command, use the following command to add your current system user to the docker group.
$ sudo usermod -aG docker ${USER}
To apply the change, you need to log out and log back in.
$ su - ${USER}
You will be prompted for your password to continue.
Confirm that your user is added to the docker group.
$ id -nG
username sudo docker
Install Docker Compose
Docker Compose is a tool for defining and running multi-container Docker applications. Compose uses a YAML file to configure the application.
You can install Compose directly from Ubuntu's repository but it is outdated. You can grab the latest version of Compose from its Github repository.
Download the current stable release of Docker Compose.
$ sudo curl -L "https://github.com/docker/compose/releases/download/1.27.4/docker-compose-$(uname -s)-$(uname -m)" -o /usr/local/bin/docker-compose
At the time of writing this tutorial, 1.27.4 was the latest version of the Compose available. You can choose a different version by checking the Releases page of the Compose repository.
The above command downloads and moves the Compose binary to the /usr/local/bin directory.
Make the binary executable.
$ sudo chmod +x /usr/local/bin/docker-compose
Test if it is installed correctly.
$ docker-compose --version
docker-compose version 1.27.4, build 40524192
Install the command completion script for the bash shell.
$ sudo curl -L https://raw.githubusercontent.com/docker/compose/1.27.4/contrib/completion/bash/docker-compose -o /etc/bash_completion.d/docker-compose
Install Bitwarden
The first step is to download the Bitwarden installation script.
$ curl -Lso bitwarden.sh https://go.btwrdn.co/bw-sh
Next, give executable permission to the installation script.
$ chmod +x bitwarden.sh
Before moving to the next step of the installation, you need to generate the Bitwarden installation ID and Installation key.
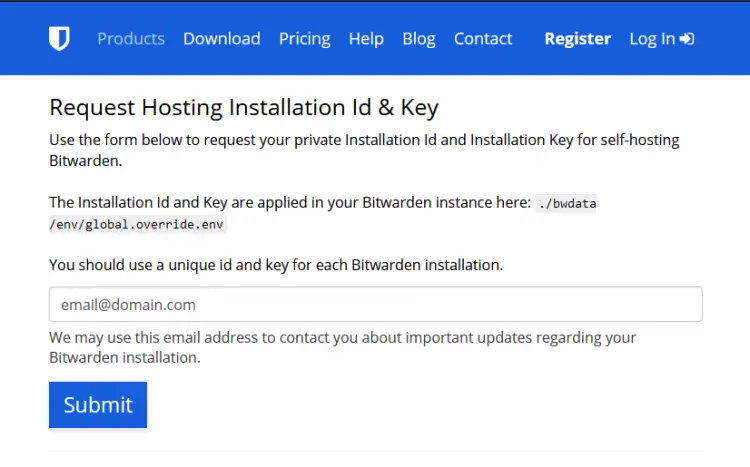
Open the Bitwarden Host site (https://bitwarden.com/host) to generate the key.
Enter your email address and click on the Submit button.
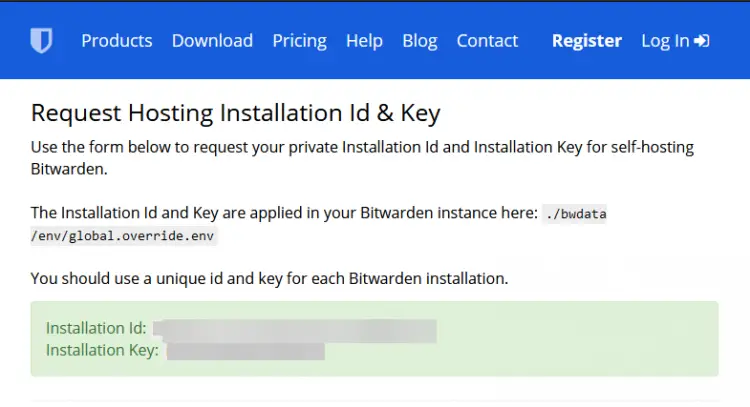
You should see your Installation ID and key on the following screen. Note them down.
Launch the Bitwarden installer.
$ ./bitwarden.sh install
You will be asked for your Bitwarden domain name where you want to access the site. Bitwarden can install an SSL certificate for your site using Let's Encrypt service or you can choose your own certificate or use a self-signed certificate.
We will recommend sticking to the Let's Encrypt certificate so enter y when prompted. If you wish to provide your own certificate or use a self-signed one, enter n and provide the path to your certificate or use Bitwarden to generate a self-signed certificate later.
Once the installation completes, you can make changes before you start the Bitwarden application.
Here you can enter your custom certificate or change the domain or even add SMTP settings.
All the settings are stored in the /home/<username>/bwdata directory.
The main configuration file is located at ~/bwdata/config.yml. This file holds the domain and SSL settings. If you want to make changes in the default Nginx configuration file, you can do so via changing the ~/bwdata/nginx/default.conf file.
If you want to add SMTP settings, edit the ~/bwdata/env/global.override.env file.
Once you are satisfied with your changes, rebuild Bitwarden.
$ ./bitwarden.sh rebuild
You can then run the following command instead.
$ ./bitwarden.sh update
Next, start Bitwarden.
$ ./bitwarden.sh start
You can check if all the services are running correctly, once the startup process completes.
$ docker ps
You shall see the following screen.
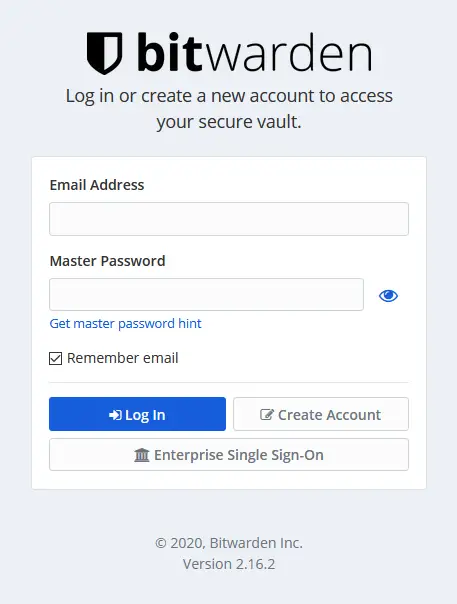
Your Bitwarden installation should be up and running at https://bitwarden.example.com
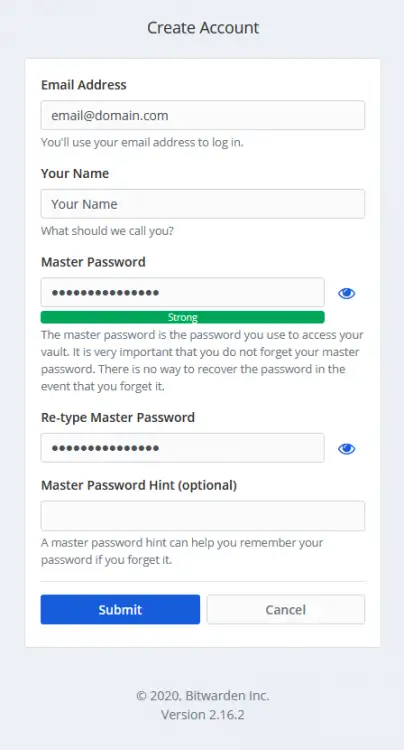
Click on the Create Account button to create your first account.
Once you are done, you can now log in to your Bitwarden account and start using it.
Configure SMTP
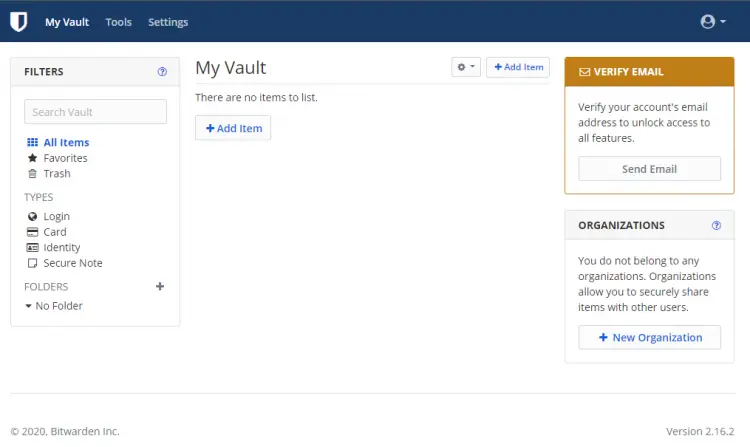
The first thing you will notice is that you are being asked to verify your email address. Bitwarden needs your SMTP details in order to do that.
There are two ways you can achieve this. Either you can set up your own SMTP server or you can use any 3rd party service.
If you want to set up your own SMTP service, you can follow our tutorial which teaches you how to install Postfix and use it to send an outgoing email via Gmail.
For our tutorial, we will use a 3rd party email service, SES(Simple Email Service), by Amazon. You can use any service of your choice.
SES is very affordable and costs only $0.1 for every 1000 emails you send. And if you are hosted on Amazon EC2 server, then first 62000 emails are free forever.
Now, we need to open the file /home/<username>/bwdata/env/global.override.env for editing.
$ nano /home/<username>/bwdata/env/global.override.env
You need to configure the following settings in the file.
[email protected]
globalSettings__mail__smtp__host=REPLACE
globalSettings__mail__smtp__username=REPLACE
globalSettings__mail__smtp__password=REPLACE
globalSettings__mail__smtp__ssl=true
globalSettings__mail__smtp__port=587
Replace the values for host, username and password you got from your SMTP provider.
Save the file by pressing Ctrl+X and entering Y when prompted.
After you have changed the settings, restart your Bitwarden installation.
$ ./bitwarden.sh restart
User Registration
You can use your Bitwarden install to allow your family and friends to create their individual accounts. But if you want to keep the install for yourself, it is a good security practice to disable User registrations.
To do that, again, open the file /home/<username>/bwdata/env/global.override.env for editing.
$ nano /home/<username>/bwdata/env/global.override.env
Change the value of the variable disableUserRegistration to true.
globalSettings__disableUserRegistration=true
Save the file by pressing Ctrl+X and entering Y when prompted.
Restart your Bitwarden installation.
$ ./bitwarden.sh restart
You will still see the create account link and the form but submitting it will generate an error now.
Administration Portal
Bitwarden provides an administration portal where you can
- View installation environment settings
- View the currently installed and latest available versions
- Browse all registered users and information about them
- Delete registered users
- Browse all organizations and information about them
- Delete organizations
It is available at https://bitwarden.yourdomain.com/admin but by default is disabled.
To enable it, you need to make the change in /home/<username>/bwdata/env/global.override.env file.
Find the setting adminSettings__admins and add the email addresses of users who are allowed to access the administration page.
[email protected],[email protected]
Restart the Bitwarden server once you are finished making changes.
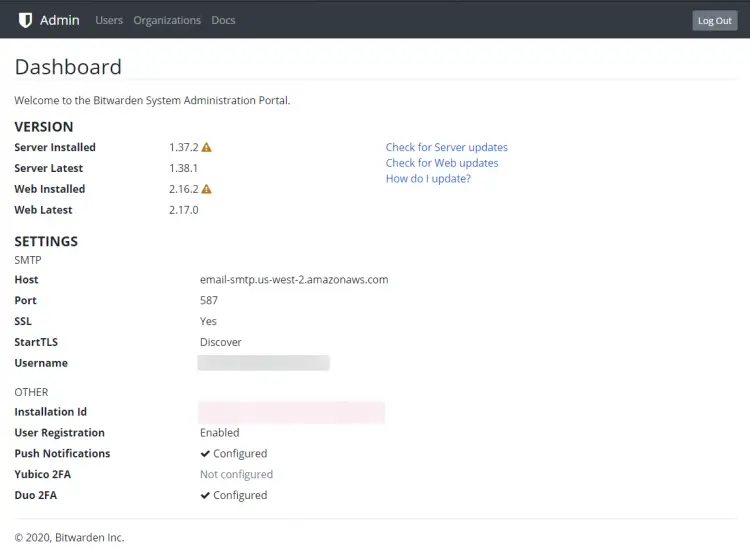
Whenever you want to login to the Admin Portal, visit https://bitwarden.yourdomain.com/admin and enter your email address. You will receive a temporary login link which will be valid for 15 minutes.
As you can see, our administrator dashboard is telling you to update Bitwarden. Let's see how we can do that.
Update Bitwarden
If you want to update your Bitwarden installation, you can do so by running the following commands.
./bitwarden.sh updateself
./bitwarden.sh update
The first command updates the Bitwarden installer script and the second command updates all the containers and databases and restarts them.
Bitwarden Clients
Bitwarden clients are available for Windows, macOS, Linux, Android and iOS operating systems along with extensions. Normally the clients are configured to connect to the Bitwarden cloud service but you can change their setting to connect to your self-hosted installation.
Just enter your Bitwarden URL (`https://bitwarden.yourdomain.com) in the client settings menu and you can start using them,
Conclusion
This concludes our tutorial on installing Bitwarden server on Ubuntu 20.04. If you have any questions, post them in the comments below.

