How To Install Asterisk 17 VoIP Server on Ubuntu 20.04
Asterisk is a free and open-source VoIP server created by Sangoma. It is used for building a VoIP telephony infrastructure for all sizes of organizations. VoIP is a Voice Over Internet Protocol used to make a call using the TCP/IP stack. With VoIP, you can make a call from your mobile device or computer to other devices without any cost. It runs on Unix and Linux based operating systems and able to connect any traditional global telephony network. It offers a set of features including, conference call, voice mail, IVR, and automatic call distribution.
In this tutorial, we will learn how to install the Asterisk server and Asterisk GUI on Ubuntu 20.04.
Prerequisites
- A server running Ubuntu 20.04.
- A static IP address is configued in your server.
- A root password is configured on the server.
Getting Started
First, update your system packages to the latest version with the following command:
apt-get update -y
Once your system is updated, you will need to install other dependencies required by Asterisk. You can install all of them with the following command:
apt-get install gnupg2 software-properties-common git curl wget libnewt-dev libssl-dev libncurses5-dev subversion libsqlite3-dev build-essential libjansson-dev libxml2-dev uuid-dev -y
After installing all the packages, you can proceed to the next step.
Install Asterisk
By default, the latest version of Asterisk is not available in the Ubuntu 20.04 default repository. So you will need to download and compile it from the source.
First, download the latest version of Asterisk with the following command:
wget http://downloads.asterisk.org/pub/telephony/asterisk/asterisk-17-current.tar.gz
Once downloaded, extract the downloaded file with the following command:
tar -xvzf asterisk-17-current.tar.gz
Next, change the directory to the extracted directory and install all required MP3 modules with the following command:
cd asterisk-17.7.0
contrib/scripts/get_mp3_source.sh
You should get the following output:
A    addons/mp3
A    addons/mp3/MPGLIB_README
A    addons/mp3/common.c
A    addons/mp3/huffman.h
A    addons/mp3/tabinit.c
A    addons/mp3/Makefile
A    addons/mp3/README
A    addons/mp3/decode_i386.c
A    addons/mp3/dct64_i386.c
A    addons/mp3/MPGLIB_TODO
A    addons/mp3/mpg123.h
A    addons/mp3/layer3.c
A    addons/mp3/mpglib.h
A    addons/mp3/decode_ntom.c
A    addons/mp3/interface.c
Exported revision 202.
Next, install other dependencies with the following command:
contrib/scripts/install_prereq install
You should see the following output:
#############################################
## install completed successfully
#############################################
Next, configure the Asterisk with the following command:
./configure
You should get the following output:
configure: Menuselect build configuration successfully completed

               .$$$$$$$$$$$$$$$=..
            .$7$7..          .7$$7:.
          .$$:.                 ,$7.7
        .$7.     7$$$$           .$$77
     ..$$.       $$$$$            .$$$7
    ..7$   .?.   $$$$$   .?.       7$$$.
   $.$.   .$$$7. $$$$7 .7$$$.      .$$$.
 .777.   .$$$$$$77$$$77$$$$$7.      $$$,
 $$$~      .7$$$$$$$$$$$$$7.       .$$$.
.$$7          .7$$$$$$$7:          ?$$$.
$$$          ?7$$$$$$$$$$I        .$$$7
$$$       .7$$$$$$$$$$$$$$$$      :$$$.
$$$       $$$$$$7$$$$$$$$$$$$    .$$$.
$$$        $$$   7$$$7  .$$$    .$$$.
$$$$             $$$$7         .$$$.
7$$$7            7$$$$        7$$$
 $$$$$                        $$$
  $$$$7.                       $$  (TM)
   $$$$$$$.           .7$$$$$$  $$
     $$$$$$$$$$$$7$$$$$$$$$.$$$$$$
       $$$$$$$$$$$$$$$$.

configure: Package configured for:
configure: OS type  : linux-gnu
configure: Host CPU : x86_64
configure: build-cpu:vendor:os: x86_64 : pc : linux-gnu :
configure: host-cpu:vendor:os: x86_64 : pc : linux-gnu :
Next, run the following command to select and install some recommended modules:
make menuselect
You will be asked to select your desired module. Use arrow keys to navigate and press the Enter key to select as shown below:
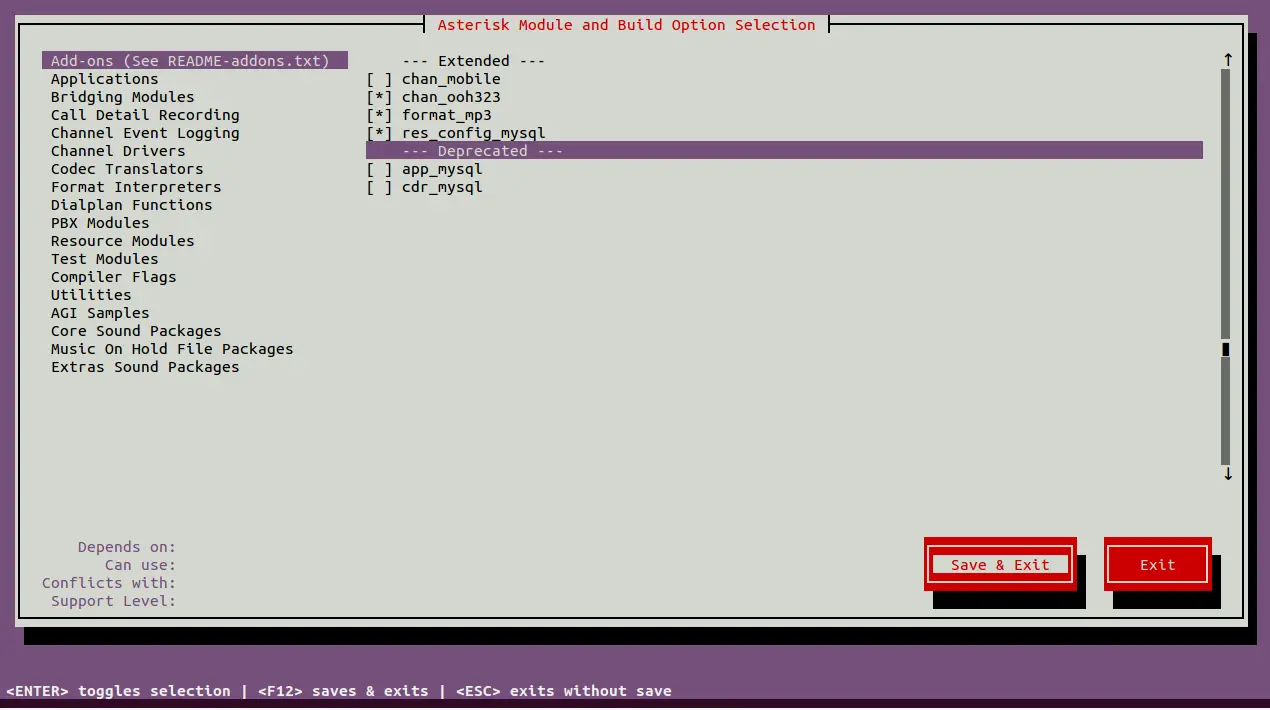
Enable addons as shown below:
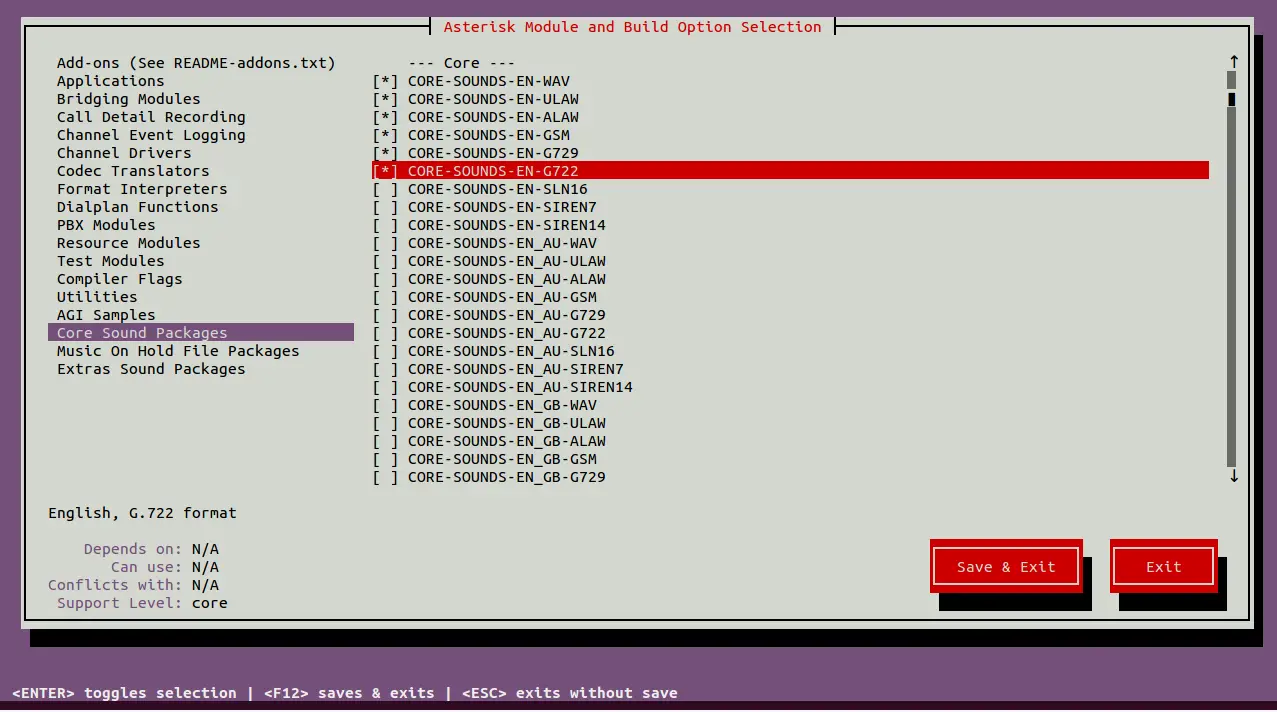
Enable the core sound modules as shown below:
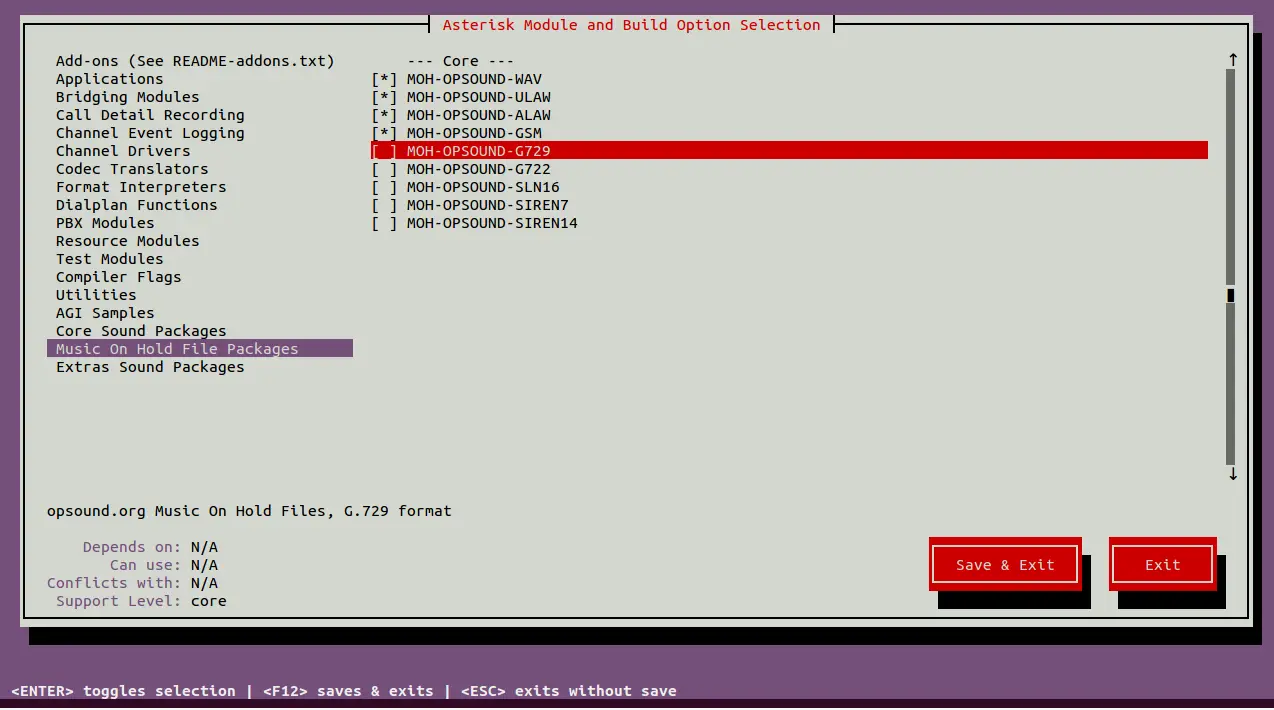
Enable MOH packages as shown below:
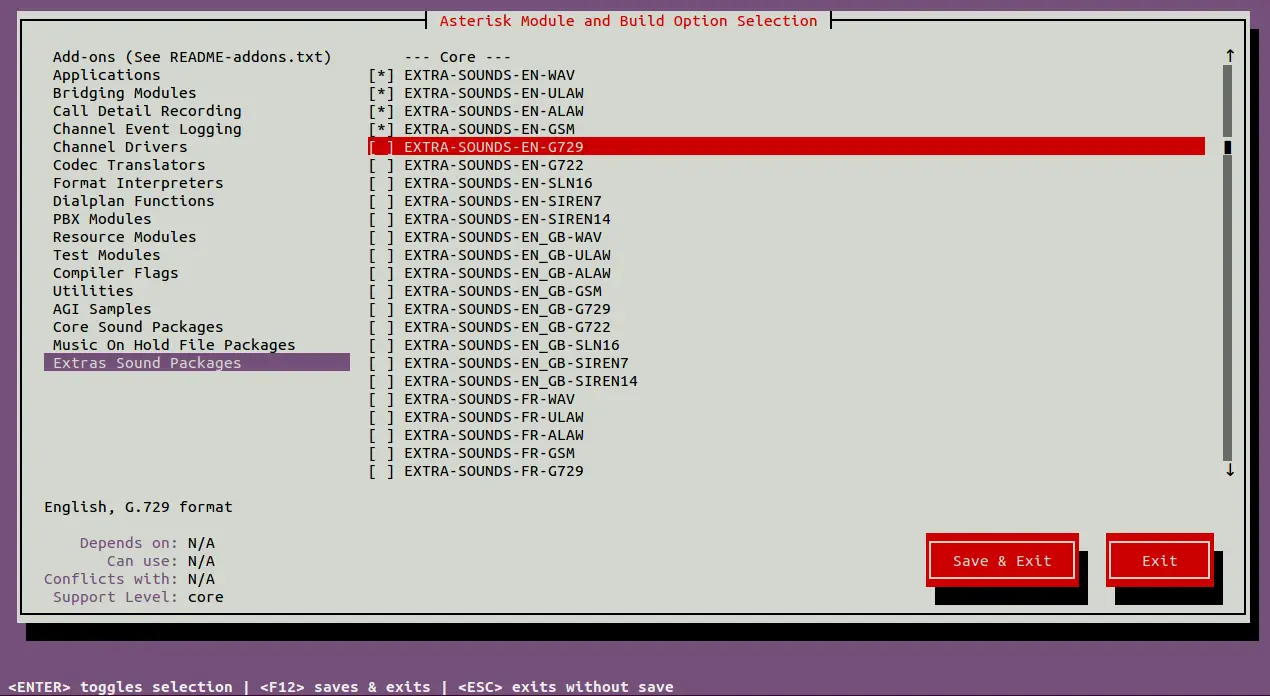
Enable Extra Sound Packages as shown below:
Once you are finished, click on the Save & Exit button to save the changes and install all addons.
Next, you will need to build the Asterisk. You can do it with the following command:
make
You should see the following output:
 +--------- Asterisk Build Complete ---------+
 + Asterisk has successfully been built, and +
 + can be installed by running:              +
 +                                           +
 +                make install               +
 +-------------------------------------------+
Next, install the Astersik, config and sample by running the following command:
make install
make samples
make config
ldconfig
Once you are finished, you can proceed to the next step.
Create a Astersik User
Next, you will need to create Asterisk user, group and change the ownership of the Asterisk configuration directory.
First, create a user and group with the following command:
groupadd asterisk
useradd -r -d /var/lib/asterisk -g asterisk asterisk
Next, add audio and dialout user to Asterisk group by running the following command:
usermod -aG audio,dialout asterisk
Next, change the ownership of the Asterisk configuration directory with the following command:
chown -R asterisk.asterisk /etc/asterisk
chown -R asterisk.asterisk /var/{lib,log,spool}/asterisk
chown -R asterisk.asterisk /usr/lib/asterisk
Once you are finished, you can proceed to the next step.
Configure Asterisk
Next, edit the /etc/default/asterisk file and set default user to Asterisk:
nano /etc/default/asterisk
Uncomment the following lines:
AST_USER="asterisk"
AST_GROUP="asterisk"
Save and close the file when you are finished then edit the Asterisk default configuration file and set the run as user to asterisk:
nano /etc/asterisk/asterisk.conf
Uncomment the following lines:
runuser = asterisk ; The user to run as.
rungroup = asterisk ; The group to run as.
Save and close the file then start the Asterisk service and enable it to start at system reboot with the following command:
systemctl restart asterisk
systemctl enable asterisk
You can now verify the status of Asterisk service with the following command:
systemctl status asterisk
You should get the following output:
? asterisk.service - LSB: Asterisk PBX
     Loaded: loaded (/etc/init.d/asterisk; generated)
     Active: active (running) since Mon 2020-10-19 12:39:41 UTC; 2min 49s ago
       Docs: man:systemd-sysv-generator(8)
    Process: 47946 ExecStart=/etc/init.d/asterisk start (code=exited, status=0/SUCCESS)
      Tasks: 71 (limit: 4691)
     Memory: 41.7M
     CGroup: /system.slice/asterisk.service
             ??47965 /usr/sbin/asterisk -U asterisk -G asterisk

Oct 19 12:39:41 ubuntu2004 systemd[1]: Starting LSB: Asterisk PBX...
Oct 19 12:39:41 ubuntu2004 asterisk[47946]:  * Starting Asterisk PBX: asterisk
Oct 19 12:39:41 ubuntu2004 asterisk[47946]:    ...done.
Next, verify the Asterisk connection with the following command:
asterisk -rvv
You should get the following output:
Asterisk 17.7.0, Copyright (C) 1999 - 2018, Digium, Inc. and others.
Created by Mark Spencer <[email protected]>
Asterisk comes with ABSOLUTELY NO WARRANTY; type 'core show warranty' for details.
This is free software, with components licensed under the GNU General Public
License version 2 and other licenses; you are welcome to redistribute it under
certain conditions. Type 'core show license' for details.
=========================================================================
Running as user 'asterisk'
Running under group 'asterisk'
Connected to Asterisk 17.7.0 currently running on ubuntu2004 (pid = 47965)
ubuntu2004*CLI>
Enable Asterisk GUI
In order to access the Asterisk from the web browser, you will need to enable Asterisk GUI. First, edit the /etc/asterisk/http.conf file:
nano /etc/asterisk/http.conf
Uncomment and change the following lines:
enabled = yes
bindaddr = 0.0.0.0
bindport = 8088
prefix = asterisk
enable_static = yes
enablestatic = yes

redirect = / /static/config/index.html
uploads = /var/lib/asterisk/uploads/
Save and close the file then edit the /etc/asterisk/manager.conf file and set your admin user:
nano /etc/asterisk/manager.conf
Add / Modify the following lines:
enabled = yes
webenabled = yes

port = 5038
bindaddr = 0.0.0.0

[admin]
secret = admin1234
read = system,call,log,verbose,command,agent,user,config
write = system,call,log,verbose,command,agent,user,config,originate
Save and close the file when you are finished.
Install Asterisk GUI
Next, download the latest version of Asterisk GUI with the following command:
svn checkout http://svn.digium.com/svn/asterisk-gui/branches/2.0
Once downloaded, change the directory to downloaded directory and configure it with the following command:
cd 2.0/
./configure
Next, build the Asterisk GUI with the following command:
make
You should get the following output:
 +------- Asterisk-GUI Build Complete -------+
 + Asterisk-GUI has successfully been built, +
 + and can be installed by running:          +
 +                                           +
 +               make install                +
 +-------------------------------------------+
Next, run the following command to install it to your system:
make install
You should see the following output:
 +---- Asterisk GUI Installation Complete ---+
 +                                           +
 +    YOU MUST READ THE SECURITY DOCUMENT    +
 +                                           +
 + Asterisk-GUI has successfully been        +
 + installed.				     +
 +                                           +
 +-------------------------------------------+
 +                                           +
 +          BEFORE THE GUI WILL WORK         +
 +                                           +
 + Before the GUI will run, you must perform +
 + some modifications to the Asterisk        +
 + configuration files in accordance with    +
 + the README file.  When done, you can      +
 + check your changes by doing:              +
 +                                           +
 +               make checkconfig            +
 +                                           +
 +-------------------------------------------+
Finally, restart the Asterisk service to apply the changes:
systemctl restart asterisk
Access Asterisk GUI
Now, open your web browser and access the Asterisk GUI using the URL http://your-server-ip:8088/asterisk/static/config/index.html. You will be redirected to the following page:
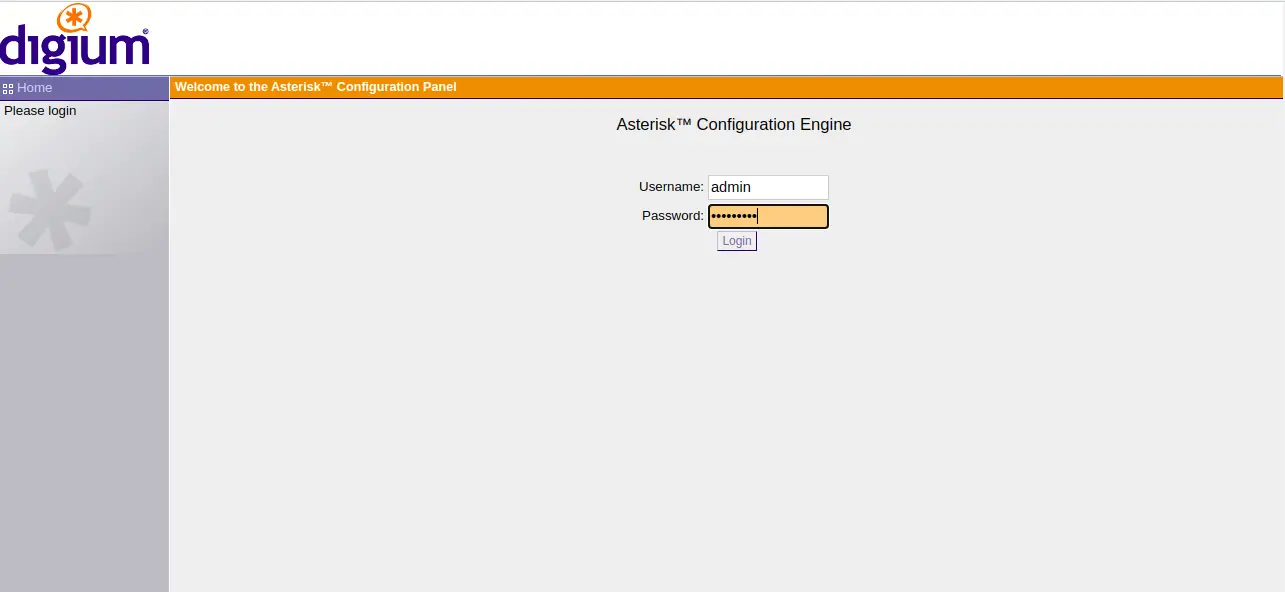
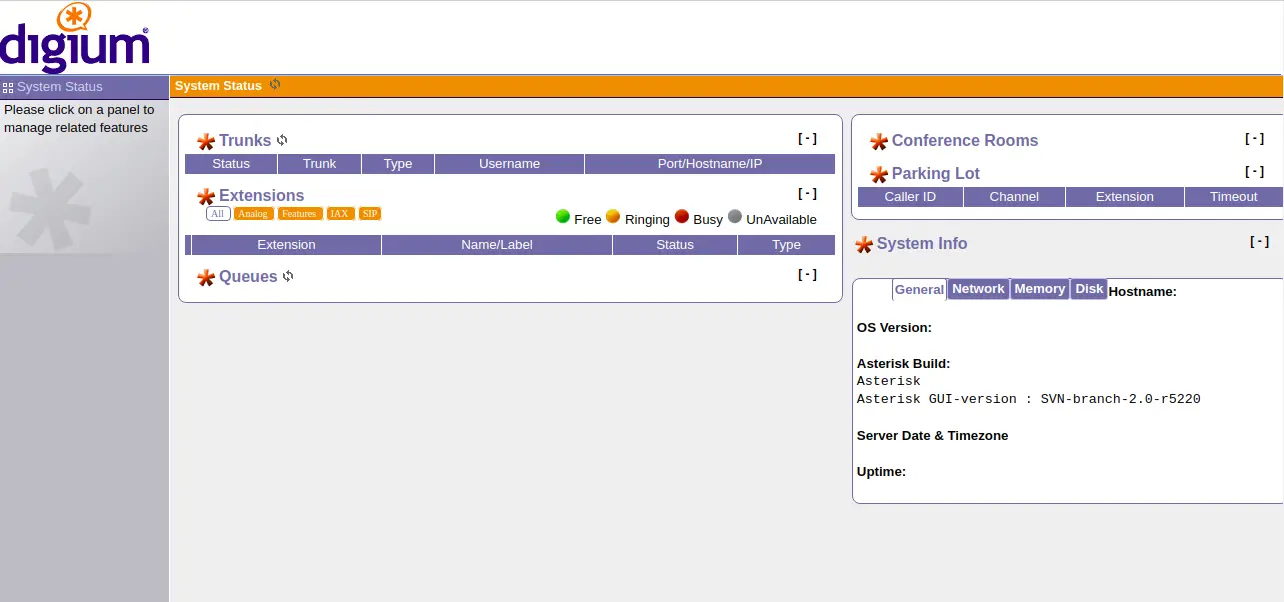
Provide your admin username, password and click on the Login button. You should see the Asterisk GUI dashboard in the following page:
Conclusion
Congratulations! you have successfully installed Asterisk and Asterisk GUI on Ubuntu 20.04 server. You can now connect your server to any PSTN network and start calling absolutely free.

