How to Install Apache Solr on an Ubuntu 24.04 Server
Apache Solr is an open-source search platform built on Apache Lucene, designed to create powerful application search and indexing capabilities. It provides advanced full-text search, faceted search, real-time indexing, and distributed searching, making it a popular choice for building search engines and data retrieval systems.
Solr is highly scalable and optimized for large volumes of data, often used in enterprise environments for tasks such as website search, e-commerce, and big data analytics. Its REST-like API allows for easy integration with other systems, and it supports features like highlighting query suggestions, and geospatial search. Solr's flexibility, performance, and community support have made it a leading solution for organizations needing robust search functionality.
In this guide, you'll learn how to install Apache Solr on Ubuntu 24.04 server. In addition to that, you'll also learn how to secure Apache Solr with BasicAuthentication and create the first collection with the solr command line.
Prerequisites
To begin with this guide, make sure you have the following:
- An Ubuntu 24.04 server
- A non-root user with administrator privileges
Preparing Ubuntu Server
Before installing Apache Solr, let's prepare and configure our Ubuntu system by increasing the shmmax and nr_hugepages in the kernel parameter, and then increasing the default max open files and processes.
Execute the command below to increase the shmmax and nr_hugepages on your Ubuntu server.
sudo echo 4294967295 > /proc/sys/kernel/shmmax
sudo echo 1536 > /proc/sys/vm/nr_hugepages
Now run the command below to modify the /etc/security/limits.conf file.
sudo nano /etc/security/limits.conf
Increase the max open files and processes for user solr with the following configuration.
solr soft nofile 65000
solr hard nofile 65000
solr soft nproc 65000
solr hard nproc 65000
Save the file and exit the editor.
Installing Java OpenJDK
Now that you've configured your system, let's install Java OpenJDK to our system. The Apache Solr requires at least Java 11 installed on your system, and for this guide, we'll be using the default-jdk package which offers the latest stable Java OpenJDK version.
First, update your Ubuntu package index with the following.
sudo apt update
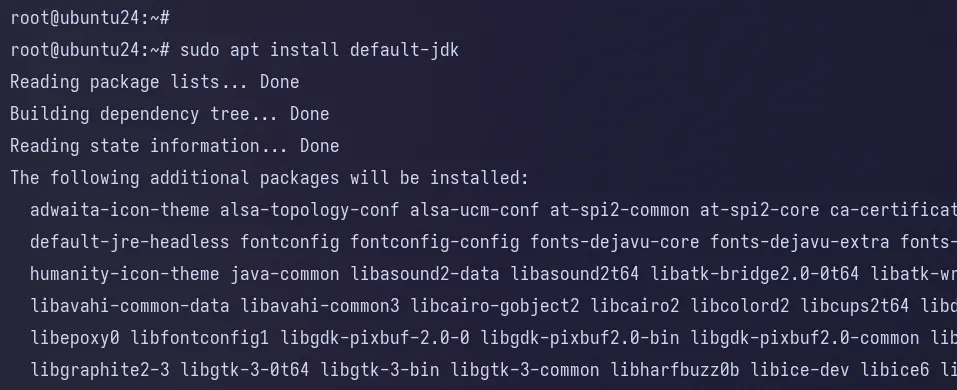
Now install the default-jdk package using the command below. Enter Y to confirm the installation.
sudo apt install default-jdk
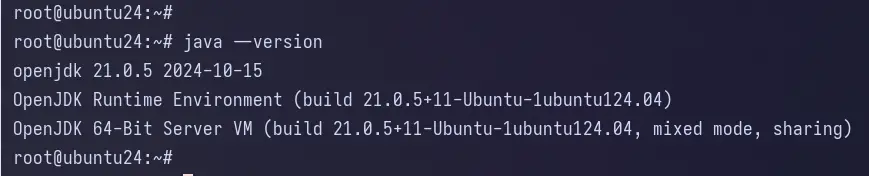
After the installation is complete, check the Java version with the following command.
java --version
You can see below that Java 21 is installed.
Installing Apache Solr
Now that your Ubuntu system is configured and the Java OpenJDK installed, let's start the Apache Solr installation. In this guide, you'll install Apache Solr using the installer script provided by the Solr package.
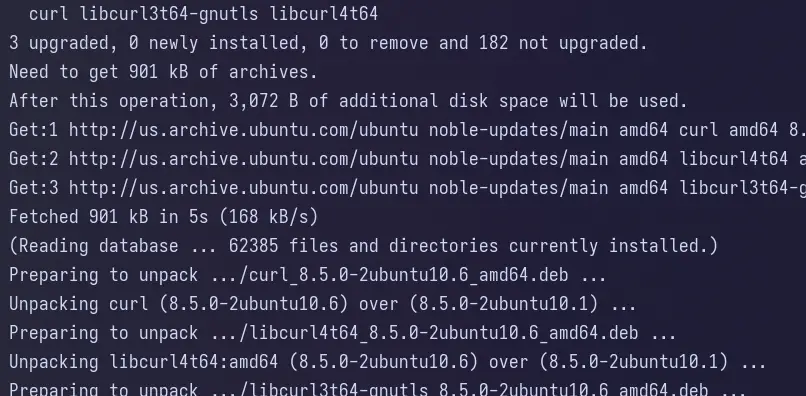
To start, run the command below to install basic tools such as curl, lsof, and bc.
sudo apt install curl lsof bc
Now download the Apache Solr binary package with the wget command below.
wget https://www.apache.org/dyn/closer.lua/solr/solr/9.7.0/solr-9.7.0.tgz?action=download
Rename the Apache Solr package and extract the installer install_solr_service.sh script using the command below.
mv solr-9.7.0.tgz?action=download solr-9.7.0.tgz
tar -xf tar xzf solr-9.7.0.tgz solr-9.7.0/bin/install_solr_service.sh --strip-components=2
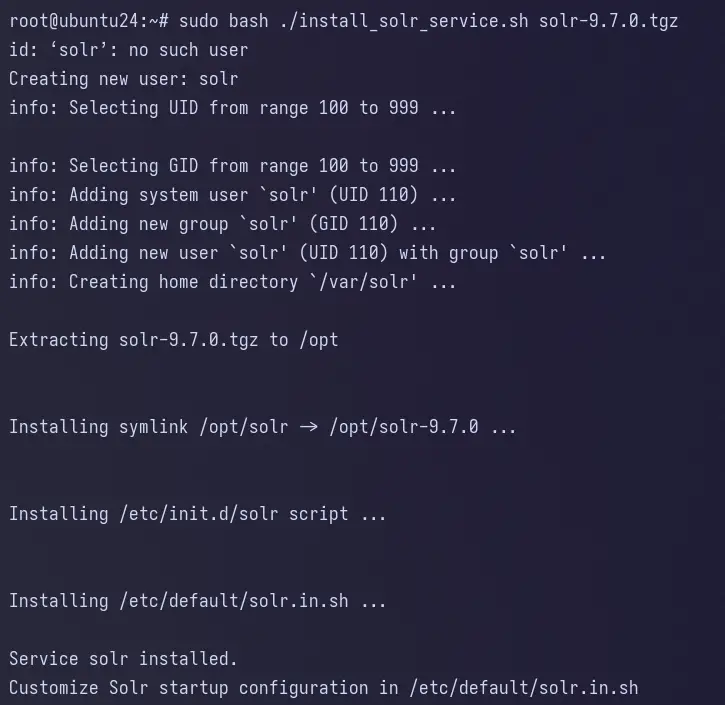
Now execute the install_solr_service.sh script to install Apache Solr.
sudo bash ./install_solr_service.sh solr-9.7.0.tgz
You can see below the detailed Apache Solr installation.
- The default installation directory is located in the /opt/solr directory.
- The new user solr is created automatically.
- The new service file solr.service is created for managing Apache Solr service.
Now check the solr status with the command below. You can see solr with the status active(exited), which means the service is running, but the systemd can't find any files to monitor.
sudo systemctl status solr
You can also check the open ports on your system using the ss command below. The Apache Solr should be running on port 8893.
ss -tulpn
Configuring Apache Solr
Now that Apache Solr is installed let's configure it by modifying the Apache Solr parameters within the /etc/default/solr.in.sh script. Then, increase the default max memory heap, and the IP address used to run Apache Solr.
Open the Solr configuration file /etc/default/solr.in.sh using vim editor.
sudo vim /etc/default/solr.in.sh
Change the default SOLR_HEAP option with the max memory allocation for Apache Solr. In this example, we'll be using 4GB of RAM.
SOLR_HEAP="4g"
Enter your IP address to the SOLR_HOST and SOLR_JETTY_HOST options. In this example, Apache Solr will run on the local IP address 192.169.10.60.
SOLR_HOST="192.168.10.15"
SOLR_JETTY_HOST="192.168.10.15"
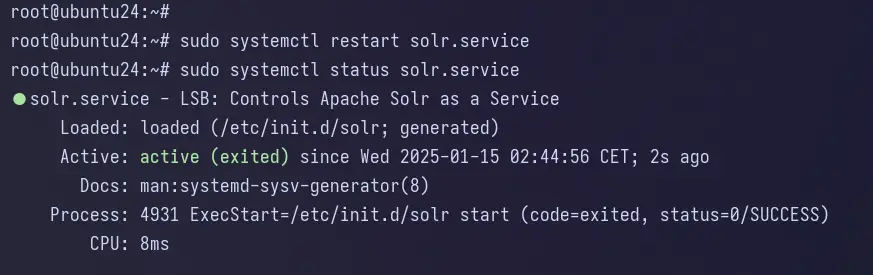
Now run the systemctl command below to restart the Apache Solr service and apply your changes.
sudo systemctl restart solr
You can check the open port and which IP address that used by Apache Solr with the ss command below.
ss -tulpn

Securing Apache Solr with Authentication
After configuring Apache Solr, the next step is to secure your deployment. In this example, we'll use basic authentication to secure Apache Solr. This can be done by creating a new file /var/solr/data/security.json.
Create a new configuration /var/solr/data/security.json with the vim editor.
sudo vim /var/solr/data/security.json
Insert the configuration below to set up authentication for Apache Solr and create a new user solr with the password solrRocks.
{
 "authentication":{
 "blockUnknown": true,
 "class":"solr.BasicAuthPlugin",
 "credentials":{"solr":"IV0EHq1OnNrj6gvRCwvFwTrZ1+z1oBbnQdiVC3otuq0= Ndd7LKvVBAaZIF0QAVi1ekCfAJXr1GGfLtRUXhgrF8c="},
 "realm":"My Solr users",
 "forwardCredentials": false
 },
 "authorization":{
 "class":"solr.RuleBasedAuthorizationPlugin",
 "permissions":[{"name":"all", "role":"admin"}],
 "user-role":{"solr":"admin"}
 }
}
Save the file and exit the editor.
Now run the systemctl command below to restart the solr service and apply your changes.
sudo systemctl restart solr
Next, open your web browser and visit your Apache Solr installation http://192.168.10.60:8983/. You'll be redirected to the Apache Solr login page.
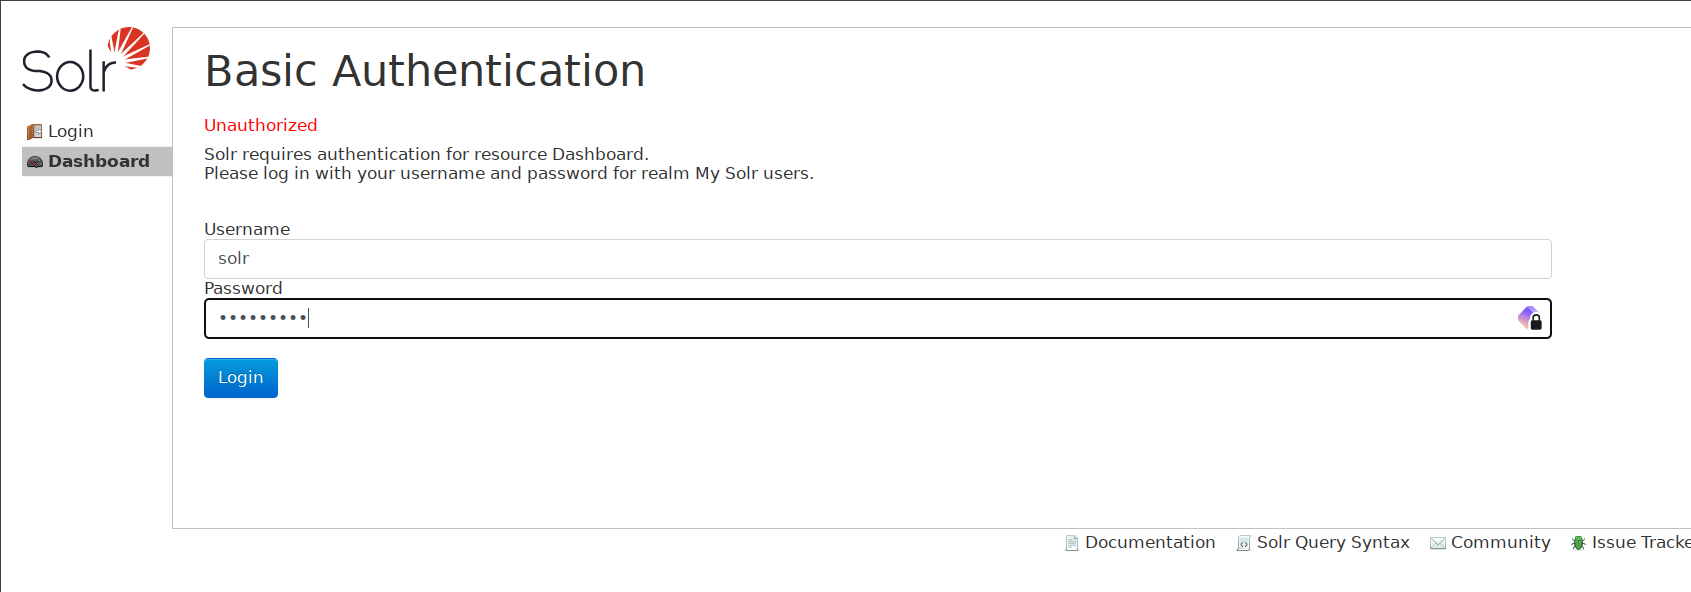
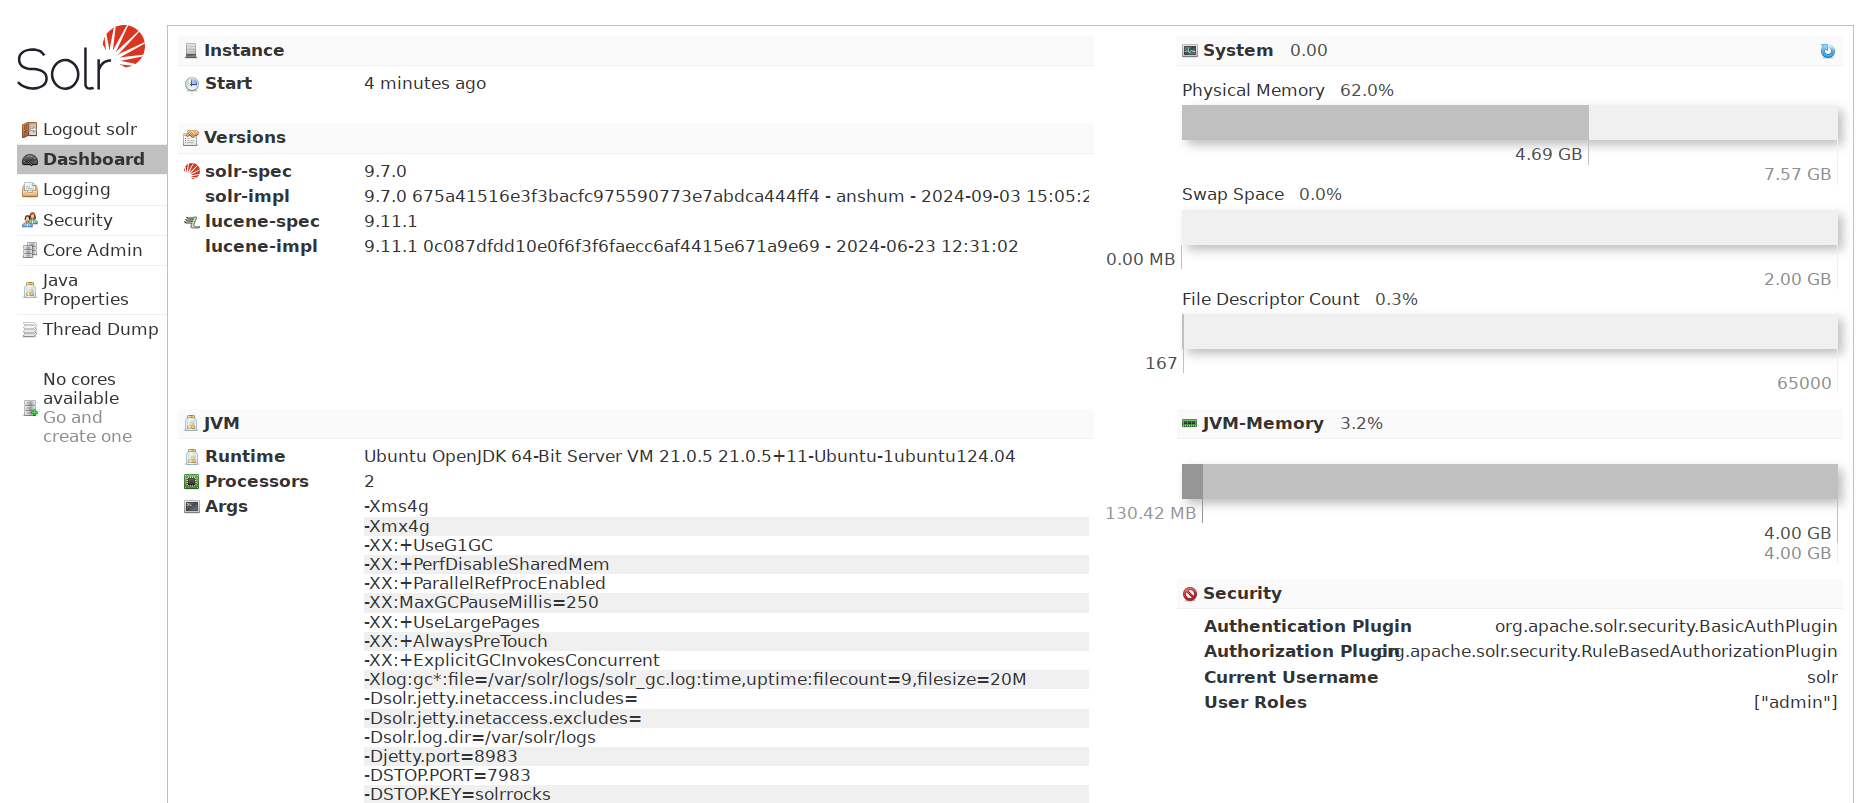
Enter the user solr and password solrRocks and you'll get the Apache Solr dashboard.
Creating First Collection in Apache Solr
At this stage, you've configured and secured Apache Solr. Now you'll create the First Collection in Apache Solr from the command line.
Open again the file /etc/default/solr.in.sh with the vim editor.
sudo vim /etc/default/solr.in.sh
Uncomment lines SOLR_AUTH_TYPE and SOLR_AUTHENTICATION_OPTS, and leave both as default.
SOLR_AUTH_TYPE="basic"
SOLR_AUTHENTICATION_OPTS="-Dbasicauth=solr:SolrRocks"
Save the file and exit the editor.
Now run the following command to restart the Apache Solr service.
sudo systemctl restart solr
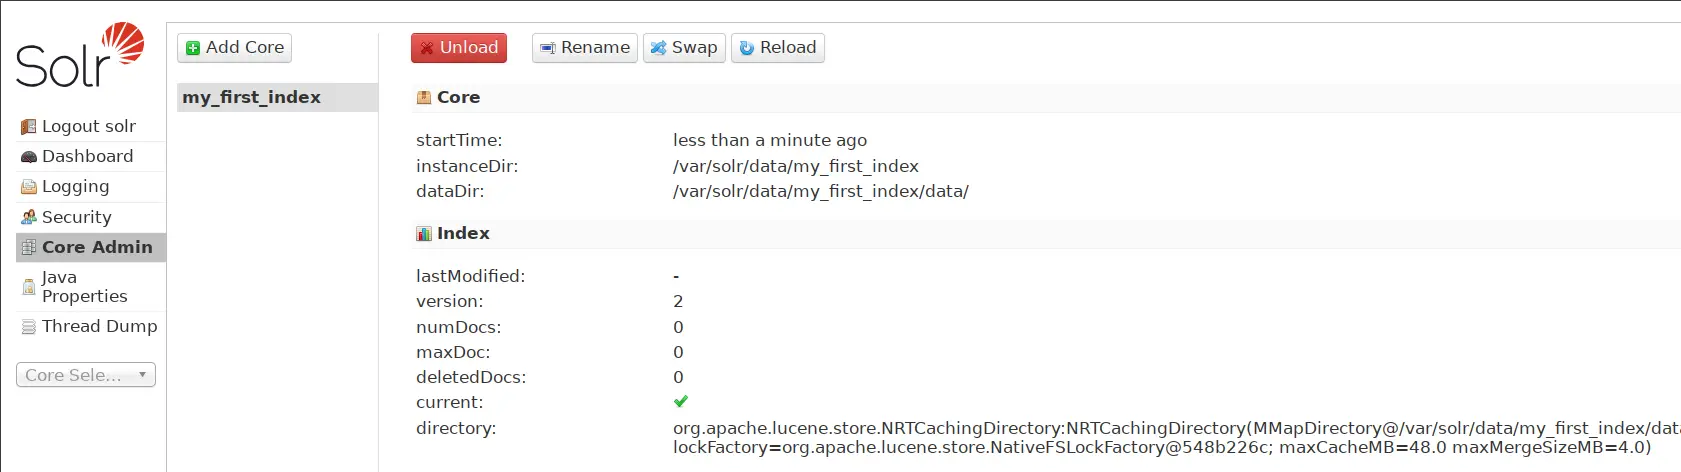
Next, run the command below to create your first collection with the name my_first_index.
su - solr -c "/opt/solr/bin/solr create -c my_first_index -n MyIndex"

Now move to the Apache Solr Dashboard and you'll see the new collection my_first_index has been created.
Conclusion
Congratulations! You've completed the installation of Apache Solr on the Ubuntu 24.04 server. You installed it with the Java OpenJDK 21, configured it to run on a local IP address, and secured it with BasicAuthentication. Lastly, you created the first collection using the Solr command line.

