How to Install and Use Neo4j Graph Database on Debian 12
Neo4j is a high-performance graph database management system for graph storage, data science, ML, analytics, and visualization. The Neo4j stores data in nodes, edges connecting them in relationships, and attributes of nodes and edges.
In this tutorial, we'll show you step-by-step instructions on installing and using the Neo4j Graph Database on the Debian 12 server. You will also learn how to connect to neo4j via Cypher-shell and learn the basic Cypher queries.
Prerequisites
Before you proceed, ensure you have the following:
- A Debian 12 server with at least 2 GB memory.
- A non-root user with sudo administrator privileges.
Install Java OpenJDK
Before installing Neo4j Graph Database, you must install Java on your system, and it's recommended to use the latest Java LTS version - Java OpenJDK 17. In this section, you will install Java OpenJDK 17 via the Debian repository.
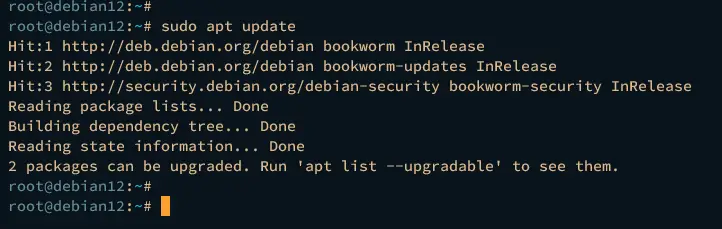
First, execute the command below to update your Debian package index and get the latest package information.
sudo apt update
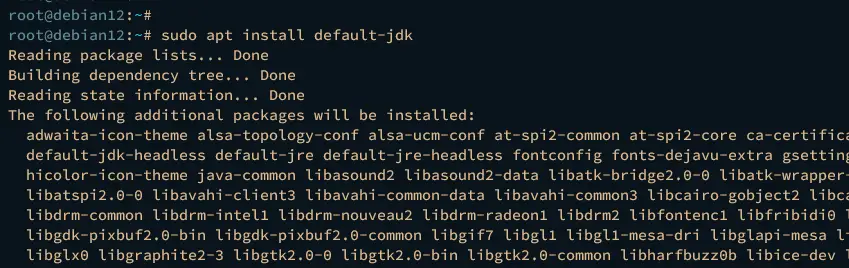
Now install the Java OpenJDK 17 by executing the command below. On the Debian 12 repository, the default-jdk package refers to the Java OpenJDK 17, which Neo4j Graph Database requires.
sudo apt install default-jdk
Type y to proceed with the installation.
After installing Java, verify the Java version using the command below. You should get the Java OpenJDK 17 installed on your system.
java -version

Installing Neo4j Graph Database
After installing Java, you're ready to install the Neo4j Graph Database to your Debian system. You will install basic dependencies, set up the Neo4j repository, install the Neo4j package, then start and enable the neo4j service.
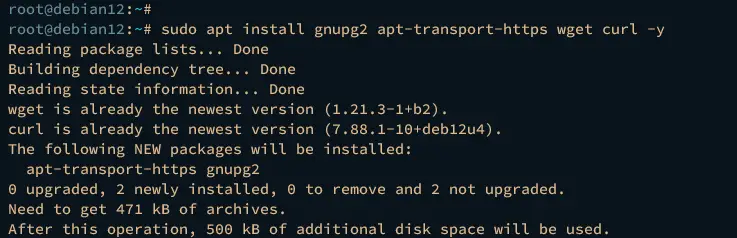
To start, run the command below to install basic system tools to your Debian server.
sudo apt install gnupg2 apt-transport-https wget curl -y
Now execute the following command to add the Neo4j GPG key and repository. In this case, you will add the Neo4j repository to your system.
wget -q -O- https://debian.neo4j.com/neotechnology.gpg.key | \
    gpg --dearmor | sudo tee /usr/share/keyrings/neotechnology.gpg > /dev/null 2>&1

echo "deb [signed-by=/usr/share/keyrings/neotechnology.gpg] https://debian.neo4j.com stable latest" | \
    sudo tee /etc/apt/sources.list.d/neo4j.list

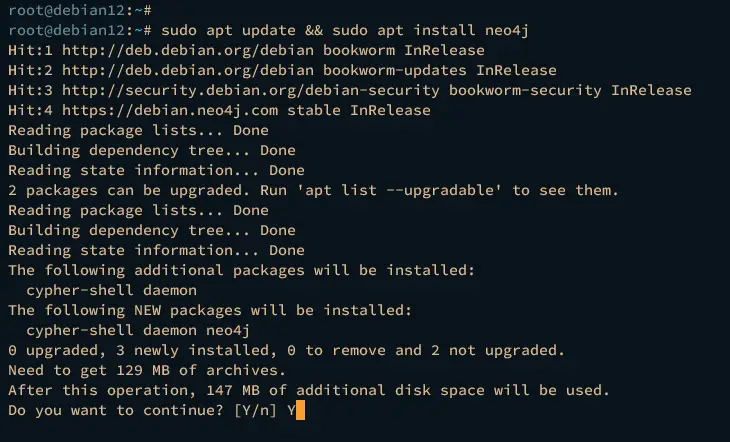
Next, refresh your Debian package index and install the Neo4j package by executing the following apt command.
sudo apt update && sudo apt install neo4j
Type y to proceed with the installation.
Once you've installed the Neo4j package, execute the following systemctl command to start and enable the neo4j service.
sudo systemctl start neo4j
sudo systemctl enable neo4j
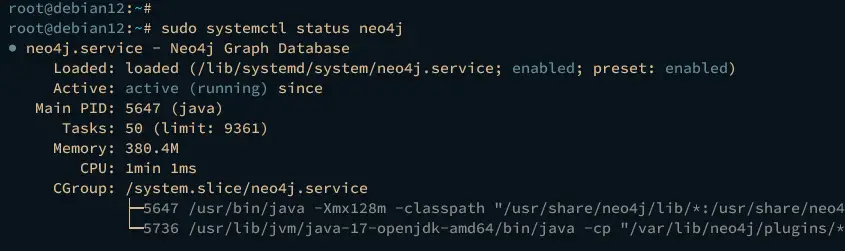
Lastly, verify the neo4j service using the command below to ensure that the service is running.
sudo systemctl status neo4j
If the Neo4j Graph Database is running, the output active(running) will be displayed on your screen like the following.
Basic Configuration of Neo4j Deployment
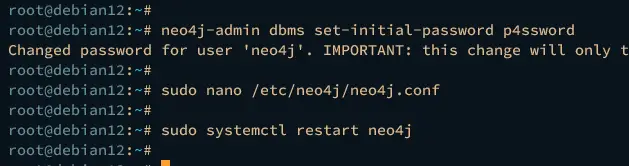
Now that you've installed Neo4j Graph Database, the first task for you is to configure the Neo4j admin password via the neo4j-admin command line, set up the listen address and max heap memory by modifying the default configuration /etc/neo4j/neo4j.conf.
Run the neo4j-admin command below to set up the default password for your Neo4j installation. In this example, you will set up the default Neo4j password to p4ssword.
neo4j-admin dbms set-initial-password p4ssword
After configuring the Neo4j default password, open the Neo4j configuration /etc/neo4j/neo4j.conf using the following nano editor command.
sudo nano /etc/neo4j/neo4j.conf
Add your local IP address to dbms.default_listen_address parameter to allow Neo4j to run on the local network. Then, change the server.memory.heap.max_size parameter to set up the max heap memory for Neo4j Graph Database. In this case, the Neo4j will be running at 192.168.5.15 with a max heap memory of 4 GB.
dbms.default_listen_address=192.168.5.15

server.memory.heap.initial_size=512m
server.memory.heap.max_size=4096m
When finished, save the file and exit the editor.
Lastly, run the systemctl command below to apply the changes by restarting the neo4j service.
sudo systemctl restart neo4j
Connecting to Neo4j via Cypher-shell
To connect to the Neo4j Graph Database, use the cyper-shell. The functionality of cypher-shell is similar to mysql client on MySQL/MariaDB and psql on PostgreSQL. The cypher-shell allows you to run Cypher queries, which is a declarative query language for the Neo4j Graph Database.
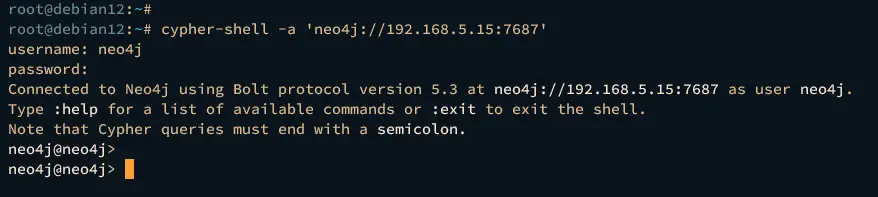
Execute the cypher-shell command below to log in to the Neo4j Graph Database. When asked for a username, input the default user neo4j, then input your password.
cypher-shell -a 'neo4j://192.168.5.15:7687'
Once connected, the message 'Connected to Neo4j ... as user neo4j' will be displayed and the prompt will become like 'neo4j@neo4j>'.
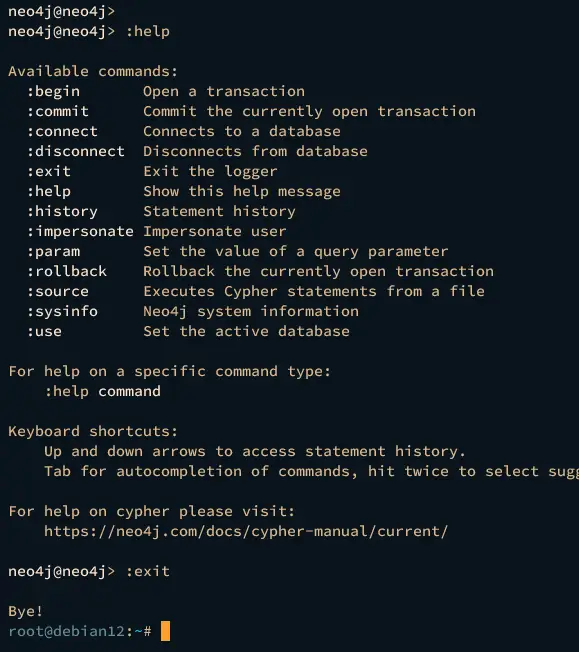
Now run the following Cypher query :help to show help messages and :exit to exit from the cypher-shell. As you noticed, the Cypher queries always begin with a semicolon.
:help
:exit
Furthermore, use the additional option -a to connect to the specific Neo4j server, or -u to log in as your desired user.
cypher-shell -a 'neo4j://192.168.5.15:7687' -u neo4j -p p4ssword
Basic Operations in Neo4j Graph Database
In the Neo4j Graph Database, there are 3 core entities:
- Nodes: the data entities of Neo4j graph database and uses parenthesis () in Cyper query language.
- Relationships: when two Nodes connect to each other, it is called a Relationship. The Relationship is represented with arrow ->, which indicates the direction between Nodes.
- Paths: it consist of connected Nodes and Relationships.
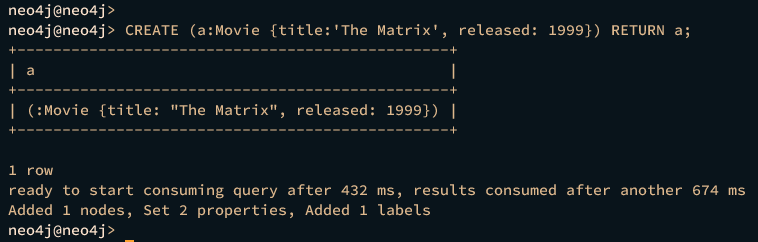
First, run the following query to create a new node with the label Movie.
CREATE (a:Movie {title:'The Matrix', released: 1999}) RETURN a;
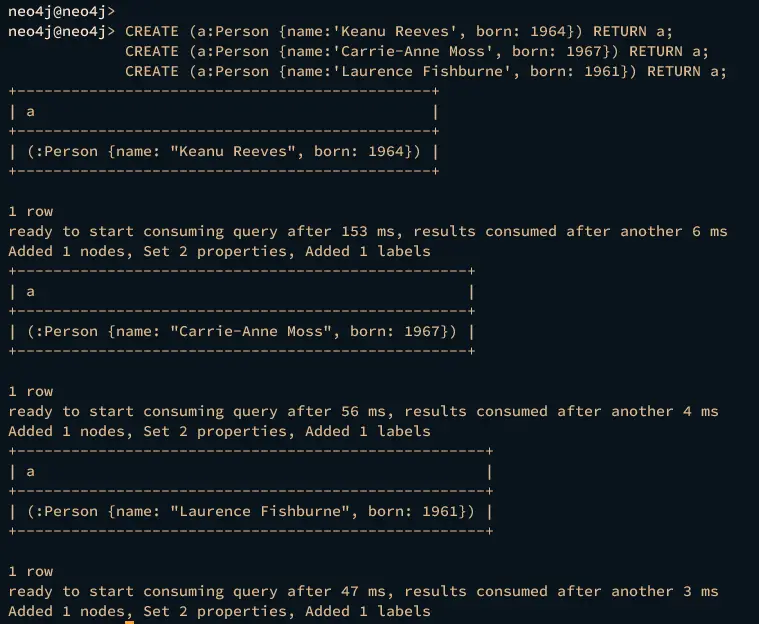
Now, run the query below to create multiple nodes with the same label Person.
CREATE (a:Person {name:'Keanu Reeves', born: 1964}) RETURN a;
CREATE (a:Person {name:'Carrie-Anne Moss', born: 1967}) RETURN a;
CREATE (a:Person {name:'Laurence Fishburne', born: 1961}) RETURN a;
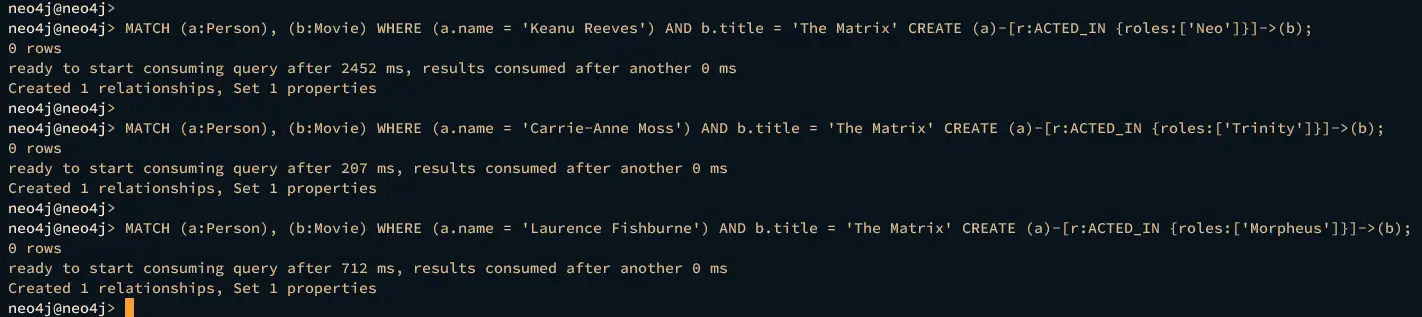
Next, run the following query to create new relationships between nodes labeled Person to the node labeled Movie. In this case, the relationship will named ACTED_IN with property roles.
MATCH (a:Person), (b:Movie) WHERE (a.name = 'Keanu Reeves') AND b.title = 'The Matrix' CREATE (a)-[r:ACTED_IN {roles:['Neo']}]->(b);
MATCH (a:Person), (b:Movie) WHERE (a.name = 'Carrie-Anne Moss') AND b.title = 'The Matrix' CREATE (a)-[r:ACTED_IN {roles:['Trinity']}]->(b);
MATCH (a:Person), (b:Movie) WHERE (a.name = 'Laurence Fishburne') AND b.title = 'The Matrix' CREATE (a)-[r:ACTED_IN {roles:['Morpheus']}]->(b);
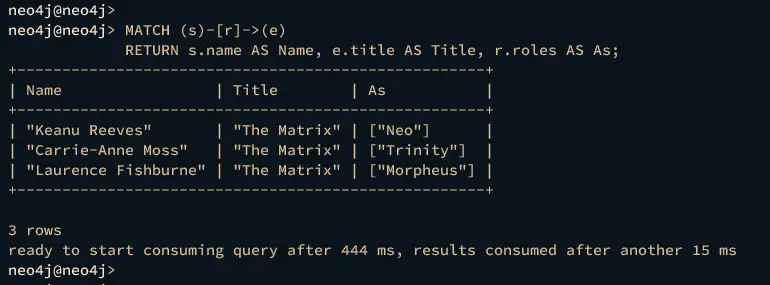
Lastly, run the following query to check available nodes and relationships within your Neo4j graph database.
MATCH (s)-[r]->(e)
RETURN s.name AS Name, e.title AS Title, r.roles AS As;
The following output, confirms that each node is connected.
Conclusion
In conclusion, You've now successfully installed the Neo4j Graph Database on the Debian 12 server step-by-step. You've installed and configured the Neo4j Graph Database learned the basic usage of Cypher-shell for connecting to Neo4j and learned the basic operation using Cyper query language

