How To Build A Standalone File Server With Nexenta 3.0 Beta2 - Page 2
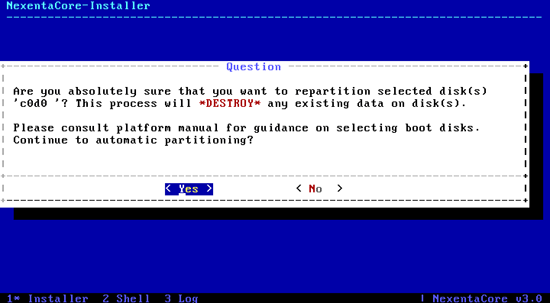
Confirm the disk you want to install on:
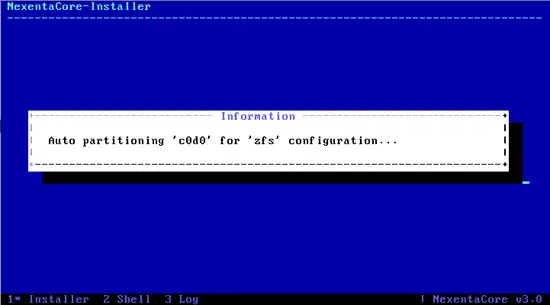
Take note here. The format for disk labels in Nexenta is not the same as OpenSolaris or Linux. Your disks will be something like c0d0, c0d1, c1d1 etc. This will be important later if/when we add disks to zpools.
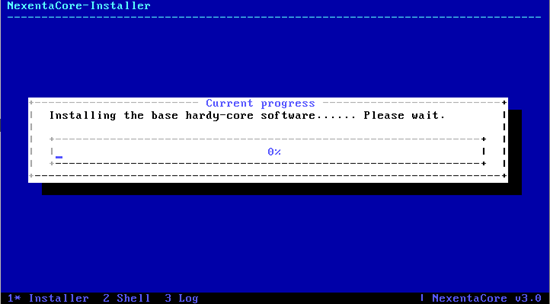
You should see the progress bar showing the installation of the base system now.
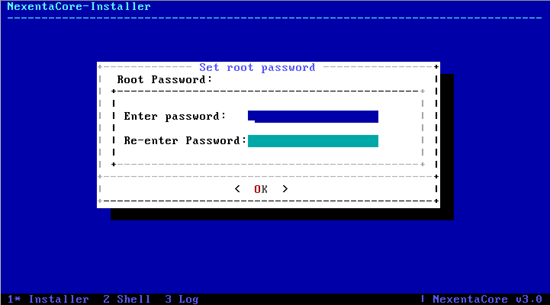
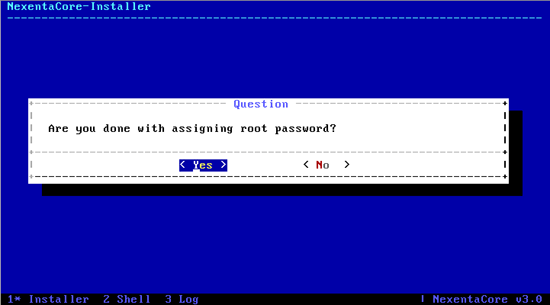
Next you will be asked to set the root password:
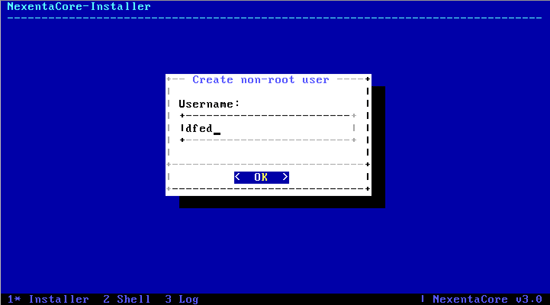
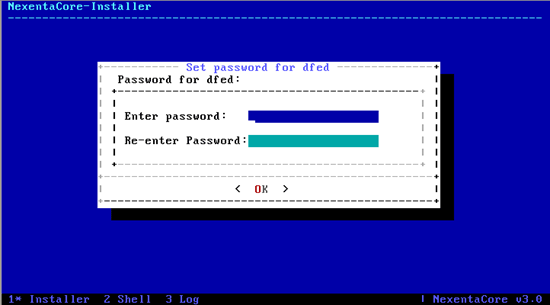
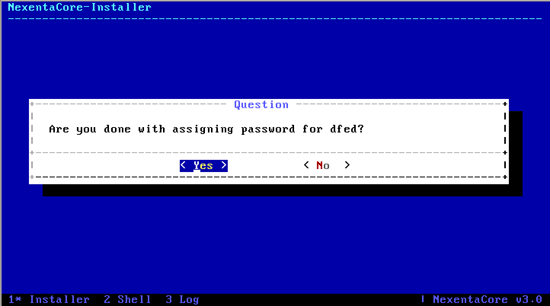
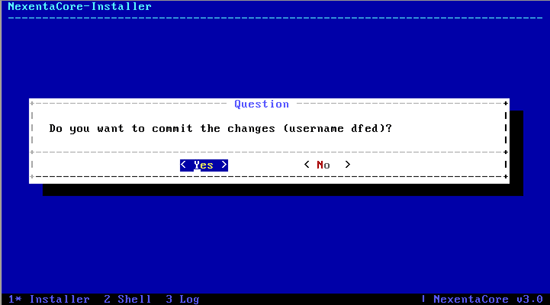
After that, you will create your user. This is similar to the user created in a Ubuntu install. It will have sudo privileges.
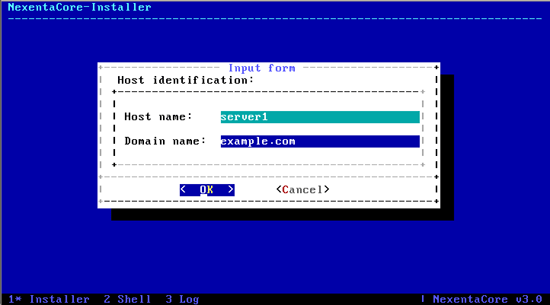
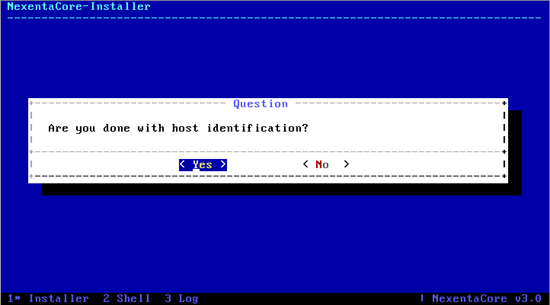
Next, define your host information. In this example, I define the host name as server1.example.com.
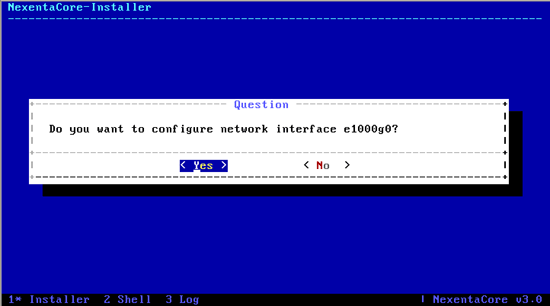
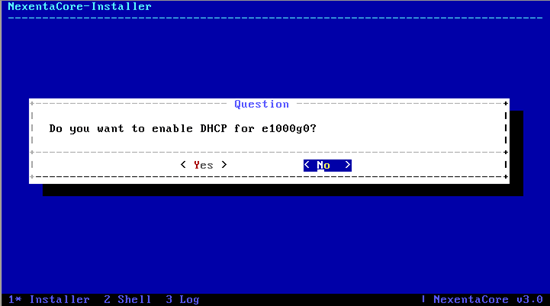
Next you'll set up your networking. If you are not setting a static IP address, choose DHCP here. Otherwise, enter your static IP, default gateway and DNS server information.
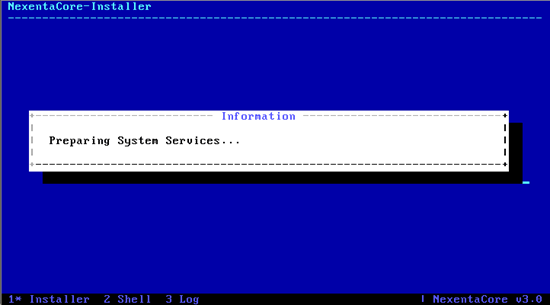
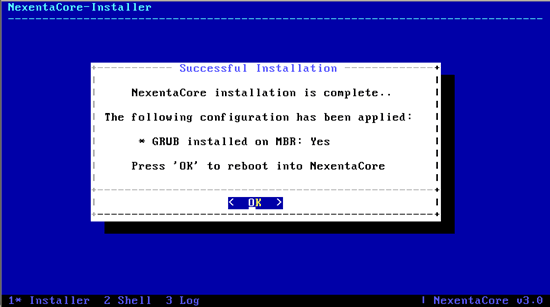
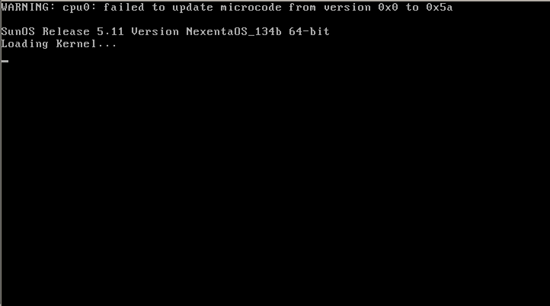
Now the install will complete by setting up services. Once you see the completion screen, eject the media and reboot.

