How To Add Two-Factor Authentication To Openvpn AS With The WiKID Strong Authentication Server - Page 2
On this page
Configuring The WiKID Server
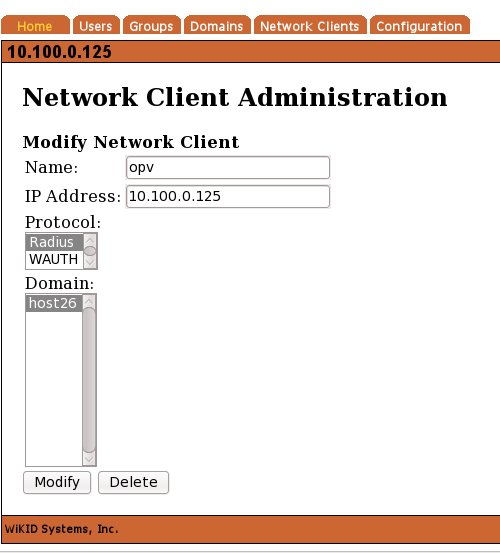
For the sake of brevity, we assume you have your WiKID server configured and only need to add the Openvpn AS server as a network client. (For complete installation documentation please see http://www.wikidsystems.com/support/wikid-support-center On the Network Client tab of the WiKIDAdmin interface, click "Add New network client:"
Click Modify and enter the shared secret on the next page:
You need to restart the WiKID server to load the new radius configuration:
# wikidctl restart
That's it for the servers!
Configuring The Client
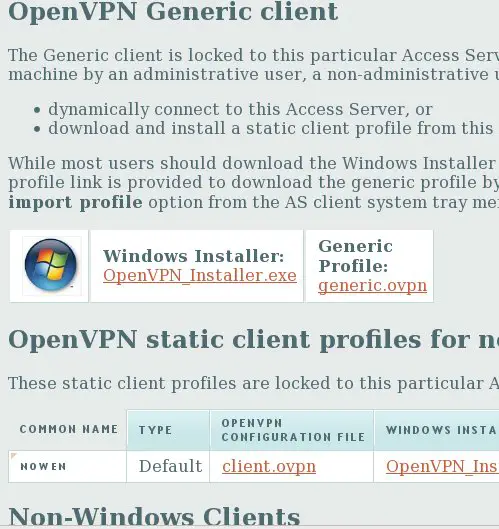
One of the new features that OpenVPN AS has is the automatically created client configuration flies. The user logs into the web interface and downloads the client application (for Windows) and the configuration file.
First start up the WiKID Token and get a one-time passcode from your WiKID server:
Enter your PIN:
The PIN will be encrypted and sent to the WiKID server. If the account is active, the encryption valid and the PIN is correct, an one-time passcode will be created and returned to the token:
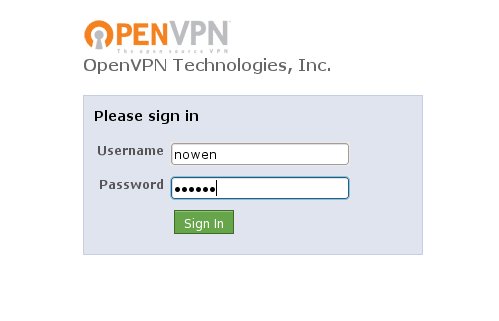
Use this one-time passcode to login to the web interface as a user:
Now you will see the web page for clients:
For linux clients, you should be able to install openvpn via yum or apt-get. Then run the client from the command line, specifying the client config file:
# openvpn --config client.ovpn
And you should now have a 10.0 ip address!
It's great to see a great product like OpenVPN get even better. The new radius management interface is quite nice in it's simplicity. With the recent increase in corporate attacks, password vulnerabilities and malware, it's definitely time to consider adding two-factor authentication to your VPN.
Related
Add two-factor authentication to Google Apps for your domain


