Back Up Your Files With Areca On Fedora 9 - Page 3
3.3 Launch Backups
3.3.1 Manual
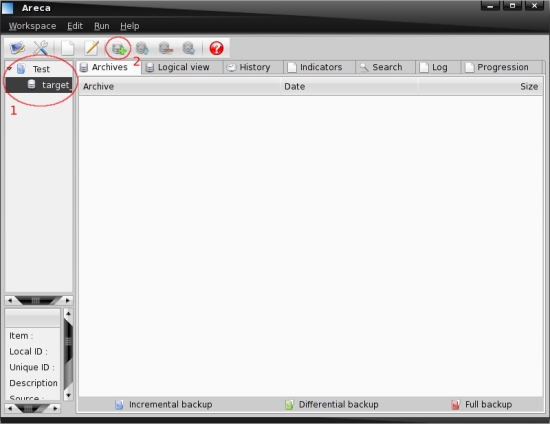
You can run all targets of a backup group at once or a single target. If you want to back up the whole backup group mark it on the left side - otherwise mark a target. Now click on the green plus symbol in the main menu (it is also available in the context menu when you right click on a group or target).
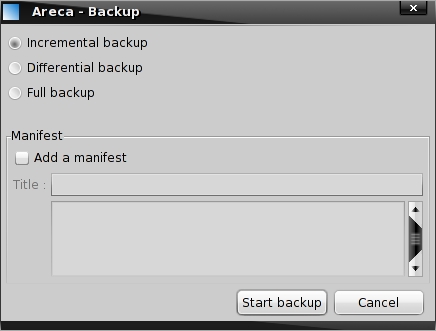
If you marked a group the backup process starts immediately - otherwise you'll see this window where you can choose which kind of backup (incremental, differential or full) shall be launched. Additionally you can create a manifest - simply enable the corresponding option and edit it as you like. Afterwards click on "Start backup".
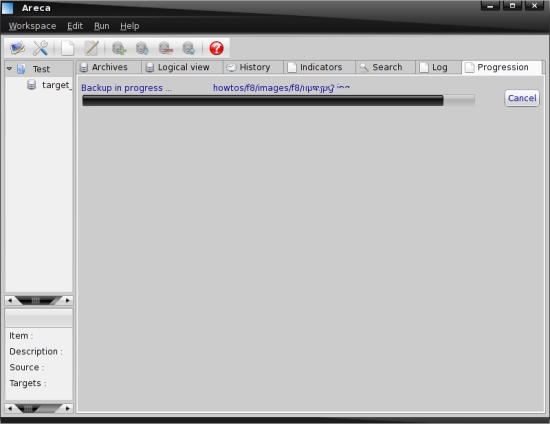
The backup is being created.
3.3.2 Scheduled
Areca can also be executed from the command line - so it's very easy to launch the scheduled backups. Open a terminal and enter:
crontab -e
The syntax is very easy:
%minute% (0-59/*) %hour% (0-23/*) %day% (1-31/*) %month% (1-12/*) %weekday% (0-7/*; 0 and 7 =Sunday) %command%
For example, if I want to launch the backup for the whole backup group "test" every Friday at 4:15am it would look like this:
15 4 * * 5 sh /opt/areca/bin/run_tui.sh backup -config /home/olli/Areca/Workspace/test.xml
If I only want to launch the backup for the target "target_1" (which is the first target in the group) it would look like this:
15 4 * * 5 sh /opt/areca/bin/run_tui.sh backup -config /home/olli/Areca/Workspace/test.xml -target 1
3.4 Backup Details
If you want to take a look at a target's backup details mark it on the left side and browse through the tabs on the right side.
3.4.1 Archives
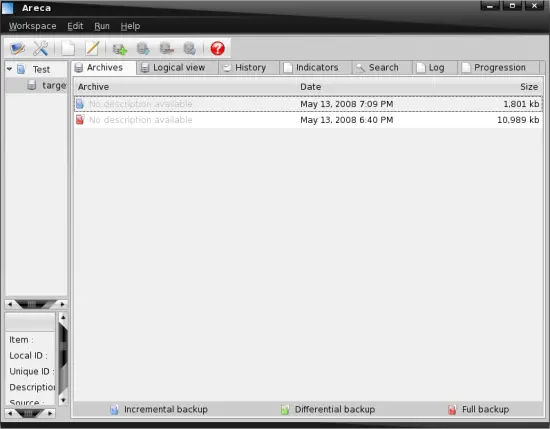
Here you'll see all archives that belong to the selected target. The color of the symbol shows you the kind of the archive. Blue = incremental, green = differential and red = full.
3.4.2 Logical View
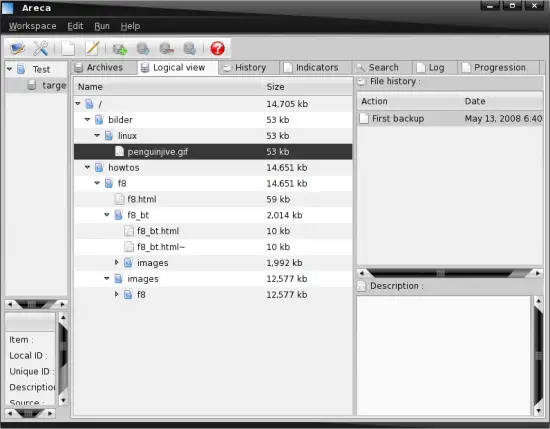
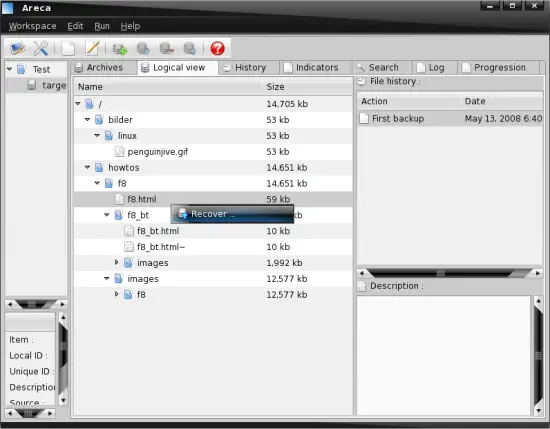
You can use the logical view to browse the backup - the file history will be shown when you select a file in the directory tree.
3.4.3 History
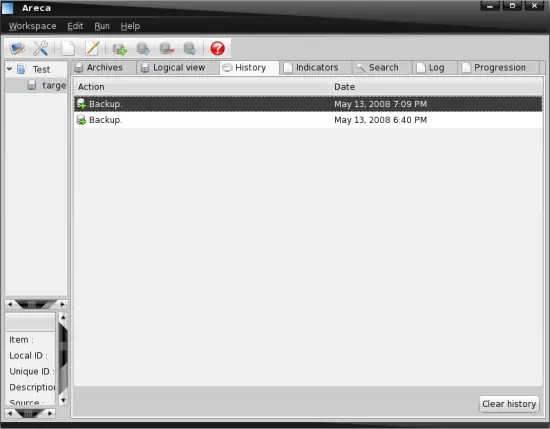
The History tab shows you all created backups.
3.4.4 Indicators
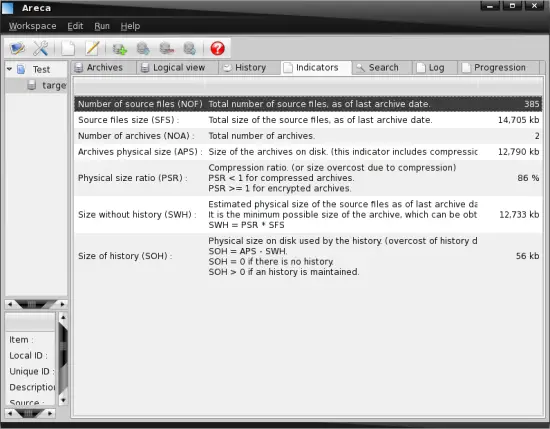
Here you'll see detailed information about the backup like the compression ratio or the physical size of the archive.
3.4.5 Search
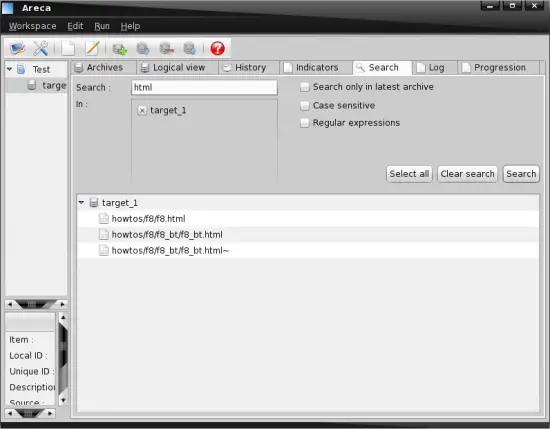
On the Search tab you can search for files and folders - regular expressions are supported.
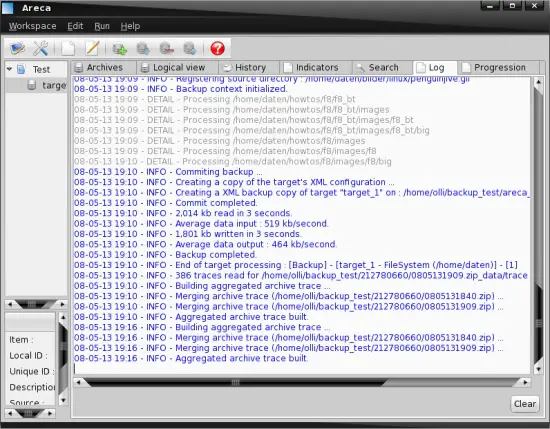
3.4.6 Log
This is the log - here you'll find all and everything.
3.5 Recover Backups
3.5.1 The Whole Archive
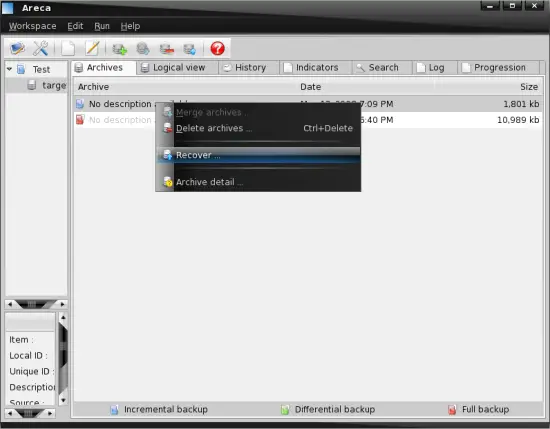
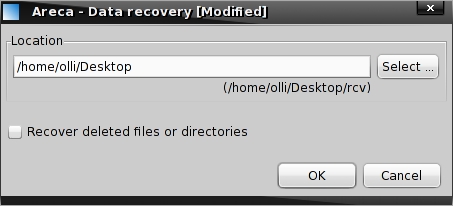
Mark the target that you want to recover on the left side and switch to the tab "Archives". Select the archive that you want to recover, right-click on it and choose "Recover" (please note that you can also use the corresponding button below the main menu). Afterwards select a directory where the archive shall be recovered and proceed.
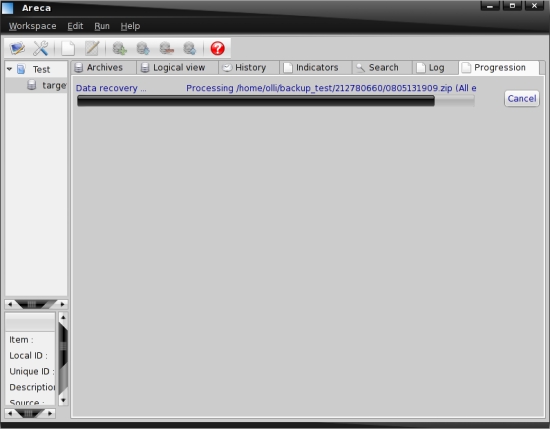
The archive is being recovered.
3.5.2 A Single File Or Subdirectory
Mark the target from which you want to recover a file or subdirectory on the left side and switch to the tab "Logical view". Browse the directory tree and mark the file or subdirectory that shall be recovered. If a file is available in different versions you can select your preferred version in the window "file history". Now right click on it and choose "Recover" (please note that you can also use the corresponding button below the main menu).
Now select a directory where the file or subdirectory shall be recovered and proceed.
4 Links
- Fedora: http://fedoraproject.org/
- Areca: http://areca.sourceforge.net/
- Areca user's manual: http://areca.sourceforge.net/documentation.php
- Areca FAQ: http://areca.sourceforge.net/faq.php

