Back Up Your Files With Areca On Fedora 9 - Page 2
3.2 Backup Targets
Now we are able to assign new targets (backup sets) to the group that we created in the previous step. Mark the group on the left side, click on "Edit" in the main menu and choose "New target".
3.2.1 Main
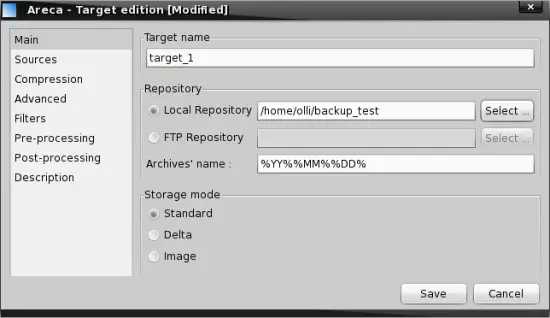
This tab contains the basic settings. Enter a name for the new target a choose a repository (destination location) for this target (backup set). Please note that it's also possible to use scp, rsync or whatever you want - I'll explain this later. Next you can adjust the archive's name if you want - possible values are %YY% (year, short), %YYYY% (year, long), %MM% (month), %DD% (day), %hh% (hour) and %mm% (minutes). At last choose a storage mode. The "Standard" mode is the recommended option - a new archive will be created for each backup which will contain all new or modified files since the last backup. The "Delta" mode is similar to the "Standard" mode - only the modified parts of the files since the last backup will be stored. The last mode "Image" will create a unique archive during each backup.
3.2.2 Sources
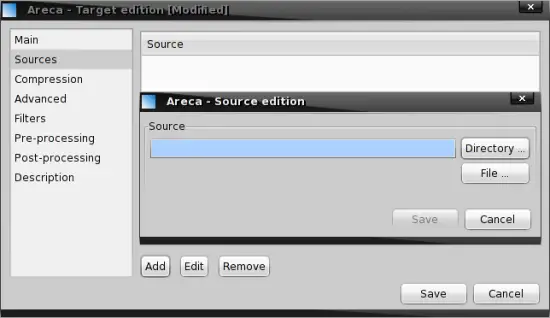
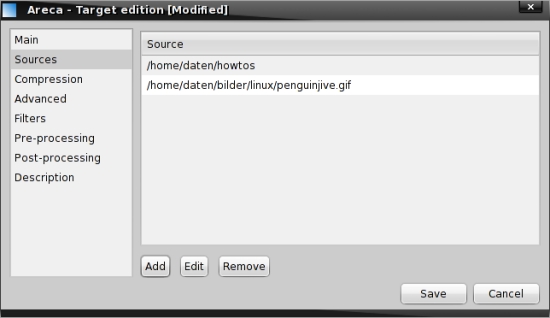
On the second tab we have to choose what shall be backed up - click on "Add" to add a directory or file.
3.2.3 Compression
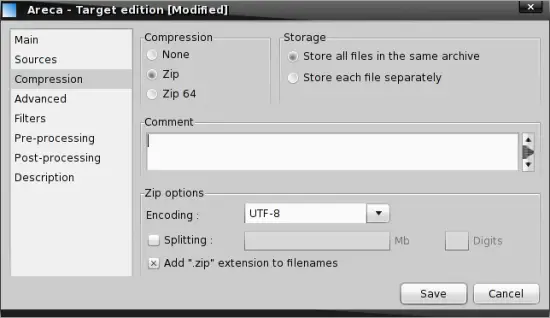
Here we can adjust the compression settings for this target (backup set). Please note that zip files are limited to a maximum size of 4GB - also keep in mind that your data might grow in the future. The zip64-format is able to handle big files - you should choose this if this target (backup set) contains large files - or might grow above 4GB in the future. You have the option to store all files into the same archive (recommended) and to store each file separately. Additional you can add a comment if you want. In the bottom part you can adjust the encoding - which is set to UTF-8 by default. Below you can enable "Splitting" if you want - which means that the archive will be splitted in multiple parts. You can use this option if you want to store the archive onto different CDs or DVDs. If you want to add the prevailing ".zip" extension to your archives mark the corresponding checkbox.
3.2.4 Advanced
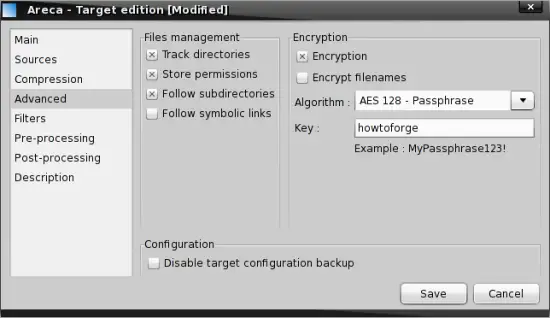
On this tab we can enable and adjust, as its name implies, some advanced options. First have a look at the "Files management". The option "Track directories" is needed to store additional information about your source directories like the modification date or the permissions - this is also needed if empty directories shall be backed up. If you enable the option "Store Permissions", the file permissions (owner, group and all "rwx"-permissions) will be included in the backup. The option "Follow subdirectories" does just what you expect from it - the same applies for the option "Follow symbolic links". Now we've reached the "Encryption" part - edit the encryption settings as you like. The backup of the target configuration should not be disabled.
3.2.5 Filters
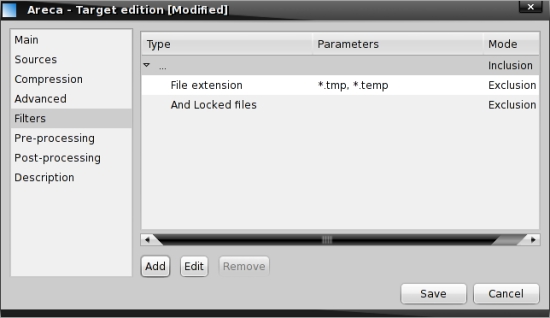
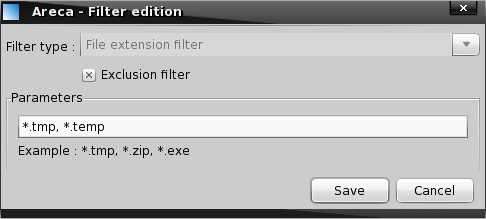
Here you can define parameters to exclude special files from the backup. Of course you can use wildcards.
3.2.6 Pre-processing
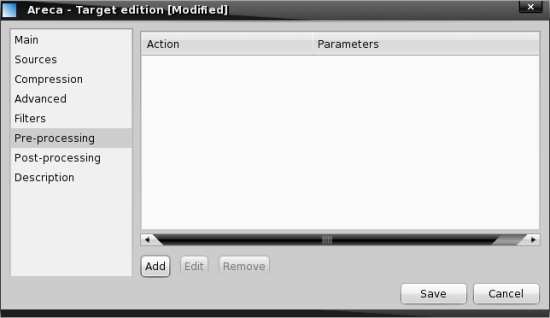
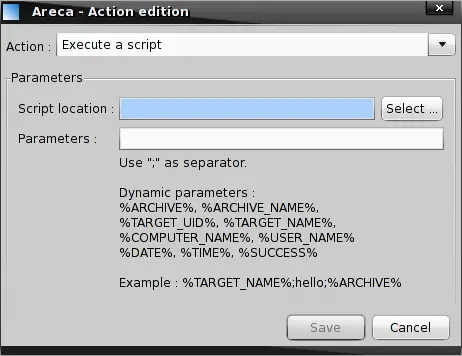
On this tab you can add actions (execute a script or delete the latest archives) that will be executed before the backup process starts. It is possible to deliver some special values to such a script - have a look at the second screenshot below. For example you could mount an external location to the local filesystem to store a backup archive on it.
3.2.7 Post-processing
The configuration of post-processing actions is the same as for pre-processing actions. For example you could move the archive that has just been created via scp or rsync to an external location.
3.2.8 Description
Here you can enter a description if you want.


