How to use Cloudformation to create an EC2 instance
Before we proceed I assume you are aware of the EC2 service on AWS and know its basic components. I would recommend visiting my article to create an EC2 instance using the AWS Console and understand the basics of the EC2 instance, click here to go to the article. In this article, we will create an EC2 instance with the latest Linux AMI using Cloudformation hence knowing the basics of cloud formation is required. Even if you are not aware of Cloudformation and would just like to create an instance using it, do not worry and proceed with the article.
In this article, we will not cover all the options available in Cloudformation for EC2. If you would like to know what all options are available in Cloudformation for EC2 service then visit the AWS official documentation here.
Pre-requisites
- AWS Account (Create if you don’t have one).
- Basic understanding of Cloudformation Templates.
- Basic understanding of EC2 instances.
What we will do?
- Login to AWS.
- Create a template.
- Create a Cloudformation Stack
- Delete the Cloudformation stack
Login to AWS
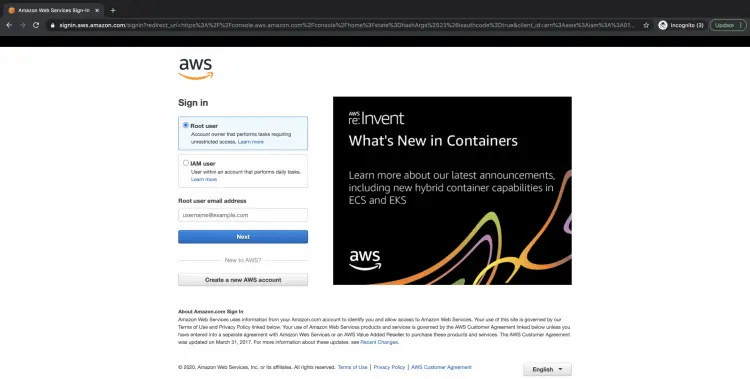
Click here to go to AWS Login Page. Enter your user credentials to login into your AWS account.
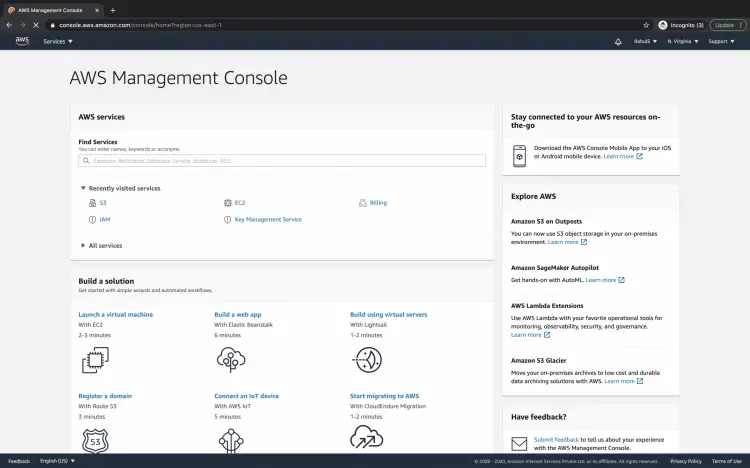
Once you successfully login into your AWS account you will see the main AWS management console as follows.
Create a template
Create a template, create-ec2-instance.template, on your local machine with the following content.
You can also download the template from my Github repository, the link to the template is mentioned below.
AWSTemplateFormatVersion: '2010-09-09'
Metadata:
  License: Apache-2.0
Description: 'Create an AWS EC2 instance running the AWS Linux AMI.'
Parameters:
  KeyName:
    Description: Name of an existing EC2 KeyPair
    Type: AWS::EC2::KeyPair::KeyName
    ConstraintDescription: must be the name of an existing EC2 KeyPair.
  InstanceType:
    Description: AWS EC2 instance type
    Type: String
    Default: t3.small
    AllowedValues: [t2.nano, t2.micro, t2.small, t2.medium, t2.large, t2.xlarge, t2.2xlarge,
      t3.nano, t3.micro, t3.small, t3.medium, t3.large, t3.xlarge, t3.2xlarge,
      m4.large, m4.xlarge, m4.2xlarge, m4.4xlarge, m4.10xlarge,
      m5.large, m5.xlarge, m5.2xlarge, m5.4xlarge,
      c5.large, c5.xlarge, c5.2xlarge, c5.4xlarge, c5.9xlarge,
      g3.8xlarge,
      r5.large, r5.xlarge, r5.2xlarge, r5.4xlarge, r3.12xlarge,
      i3.xlarge, i3.2xlarge, i3.4xlarge, i3.8xlarge,
      d2.xlarge, d2.2xlarge, d2.4xlarge, d2.8xlarge]
    ConstraintDescription: must be a valid EC2 instance type.
  SSHLocation:
    Description: The IP address range allowed to SSH to the EC2 instances
    Type: String
    MinLength: 9
    MaxLength: 18
    Default: 0.0.0.0/0
    AllowedPattern: (\d{1,3})\.(\d{1,3})\.(\d{1,3})\.(\d{1,3})/(\d{1,2})
    ConstraintDescription: must be a valid IP CIDR range of the form x.x.x.x/x.
  LatestAmiId:
    Type:  'AWS::SSM::Parameter::Value'
    Default: '/aws/service/ami-amazon-linux-latest/amzn2-ami-hvm-x86_64-gp2'
Resources:
  EC2Instance:
    Type: AWS::EC2::Instance
    Properties:
      InstanceType: !Ref 'InstanceType'
      SecurityGroups: [!Ref 'InstanceSecurityGroup']
      KeyName: !Ref 'KeyName'
      ImageId: !Ref 'LatestAmiId'
  InstanceSecurityGroup:
    Type: AWS::EC2::SecurityGroup
    Properties:
      GroupDescription: Enable SSH access on port 22
      SecurityGroupIngress:
      - IpProtocol: tcp
        FromPort: 22
        ToPort: 22
        CidrIp: !Ref 'SSHLocation'
Outputs:
  InstanceId:
    Description: Id of the newly created AWS EC2 instance
    Value: !Ref 'EC2Instance'
  AZ:
    Description: AZ of the newly created AWS EC2 instance
    Value: !GetAtt [EC2Instance, AvailabilityZone]
  PublicDNS:
    Description: Public DNS Name of the newly created AWS EC2 instance
    Value: !GetAtt [EC2Instance, PublicDnsName]
  PublicIP:
    Description: Public IP address of the newly created AWS EC2 instance
    Value: !GetAtt [EC2Instance, PublicIp]
Create a Cloudformation Stack
To go to the Cloudformation dashboard, Click on services in the top left of the screen and search for Cloudformation.
Here is the main dashboard of Cloudformation. I already have one stack created in my account in the selected region.
To create a new stack click on Create stack --> With new resources (standard).
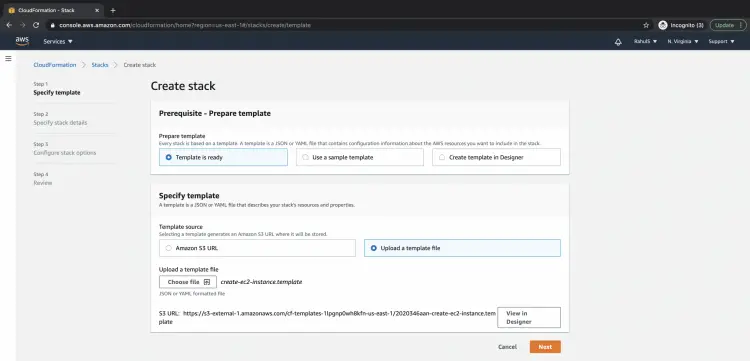
Here, select "Upload a template file" and choose the template that you just created on your local machine in the previous step. To proceed click on the "Next" button.
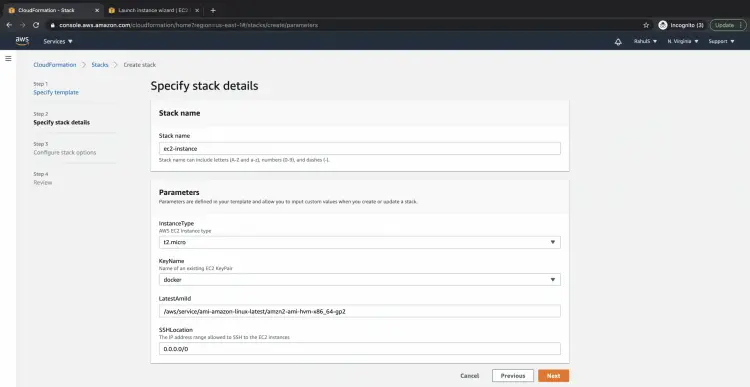
Specify a name to the stack, choose the instance type, and existing key from your account. You can specify a particular IP to be allowed to SH into the server, else keep 0.0.0.0/0 to allow incoming traffic on port 22. Click on the "Next" button to proceed.
Tags are optional, you may or may not add tags in this step. Click on the "Next" button.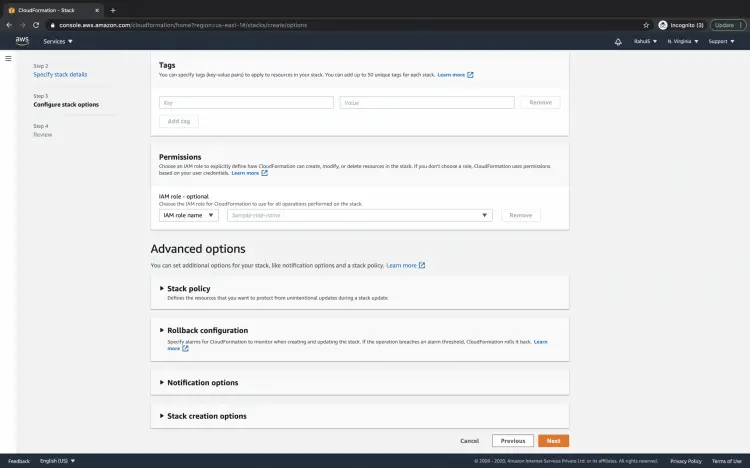
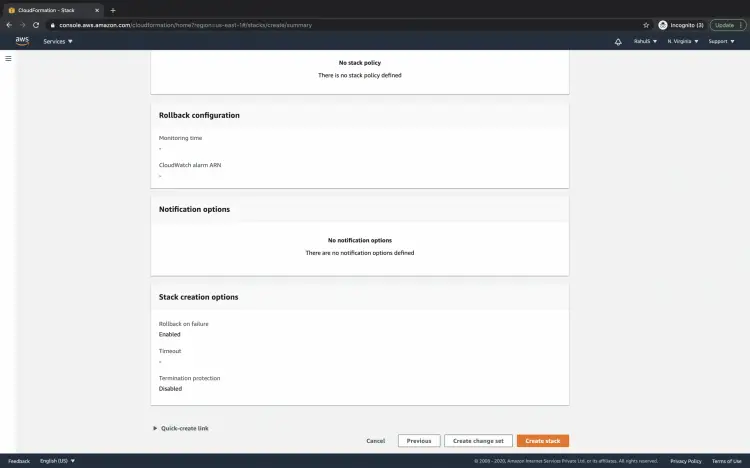
Scroll at the end of the page and click on the "Create stack" button.
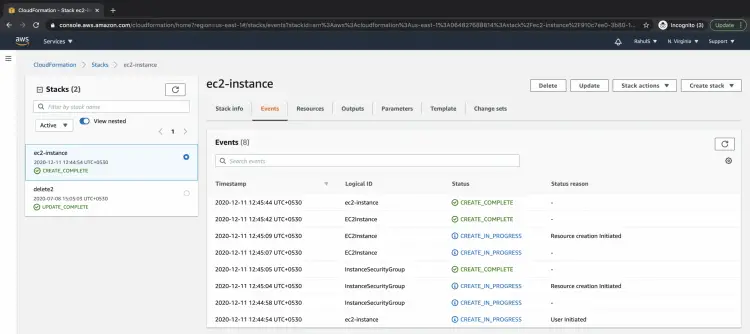
The creation will take a few minutes, once the creation completes you can see the status as "CREATE_COMPLETE".
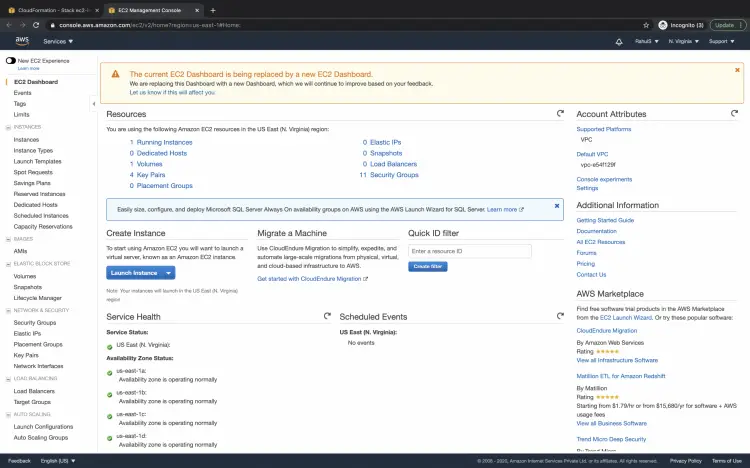
To verify if the instance has been created go to the EC2 dashboard. To go to the EC2 dashboard, click on services at the top left of the screen and search for EC2.
On the EC2 dashboard, click on "Instances" in the left panel.
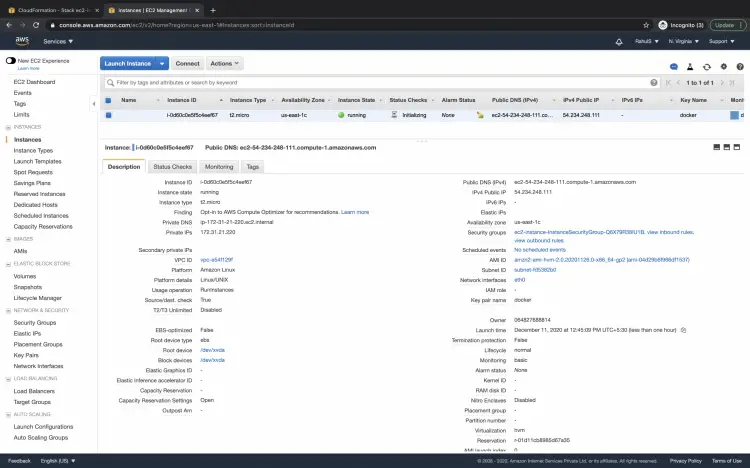
Here, you can see that a new instance has been created. You can check and confirm its details.
Delete the Cloudformation stack
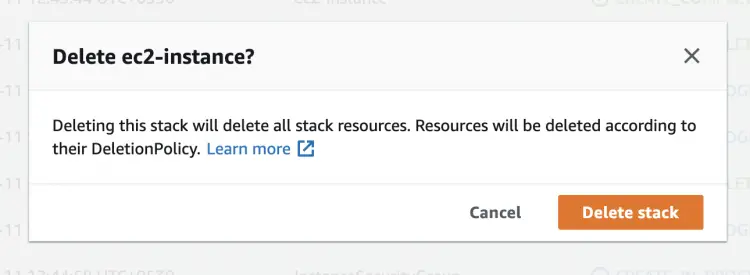
When you no longer need the instance you can delete it by deleting the Cloudformation stack. Deleting the Cloudformation stack deletes the resources it created. To delete the stack click on the "Delete" button.
Confirm the deletion action on the pop-up that you get.
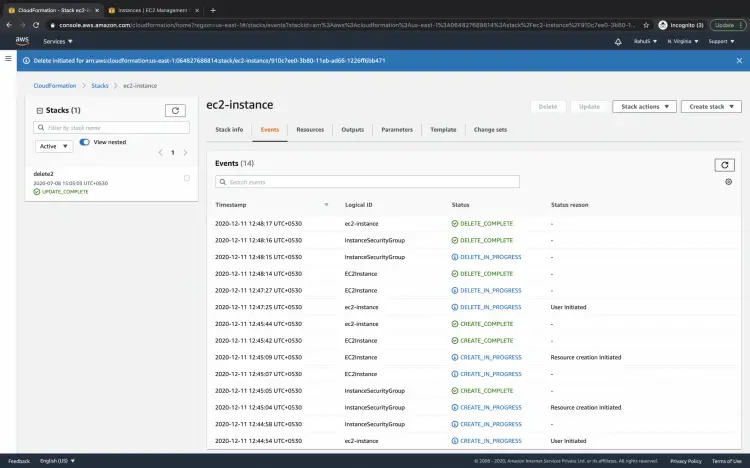
Once the deletion is successful you will see the status as "DELETE_COMPLETE".
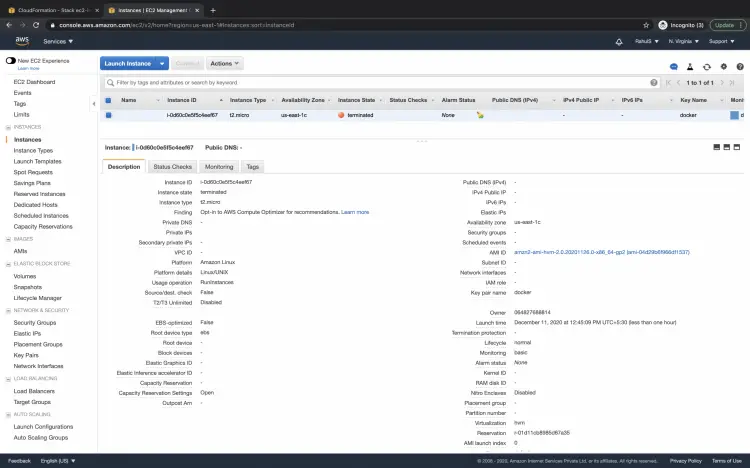
To verify if the deletion was successful go to the EC2 dashboard and see the instance state. In the following screenshot, you can see that the instance state is terminated, you will see the same status.
Conclusion
In this article, we saw how easy it is to create an EC2 instance using the Cloudformation stack. We can use the same template to create multiple stacks. We also saw that the resources which have been created using the Cloudformation stack can also be deleted by deleting the stack itself.

