Installing The Aptana AJAX Development Environment On Ubuntu
Version 1.0
Author: Falko Timme
This tutorial shows how to install the Aptana IDE on an Ubuntu Edgy Eft system. The Aptana IDE is a free, open-source, cross-platform, JavaScript-focused development environment for building Ajax applications. It features code assist on JavaScript, HTML, and CSS languages, FTP/SFTP support and a JavaScript debugger to troubleshoot your code.
I want to say first that this is not the only way of setting up such a system. There are many ways of achieving this goal but this is the way I take. I do not issue any guarantee that this will work for you!
1 Preliminary Note
To install Aptana, you must already have an Ubuntu desktop installed.
I will use the username falko in this tutorial, and I will download all necessary files to falko's desktop which is equivalent to the directory /home/falko/Desktop. If you use another username (which you most probably do ;-)), please replace falko with your own username. So when I use a command like
cd /home/falko/Desktop
you must replace falko.
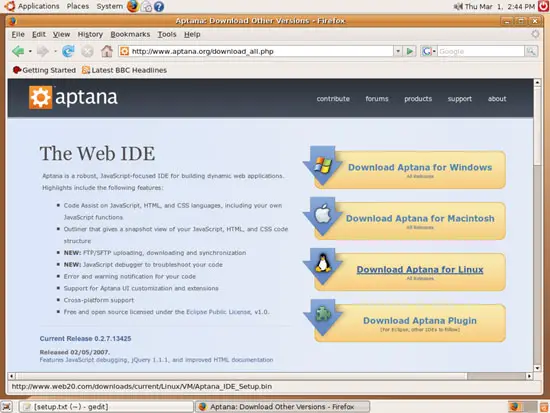
2 Download Aptana For Linux
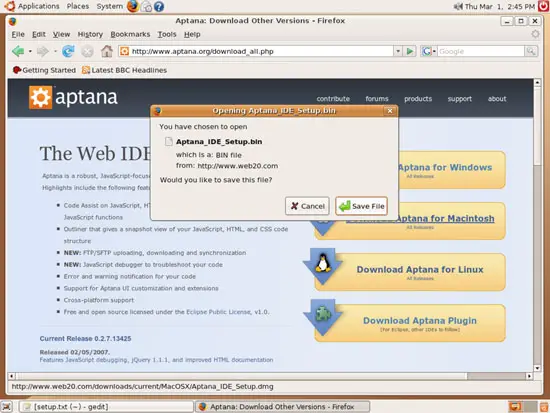
Open a browser and go to http://www.aptana.org/download_all.php and download Aptana for Linux (http://www.web20.com/downloads/current/Linux/VM/Aptana_IDE_Setup.bin) to your Ubuntu desktop:
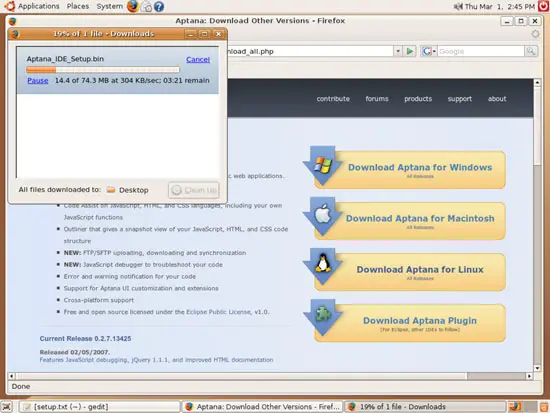
The download (~74MB) can take a few minutes:
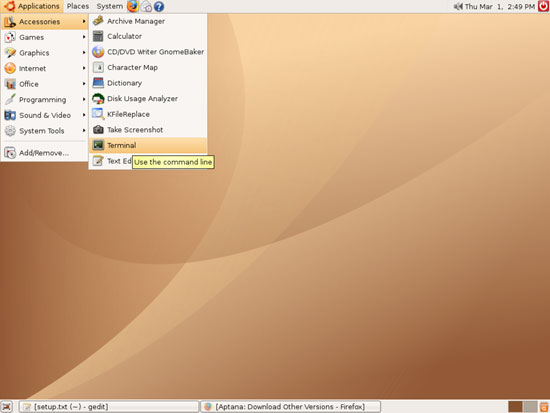
3 Install Aptana
After the download has finished, open a terminal (Applications > Accessories > Terminal):

Open /etc/apt/sources.list and make sure you have the universe repository enabled:
sudo gedit /etc/apt/sources.list
[...] deb http://de.archive.ubuntu.com/ubuntu/ edgy universe [...] |
If you had to modify /etc/apt/sources.list, you must update the package database afterwards:
sudo apt-get update
Run the following command to install two packages that Aptana depends on:
sudo apt-get install mozilla libswt3.1-gtk-java
Then go to your Desktop directory (where you saved the Aptana_IDE_Setup.bin file):
cd ~/Desktop
Then start the installation:
/bin/bash Aptana_IDE_Setup.bin
Most likely this will result in the following errors:
falko@falko-desktop:~/Desktop$ /bin/bash Aptana_IDE_Setup.bin
Preparing to install...
Extracting the JRE from the installer archive...
Unpacking the JRE...
Extracting the installation resources from the installer archive...
Configuring the installer for this system's environment...
nawk: error while loading shared libraries: libdl.so.2: cannot open shared object file: No such file or directory
dirname: error while loading shared libraries: libc.so.6: cannot open shared object file: No such file or directory
/bin/ls: error while loading shared libraries: librt.so.1: cannot open shared object file: No such file or directory
basename: error while loading shared libraries: libc.so.6: cannot open shared object file: No such file or directory
dirname: error while loading shared libraries: libc.so.6: cannot open shared object file: No such file or directory
basename: error while loading shared libraries: libc.so.6: cannot open shared object file: No such file or directory
hostname: error while loading shared libraries: libc.so.6: cannot open shared object file: No such file or directory
Launching installer...
grep: error while loading shared libraries: libc.so.6: cannot open shared object file: No such file or directory
/tmp/install.dir.7470/Linux/resource/jre/bin/java: error while loading shared libraries: libpthread.so.0: cannot open shared object file: No such file or directory
falko@falko-desktop:~/Desktop$
If it does, do the following:
cp Aptana_IDE_Setup.bin Aptana_IDE_Setup.bin.bak
cat Aptana_IDE_Setup.bin.bak | \
sed "s/export LD_ASSUME_KERNEL/#xport LD_ASSUME_KERNEL/" > \
Aptana_IDE_Setup.bin
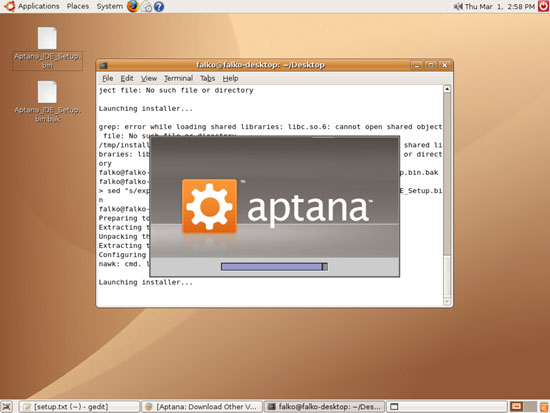
and start the installation again:
/bin/bash Aptana_IDE_Setup.bin
The Aptana installer will come up:
Click on Next:

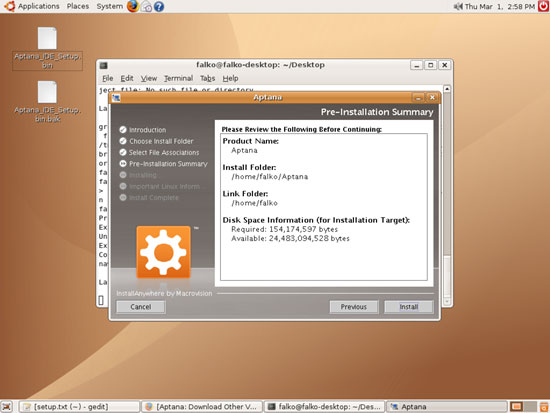
Please accept the default installation directory (otherwise our Aptana start script which we will create later on won't work) and click on Next:

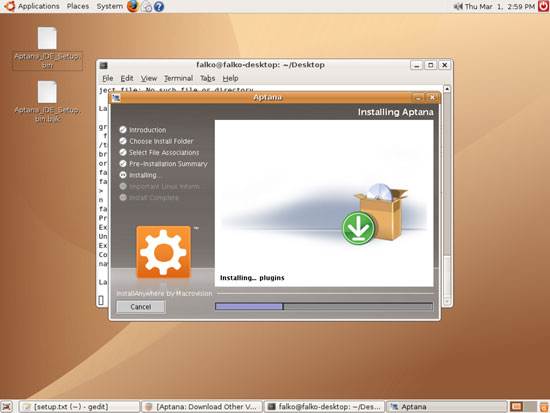
The installer shows a short summary. Click on Install:
The installation begins:
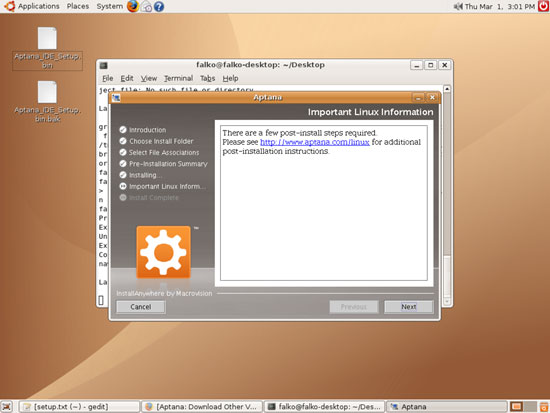
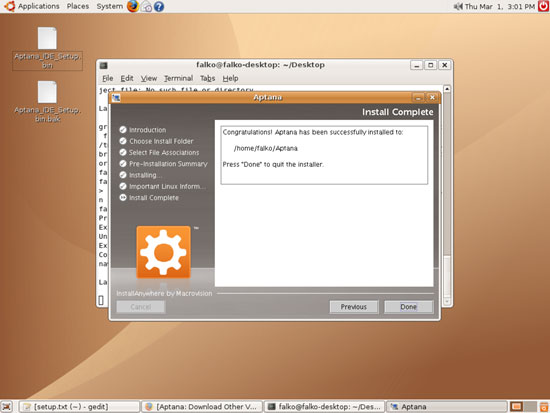
If you like, you can visit the link that the installer shows you after the installation. Click on Next:
Then click on Done to finish the instalation:
The installation isn't fully finished yet. We must create a short start script which we will name aptana and place in the /usr/bin directory. The purpose of this script is to set an environment variable (MOZILLA_FIVE_HOME) for Aptana and then start it.
In the terminal, type
gedit aptana
This will start the text editor with the (empty) file aptana (in your current working directory which should be ~/Desktop). Please type in the following lines and save the file:
#/usr/bin export MOZILLA_FIVE_HOME=/usr/lib/mozilla ~/Aptana/aptana |
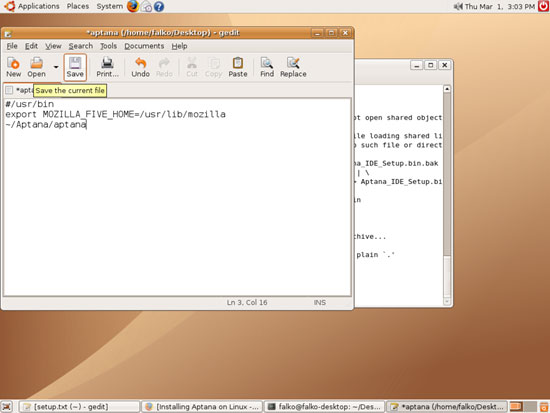
After you've saved the file you can close the text editor.
Now we make the file executable and move it to the /usr/bin directory:
chmod 755 aptana
sudo mv aptana /usr/bin/
Aptana is now installed. Now let's clean up our desktop and delete the Aptana installer:
cd ~/Desktop
rm -f Aptana_IDE_Setup.bin*

